

Introduction: Turn Your Old DSLR Into a Microscope!


Did you know you can use your SLR's zoom lens as a microscope? I didn't!
My uncle gave me an old SLR film camera that he didn't need, Because he knows that I love taking electronic devices apart, I was really happy because I'd never taken apart a SLR camera! A couple minutes later, My 5 year old cousin came to me and asked me "What are you doing with that camera?" So I told her that I want to take it apart and save all of the small parts, Because I might be able build something out of them (as I always do).
Just for fun (and to make her laugh), I removed the zoom lens and held it up to her face as if I was a pirate that was looking through binoculars, And what did I see? Well, Nothing, Because it was out of focus.
This gave me an idea: I know knew that the lens should magnify something, So I looked far away, But everything was still totally blurry. I thought that if it doesn't work when I look far away, Then it might work for a close up: I looked at my hand, And yes: I could see the tiny dust particles that were on my hand! I was SHOCKED! I have a free microscope!
Yes, I know this a weird story, But it is 100% true!
I'm sure will use this a lot, And what could be better that a free microscope? A microscope with incredible magnification like this will probably set you a few hundred dollars back!
Step 1: What You'll Need:

Materials:
A DSLR Camera (Canon EOS Rebel Ti- SLR Film Camera)
Super Glue (Epoxy can work too)
A Small Handle (this was salvaged from a broken toolbox)
2 Zip-ties
Tools:
Hacksaw
Vise
Pliers
Wire Cutters
High Power Lighting (I used SpectrumLED with only the cool LED's on max. brightness)
A Smartphone (If you want to take pictures)
------------------------------------------------------------------------------
Why: Reuse that old dust collector (AKA camera) that you don't need!
Protection Gear Needed: None
Cost (for me): FREE!
Needed Skills: Gluing, Hacksaw-ing
Approximate Time: 15 minutes
Step 2: Remove the Lens


To remove the lens, Press on the button that I've shown in the picture, You might have to turn it a bit until it pops off.
These are 28-90mm lens, In case you're wondering
Step 3: Fully Extend the Lens, and Super-Glue It in Place

Fully extend the lens (maximum zoom), And glue them in place with Super-Glue. Drop a few drops through the crack, As I show in the picture.
Because the picture will be totally blurry if it isn't extended to the maximum, It is a good idea to add glue, So you don't have to manually adjust it every time...
Step 4: Saw the Handle
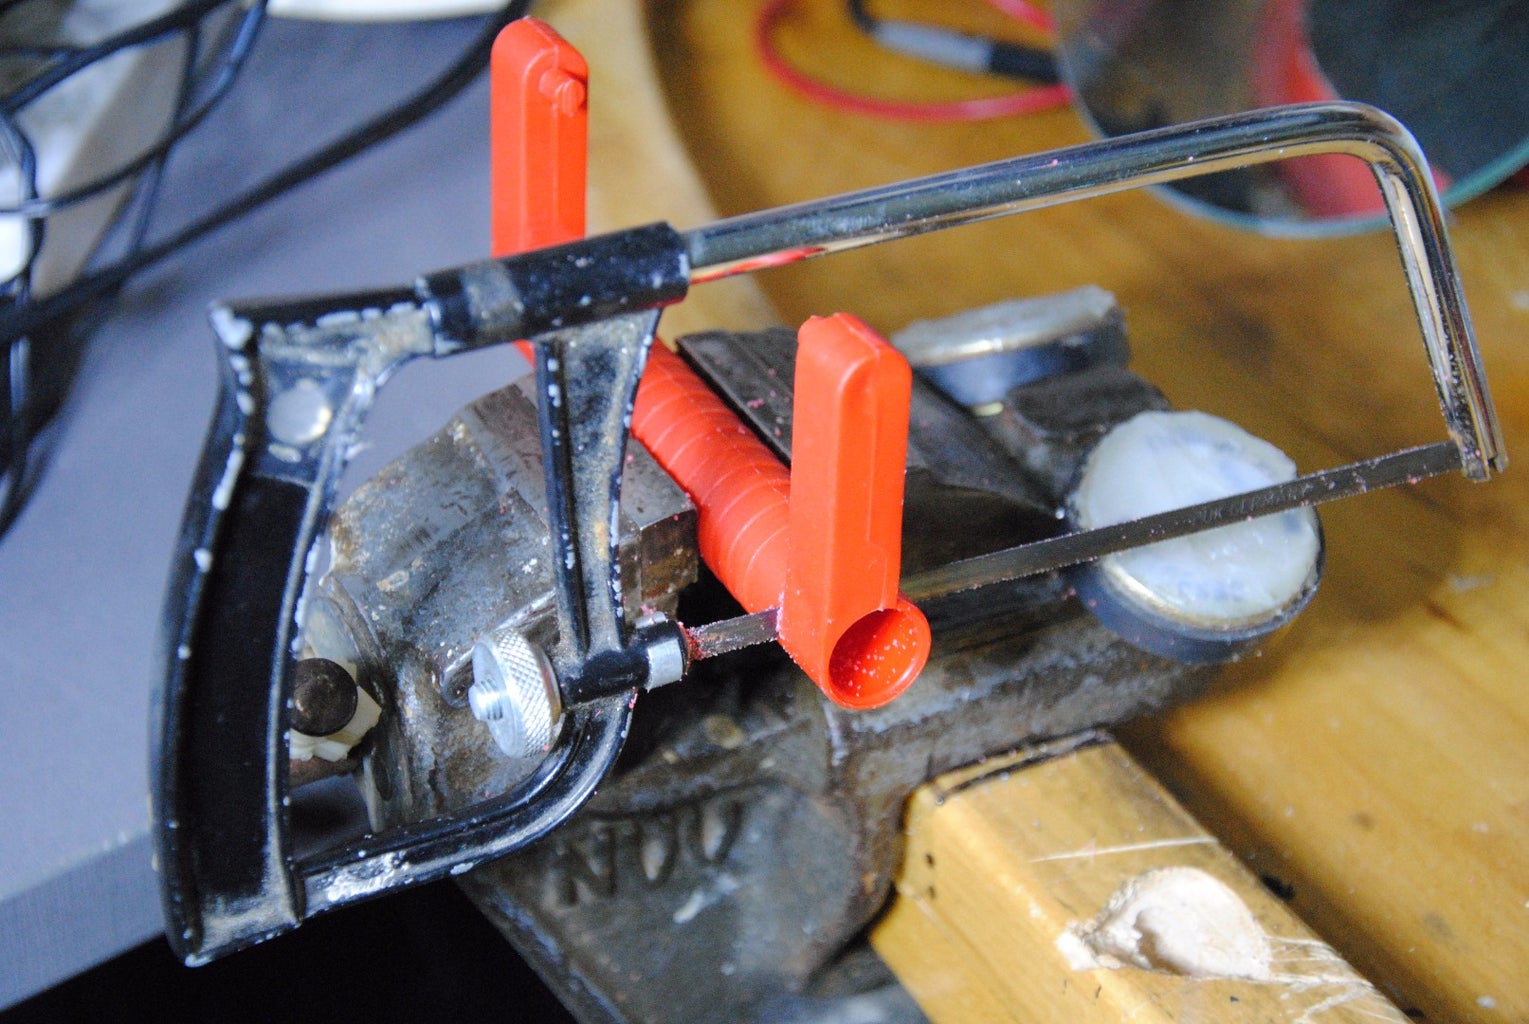

I wanted to add a handle to make it more comfortable to hold, Because it would help your hand from aching and shaking...
I used a handle that I salvaged from a broken toolbox (don't buy cheap ones!), And sawed part of the handle off, As shown in the picture.
Step 5: Glue & Zip-Tie the Handle on the Lens


First, I glued the handle onto the lens with Silicone Adhesive.
And after that, I added two Zip-Ties on each end to help hold it with more strength. A Hose Clamp will work too.
Step 6: Example Pictures


These pictures were taken with a phone camera, Which means the quality isn't the best. When I look through it with my eyes, I can see dust particles on ceramic capacitors, Yes! THAT SMALL!
Oh, This has already saved a pretty expensive appliance in our house, That had a burnt transistor

Runner Up in the
Zip Tie Challenge

Participated in the
Before and After Contest 2016

Participated in the
Homemade Gifts Contest 2015

Participated in the
Full Spectrum Laser Contest 2016


