

Introduction: Ultrasonic Sensor and LED Using Arduino


So we will be building a device that uses ultrasonic sensor to measure distance and we will also light up an led if the distance measured is very less. An ultrasonic sensors work by transmitting sounds of frequency of about 40,000 Hz and when these waves comes in contact with an object it is reflected and is then analyzed to calculate the distance.
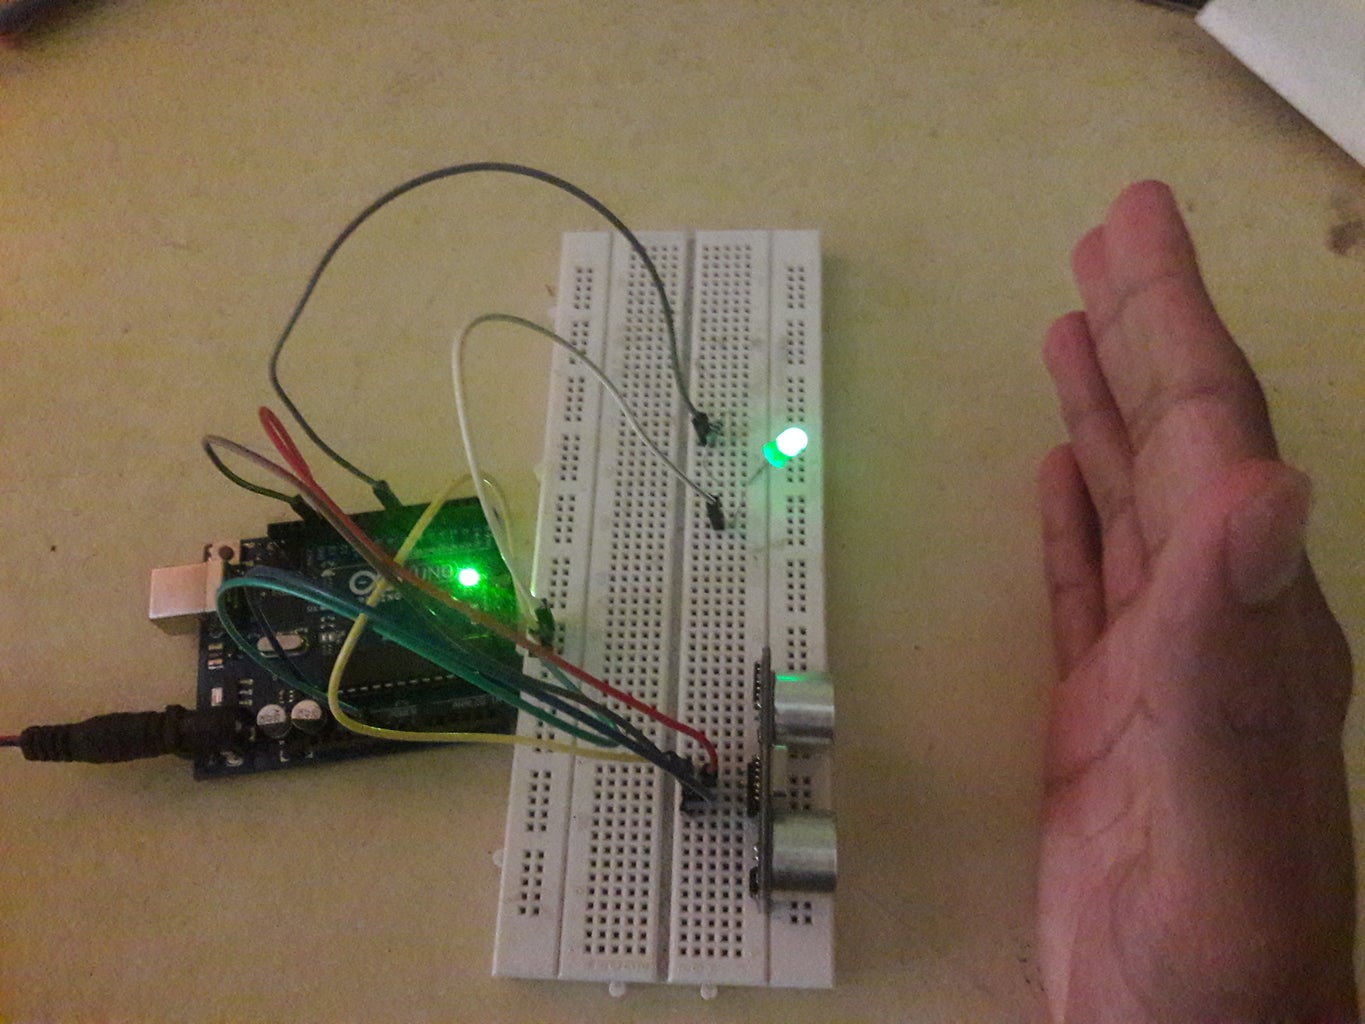
If the distance between the object and the sensor is very less then we will also light up an led which acts as an indicator that the object is close to the sensor. An understanding of this project is really important as this forms the basis of obstacle avoiding robot.
Step 1: Things You Need.
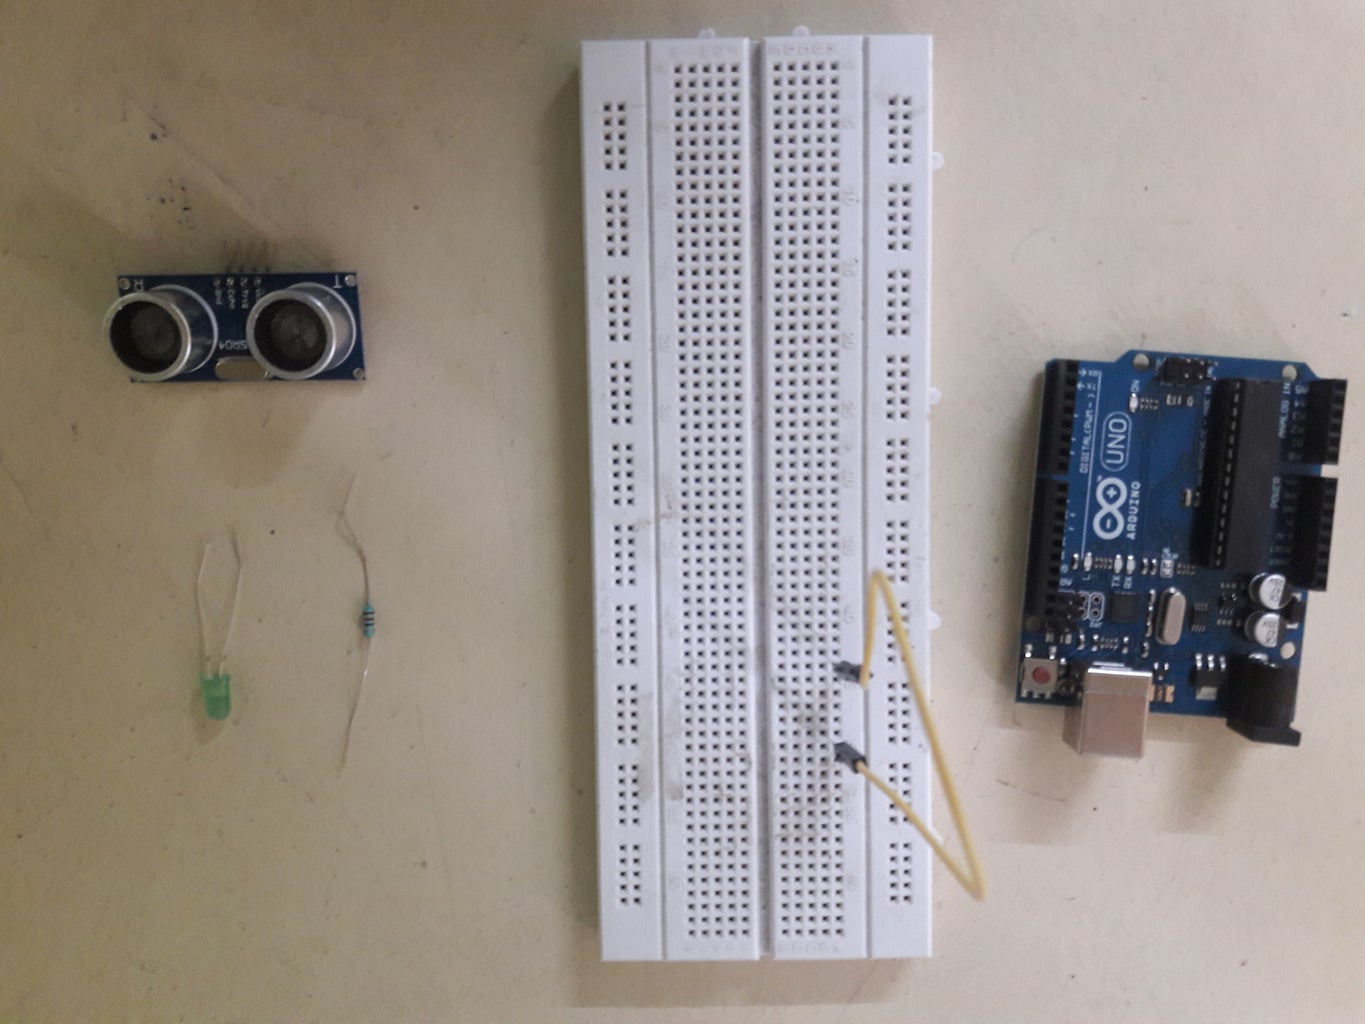
For this project we will be using things which are readily available in any electronic hobby shops.
- Ultrasonic Sensor
- Led
- 6 Jumper Wires (Male to Male)
- Arduino
- 220 ohm resistor
- BreadBoard
Step 2: Lets Make.

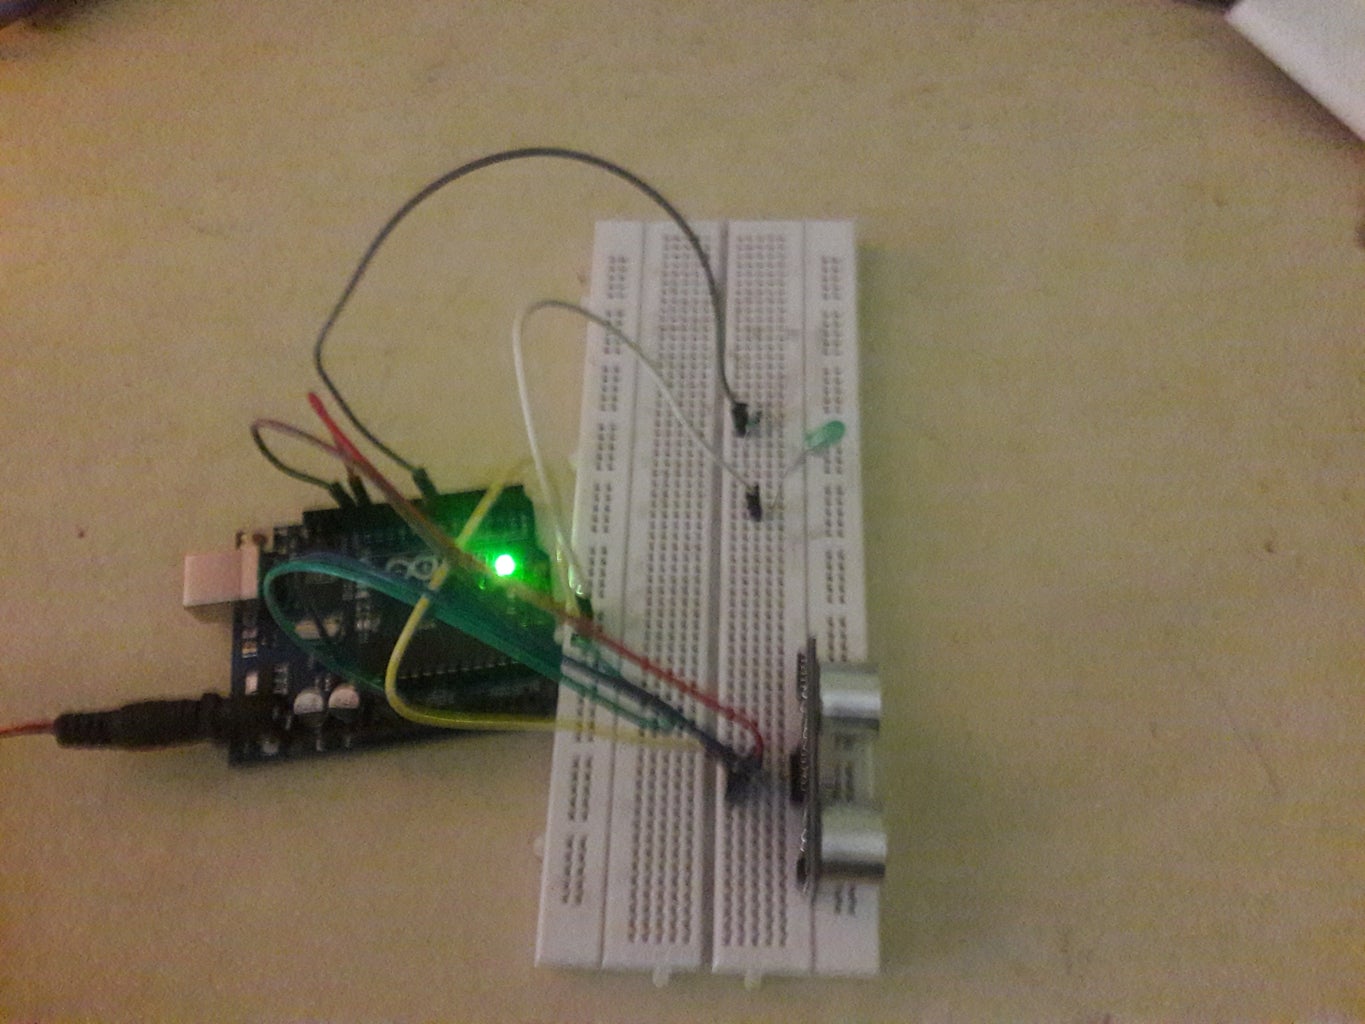
The ultrasonic sensor has 4 pins: Vcc, Trig, echo, GND.
Just like shown in the diagram, 5 volt is applied at the Vcc to power the sensor. Here GND denotes ground. The trigger pin(Trig) is connected to i/o pin numbered 13 and the echo is connected to pin number 12.
The trigger pin produces an ultrasonic sound which may collide with an object and it is reflected. The reflected wave comes to the echo pin and it is analyzed using arduino.
An led is connected to the pin 7. Make sure that you use a resistor while connecting led otherwise there are chances that you will blow up the led.
Use the code given below.


