

Introduction: Xbox 360 Wired Controller to USB


I didn't have the connector for this controller, so I permanently soldered on a USB connector.
Step 1: Disassemble the Controller
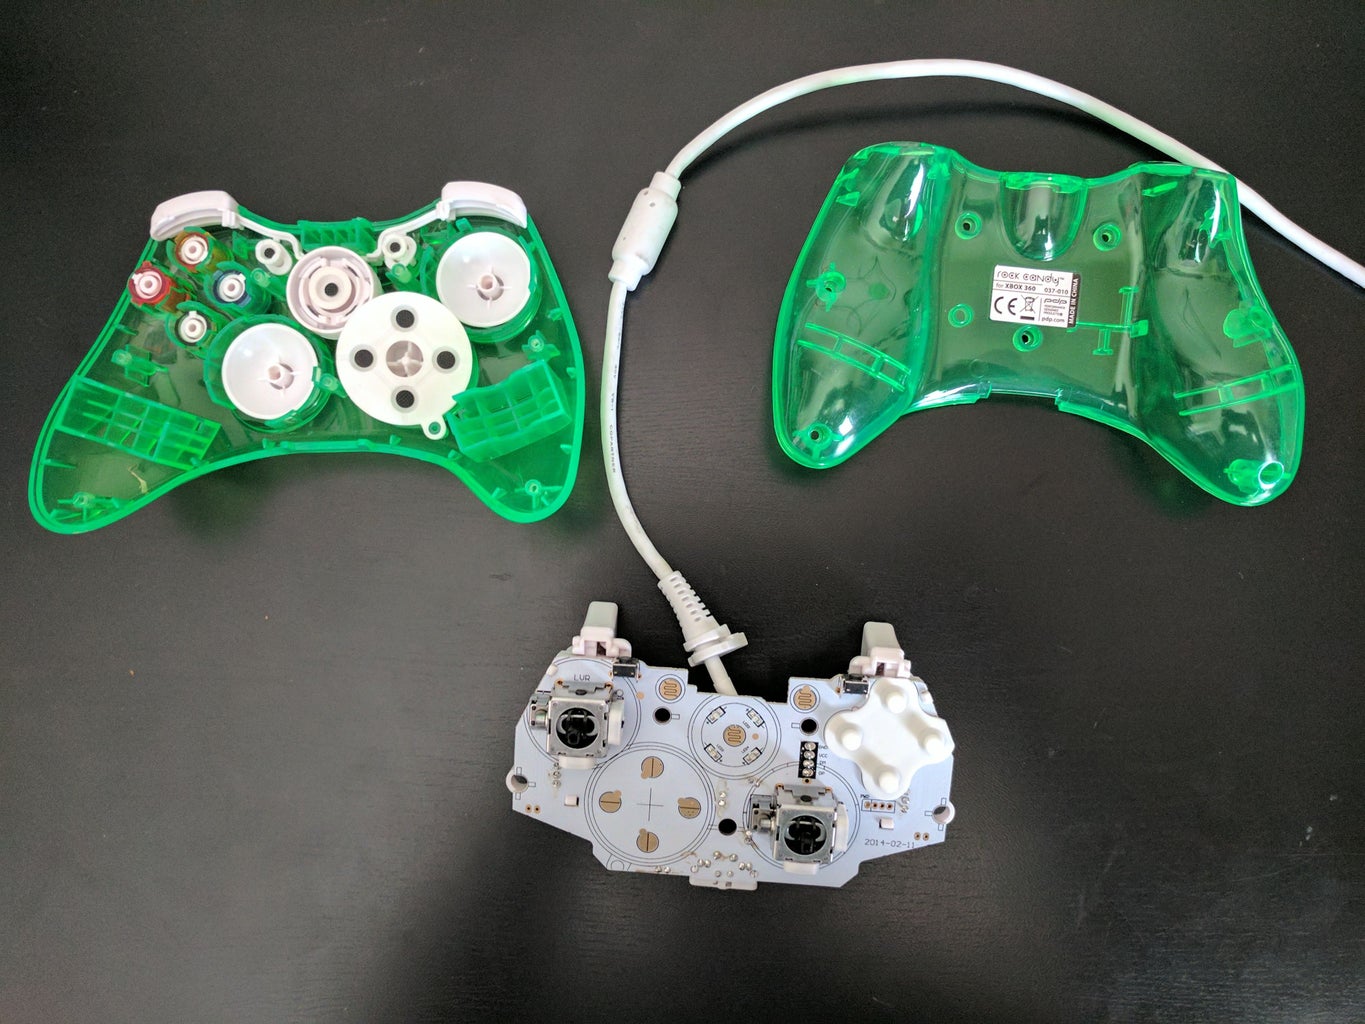
I took apart the casing by unscrewing it and it left me with the top, the bottom, and the circuit board stuff.
Step 2: Fixing Connections (optional)


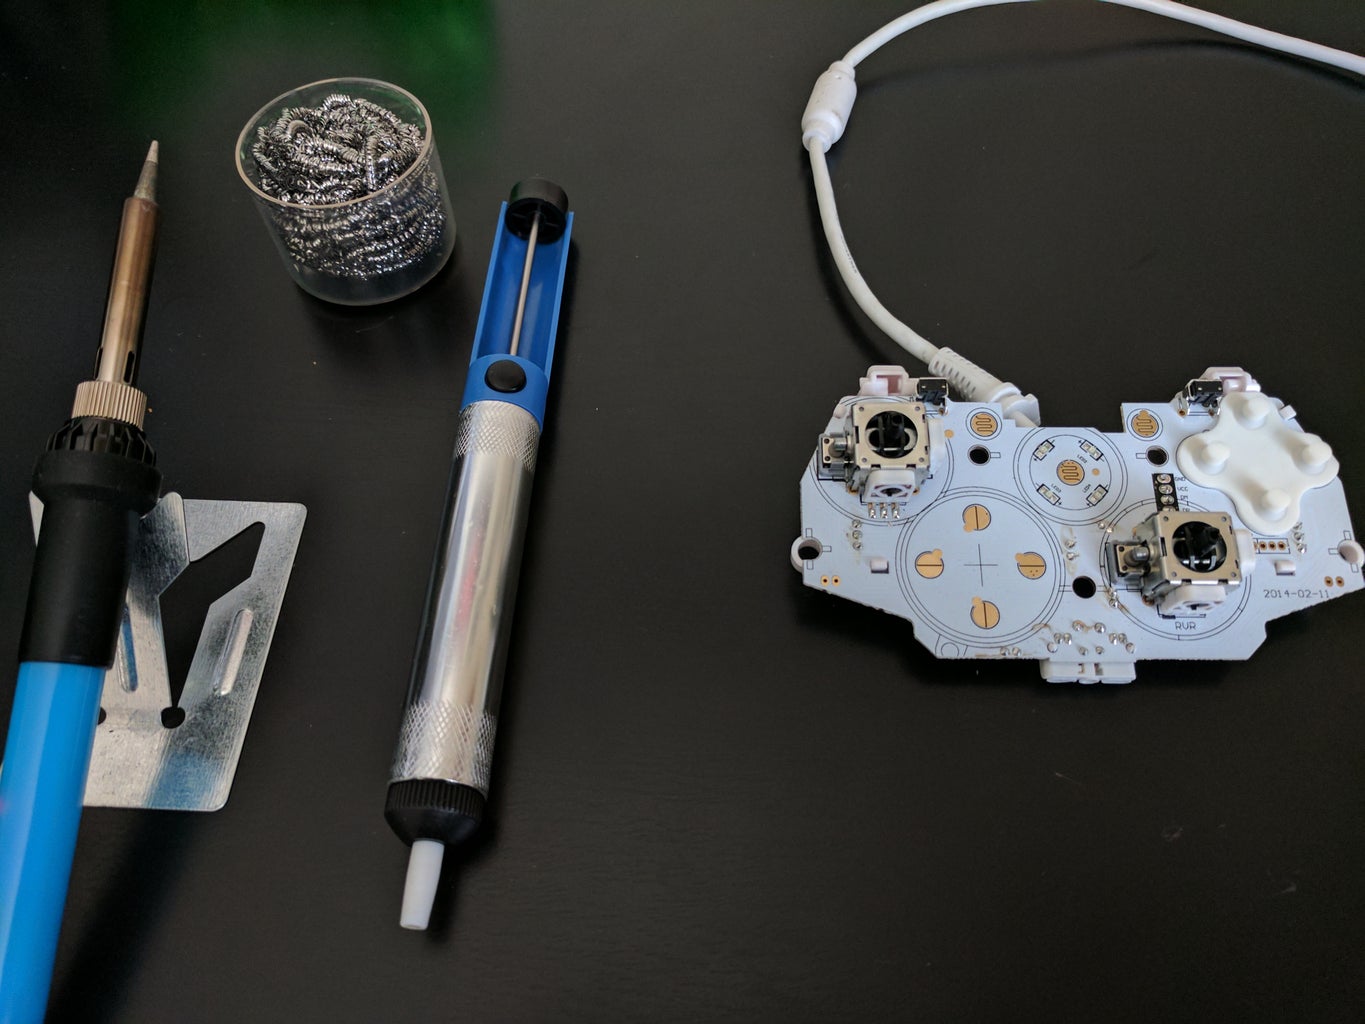

There were some bad solder connections on the board, so i unsoldered the existing solder and I made some new connections. If your controller already works fine then no need to worry about this step.
Step 3: HEAT SHRINK TUBING *IMPORTANT*


One the things i forget most is putting on heat shrink tubing before i solder. I cannot stress this enough make sure to put on 2 different sized pieces of heat shrink tubing that just fit both wires. Heat shrink tubing is a much better way to cover up connections than electrical tape, because that will 100% become really sticky and leave a lot of residue over time.
Step 4: Soldering Individual Wires


Take your time on this step because quality matters here.
Cut the USB wire that you will use and then controller wire to the preferred total length you want.
Strip the wire, and then strip the smaller wires inside.
Make sure to put on super small pieces of heat shrink tubing over the individual wires and then solder.
After soldering, put on the big pieces of tubing over all of the new connections.
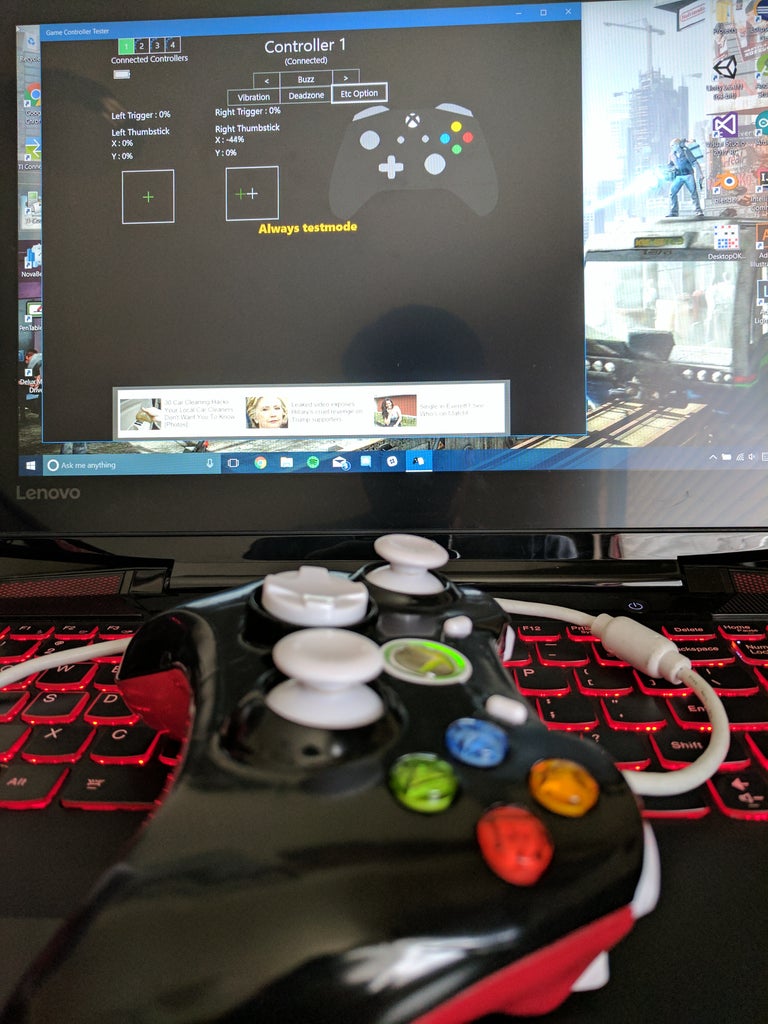
Step 5: Testing

Make sure to test out the controls on any game or you can do what i did and used a windows store application i will link.
https://www.microsoft.com/en-us/store/p/game-contr...
You will also not need drivers because windows should automatically detect them. If not here you go:
https://www.microsoft.com/accessories/en-us/produc...
Go to downloads and select your OS and then download and install.
If something doesn't work then try re-soldering again (you could use a multi-meter and check which connection is bad, to reduce time).
Step 6: Painting (Optional)

From here you can either choose to:
- Assemble the controller and use it on your PC OR
- Spray paint it like I did.
I chose red and black cause that's what i had, but you can do whatever you want.
Take out all the buttons and joysticks and then spray paint. If you want to change the color of the joysticks and buttons, clean them first and then spray them separate from the controller and individually.
I went with semi-gloss black and glossy red.
For painting you wanna do 1 coat all around and then wait 6 hours, and then do one more coat fully covering everything on the controller and wait 14-24 hours.
**More time you take on painting and waiting, the better the results**
Step 7: Assemble and ENJOY!


I assembled the controller and then screwed it back in. After that i tested out the controls and it worked for me. If there is anything I missed or if you have questions about the process then lemme know. I thought it came out nice and I did miss some paint spots (very minor), but taking time and putting in effort is what matters here. This is my first instructable so lemme know how i did as well. Thanks!
P.S. I know it's a very simple project.


