

Introduction: Your First Program in C

This tutorial will help you create your first program in the C programming language.
Here is what you will need:
Windows 7 Operating System (or other)
In this tutorial, you will be walked through creating your program using a Windows 7 Operating system. Most of what you will be doing will be able to translate over the different versions of Windows, however for older versions of Windows you may have to download a different version of the software. If you do not have a Windows 7 or other Windows based system, you may want to consider running a virtual machine on your computer running either a Windows operating system or a Linux operating system. Tutorials on how to do this can be found on Google.
Dev-C++
This is a free piece of software you will be using in this tutorial to create your program. It requires either a Windows based system or a Linux based system to run. If you do not have one of these, there are clients online that will allow you to run a virtual machine that runs either of these systems. This tutorial will go over how to download and install this program to your computer.
Step 1: Download Dev/C++

For this section, I am running on a Windows 7 operating system. If you are on a different operating system, the steps may be similar, but make sure that you download the correct version of the software.
1. Go to Download Site
Follow this link to take you to the website to download the software: http://www.bloodshed.net/dev/devcpp.html
2. Select and Download
In this tutorial, I will be using Dev-C++ beta 9.2 (4.9.9.2) with Mingw/GCC. Select this by clicking the SourceForge link underneath the title. The version is outlined in red, and the download link is outlined in blue as see in the figure above.
The download should begin automatically. Select the location to save the file and hit save.
Step 2: Install Dev/C++

1. Open the file
When the file is done downloading, locate the downloaded file and open the executable file (devcpp-4.9.9.2_setup.exe).
2. Instal Dev/C++
After you open the executable file, you will be ran through an installation set-up. You can choose where to store the program files, but use the default settings for everything else.
At the end of the installation, you can leave the box that says Run Dev-C ++ 5 beta 9 release (4.9.9.2) selected as shown in the figure so the program will open.
Step 3: Create First Project

1. Run Dev/C++
**If you selected to run the program at the end of installation, you can skip to step 2,**
Go to Start Menu > All Programs > Bloodshed Dev-C++ > Dev-C++. This should start the program.
2. Create a New Source File
**If you are prompted with a set up window, use all the default settings**
Once the program opens, you need to create a new source file so you can start writing your first program. To do this select File > New > Source File. The path is shown in the figure above. This will open up an area where you be able to type out your code.
Step 4: Write Your Program
Here we will write the first simple program to simply have the computer say display text to the console.
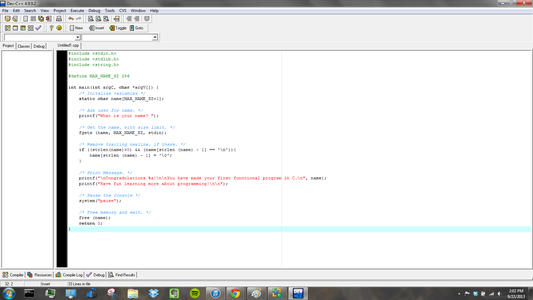
1. Copy the following code.
Copy this code into the text area:
#include <stdio.h>
#include <stdlib.h>
#include <string.h>
#define MAX_NAME_SZ 256
int main(int argC, char *argV[]) {
/* Initalize variables */
static char name[MAX_NAME_SZ+1];
/* Ask user for name. */
printf("What is your name? ");
/* Get the name, with size limit. */
fgets (name, MAX_NAME_SZ, stdin);
/* Remove trailing newline, if there. */
if ((strlen(name)>0) && (name[strlen (name) - 1] == '\n')){
name[strlen (name) - 1] = '\0';
}
/* Print Message. */
printf("\nCongradulations %s!\n\nYou have made your first functional program in C.\n", name);
printf("Have fun learning more about programming!\n\n");
/* Pause the Console */
system("pause");
/* Free memory and exit. */
free (name);
return 0;
}
2. Examine Code
To begin learning about what the different funtions are doing, read the comments seen in blue font in the code between the /* and the */. This will describe the general idea of what is happening in the code following.
Step 5: Save and Compile Code
1. Save File
Save your file by going to File > Save As. Select save location and name your file
**IMPORTANT**
Make sure you change the file type to a C source file (*.c). This is under the save as type.
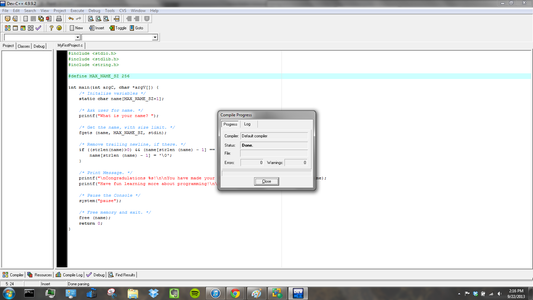
2. Compile Code
Compile your code by going to Execute > Compile. This will check through the code to make sure that it is a valid C file. When the compilation is complete, close the compile window.
Step 6: Run Your Code
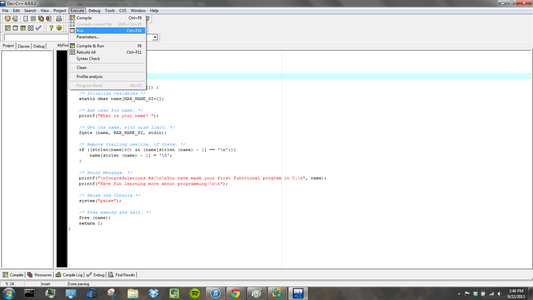
1. Run Code
To run your code, select Execute > Run. This will start the program and should bring up a new console as seen in the figure below.
2. Follow the Code
Follow and execute what the code is saying. When it prompts you to enter your name, type your name and hit Enter using your keyboard. A video demonstration of this step can be seen below.
3. Close Program
After the program has finished running, the console will print out "Press any key to continue . . ." To end the program, simply type any key.
Attachments

Step 7: More Resources


You have now completed your first program. But don't stop here there is still much to learn about this great programming language, including arrays, loops, and pointers. There are many great resources available on the internet and in bookstores. Here are a few good reference books that you can check out if you want to continue learning about C
- The C Programming Language by Brian W. Kernighan and Dennis M. Ritchie
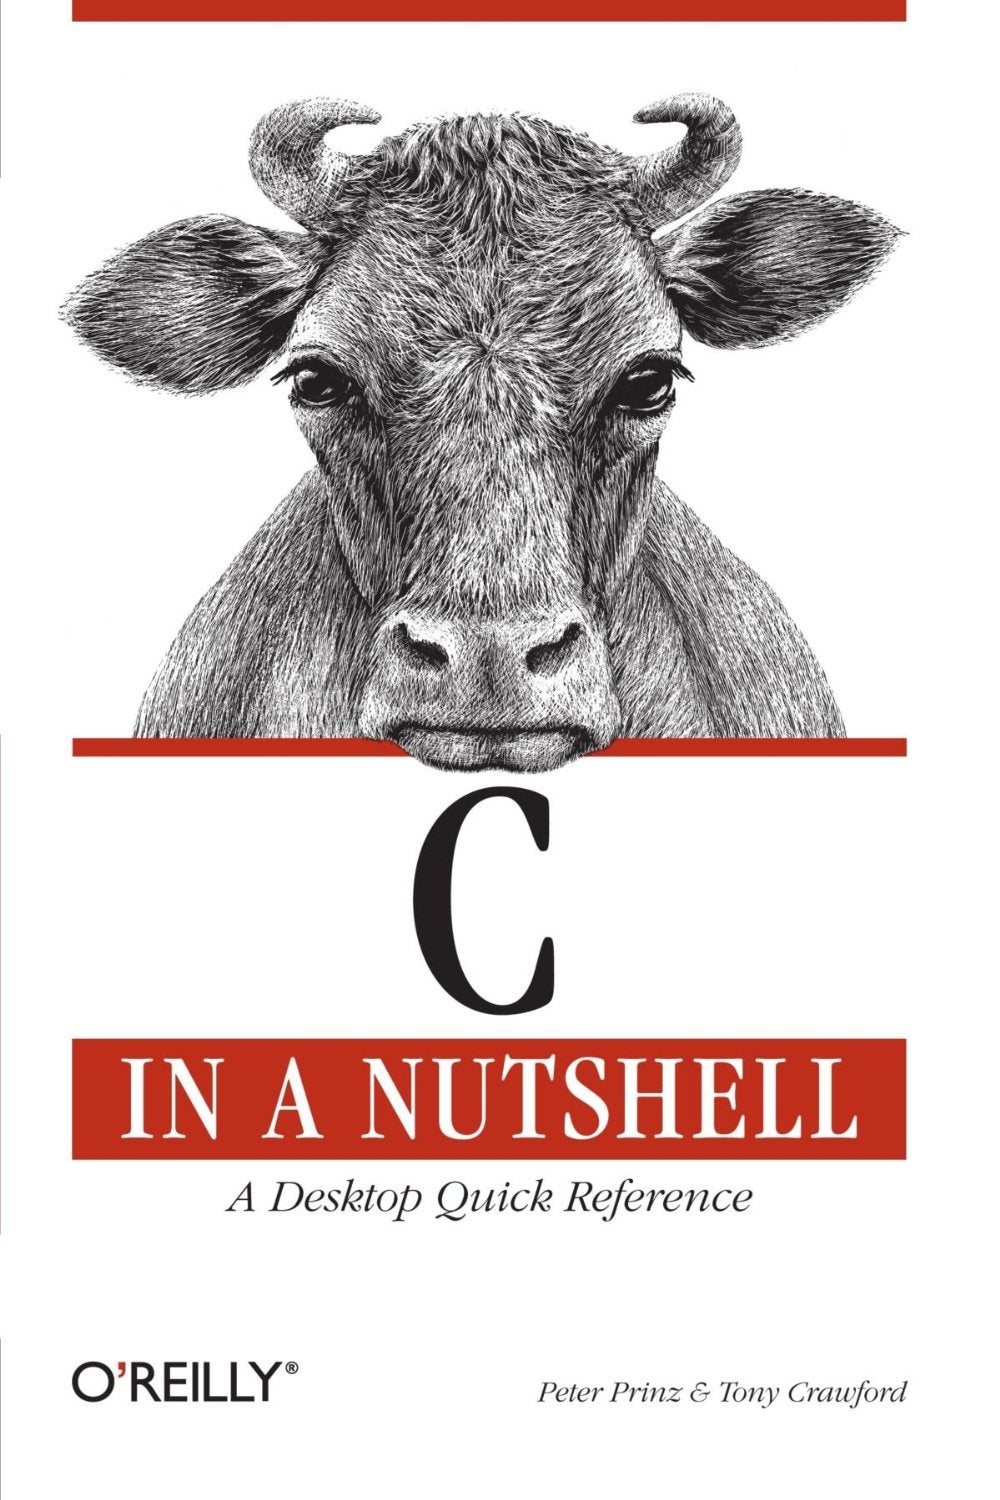
- C in a Nutshell by Peter Prinz and Tony Crawford
- C for Dummies by Dan Gookin
A great online reference that includes documentation about all of the classes available to you in the C library is also avaliable for you for free online at http://www.cplusplus.com/reference/clibrary/.
Photo credit Amazon.com


