Introduction: Make an Animated GIF
NOTE: This page might take a moment to load
Nothing sums up things like an animated GIF, and if you've spent any time on the Internet you've undoubtedly seen a few. For those who arrived late to class, an animated GIF is a digital picture format that has the ability to display animation. GIF format makes it possible to watch motion in a frame without having to use a video hosting service like Youtube or Vimeo.
The simple I ♥ bacon image above is an example of an animated GIF.
Animated GIFs, like its JIF peanut butter namesake, are amazing when prepared right and disastrous when handled wrong. This Instructable will cover 4 different methods:
There's almost no limit to how animated GIF's can be used. I'll do my best to cover the basics on how animated GIFs are made, and provide examples for you to try yourself with files (found at the bottom of this step, and Step 4 and 5). The methods shown are a few of many different ways to make animated GIFs. There are alternative methods using the same programs, and there may be easier and better methods not discussed at all. Please feel free to share your thoughts in the comments below.
↓ grab the Photoshop and GIMP templates here
Nothing sums up things like an animated GIF, and if you've spent any time on the Internet you've undoubtedly seen a few. For those who arrived late to class, an animated GIF is a digital picture format that has the ability to display animation. GIF format makes it possible to watch motion in a frame without having to use a video hosting service like Youtube or Vimeo.
The simple I ♥ bacon image above is an example of an animated GIF.
Animated GIFs, like its JIF peanut butter namesake, are amazing when prepared right and disastrous when handled wrong. This Instructable will cover 4 different methods:
- Using a free online method - video and images into GIF
- Using Photoshop orGIMP - images only into GIF
- Using iWisoft - video only into GIF
 image sequences - flamethrower Jack-o_lantern |  Photosop awesomesauce - animated pizza GIFs |
 explaining a concept or idea - Energy-Saving Light | |
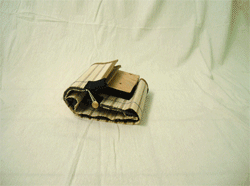
 showcase an item - fuzz of 1000 faces |  assembly animation - collapsible box |
 high FPS repeating movies |  entire YouTube video |
There's almost no limit to how animated GIF's can be used. I'll do my best to cover the basics on how animated GIFs are made, and provide examples for you to try yourself with files (found at the bottom of this step, and Step 4 and 5). The methods shown are a few of many different ways to make animated GIFs. There are alternative methods using the same programs, and there may be easier and better methods not discussed at all. Please feel free to share your thoughts in the comments below.
↓ grab the Photoshop and GIMP templates here
Attachments
Step 1: GIF Limitations

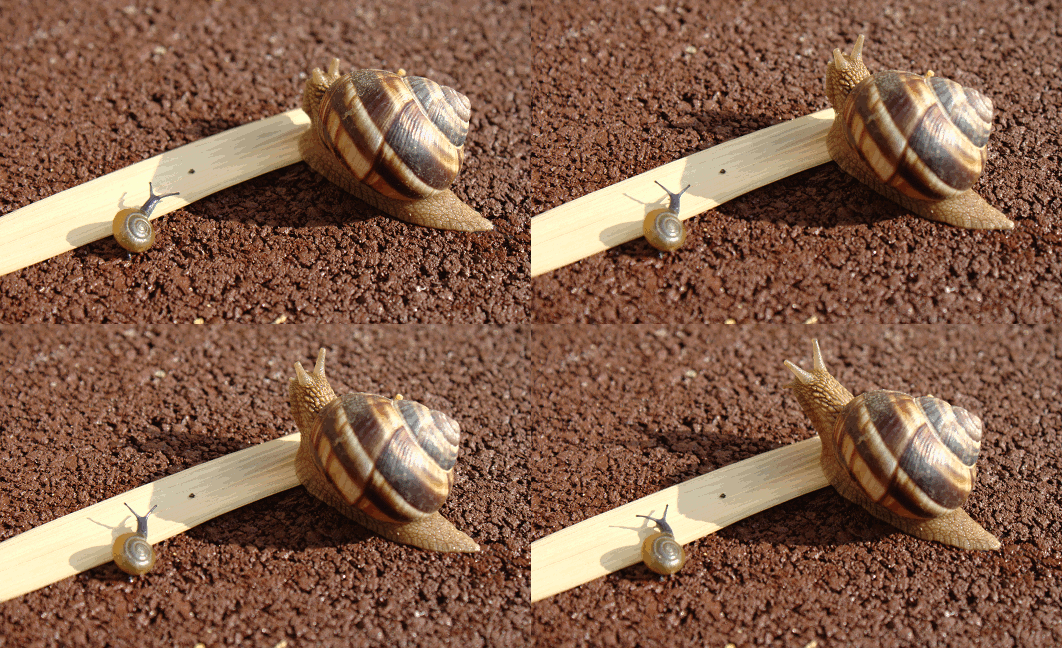
"@______.gif - image from marc kjerland used under Creative Commons 2.0
what makes a good animatied GIF?
I think the most important thing is camera stability. When considering which pictures or video to use try to chose scenes with consistency in frame and subject. Moving shots/subjects can work, but the most effective animated GIF's have a frame of reference which your eyes can lock onto and your brain has an easier time understanding what's going on. And, because animated GIF's are usually short/small this makes it even more important.
loss of colour/definition:
GIF's are great to convey action but aren't so good at replicating a realistic colour spectrum.
"The format supports up to 8 bits per pixel thus allowing a single image to reference a palette of up to 256 distinct colors. The colors are chosen from the 24-bit RGB color space. It also supports animations and allows a separate palette of 256 colors for each frame. The color limitation makes the GIF format unsuitable for reproducing color photographs and other images with continuous color, but it is well-suited for simpler images such as graphics or logos with solid areas of color."
This effect is called posterizatrionsize/length:
Animated GIF files are usually small, this usually means small in dimension or short in length, or both. When deciding what to make a GIF animation of consider the output size and length. Animated GIF's will not play correctly if reduced through inline HTML (using <img width="size")
experiment:
when using programs like Photoshop and GIMP there are huge areas where you can push the boundaries of making an animated GIF. The techniques I show are just the basics, with a little trial and error you can create some interesting results.
Step 2: Use an Online Service
"Maslow's Hierarchy of Needs has been updated" image from Flikr: Bernard Goldbach (topgold) used under Creative Commons 2.0
The easiest way to make an animated GIF is to use an online service. The upside is that it is easy and free, but they usually have a watermark over the image along with some kind of restriction on output size/length/quality/image size/other.
Searching for "online GIF maker" returns these popular picture to GIF sites:
- http://makeagif.com/ (pictures only)
- http://gifsoup.com/ (YouTube clips)
- http://imgflip.com/gifgenerator (video and pictures)
- http://picasion.com (pictures only)
- http://gifninja.com (pictures only)
Step 3: Using Photoshop
Photoshop is a very powerful tool that does loads of photo editing magic; it is also very expensive. Luckily, Adobe offer a student version and Photoshop elements, both of which are significatnly less expensive and follow the same process as described below.
I'll walk you through an example of a very simple animated GIF. I made this I ♥ bacon animation in about 20 minutes. You can download my finished Photoshop file (iHEARTbacon.psd) at the bottom of this step for your reference. The picture of this step is an animated GIF I made about making an animated GIF. (whoa!)
I used Photoshop CS5, but this will also work with earlier versions. I started by doing an image search for some very simple images of a heart and bacon. Each image was opened to it's own browser tab. When I found the images I wanted I opened up Photoshop and made sure the layers window was open (F7)

I ♥ bacon made with Photoshop
↓ download the I ♥ bacon Photoshop file
I'll walk you through an example of a very simple animated GIF. I made this I ♥ bacon animation in about 20 minutes. You can download my finished Photoshop file (iHEARTbacon.psd) at the bottom of this step for your reference. The picture of this step is an animated GIF I made about making an animated GIF. (whoa!)
I used Photoshop CS5, but this will also work with earlier versions. I started by doing an image search for some very simple images of a heart and bacon. Each image was opened to it's own browser tab. When I found the images I wanted I opened up Photoshop and made sure the layers window was open (F7)
- open a new canvas (ctrl+n) and set to 500 x500 pixels
- use fill tool and make a white base layer
- insert reference material on new layers above base layer
- re-size / clean reference images as necessary
- type tool input captil "I", re-size as necessary
- from top to bottom layer order should be: type layer "I" > heart image > bacon image > white background layer
- open window > animation
- in animation window create 6 new layers
-
animation frames
- frame 1: show type layer "I" and white base layer (turn off heart and bacon images)
- frame 2: turn off type layer "I", leave white base layer on
- frame 3: show heart image and white base layer
- frame 4: turn off heart image, leave white base layer on
- frame 5: show bacon image and white base layer
- frame 6: turn off bacon image, leave white base layer on
- crtl+click the text, heart, and bacon layers, then set the delay to 0.5 seconds
- ctrl+click the alternate white animation layers and set delay to 0.2 seconds
- file > save for web
- set the animation to loop forever and save your animated GIF
- save the entire project after as a Photoship file (.psd)

I ♥ bacon made with Photoshop
↓ download the I ♥ bacon Photoshop file
Attachments
Step 4: Using GIMP
GIMP is a free direct competitor to Photoshop and does many of the same functions.
The GIMP file I created is available at the bottom of this step. (in GIMP_GIF.zip - file GIMP_bacon.xcf) The animation looks slightly different than the Photoshop version, but could be tweaked with the timing to look about the same. In lieu of making another animated GIF of making an animated GIF with GIMP (as I did with Photoshop), I just attached the layers explaining the steps below in GIMP format. (in GIMP_GIF.zip - fileGIMP_process.xcf)
I used GIMP 2.8, but this will also work with earlier versions. Do an image search for some very simple images of a heart and bacon. Each image was opened to it's own browser tab. When I found the images I wanted I opened up GIMP and made sure the layers window was open (ctrl+L)

I ♥ bacon made with GIMP
↓ download the I ♥ bacon GIMP file
The GIMP file I created is available at the bottom of this step. (in GIMP_GIF.zip - file GIMP_bacon.xcf) The animation looks slightly different than the Photoshop version, but could be tweaked with the timing to look about the same. In lieu of making another animated GIF of making an animated GIF with GIMP (as I did with Photoshop), I just attached the layers explaining the steps below in GIMP format. (in GIMP_GIF.zip - fileGIMP_process.xcf)
I used GIMP 2.8, but this will also work with earlier versions. Do an image search for some very simple images of a heart and bacon. Each image was opened to it's own browser tab. When I found the images I wanted I opened up GIMP and made sure the layers window was open (ctrl+L)
- This GIF uses white space between pictures.
- open GIMP > new image: 500 x 500 px
- insert reference material on new layers above base layer
- right-click each layer and scale layer - make layer dimensions 500 x 500 px
- type tool input capital "I", re-size as necessary
- make new white layers and put them in between each image layer
- from top to bottom layer order should be: bacon image > white layer > heart image > white layer > type layer "I" > heart image > bacon image > white background layer
- right click on a graphic layers in the layer tab and edit attributes, add in brackets your frame duration in milliseconds - ex: (700ms)
- right click on white layers and add (300ms) in their atttributes
- in the dropdown choose filter > animation > optimize for GIF
- a new window will open showing the newly optimized GIF (max screen that new image)
- change the speed of the animation in filter > animation > animation playback
- export the animation in file > export. Chose your save folder and name the file filename.GIF and choose GIF from the dropdown menu. Select export.
- After saving your animation as a GIF you can save the entire project as a GIMP file (.xcf)
- After saving the GIF close both windows.

I ♥ bacon made with GIMP
↓ download the I ♥ bacon GIMP file
Attachments
Step 5: Converting Video to GIF
To convert a video clip to animated GIF I use iWisoft Video Converter (PC only) - It's free and has plenty of options to crop, trim and edit your selection. iWisoft can also handle HD video files.
- first find the videos you wnt to make into an animated GIF
- open iWisoft Video Converter
- drag video file into iWisoft Video Converter
- on the bottom of the converter there is a Profile dropdown, select Picture - GIF Animation format(*.gif)
- Next to the dropdown there is Settings, in settings you can define the output Size (GIF dimensions) and Rate (higher number of frames means a smoother animation)
- Next choose the Output destination. This is the folder where your animated GIF will appear when done
- Click Start and wait for the conversion to finish
- You can view your animated GIF in any Internet browser
Step 6: Go Forth and Animate!
By using one or more of the above mentioned methods you should now be ready to tackle your own animated GIF project. Beyond the basics shown here there are other ways to make animated GIFs, and even different techniques used to create your own personal results.
- seizure inducing Animated Gifs about Pizza (and cats)
- stylized 3D effect using Wiggle GIF animation technique
- how to turn video into GIF in Photoshop, an alternative method
Got a neat animation of your own? Share your animated GIF in the comments below!
Happy making :)

Participated in the
UP! Contest


