

Introduction: Preparing to Run the Matsurra


VERIFY FILE IN CAMPLETE
Safe use of the Matsuura MX-330 requires that all CAM files be accurate. This ensures that simulation data in CAMplete is trustworthy.
Before going through this checklist, cut your stock and measure it. This is critical when probing doesn’t occur.
CAM file
- Update your stock size to reflect actual stock size.
- Ensure that you are using the latest Pier 9 Matsuura Mill Tool Library. The current library is recorded on the front of the machine and can be downloaded from the Pier 9 CNC Data Instructable.
- Tools are marked with a number that corresponds to their number in the CAM software.
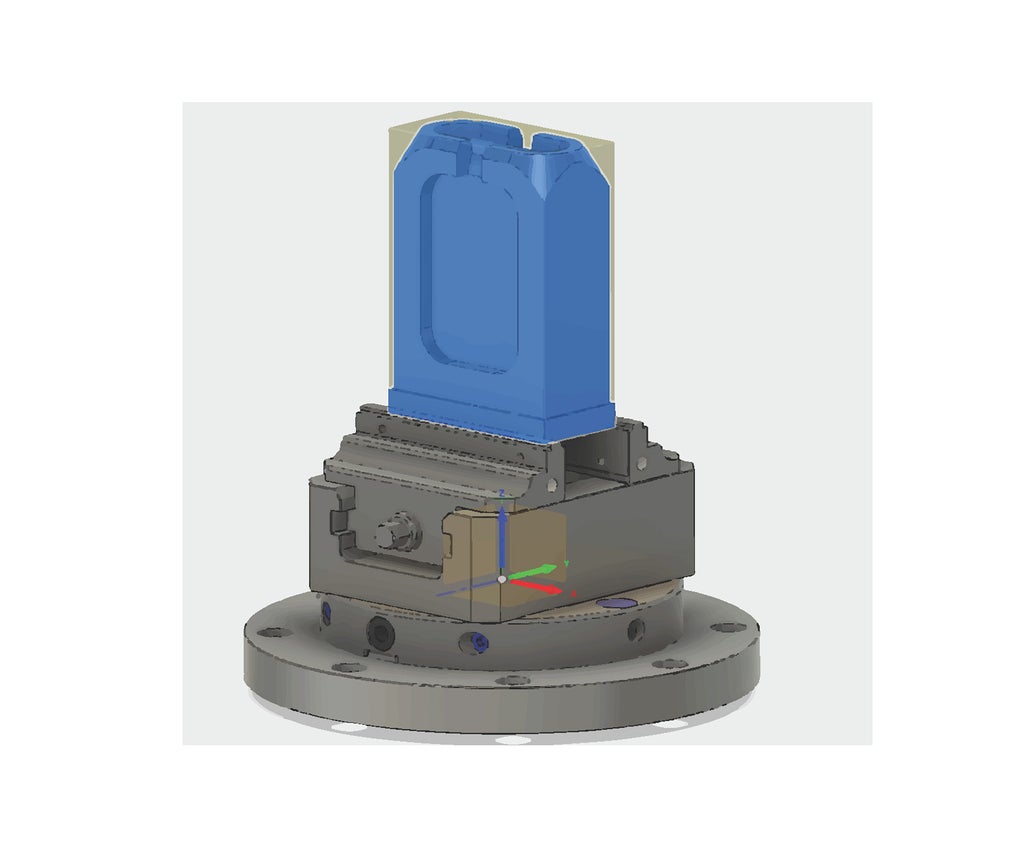
- Ensure that your workholding model is accurate and your part is correctly placed inside the stock.
- If the vise jaws will be open 3.5” or more, use a workholding le with jaws facing out.
- Double check that the WCS, G54 home, is placed on the center top of the Lang receiver plate.
- If you need to use custom tools, check in with CNC shop staff. They will prepare a digital tool library for you and insert custom tools into the machine.

CAMplete check
Follow the steps in the CAMplete Instructable.
- Ensure that you are using the Autodesk CAM APT loader.
- Check that the NC Format and Machine Definition are correct.
- Ensure your G-code coordinate system has been translated on the Z-axes by 52 mm.
- Use Collision Checking simulation mode.
- Ensure simulation checks and tolerances are correct
- Proximity All tolerance should be no smaller than 0.25”.
- Check Status bar after simulation to ensure there are no red error messages.
- Export G-code.
- Use USB for smaller files.
- Use Filezilla for 3D or 5-axis files.
Step 1: Starting Up the Mill


START UP THE MILL
- Turn the MAIN POWER switch on the back of the machine.
- Red means that the machine is on.
- Light above switch will turn on.
- Press the green POWER ON switch.
- Wait for the computer to boot up.
- Reset the E-Stop by rotating clockwise.
- Press the green POWER ON switch.
- The alarm will be deactivated.


Warm up the spindle
If the mill has not been run today, you’ll need to run the spindle warm-up program.
- Press MEM.
- Turn key to Auto.
- Select Program Manager under the Running category.
- Select Path 2 under User.
- Select Pier 9 Warmup.
- Select Open.
- Press CYCLE START to run the program.
- This takes about 10 minutes.

Step 2: Axes and Coordinates

Axes
- The Matsuura has three linear axes (X, Y, and Z).
- There are two rotational axes (A and C).
- The 4th Axis, (A), rotates around the X axis.
- The 5th Axis, (C), rotates around the Z axis.

Coordinates
The Matsuura uses three different coordinate systems. You’ll use the Absolute coordinate system for your part.
- On the screen under the Running category, select NC Operation.
- Select Current Position.
- Select All.
- Note the current coordinates.
- Relative= Set to a convenient location by operator
- Absolute= Work Coordinate System (G54)
- Machine= Machine Coordinate System (G53)
Step 3: Jogging and Homing

Jogging
When jogging, you’ll need to set the axis and the increment - how far the spindle or trunnion moves for each click of the jog handwheel.
- Press HAN.
- Turn key to SET UP.
- Select an axis with the Axis Selector.
- Axis 4 and 5 are locked by default.
- To unlock 4 and 5, press the Axis Unclamp buttons.
- Select an increment.
- X1= 0.0001”
- X10= 0.001”
- X100= 0.01”
- Rotate the jog handwheel clockwise to move in the positive direction and counterclockwise for negative.
- If you reach a soft limit, an alarm will appear on the Display screen.
- Press the white Reset button on the top left corner of the keyboard.
- Turn the jog handwheel in the opposite direction to clear the alarm.
Homing
Follow these steps to return any axis to Machine Home (G53 0, 0, 0, 0, 0). The spindle will be fully retracted with the machining platter as far front and left as possible.
- Press the crosshairs button for Home mode.
- Turn the Rapid Rate to 10%.
- Select an axis.
- Press the Plus button under the Axis Selector.


