

Introduction: Arduino Class: What You'll Learn


Arduino Class Table of Contents:
Have you ever wanted to tinker with technology? Arduino exists to help creative people and techno-beginners build projects with electronics. As a platform, it fast-tracks users to success by helping ease the setup burden and learning curve usually associated with electrical engineering and computer science.
Arduino is the best way to get started with microcontroller programming and building your own circuits that sense and react to the world around them. In this class, we'll get creative with electronics and get comfortable with the concepts you'll use to launch your long and fruitful Arduino journey.
The name Arduino defines several layers of your experience:
- software - used to compose your programs and communicate with the hardware, called an integrated development environment (Arduino IDE)
- hardware - refers to the boards themselves (e.g. Arduino Uno)
- programming language - the Arduino programming language is based on C
- trademark - Other brands may manufacture Arduino-compatible hardware, but only some boards are official, and owning their trademark provides some unique protections. For instance, it allows the hardware and software to remain open source.
Arduino is also a huge global community, which means you'll find vast quantities of inspirational projects, sample code, and solutions to your problems online.

The following lessons are designed to build your skills in Arduino incrementally over time, leaving you with enough basic knowledge to go out and create projects from your imagination.
Early on, you'll do breadboard experiments to increase your familiarity with key concepts of electricity, components, and coding in the Arduino language.
Adding interactivity will be your next challenge. While you level up your hardware skills to add buttons and knobs to control your circuits, you'll also learn more programming concepts.

Then you'll acquire a variety of skills for building and programming, including soldering, understanding the power requirements of your Arduino projects, installing code libraries, and controlling a strip of addressable LEDs. You will graduate with the confidence to take on infinite Arduino projects in the future!
Step 1: Tools and Materials for Arduino
This lesson is a complete list of the supplies you'll need to complete this class. To make it a bit easier to get everything at once, I've created an Adafruit wishlist containing most of the components and tools. To get started with the bare minimum, you can complete most of the core exercises with the contents of the Adafruit Arduino Uno Budget Pack. If you're using a different kit, some of the components may differ from those shown in the photos throughout this class. You may also complete this entire class virtually, for free, using Tinkercad Circuits!
For the basic exercises:
- Computer running Arduino software
- Adafruit Arduino Uno Starter Kit
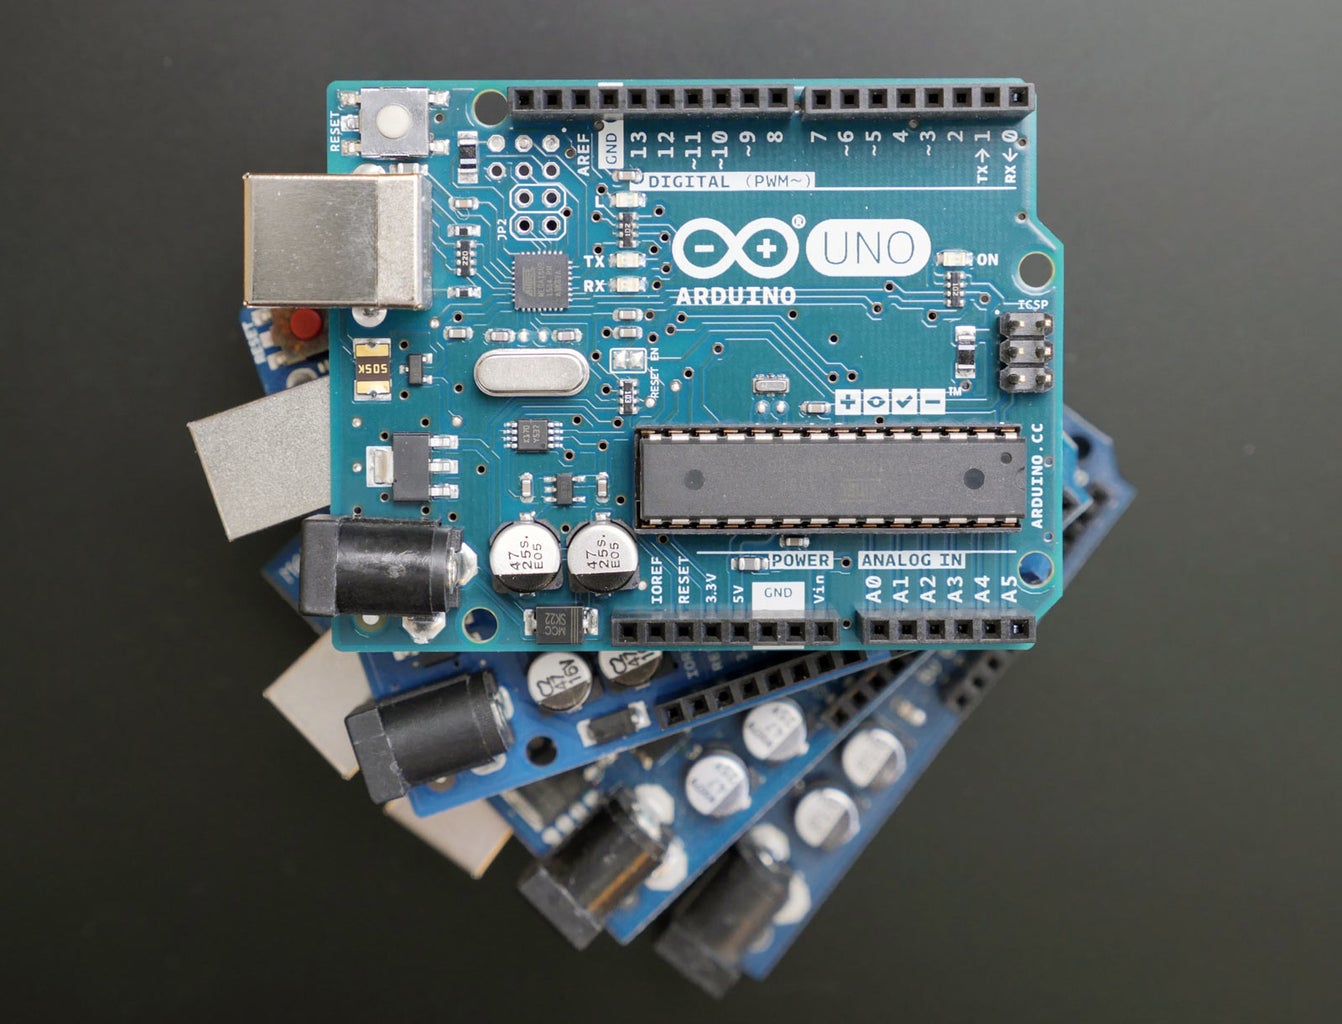
- Arduino Uno board
- USB A-B cable
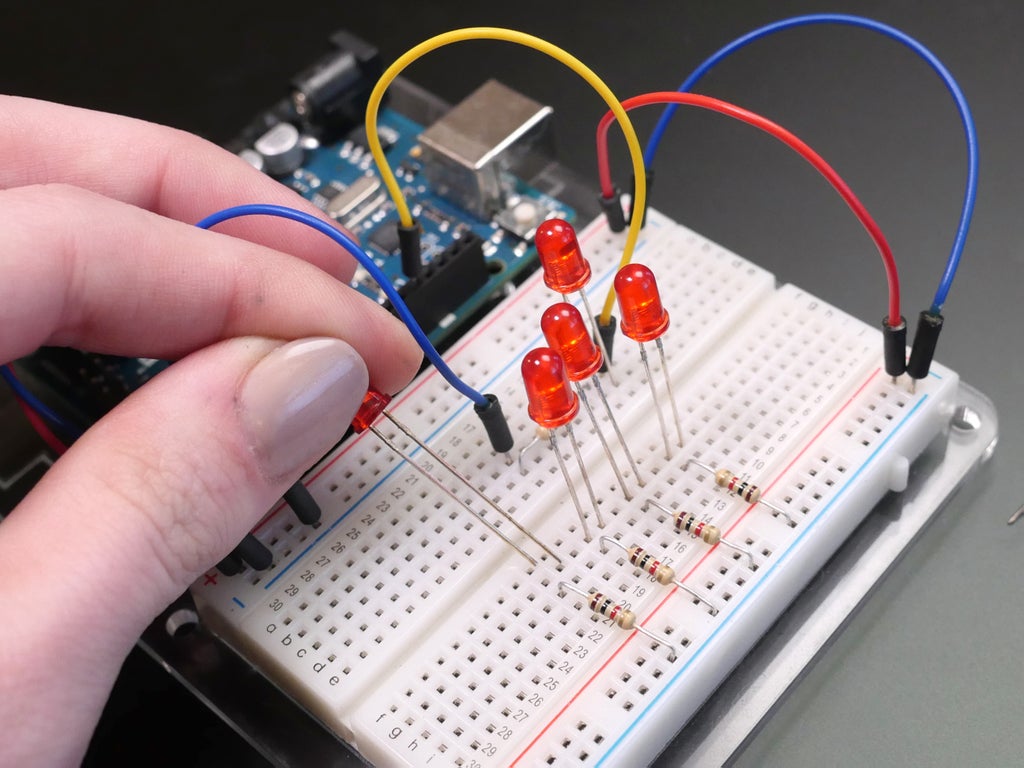
- Half-sized breadboard
- Breadboard wires
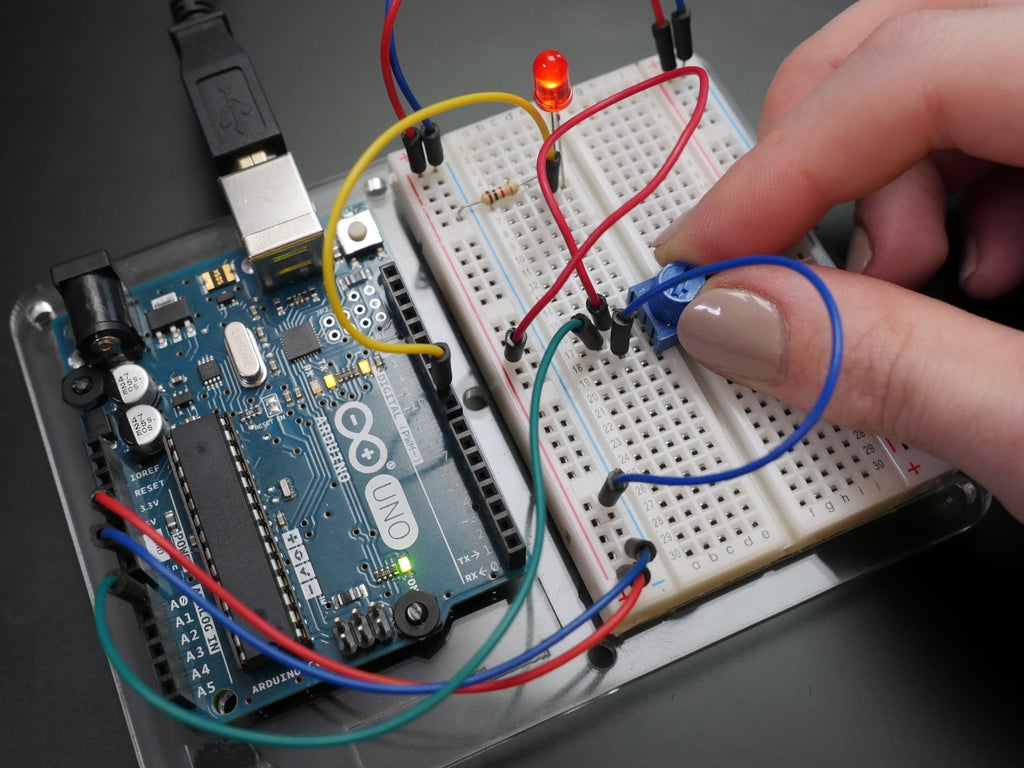
- 10K potentiometer
- 2 small pushbuttons
- 5 red diffused 5mm LEDs
- Bright red, green, and blue LEDs (one each or an RGB LED)
- 5 220-1K ohm resistors (all same value, any value within range OK)
- 5 10K ohm resistors
- Plastic mounting plate for breadboard and Arduino
- Small flathead screwdriver
- Small DC motor, PN2222 transistor, and 1N4001 diode
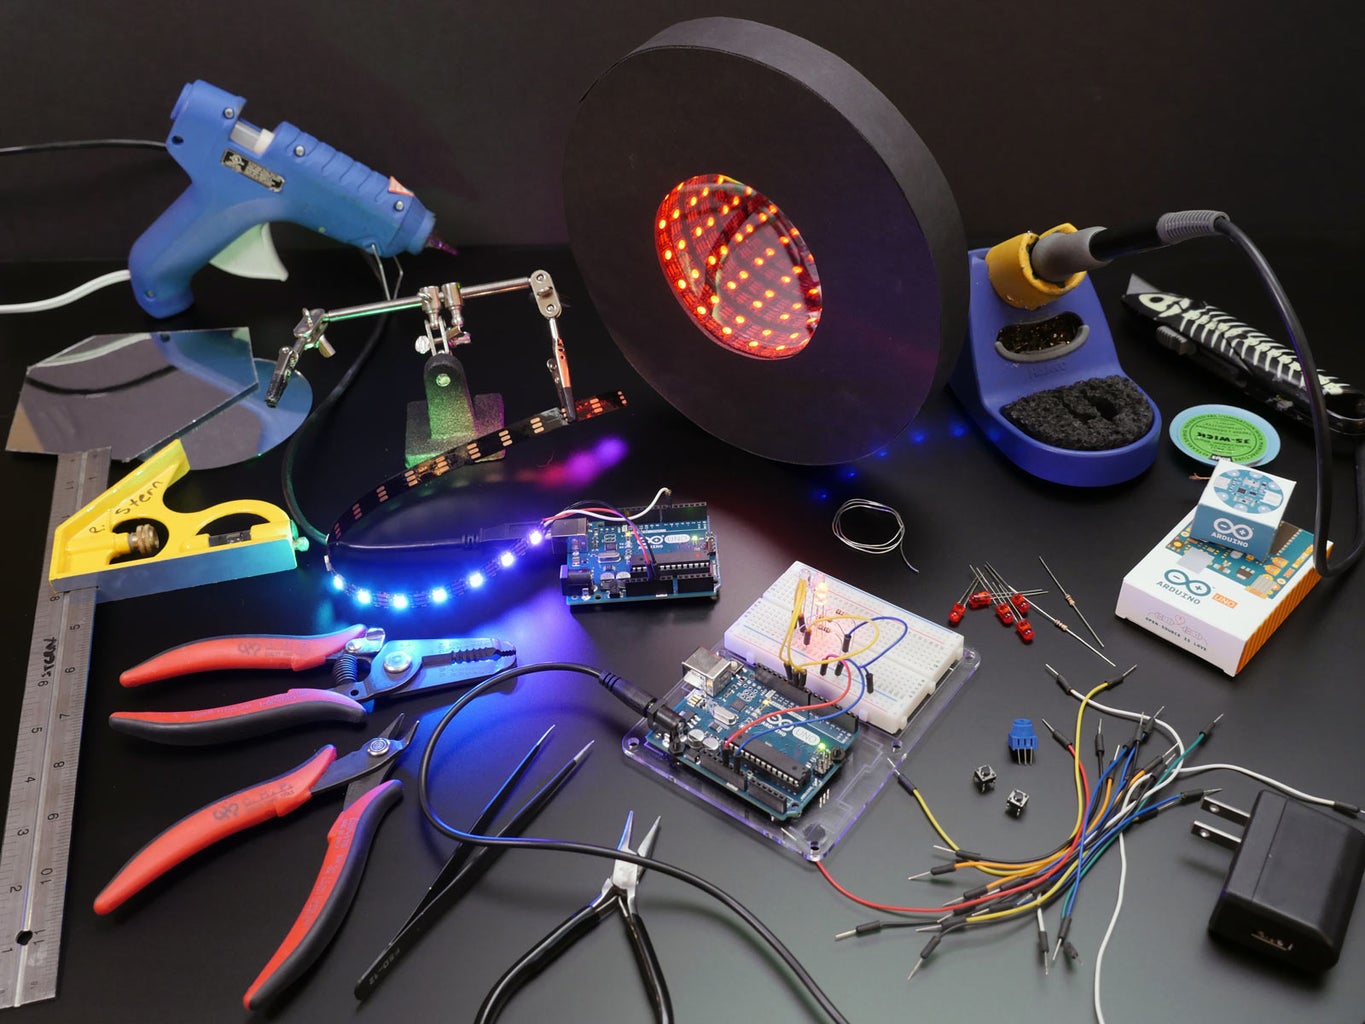
To complete the Skills Infusion lesson (here's a great toolkit with almost everything you need):
- Soldering iron and solder
- 1 meter of 60/m RGBW NeoPixel strip
- Small needlenose pliers
- Flush diagonal cutters
- Wire strippers
- Multimeter (optional but very handy)
- Tweezers
- Third hand tool
- Desoldering braid or solder sucker
Recommended vendors for Arduino components & accessories:
- Adafruit (& distributors) (worldwide)
- Arduino.cc store (worldwide)
Step 2: Understanding the Tools
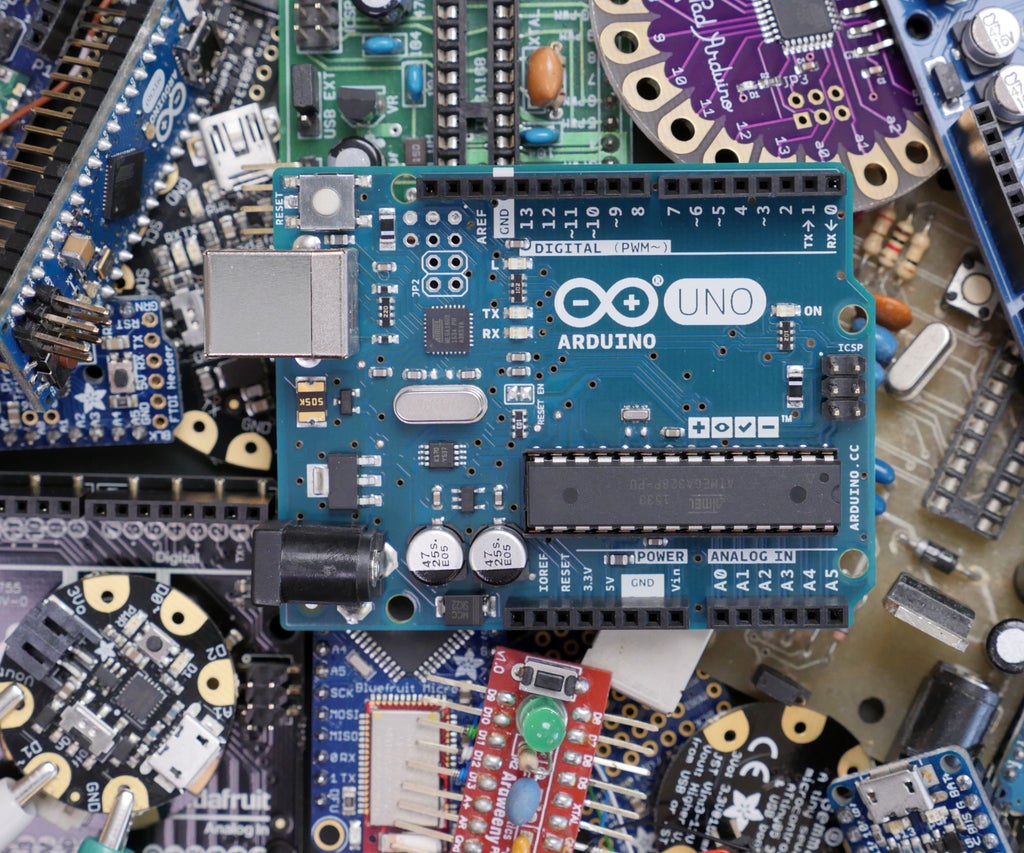
Arduino Uno - This board is built around the Atmega328 microcontroller, with supporting components to make it easy to connect up your own circuits. The Uno connects to your computer with a USB A to B cable, which is commonly used for printers (boxy connector). For this class, it is acceptable to use a compatible stand-in for the Arduino Uno, such as a Sparkfun RedBoard or Seeeduino V4.2, just make sure you have the right USB cable.
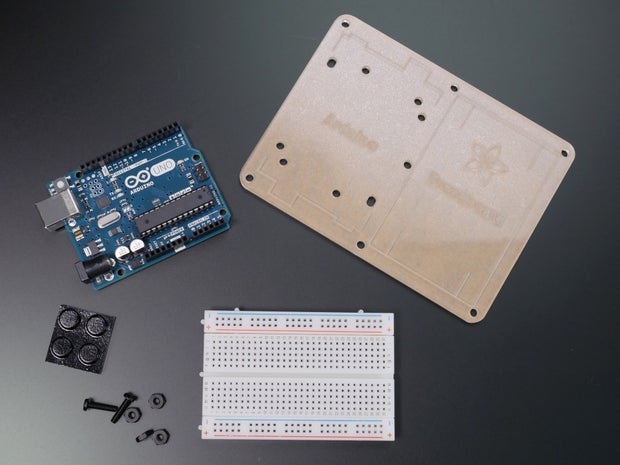
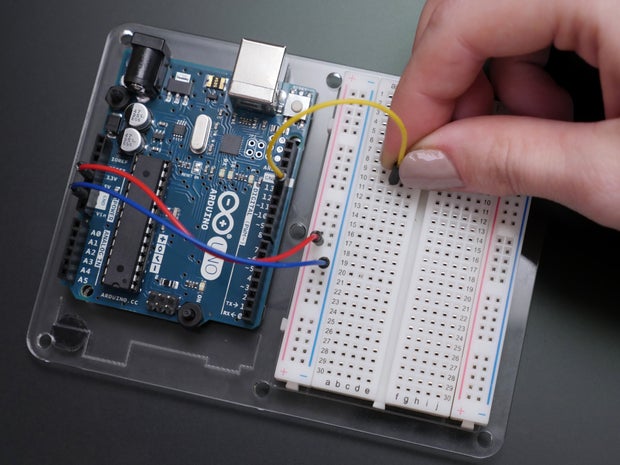
Solderless breadboard - This device has strips of metal inside and many holes that allow you to connect components quickly and easily. A mounting plate is recommended, to keep the breadboard and Arduino Uno together. You'll connect to the Arduino with wires (breadboard wires are great but you can also use solid core hookup wire).
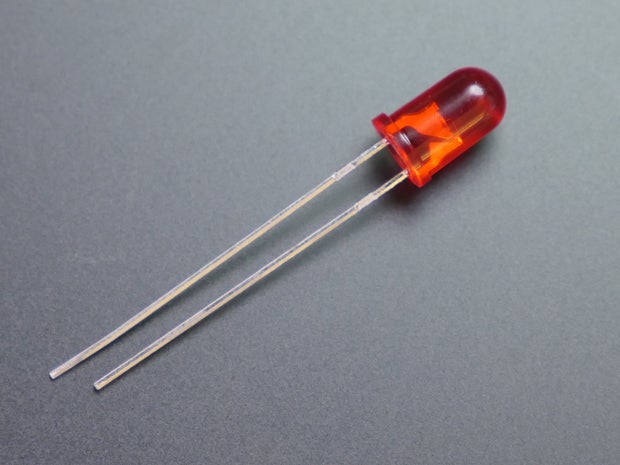
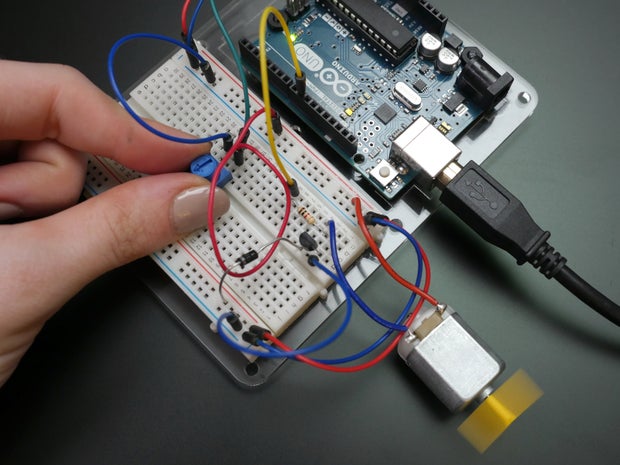
Electronic components - You'll create circuits by plugging LEDs and other components into your breadboard. This class introduces each new component with a basic exercise showing you how to wire it up and write an appropriate Arduino program. Components used: 5mm LEDs, resistors, a pushbutton switch, a potentiometer, and a small DC motor (with its own diode and transistor). Lessons cover the basics with an emphasis on writing code to interact with the components. For more in-depth information beyond what's covered here, please check out Randy Sarafan's Electronics class or LEDs & Lighting class.

Soldering tools - The Skills Infusion lesson teaches you how to connect wires to LED strip with a soldering iron, which heats the components enough to flow solder (an easy melting alloy) between them. Any basic iron will do! Wire strippers remove insulation to expose the conductor inside, pliers and tweezers help you position components, and a third hand tool helps keep everything steady. Flush snips do a great job trimming excess wires and component leads after soldering. Wear protective eyewear when soldering and clipping wires, and solder in a well-ventilated area.
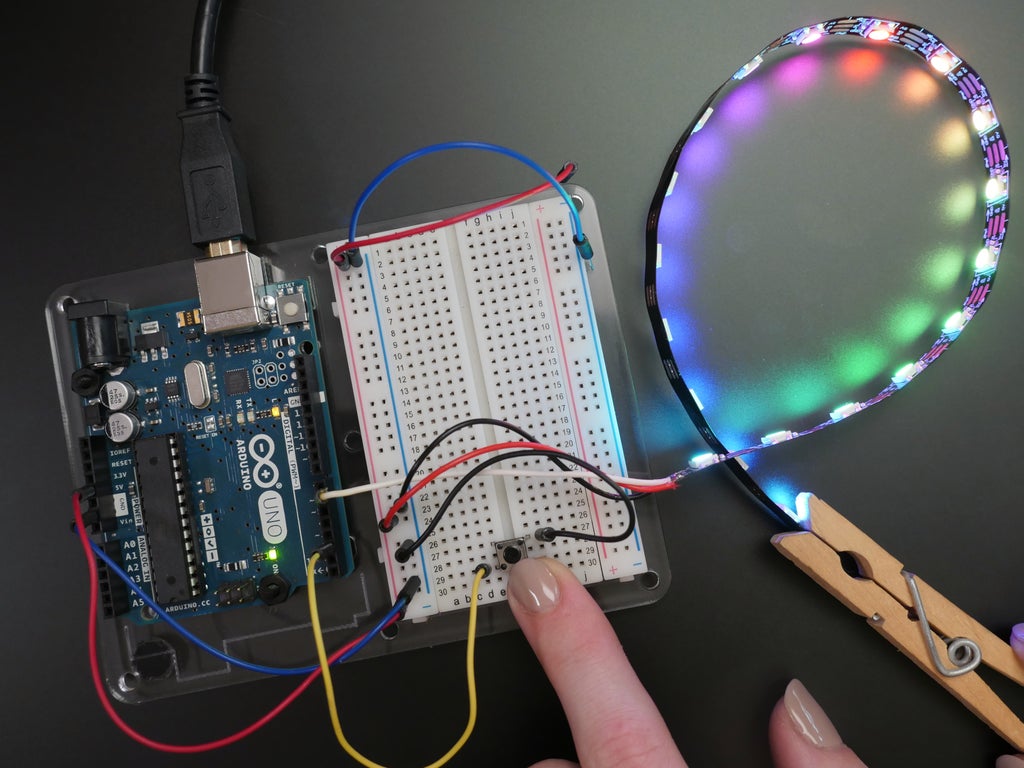
RGBW NeoPixel strip - This digitally addressable strip contains WS2812b chips controlling compound LEDs in red, green, blue, and white. NeoPixel is the Adafruit brand name but you can also find this strip by searching for "WS2812b RGBW strip" on your favorite supplier's site. The sample code provided in this class will not work with RGB (no white) strip, analog LED strip, or with any other kind of digital control chip (like APA104 aka DotStar).
Step 3: Software Setup
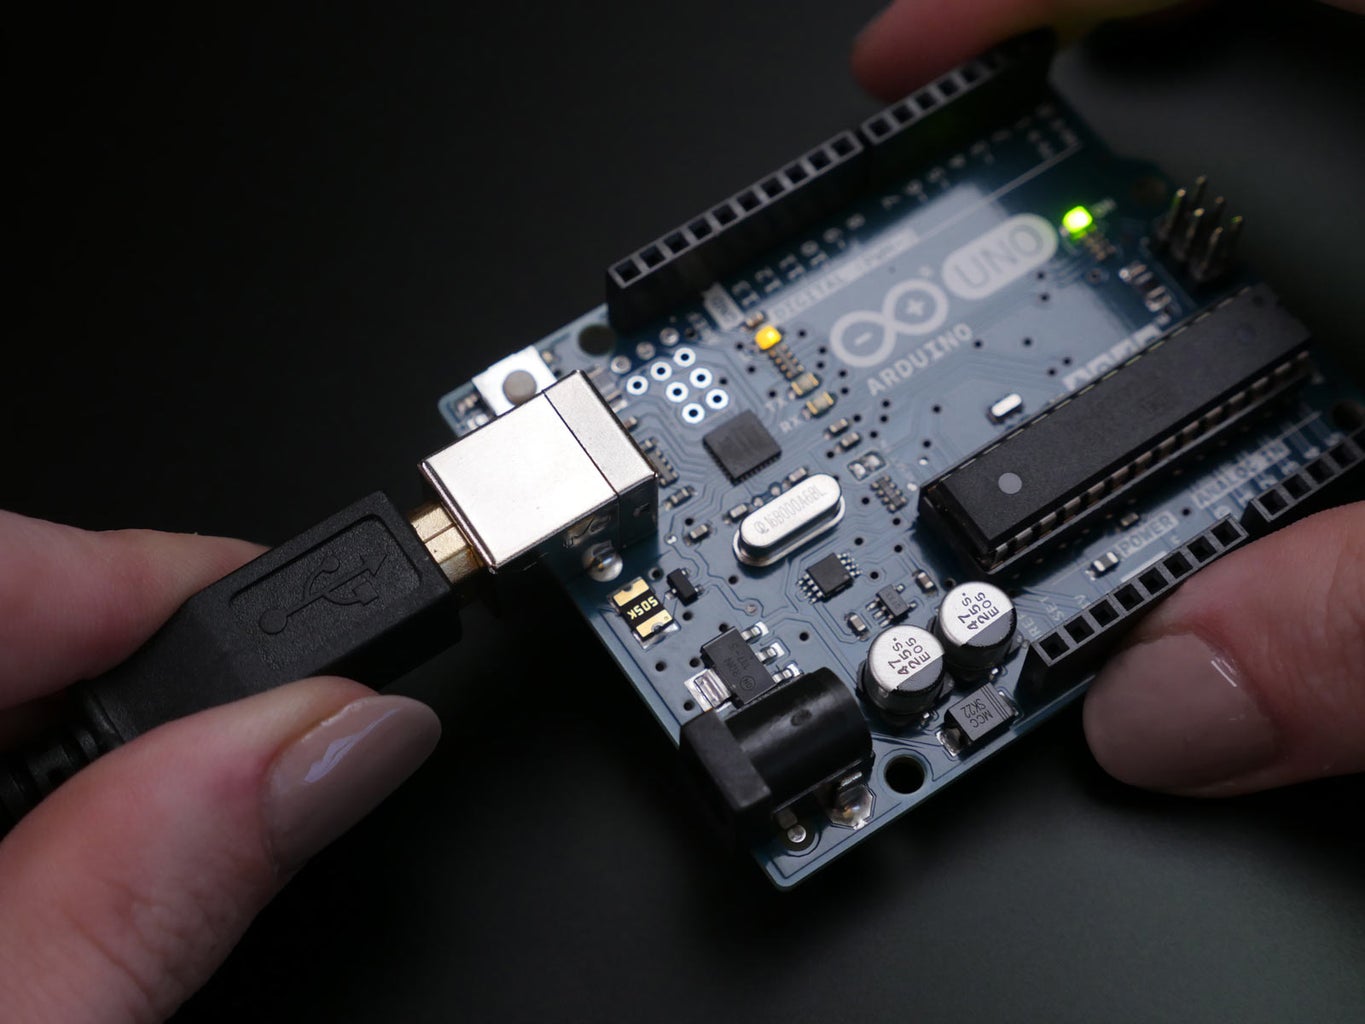
The Arduino IDE (software for composing code and sending it to your board) runs on Windows, Mac OS X, and Linux. Head to the download page and click the option that best describes your system. While the software is downloading, connect your Arduino board to your computer with a USB A to B cable (flat to boxy, typically used for printers). The green LED next to the label ON should turn on, and the orange LED next to the label L should begin blinking.
Depending on your operating system, your software installation procedure will vary. On Windows, run the installer, which will also install the necessary drivers (provided your Arduino board is plugged in). On OS X, drag the Arduino app into your Applications folder (no drivers necessary). For more help with Windows if the installation doesn't go smoothly, refer to Arduino's detailed instructions. If you prefer not to download software, most of the class can also be completed using the Arduino Web Editor.

Open the Arduino application and load up the first code example by selecting File -> Examples -> 01.Basics -> Blink.

Next it's time to tell the software what kind of Arduino board we intend to program. Select Tools -> Board -> Arduino/Genuino Uno.

Then we need to select the communication port connected to the Arduino board. Select Tools -> Port, then whichever port name is labeled "(Arduino/Genuino Uno)." If none of your ports are labeled, try unplugging your board, checking the Ports menu, then replugging your board and checking the Ports menu again. Whichever port name disappears then reappears is likely to be your Arduino board. On Windows your port will likely be called "COM3" (or higher numbers) and on OS X it's likely to be something like "/dev/cu.usbmodem1461."
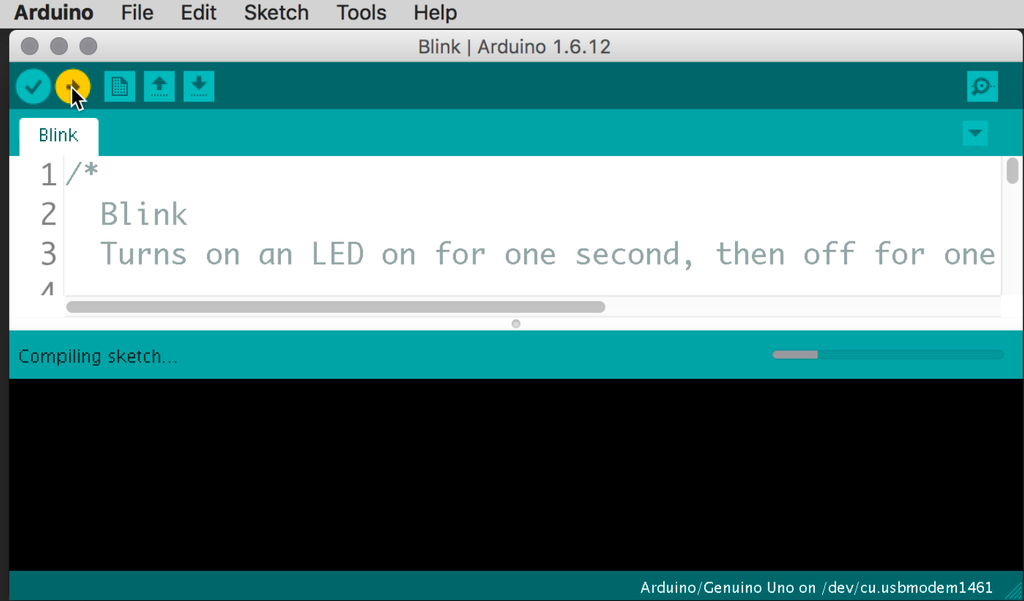
Now click the Upload button to transfer the Blink example code to the Arduino board. The LEDs labeled RX and TX will flash, and the software will show a message "Done uploading." Moments later the LED labeled L will begin blinking as it did when you first plugged it in.

Congratulations, you're ready to begin the next lesson, where we'll dig into the code you just uploaded, as well as build your first few LED circuits and discover how to control them using basic Arduino programming concepts.
If your port doesn't appear, or you get an error when trying to upload, refer to Arduino's detailed troubleshooting guide, which covers many other common issues.
Step 4: Arduino History
The origin story of Arduino is long and complicated, with more characters than Game of Thrones. I'll attempt to summarize it here, with a focus on the evolution of the hardware and community.
In the early 2000s, students and professors at the Interaction Design Institute Ivrea (IDII) in Italy developed a new microcontroller board for use specifically by artists and designers. They held workshops and seminars using the boards throughout different iterations, which were programmed using Wiring, a creative coding platform developed by Hernando Barragán. Wiring easily allowed creators to program microcontrollers by providing a supportive software environment, a bootloader for easily uploading programs to the board, and a comprehensive online reference including add-on libraries and forums.
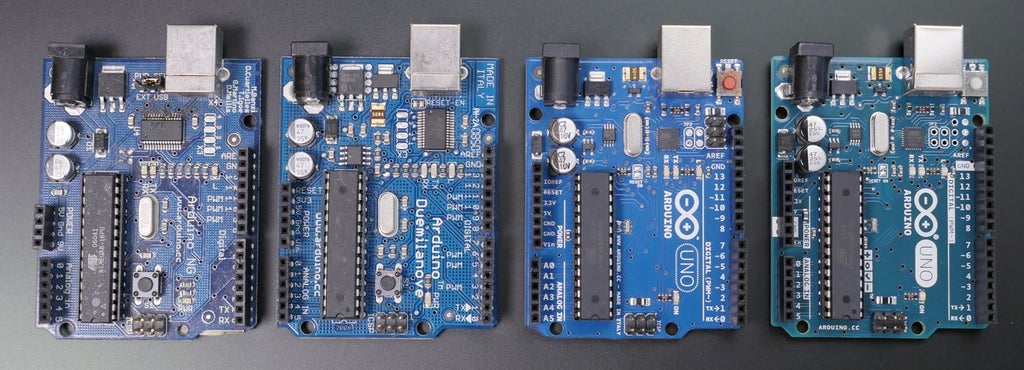
Some other members of IDII partnered with a manufacturer to develop a version of the hardware that used an Atmega8 microcontroller, and Arduino was born. The original Arduino team members' names can be found on the Arduino NG board pictured above: Massimo Banzi, David Cuartielles, Tom Igoe, Gianluca Martino, and David Mellis.
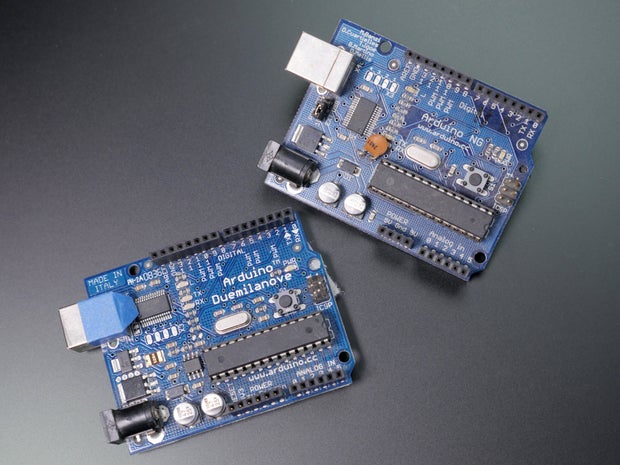
The Arduino Uno we'll use in this class is the flagship development board of the Arduino brand, and it is the latest iteration in a long line of boards with a mission to make it easier for non-engineers to use.
Features accrued over time, and DIY upgrade tutorials also were published, when applicable. I recall hand-soldering a capacitor to two pads on my Arduino NG in order to take advantage of a new Diecimila update. The pin layout was consistent between boards (with some more pins added in later models) so that add-on shields could be backwards compatible. There's a full chronology about the board that became the Uno on the Arduino site.
Other boards with specialized functions have been released in the Arduino product line. Need more inputs and outputs? Use an Arduino Mega. Want a smaller circuit board and USB keyboard functionality? Use an Arduino Micro. And so forth. Official Arduino boards are all natively supported by the Arduino software.
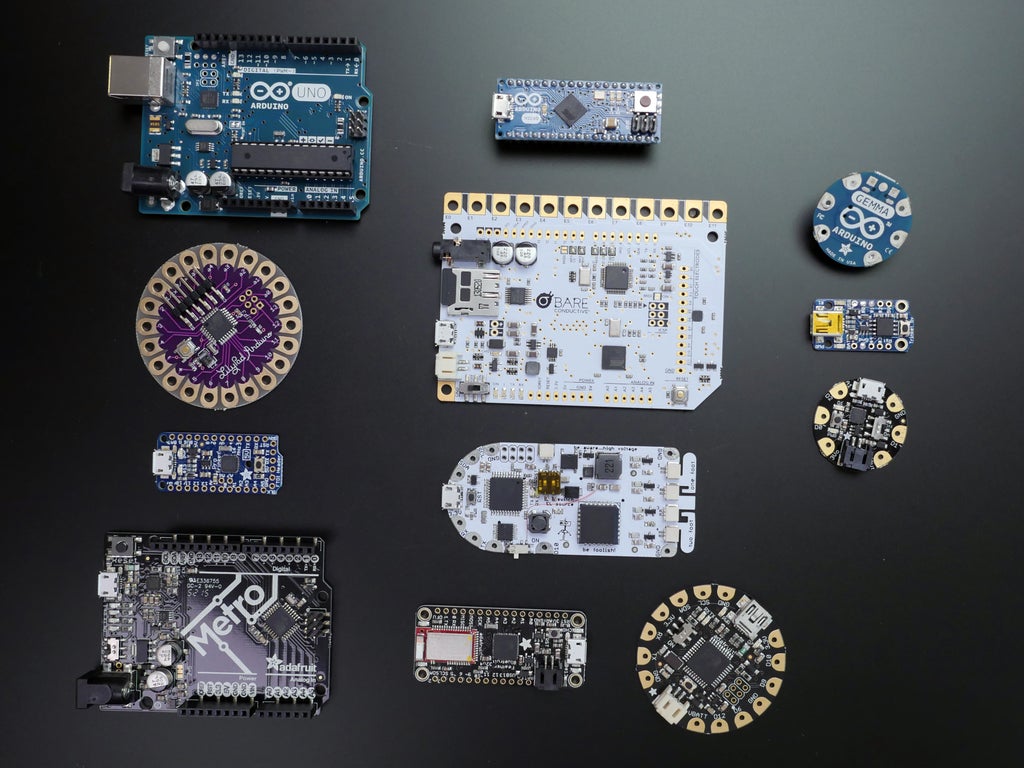
For the enthusiast, it's possible to develop your own hardware that works with the Arduino software, too. Because Arduino is an ecosystem of open source hardware and software, it's possible to develop your own hardware that works with the Arduino software. It is also possible to build on the circuit to create a version to suit a more specific function, and manufacture and sell those designs. Because the plans have been freely available online, you'll see hundreds of Arduino-compatible boards designed by corporations and individuals alike, ranging wildly in function and complexity. Some are designed to be pin-compatible with the Arduino Uno, like the Sparkfun Redboard or Adafruit Metro. More compact boards for building tidy small circuits like the Pro Trinket and Pro Mini make it easy to translate your breadboard prototype to a finished project. Complex boards like the Huzzah (wifi), Touch Board (capacitive touch + audio playback), and Circuit Playground (beginner lessons baked into the board) empower beginners to accomplish very sophisticated projects with ease.
Arduino Class Table of Contents:


