

Introduction: Tying Off to Finish Sewing


The way you tie off when you're done sewing a seam (or when you've come to the end of your thread) is very important to the the durability of your work!
In this lesson, I'll show you how to tie off both with and without knots, as well as a nice way to hide thread ends when sewing on felt.
These ways of tying off are primarily used with running and back stitches. Other stitches have their own ways of being tied off - I'll cover that when we get to them!
Step 1: Tying Off With a Double Threaded Needle

This is the absolute easiest way to tie off. It may also be one of the major reasons I almost always sew with doubled thread. :D
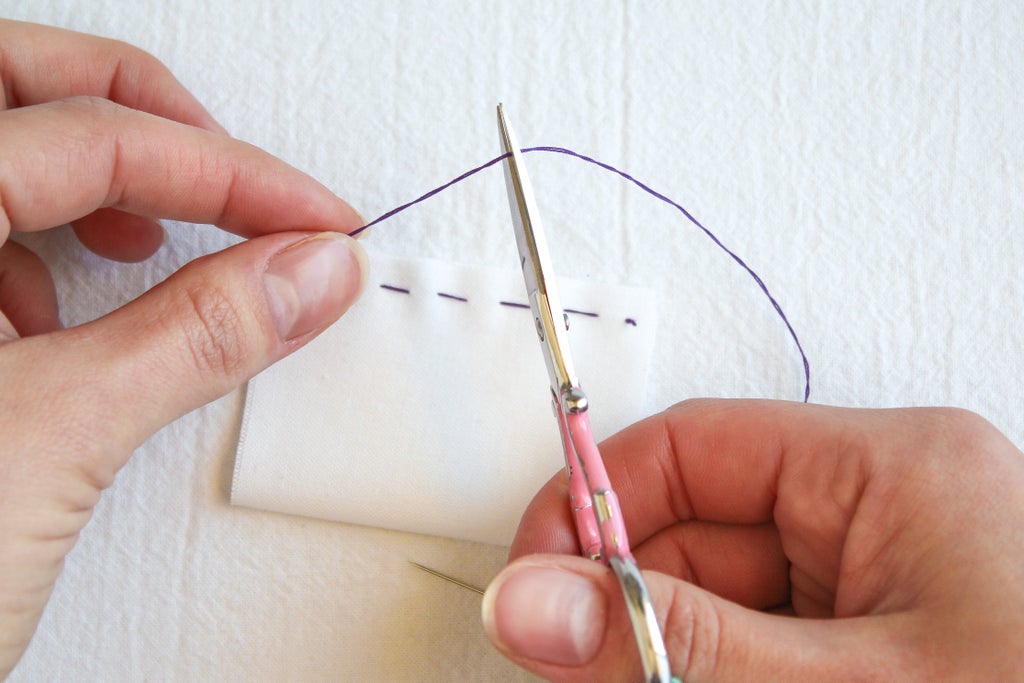
Cut the thread right below the needle and tie the two halves together. If you've got loads of thread left, just leave a tail of 2-3 inches to make tying the knot easier.
I normally do three knots. My gram did too. I have no real reason for this except that three feels like the best number.
When you knot, tighten the first knot right down to the fabric but no further! If you pull the first knot too hard you can make the stitches too tight which will lead to the fabric puckering. After the first knot, you're safe to tie really tight knots!

Step 2: Tying Off With a Single Threaded Needle by Knotting

Tying a knot this way can be a little tricky for beginners, but with a little practice it'll become easy!
The best way to make this easier on yourself is to leave enough thread to tie a knot. Always stop sewing with about three inches of thread to spare until you get good at making knots.
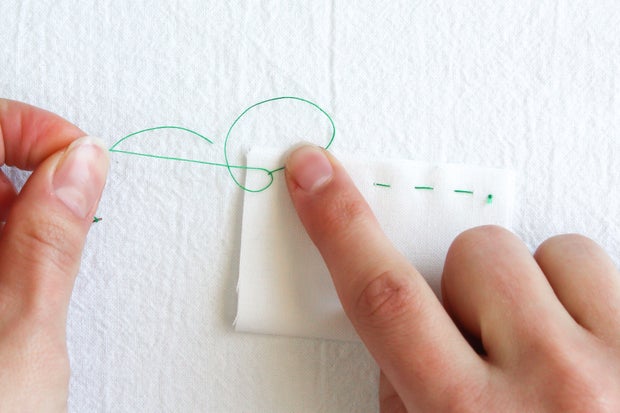
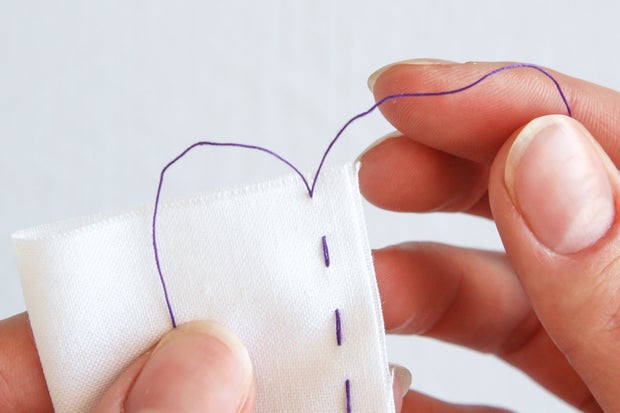
Loop the thread to make a knot, but instead of just pulling the thread into a knot immediately, place your finger on top of the thread to hold it down against the fabric near where you want the knot to end up.

Holding the knot in place while tightening.
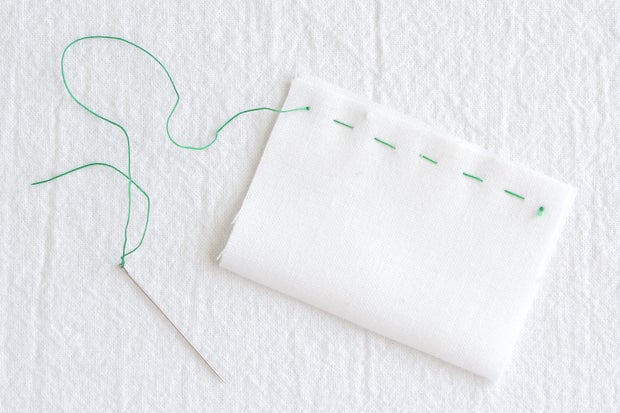
A tiny, perfect knot!
Keep pulling on the thread end as you hold the loop down - it will get smaller and smaller until it eventually becomes a knot! Use your fingers to guide the knot into the right place.

Trim the excess thread and viola! You're done. :D
Step 3: Tying Off With a Double or Single Threaded Needle Without a Knot

This is a really fantastic trick to tie off without knotting! You can even use this trick to anchor your thread before you start sewing.
I don't use this very often (simply because I tend to go onto autopilot and sew the way I was taught) but it is a strong and reliable way to secure your stitching. :D
This way of anchoring the thread can be a bit more visible than a knot when the seam is pulled flat, so try to keep this style of tying off slightly in the seam allowance if you can!
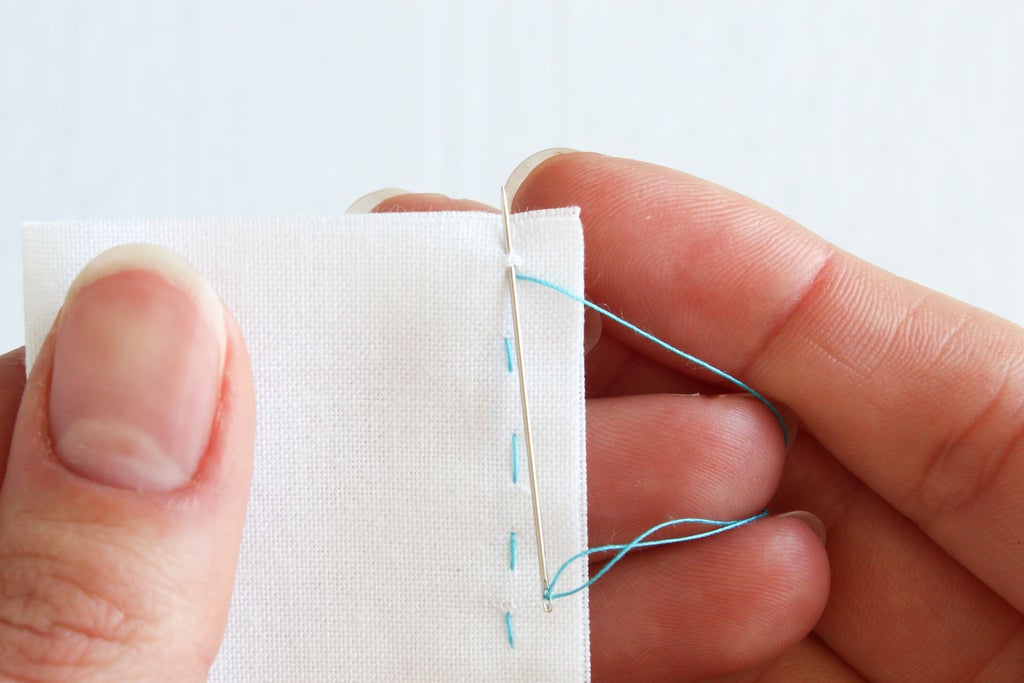
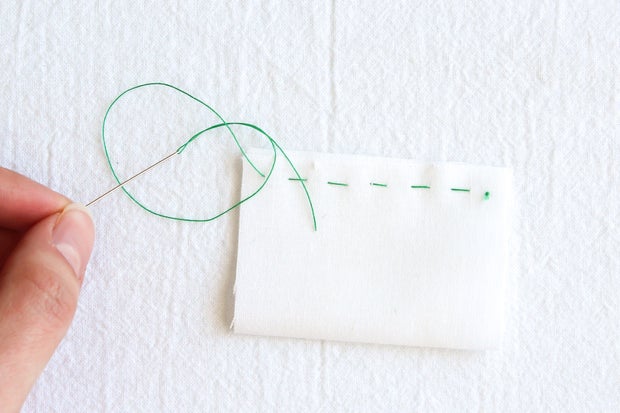
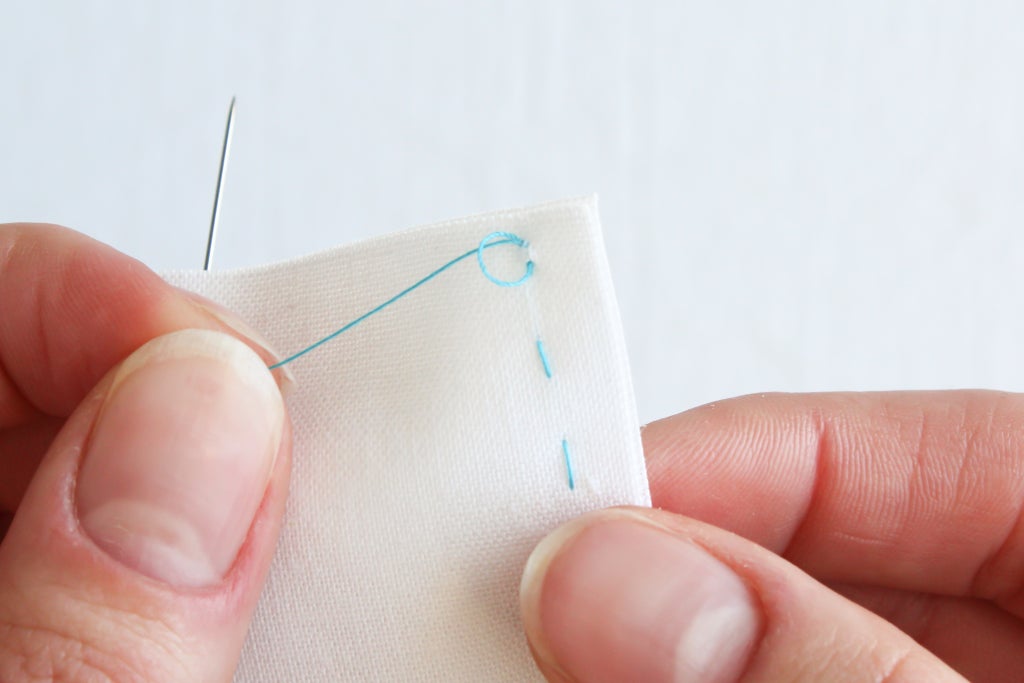
At the end of your line of stitching, make a very tiny stitch (this stitch should go through both layers of fabric!) and pull the thread through.
Now reinsert the needle and put it through the same stitch.

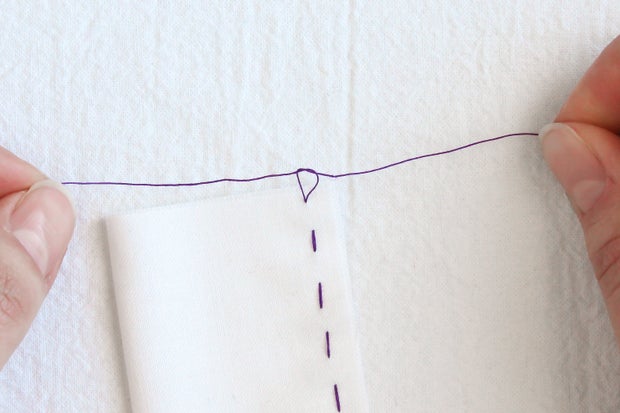
Pull gently on the thread and you'll see a loop forming.
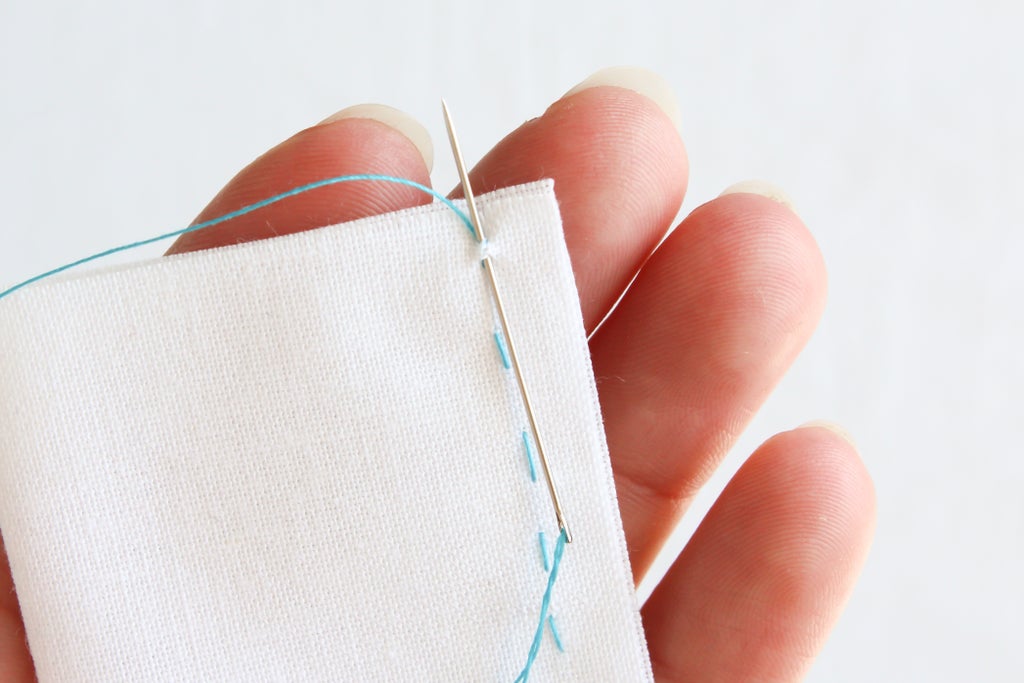
Pass your needle through the loop and begin to pull.
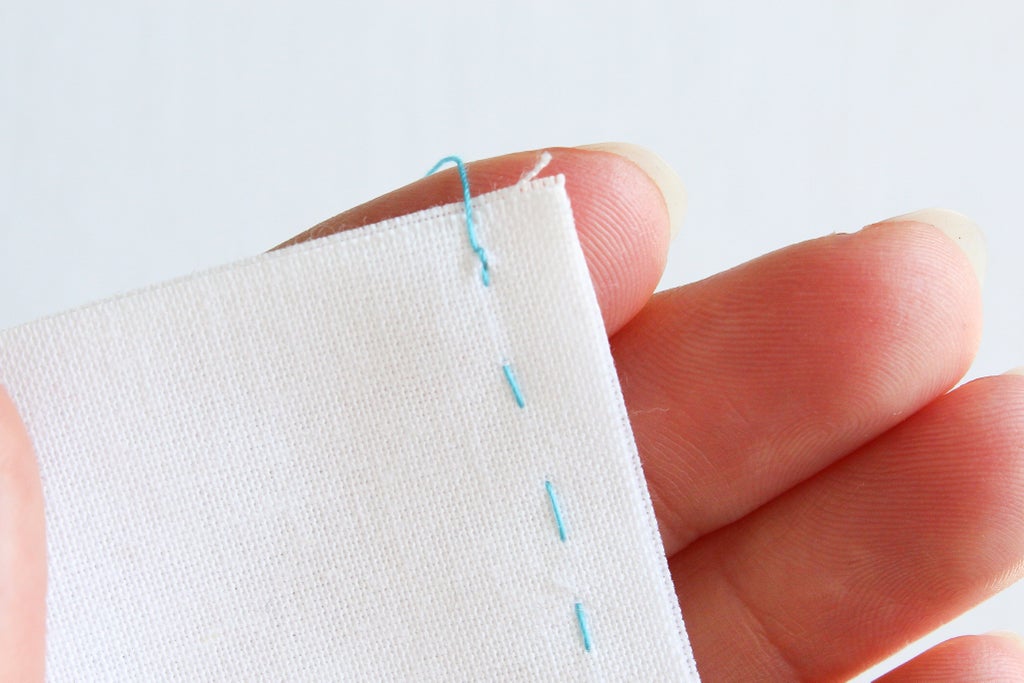
Keep pulling until the loop entirely flattens out. Cut off the tail end and you're done!

Step 4: Tying Off on Felt

When you tie off on felt, you'll want to hide the thread end. The majority of the time you sew with felt you'll be sewing where the stitches will be visible!
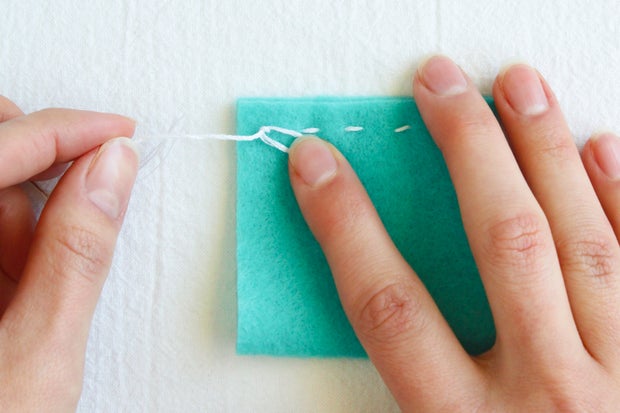
Tie a regular old knot (like the one I showed using a single thread) and butt the knot up against the felt as best you can.
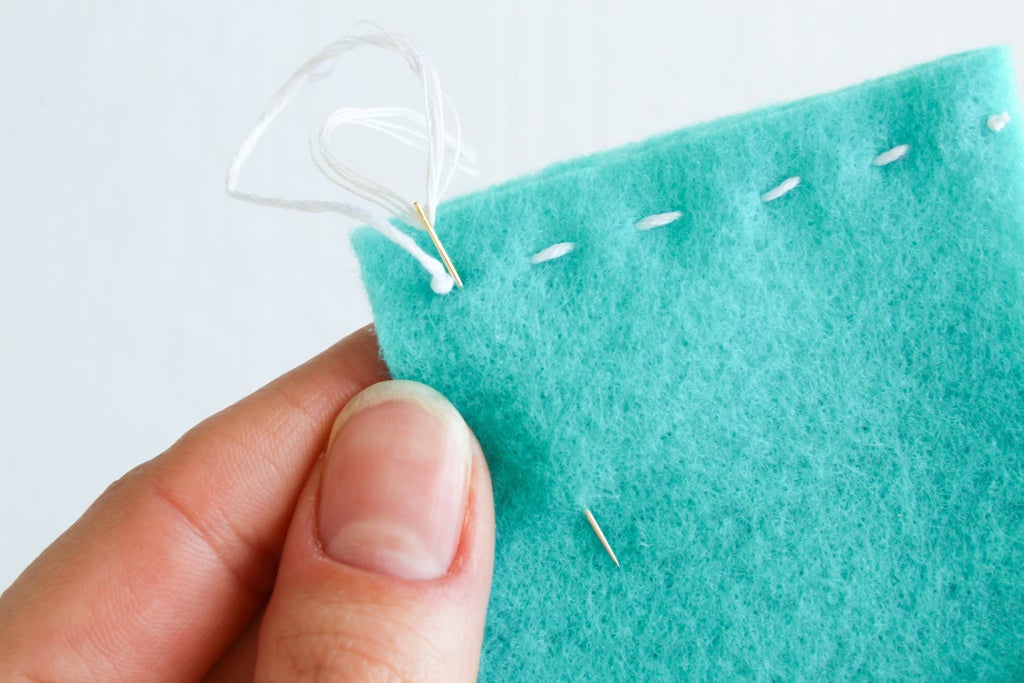
Insert the needle next to the knot and bring it back out in the middle of the felt. Make sure the needle is between the two layers of felt!
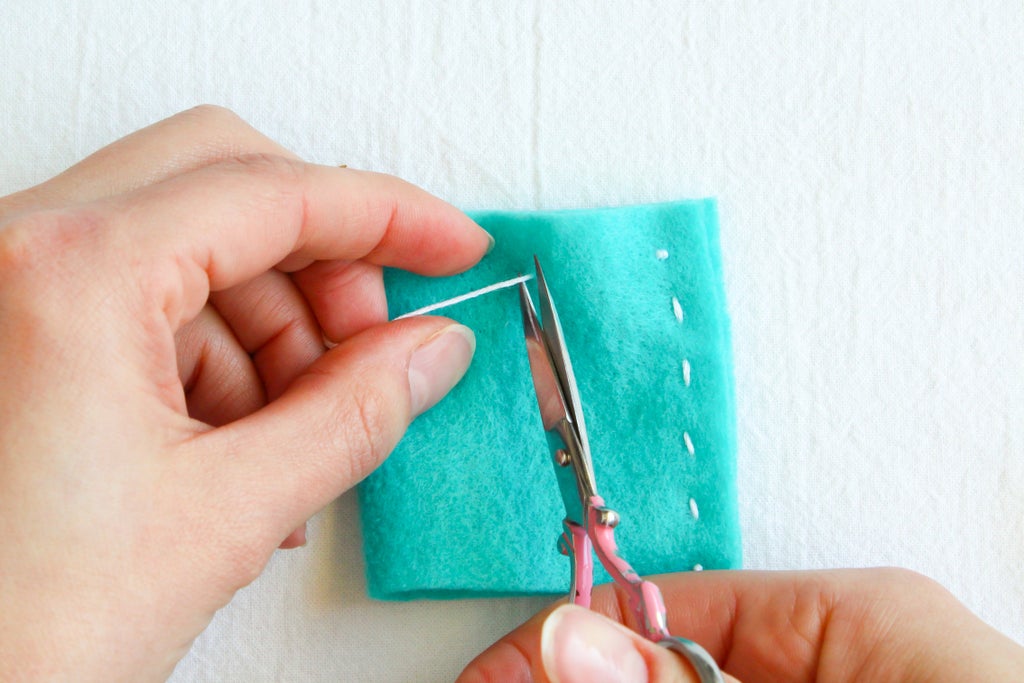
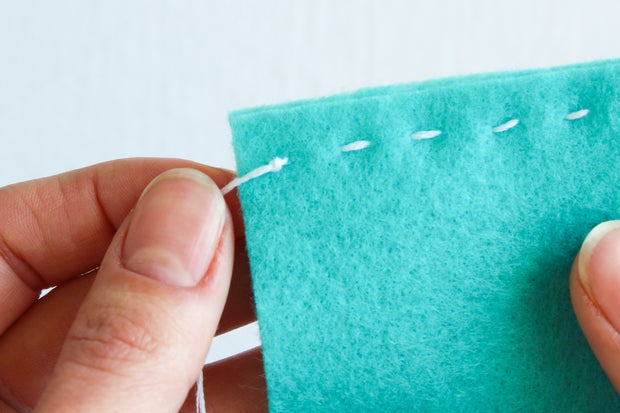
Pull on the thread end to tighten it and snip it with scissors.

Let go of the thread end and it'll shrink back inside the felt. BOOM! Hidden thread ends and a nice neat knot.
Now that we've covered threading the needle, knotting the thread and tying off, let's learn about pressing, pinning and cutting fabrics!


