

Introduction: Arduino Based Industrial Automation || VFD (Variable Frequency Drives)


In this instructable, I will show you how to make
1. Custom designed Arduino board for Industrial Automation
2. How to control VFD[Variable Frequency Drives] using Arduino
3. How to design motherboard for DigiCone MDF Winding Machine
What things you will need:
- Copper - clad board (Single Layer)
- Ferric Chloride (FeCl3)
- Acetone (Nail polish remover)
- Glossy Paper
- LASER Printer
- Marker Pen
- Scissors
- Plastic container
- Sandpaper
- Safety gloves
- Latex gloves
- Saw - For copper board cuttingLaminator or iron
- VFD - Variable Frequency Drives ( I'm Using Delta and L&T VFD)
Let's Do it...
Step 1: Designing of the Motherboard for the Winding Machine (DigiCone MDF Winding Machine)

Design schematic diagram in EDA tool (PCB Design Software).
List of EDA Tools (PCB Design Software):
- DipTrace
- EAGLE PCB Design
- Kicad EDA
- Express PCB
- Proteus PCB Design & Simulation software
- Altium Designer
- NI Multisim
You can select any one of them.
I prefer EAGLE PCB Design Software. After designing the schematic diagram, Now start designing of PCB Layout in the Eagle EDA tool (PCB Design Software). After that Take print out of PCB Layout on glossy paper.
Note: Use Only LASER printer only & Scale Factor set to 1.
Step 2: Toner Transfer Method for PCB Making

Use an iron to transfer the toner on the glossy paper to the PCB. Make sure your copper board is as clean as possible. Now start ironing on the copper board(Approximate 2 to 5 Minutes).
For the toner transfer method, the required temperature is 210 C (410 F). So set the iron temperature to its maximum value. After ironing, Now start peeling off the paper with tap water.
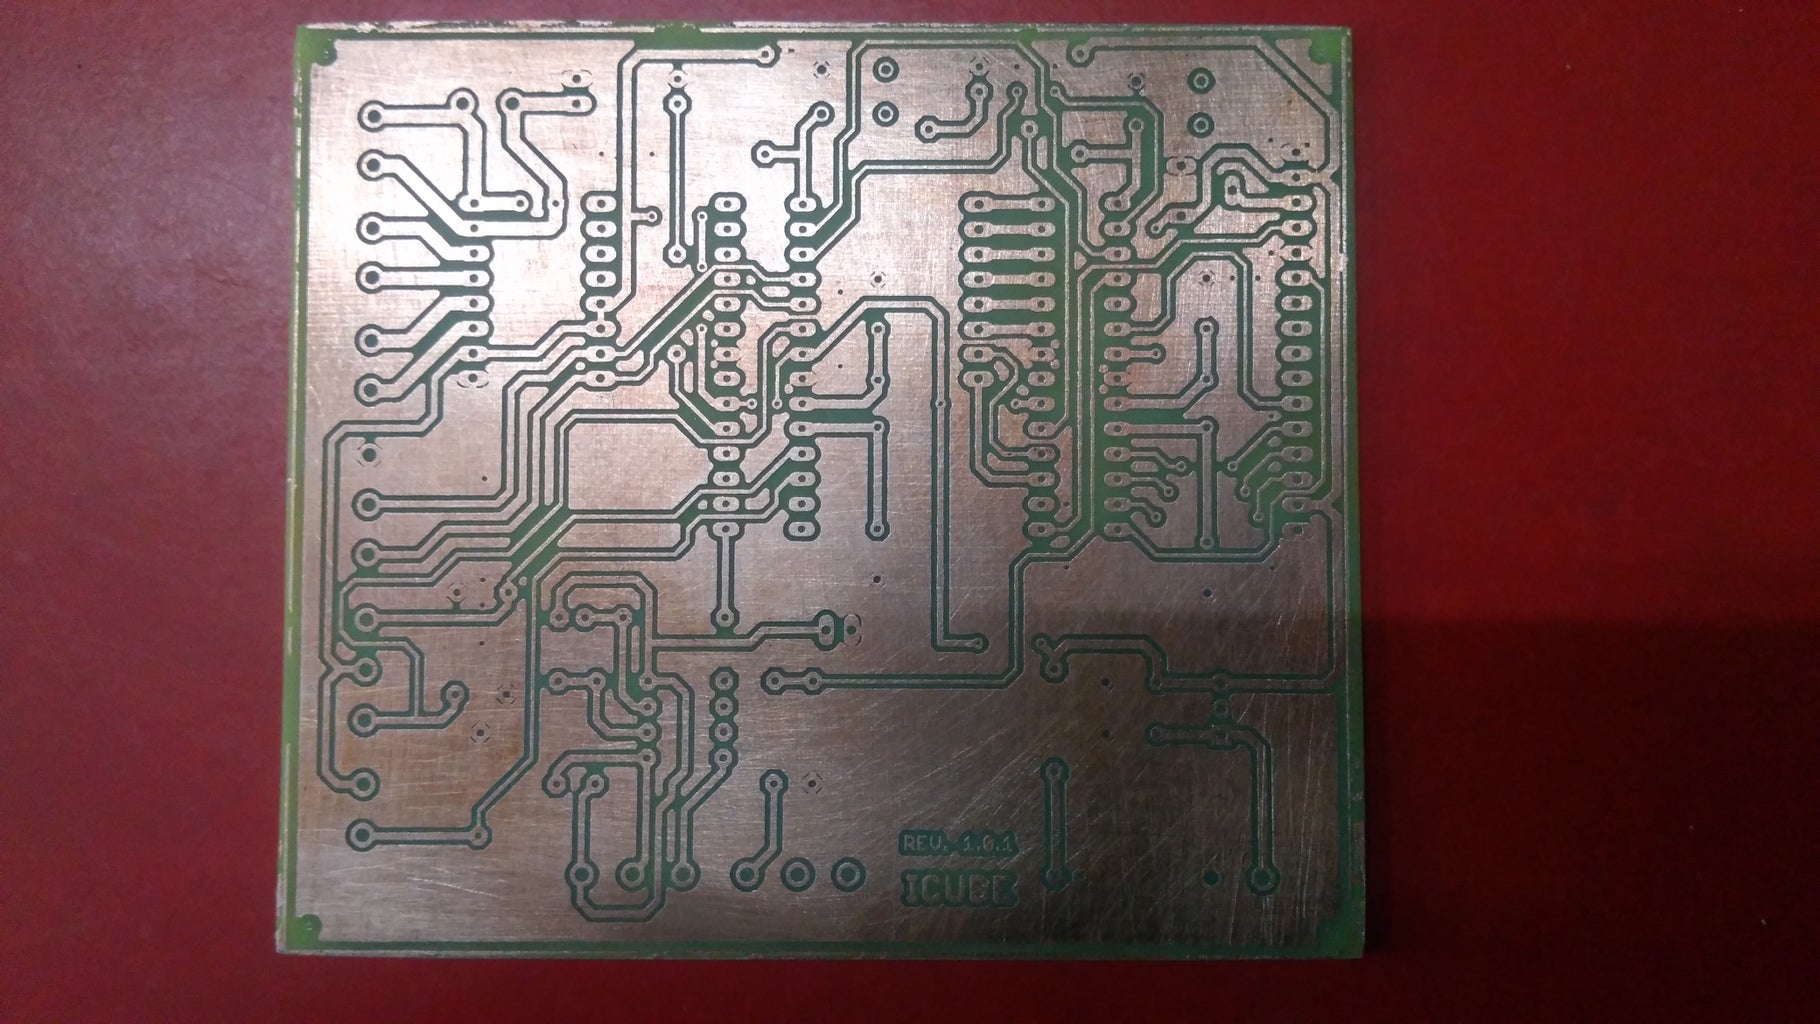
Step 3: Etching Process


Before you start etching, check all the tracks. If any track broken, use the permanent marker pen to draw a track with carefully. Use ferric chloride (FeCl3) as etchant. Get you ferric chloride(FeCl3) powder and mix with water in your plastic container. Now start to etching of PCB.
After the etching process, use the acetone to clean it.
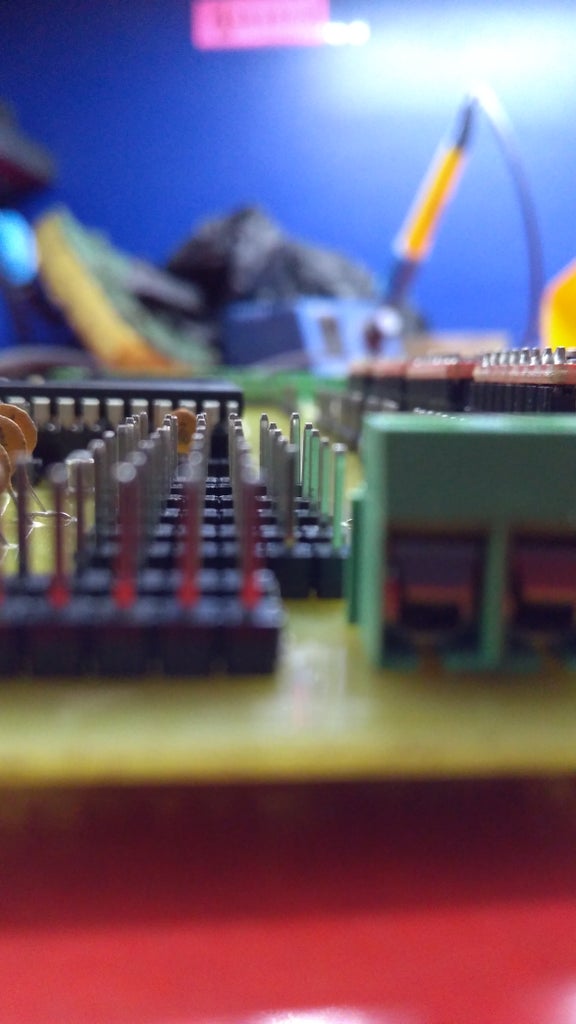
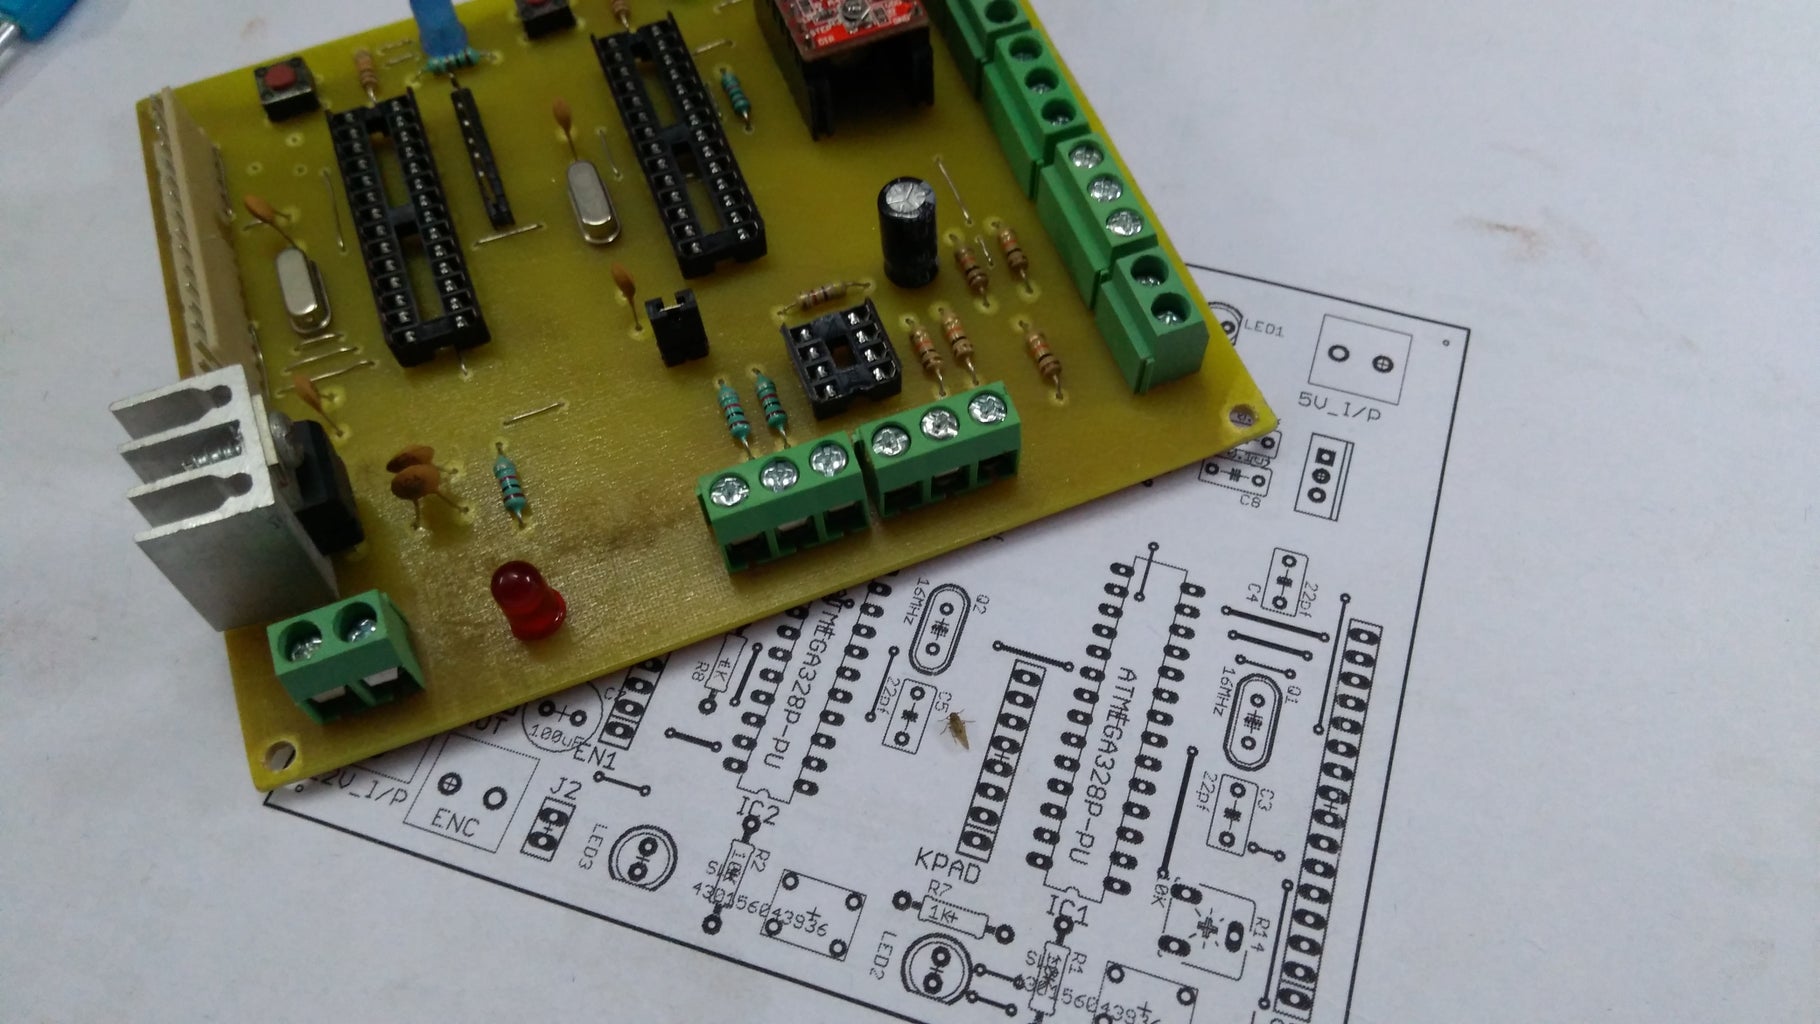
Step 4: Drilling Process & Soldering Process


After cleaning of PCB. Now start drilling of copper board. After Drilling, Start soldering process
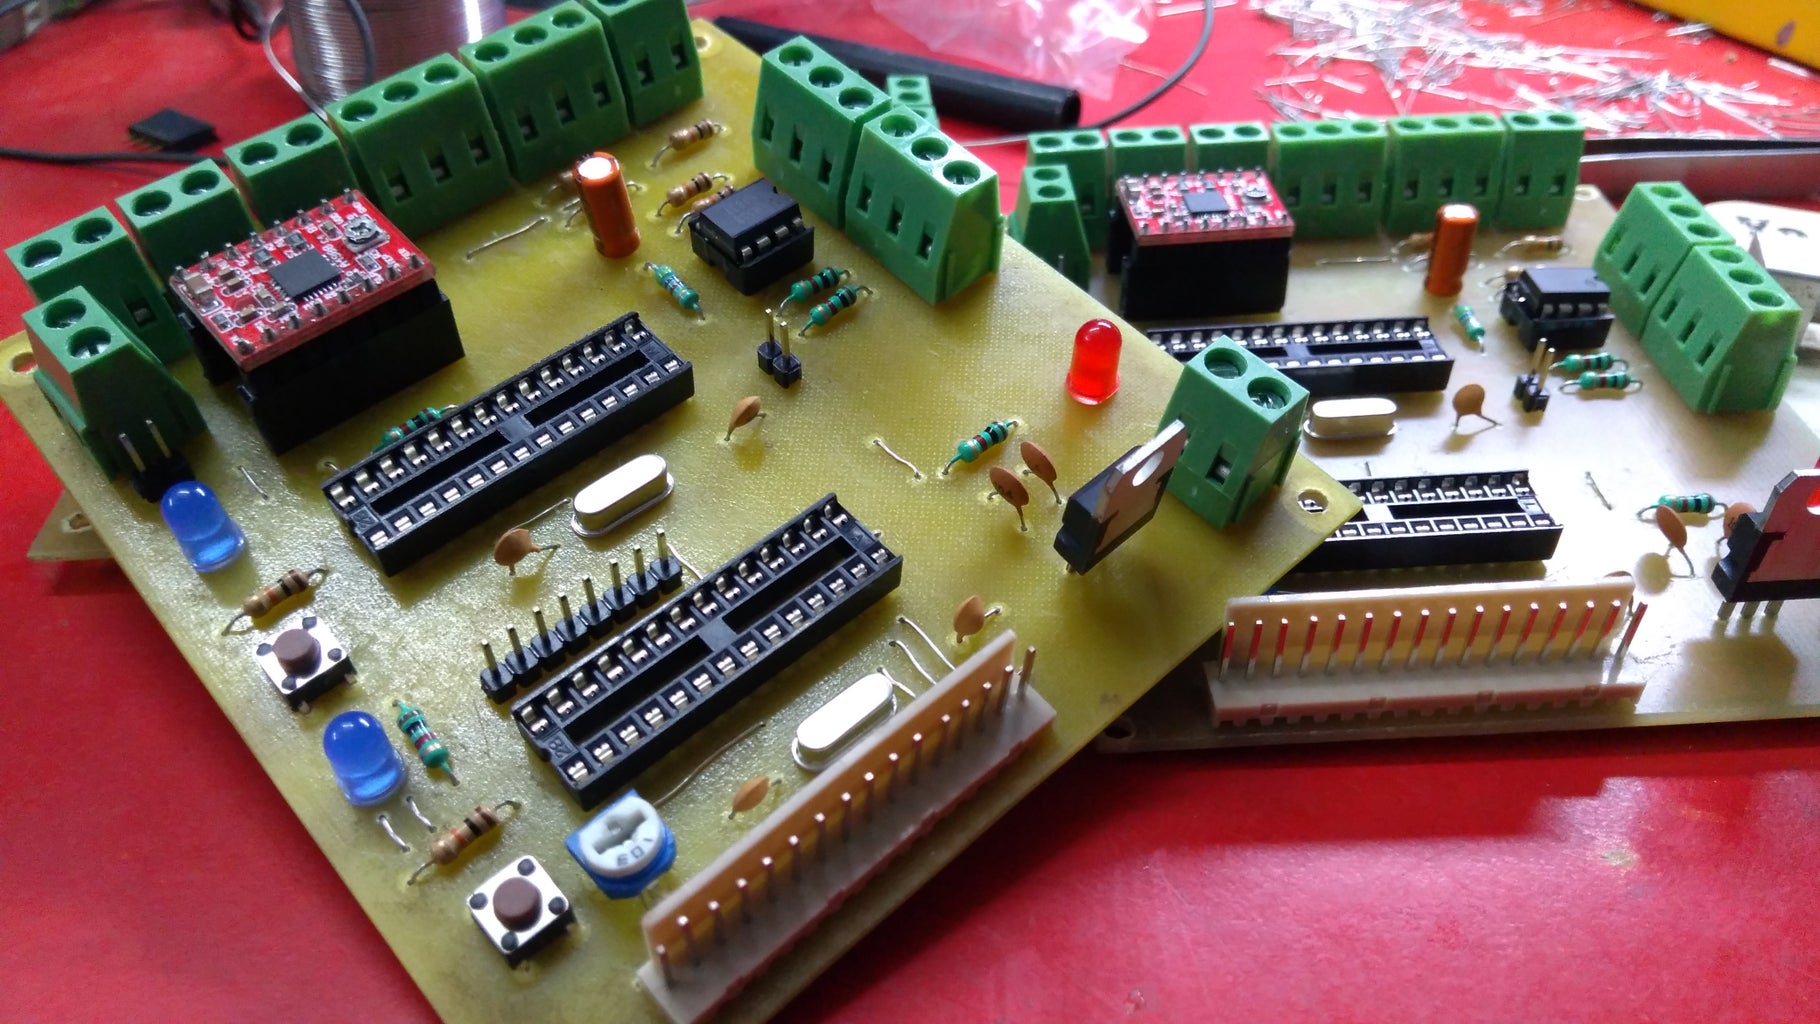
Step 5: After Soldering


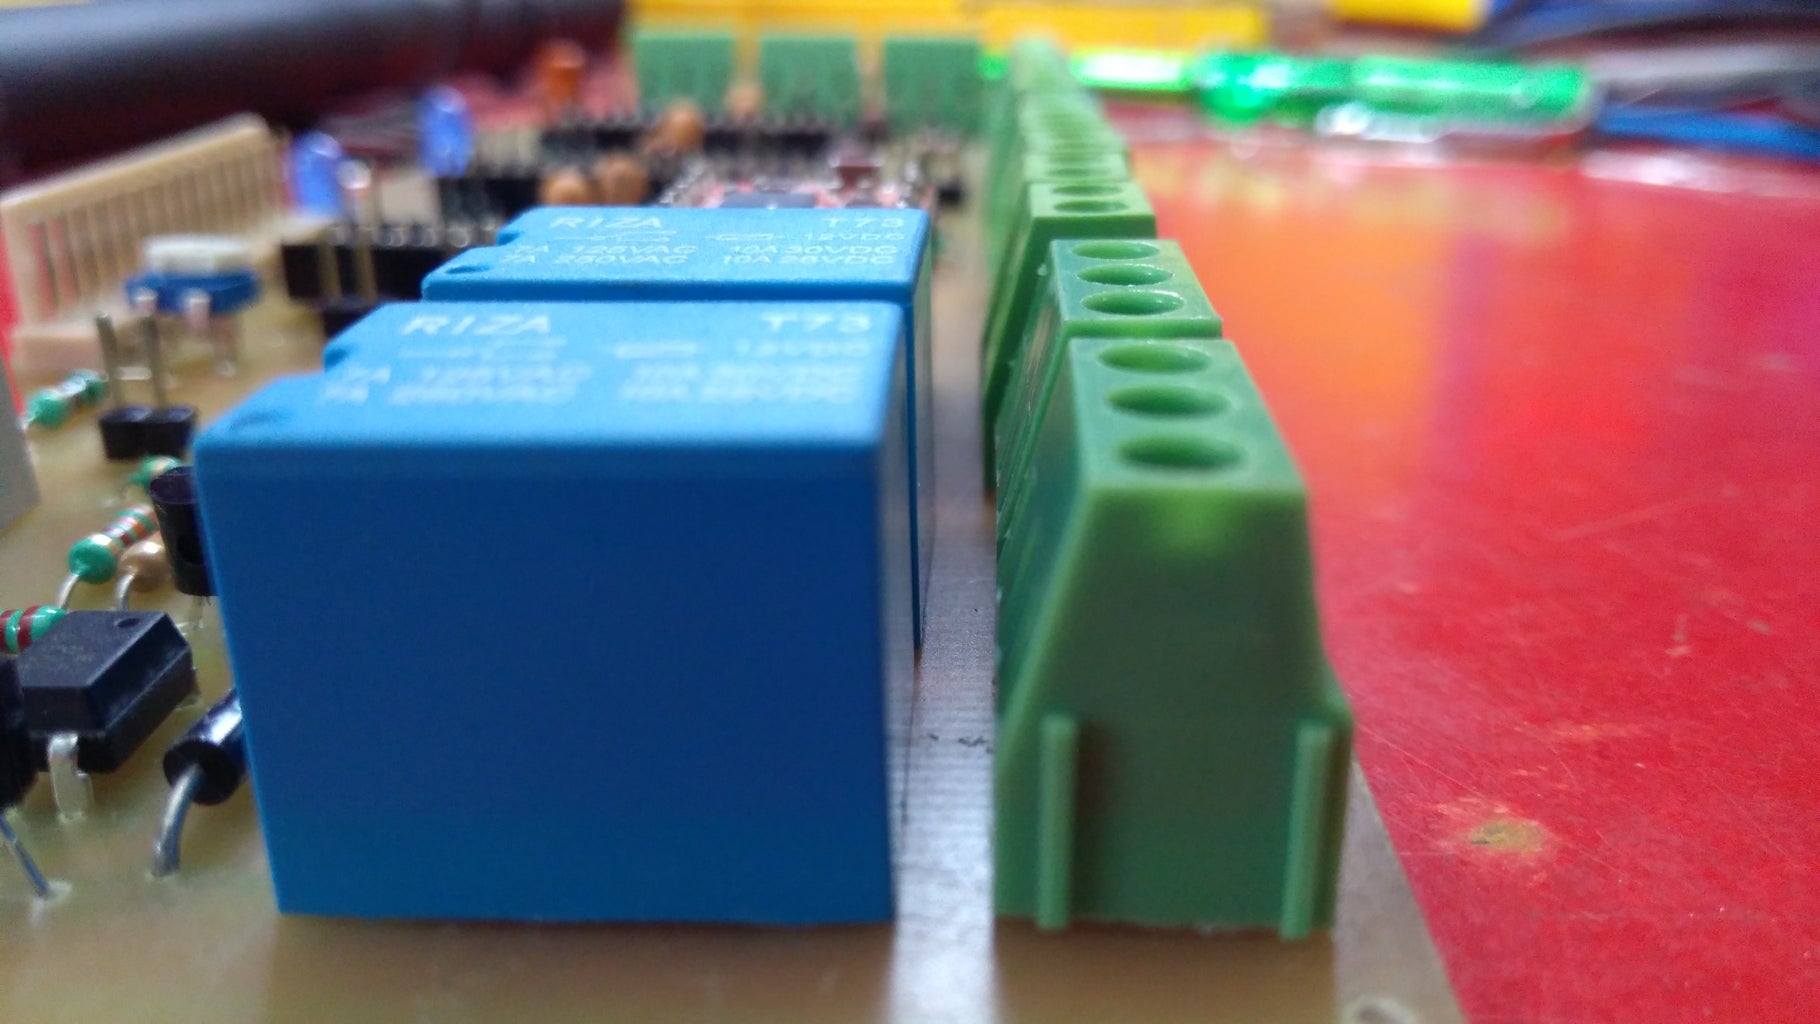
Step 6: The Second Version of Motherboard for DigiCon MDF Winding Machine


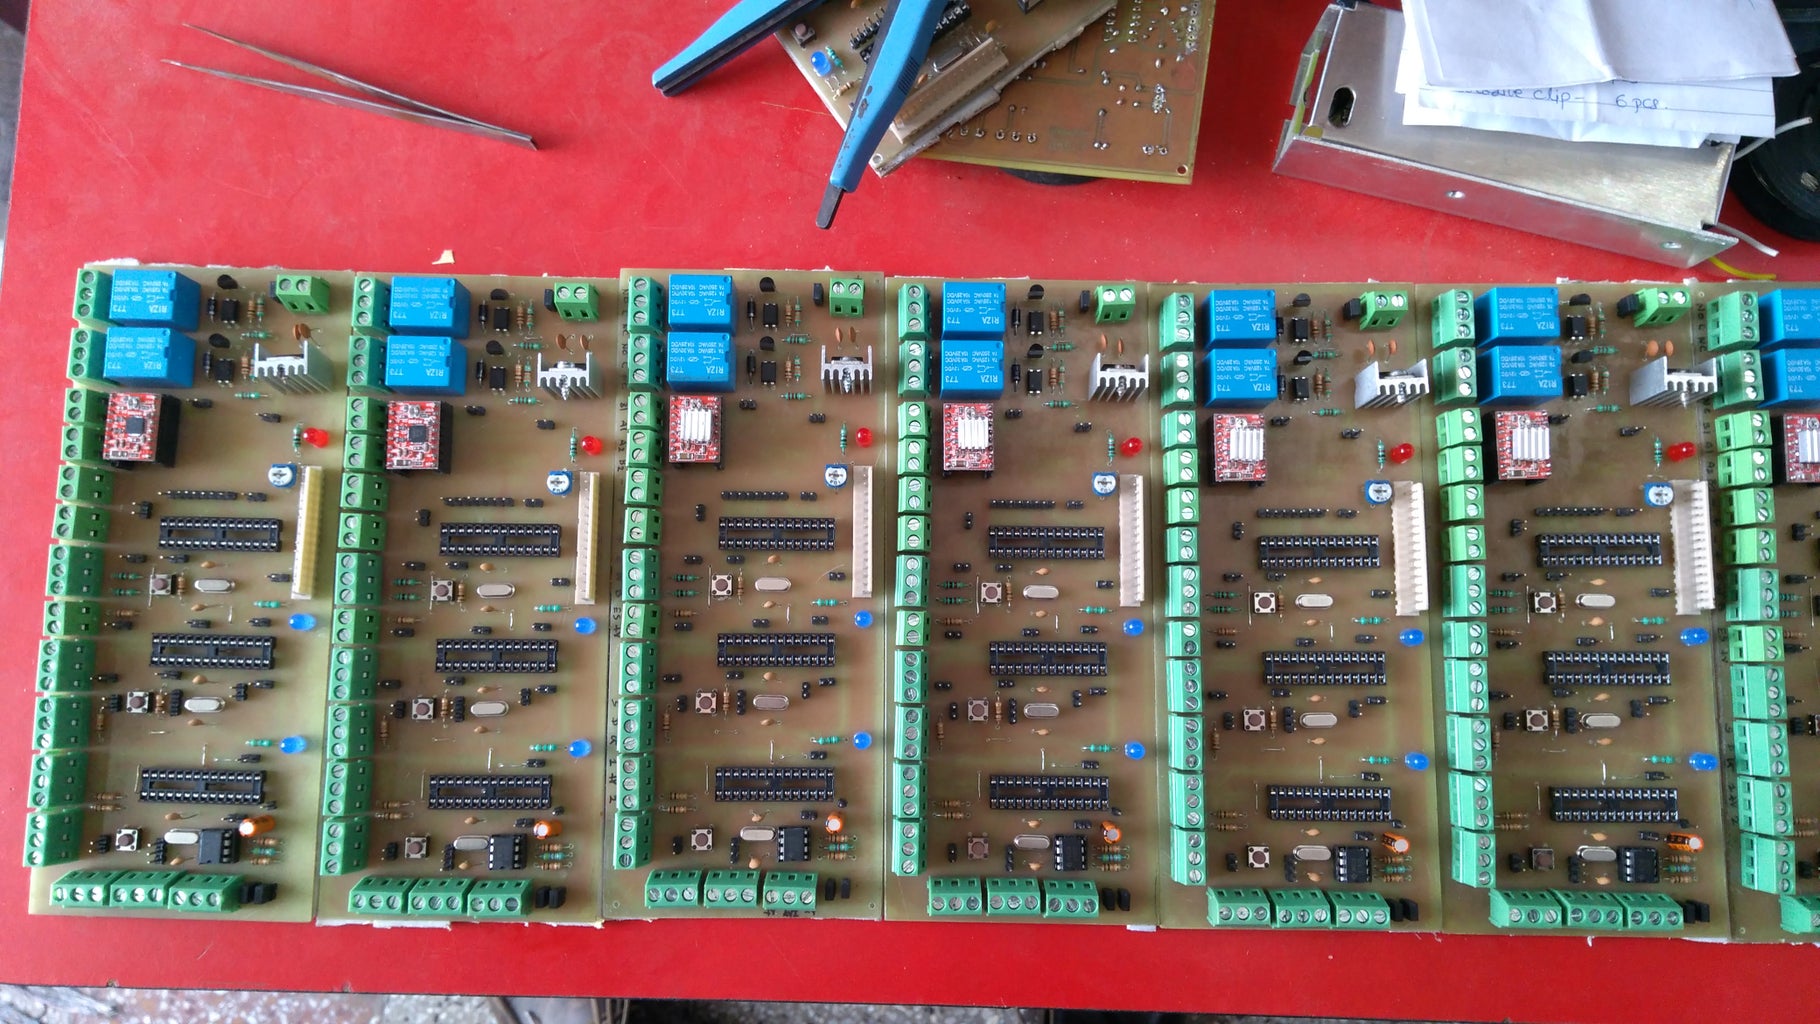
Step 7: The Third Version of Motherboard for DigiCon MDF Winding Machine


Step 8: VFD - Variable Frequency Drives OR VSD - Variable Speed Drives


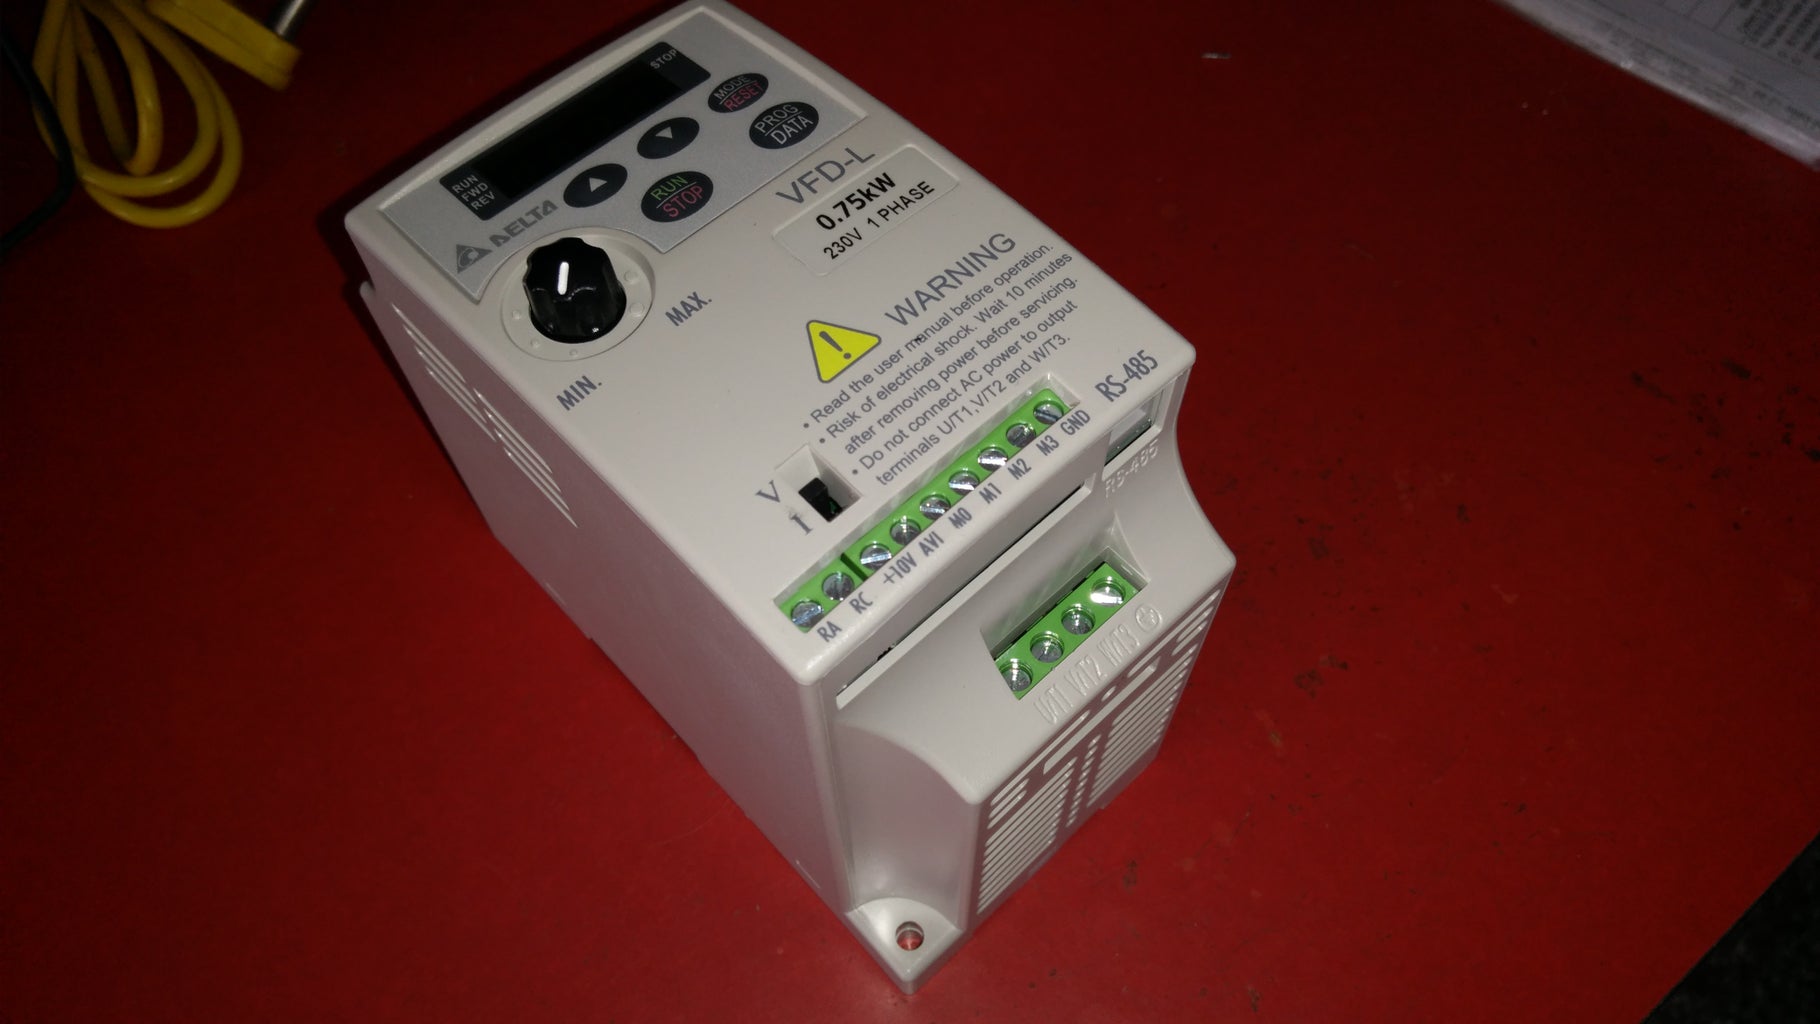
This VFD used for the speed control of the AC Motors (1 Phase or 3 Phase Power Supply)
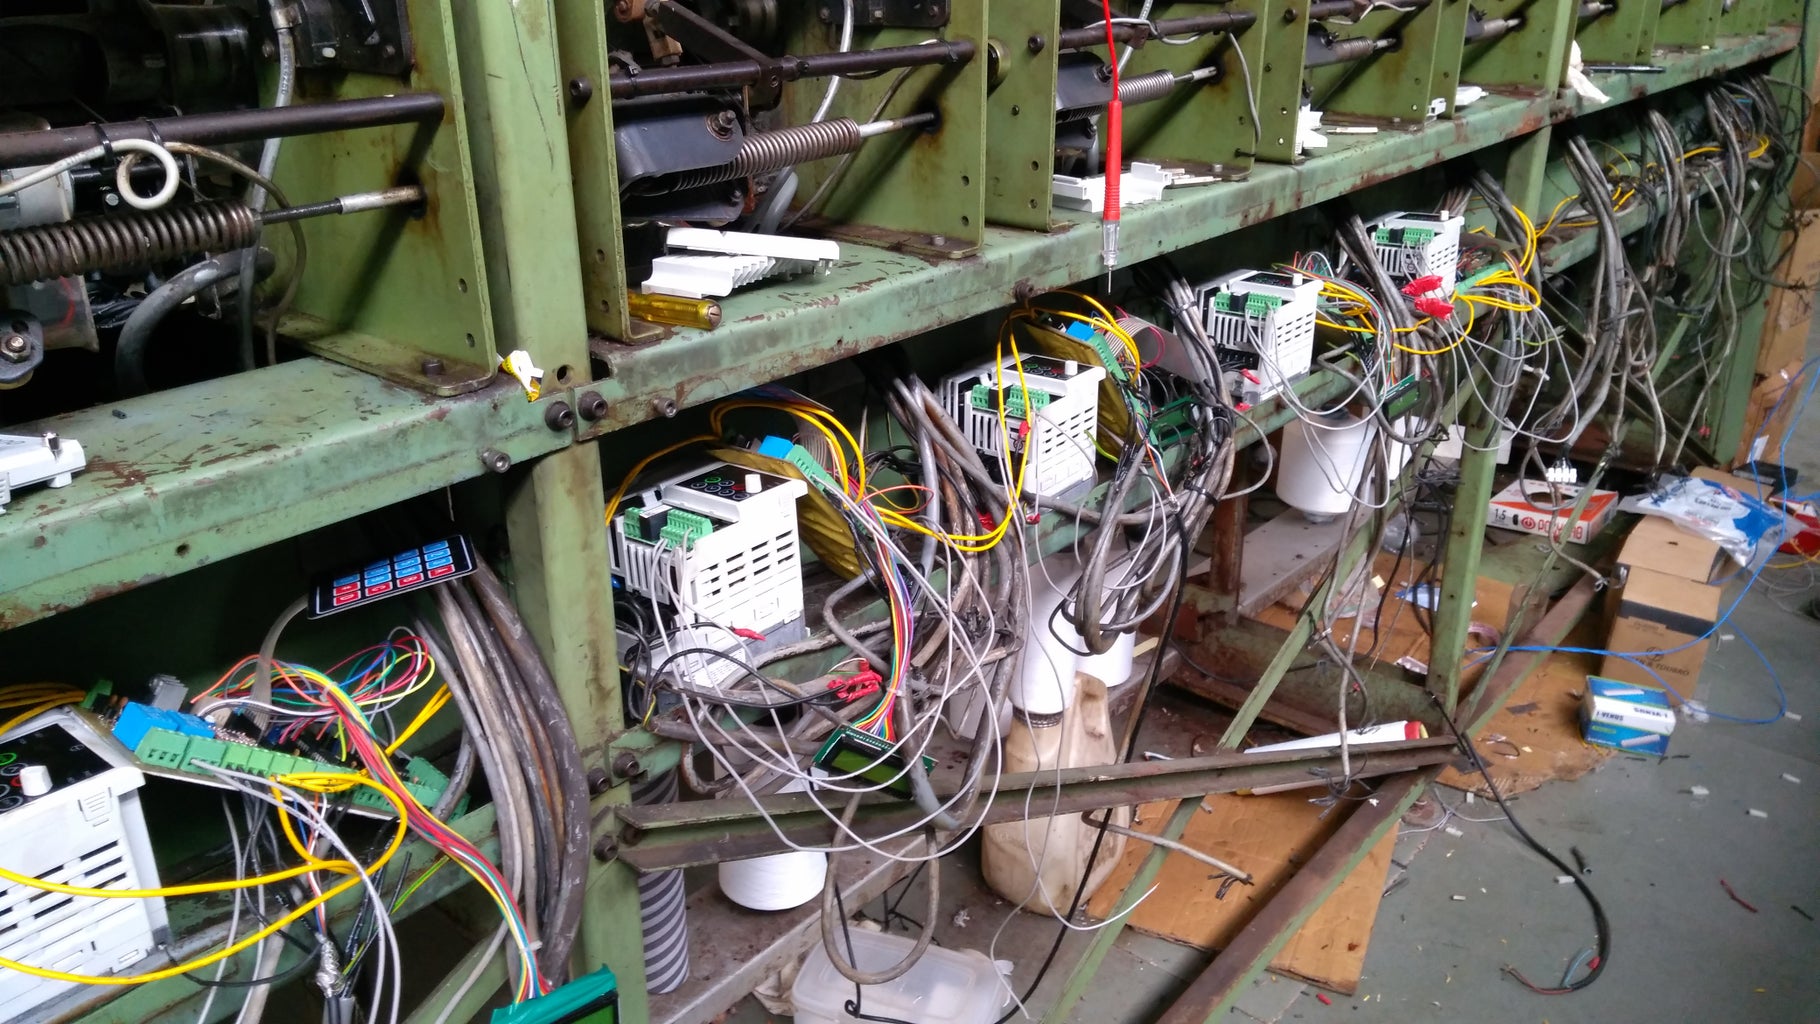
Step 9: Inteerfacing of the Motherboard With the DigiCone MDF Machine


DigiCone MDF Machine - 12 Position
Step 10: Arduino Based Motherboard for DigiCone MDF Winding Machine - Final Output


Features of the Arduino based Motherboard for DigiCone MDF Winding machine:
- Automatic Thread cut detection (Thread detector)
- Drum RPM Monitoring
- Set point for drum RPM
- Measure Thread Length
- Set point for thread Length
- Thread length counter
- If set thread length is completed, The machine will automatically stop
- Dedicated LCD Display
- Keypad for the input for the machine
- Emergency stop operation
- VFD Controlling system
- Traverse winding mechanism controller
Job Done!


