

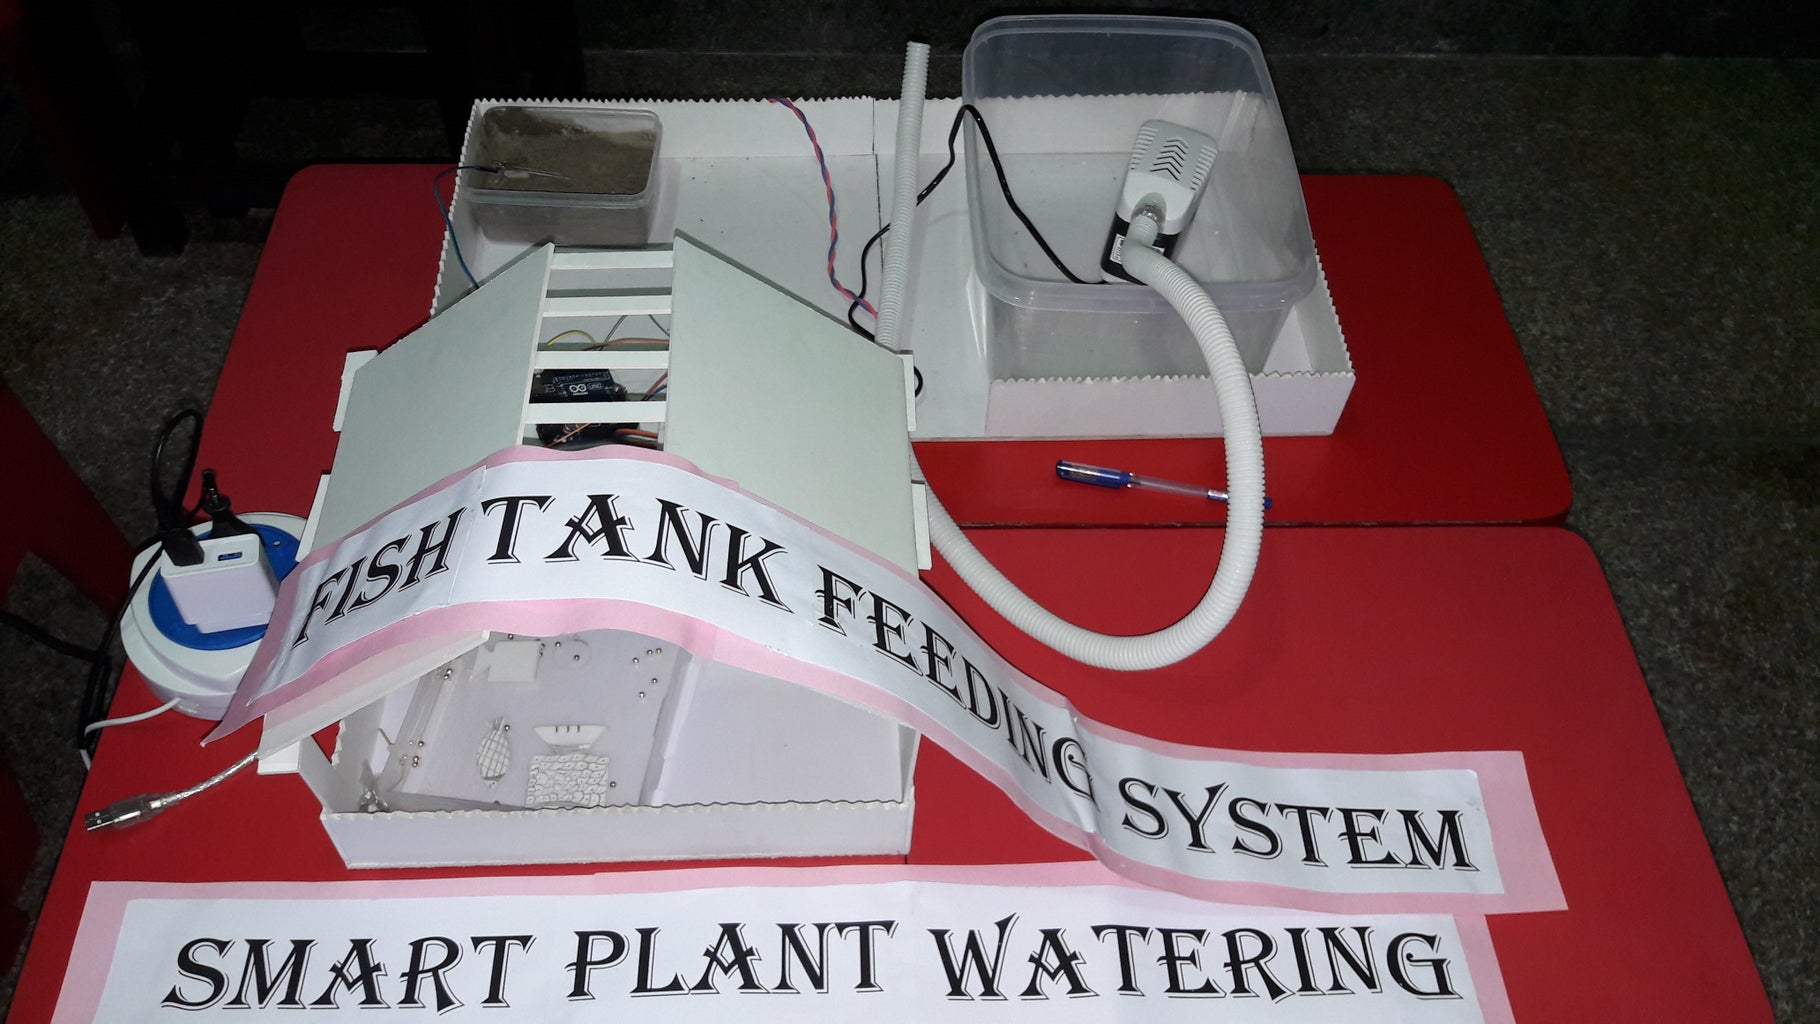
Introduction: Automatic Irrigation and Fish Feeder


Feeding pets (fish/ tortoise) and watering indoor plants are few reasons which make one's out station vacation shorter. This project is aimed at automating both these tasks. The plant pots are equipped with a soil moisture sensor which detects the moisture content of the water in the pots. In the case of a dry pot, water is fed to the pot with a water pump. A fish feeding system is also designed to drop limited quantity of fish food at regular intervals.
Step 1: Components Required:
- Arduino UNO R3 x 1
- USB Cable x 1
- Soil Moisture sensor x 1
- Small servo motor x 1
- Small breadboard x 1
- Relay module x 1
- Motor pump x 1
- Male to female connecting wires x 20
- Male to Male connecting wires x 20
Step 2: Connecting Soil Moisture Sensor to Arduino UNO

Soil Moisture Sensor
A soil moisture sensor measures the quantity of water contained in a material, such as soil on a volumetric or gravimetric basis.
For soil moisture detection Module has two inputs:
• A0, Analog input, which will be connected to Analog pin.
• D0, Digital input, connect it to digital pin.
• GND of moisture sensor to GND of an Arduino board.
• VCC of Moisture sensor to +5V of your Arduino board.
Circuit Connections:
- Connect D0 pin of the soil moisture sensor to the digital pin 13 on the Arduino using male to female connecting wire.
- Take a male to male wire, connect 1 terminal to the 5V pin on the Arduino and the other terminal of the wire to the breadboard.
- Now take 1 male to female wire, connect the female terminal on the +5V of the soil Moisture sensor and the male terminal of the wire to the breadboard where you have connect 5V of Arduino on it.
- Connect the GND of Soil Moisture sensor to the GND of an Arduino Board.
- Connect the A0 pin of Soil Moisture sensor to the Analog pin A0 on the Arduino Board.
Step 3: Connecting Relay Module With Arduino UNO

Relay Module
A Relay Module is a device used to switch on/off another device based on a control signal. Relay a VCC, GND and Signal pin on one side of the module. On the other side, relay contains 3 pins which says COM (Common), NC (Normally Closed) and NO (Normally Open).
Circuit Connections:
- Take a motor pump and the socket wire, now connect the neutral wire of pump to NO of the relay with the help of screw driver.
- Take the neutral wire of the socket wire and connect it to the COM pin of the relay with the help of screw driver.
- Now connect the remaining wire of socket and pump together.
- Take 1 female to male wire, connect the output signal of Relay module to the digital pin 7.
- Now take 1 male to female wire, connect the female terminal on the +5V of the Relay module and the male terminal of the wire to the breadboard where you have connect 5V of Arduino on it.
- Connect the GND of Relay Module to the GND of an Arduino Board as shown in the figure.
Step 4: Connecting Servo to the Arduino

Servo Motor:
A servo motor is a rotary actuator that allows for precise control of angular position.
It consists of a motor coupled to a sensor for position feedback. By varying the pulse width of the output voltage to a servo, you can move a servo to a specific position. There are 3 wires coming out from a Servo motor (brown, red and orange)-
• Brown wire is GND.
• Red wire is +5v.
• Orange wire is a Signal wire.
Circuit Connections:
Servo motor has three Terminals
- The Orange wire of the Servo Motor is the signal Wire which will be connected to Digital Pin 9.
- The Brown wire of the Servo Motor is the GND Wire which will be connected to GND of the Arduino UNO.
- The Red wire of the Servo Motor is the VCC wire and it will be connected to the 5V pin of the Arduino UNO.
- The connections of the Servo Motor will be done using Male to Male connecting wire.
Step 5: Upload the Arduino Sketch
- After uploading the code, connect the Arduino via USB to your PC and click on upload button to upload your program in Arduino.
- Motor is turned on and off according to the moisture and humidity in soil.
- Every 6 seconds fish will get food,you can change the timer according to your requirement.
Attachments

Step 6: Reference Images for Construction


![Tim's Mechanical Spider Leg [LU9685-20CU]](https://content.instructables.com/FFB/5R4I/LVKZ6G6R/FFB5R4ILVKZ6G6R.png?auto=webp&crop=1.2%3A1&frame=1&width=306)


