

Introduction: How to Install LabVIEW Home Bundle


This Instructable will go over how to install and set up LabVIEW Home Bundle.
Digilent sells the LabVIEW Physical Computing Kit, which contains the chipKIT WF32 and LabVIEW Home Bundle. If you would like to use LabVIEW to connect to a microcontroller, LabVIEW MakerHub LINX is used to interact with common embedded platforms like Arduino, chipKIT and myRIO. A list of supported devices can be found here.
If you're interested in setting up your chipKIT WF32 or other microcontroller supported by LabVIEW MakerHub LINX, check out this Instructable.
Step 1: Download LabVIEW Home Bundle
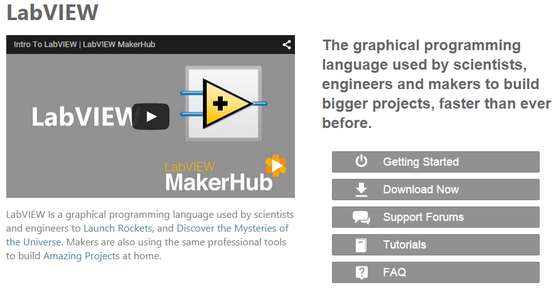


To start, follow this link to the LabVIEW MakerHub website entry on LabVIEW Home Bundle. Click "Download Now" to get redirected to the NI download page.
Click "Download LabVIEW (1.3 GB)" to download the "downloader" for LabVIEW Home Bundle.
Save the downloader somewhere on your computer (doesn't really matter) and it will open and begin to download LabVIEW Home Bundle.
When the download is finished, click open on the downloader.
Step 2: Unzip


After clicking open, a window pops up to notify you about the self extracting archive. Click "OK".
Next, a window called WinZip Self-Extractor will appear. I would suggest leaving the temporary file path the same since it is easy to find and delete once you have installed LabVIEW. Once you're ready, click "Unzip".
When LabVIEW is done unzipping, click "OK".
Step 3: LabVIEW Installation Part 1
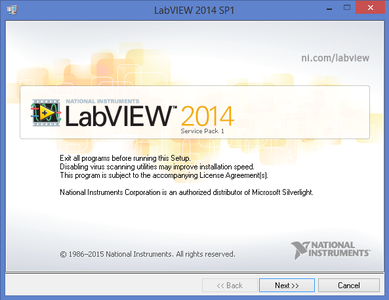


A LabVIEW 2014 SP1 window will now open. Wait for LabVIEW to finish initialization automatically then click next.
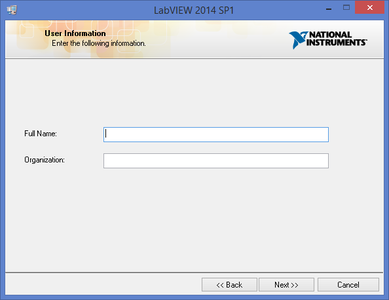
Enter your full name and organization (if any) and click next.
Under LabVIEW 2014 SP1 (Base/Full/Professional), enter the serial number on your certificate of ownership that came in your documentation for LabVIEW Home Bundle (pictured above). You only need to fill out this line. Enter the information and click next.
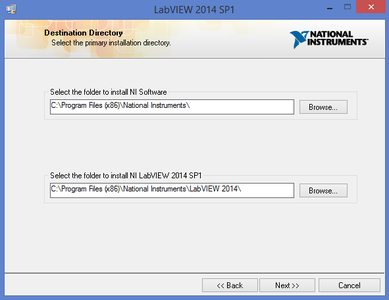
For destination directories, I would recommend using the default path. When you're done, click next.
Step 4: LabVIEW Installation Part 2
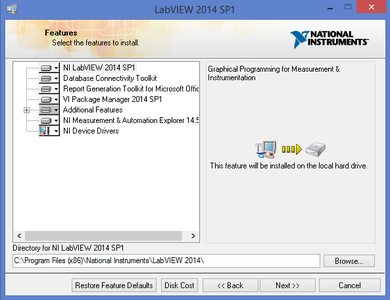


For the next window, you can change some features of the installation. I would recommend just clicking next.
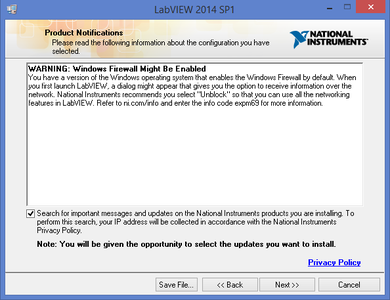
Next, a window will warn you about your firewall. Click next and watch for your firewall to ask if you want to give permissions to National Instruments or LabVIEW at any point during the installation.
Click next on the product notification window.
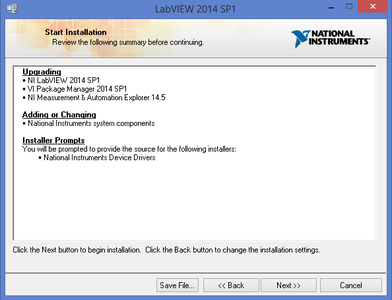
Accept the license agreements and click next.
Start installation by clicking next.
Step 5: LabVIEW Installation Part 3
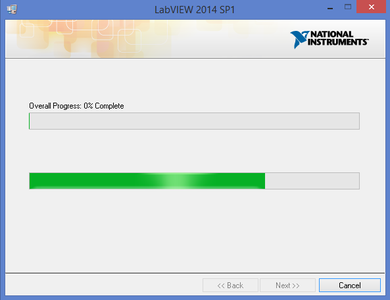
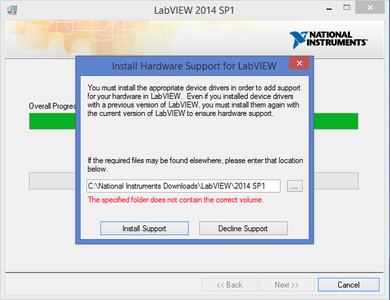


Wait for the installation to complete. When completed, there may be a window that pops up like the one pictured above called "Install Hardware Support for LabVIEW." Click decline support.
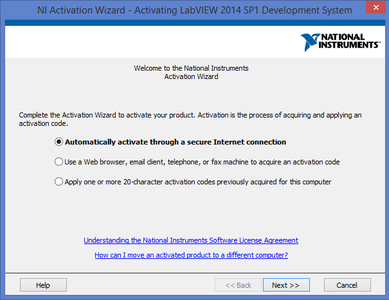
Activating LabVIEW is next. Select "Automatically activate through a secure Internet connection." Your serial number you entered earlier should appear. If not, re-enter it. Click next when you have entered your serial number.
Sign in to your NI account to link your product to your account and click next.
A window will now pop up indicating that your product was successfully activated. Click finish.
Step 6: Start Using LabVIEW
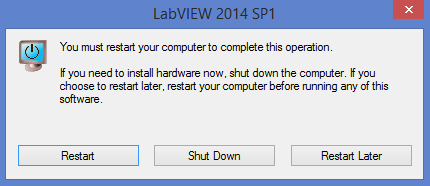

A window will pop up that says you need to restart your computer to finish the installation. Click restart.
Once your computer has restarted, open LabVIEW 2014 SP1 and you're ready to start using LabVIEW!
Extra Resources
Here are some useful resources for learning basic LabVIEW coding and LINX.
1. Youtube guides by National Instruments
2. LINX Basics from LabVIEW MakerHub
3. LabVIEW Basics from LabVIEW MakerHub
If you have any questions, feel free to comment or you can post LabVIEW and LINX related questions on the MakerHub Forums.


