Introduction: How to Align Objects


The following information is a single lesson in a larger Tinkercad project. Check out this and more projects on Tinkercad.
Let's learn to align shapes to one another!
Instructions
- Select the black dot near the back right corner of the RV. Hold CRTL+Left click to add the shower to the selection.

- Find the Adjust menu and choose Align. Black tabs will appear around the objects selected.
- Left click on the black dot again (Zoom in closer to make it easier). The black tabs will only be around the black dot now.
- Select the black tabs shown in the image. The shower will move to the black dot.
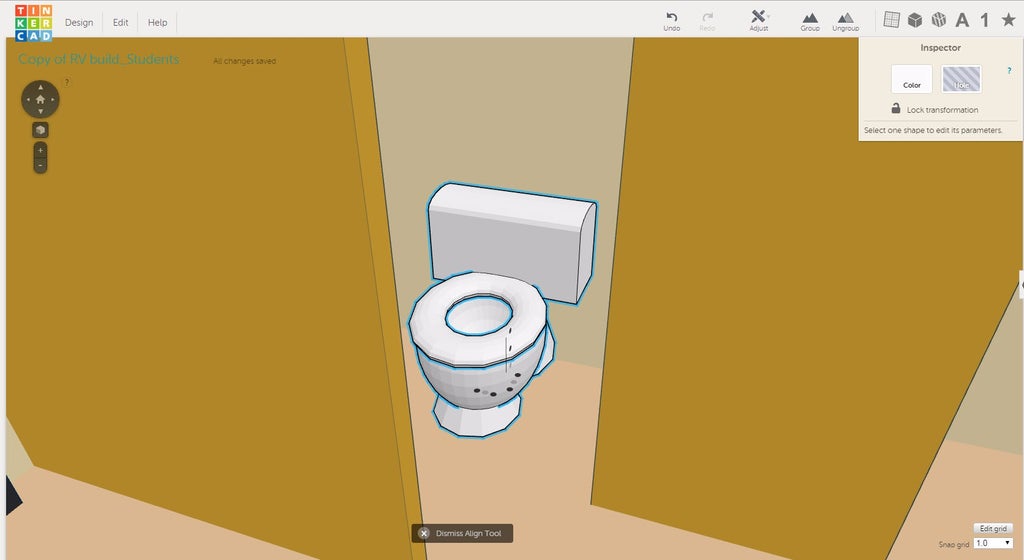
- Find the other black dot inside the same room. Select it and use CTRL to select the toilet.
- As before, choose Adjust>Align in the menu above. Left click the black dot so the tabs surround it. Zoom in on the black dot and choose the center tabs on the ground. Don't choose a tab along the height.
- Exit out of the align tool. At the bottom right corner find Snap Grid, and change the number next to it to .5mm. Use the black arrow to move the toilet down.
- Continue to the next lesson.