

Introduction: Basic Ring


The following information is a single lesson in a larger Tinkercad project. Check out this and more projects on Tinkercad.
Project Overview:
In this lesson you will learn how to design your very own jewelry. We will make three different kinds of rings which will help you master the basic tools of TinkerCAD. Once you complete each of the activities, feel free to customize or create a new design from scratch.
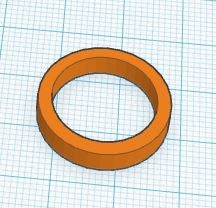
Step 1: Basic Ring Intro
In this lesson you will create a basic ring. This ring is made up of two cylinders, one of which is a "hole" piece. Before we get started, we will need to measure the diameter of our ring finger, you can do this with any sort of measuring device. Once you got your finger measured right it down somewhere, you are going to need it later. Now go forth and create one ring to rule them all.
Instructions
- Continue to the next step.
Step 2: Creating a "hole" Lot


In this step you will learn how to make the hole of your ring. Don't worry if the hole is the wrong size, you can always scale it later!
Instructions
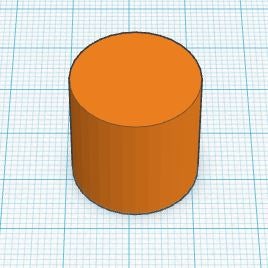
- Place a cylinder on the workplane.
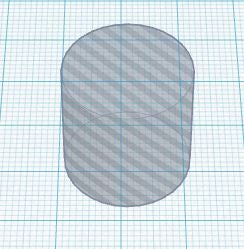
- While having the cylinder selected, press the "hole" button in the top right corner.
- Scale the cylinder to a size slightly larger than the diameter of your finger which in my case is 17mm. Remember: Use the measurement from your finger.
- Continue to the next step.

Step 3: The Band Is Back Together.


In this step you will learn how to create the band of your ring.
Instructions
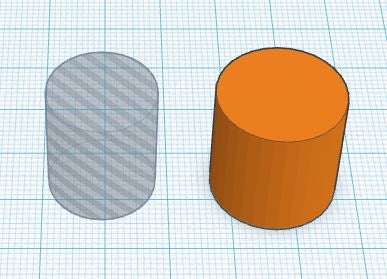
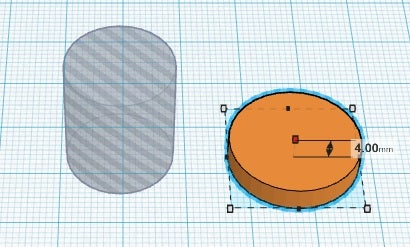
- Place another cylinder on the workplane.
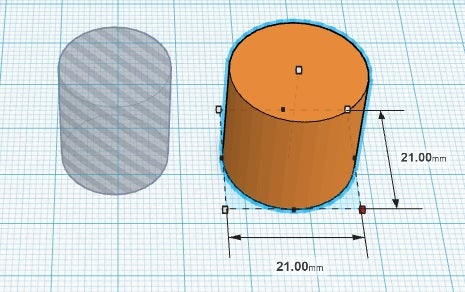
- Scale the cylinder to have a diameter of 21mm.
- Adjust the height of the new cylinder to 4mm.
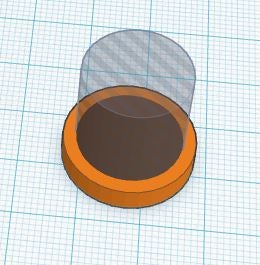
- Drag the hole into the center of the cylinder. You may need to change your snap grid to .25 which is in the bottom right corner. You can also select both shapes and select the Align tool from the Adjust menu to ensure perfect alignment.
- While having both cylinders selectd press the "Group" button in the top right corner.
- Continue to the next step.
- Stuck?
HINT:
If you are having trouble centering the hole, you can use the black dots on the edge of the footprint of the shapes for alignment. Tinkercad also has a great ruler tool which can be found under the helper section.
In the next lesson you will learn to make a heart ring!
Next Lesson:Heart Ring


