Introduction: 3D Printed Toy Helicopter


This product is a 3D printed toy helicopter. The toy will utilize code to perform tasks such as turning on and off lights, spinning the helicopter blades and creating sound. A battery pack is required to power the CPX, which will hold the code to power the servo motor attached at the opposite end.
Supplies


- Adafruit Circuit Playground Express Base Kit (CPX)
- Continuous rotation micro servo
- 3D printer
- Hot glue
- Cuticle cutters
- batteries
- makerbot sketch printer
- PLA material
Step 1: Design & Print
- Download and print the following STL files using a 3D printer. Use rafts and supports when necessary.
- These files were designed using TinkerCAD
- Helicopter body:
- add supports
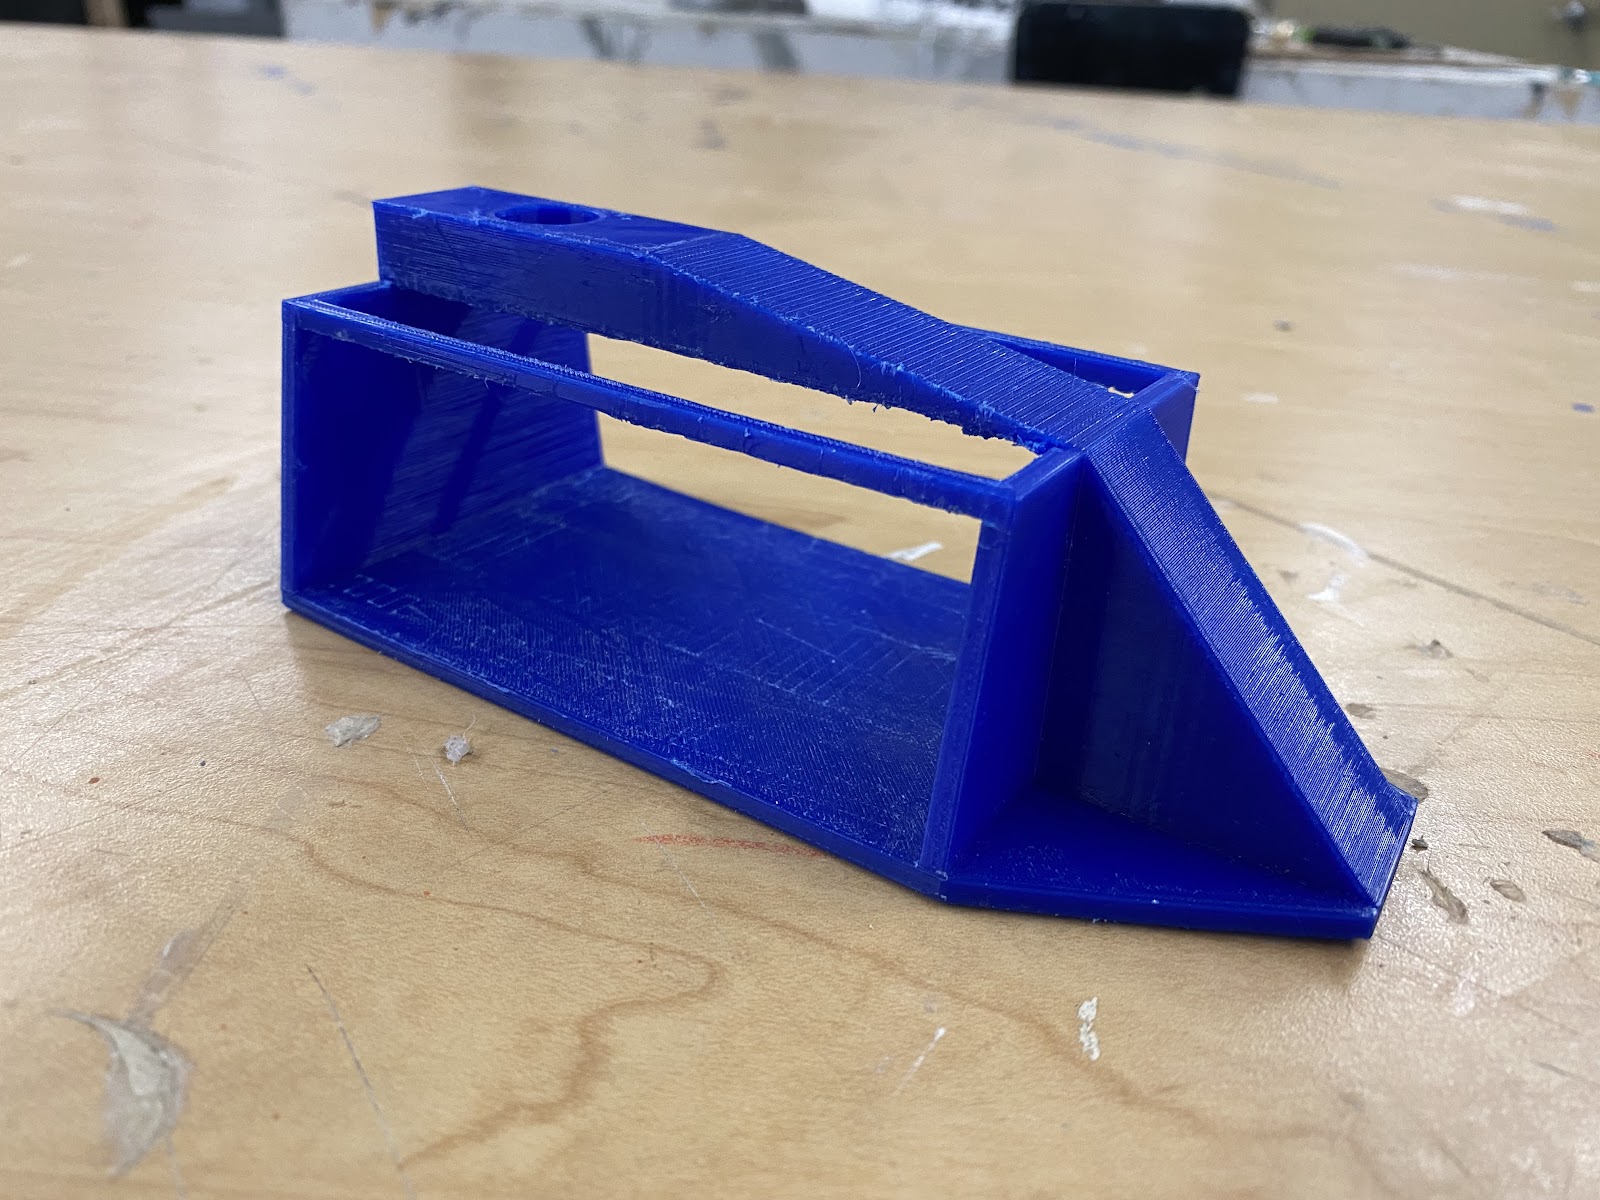

- recommended to print with a raft

- Helicopter legs:
- Helicopter rear rotor
- Non TinkerCAD files
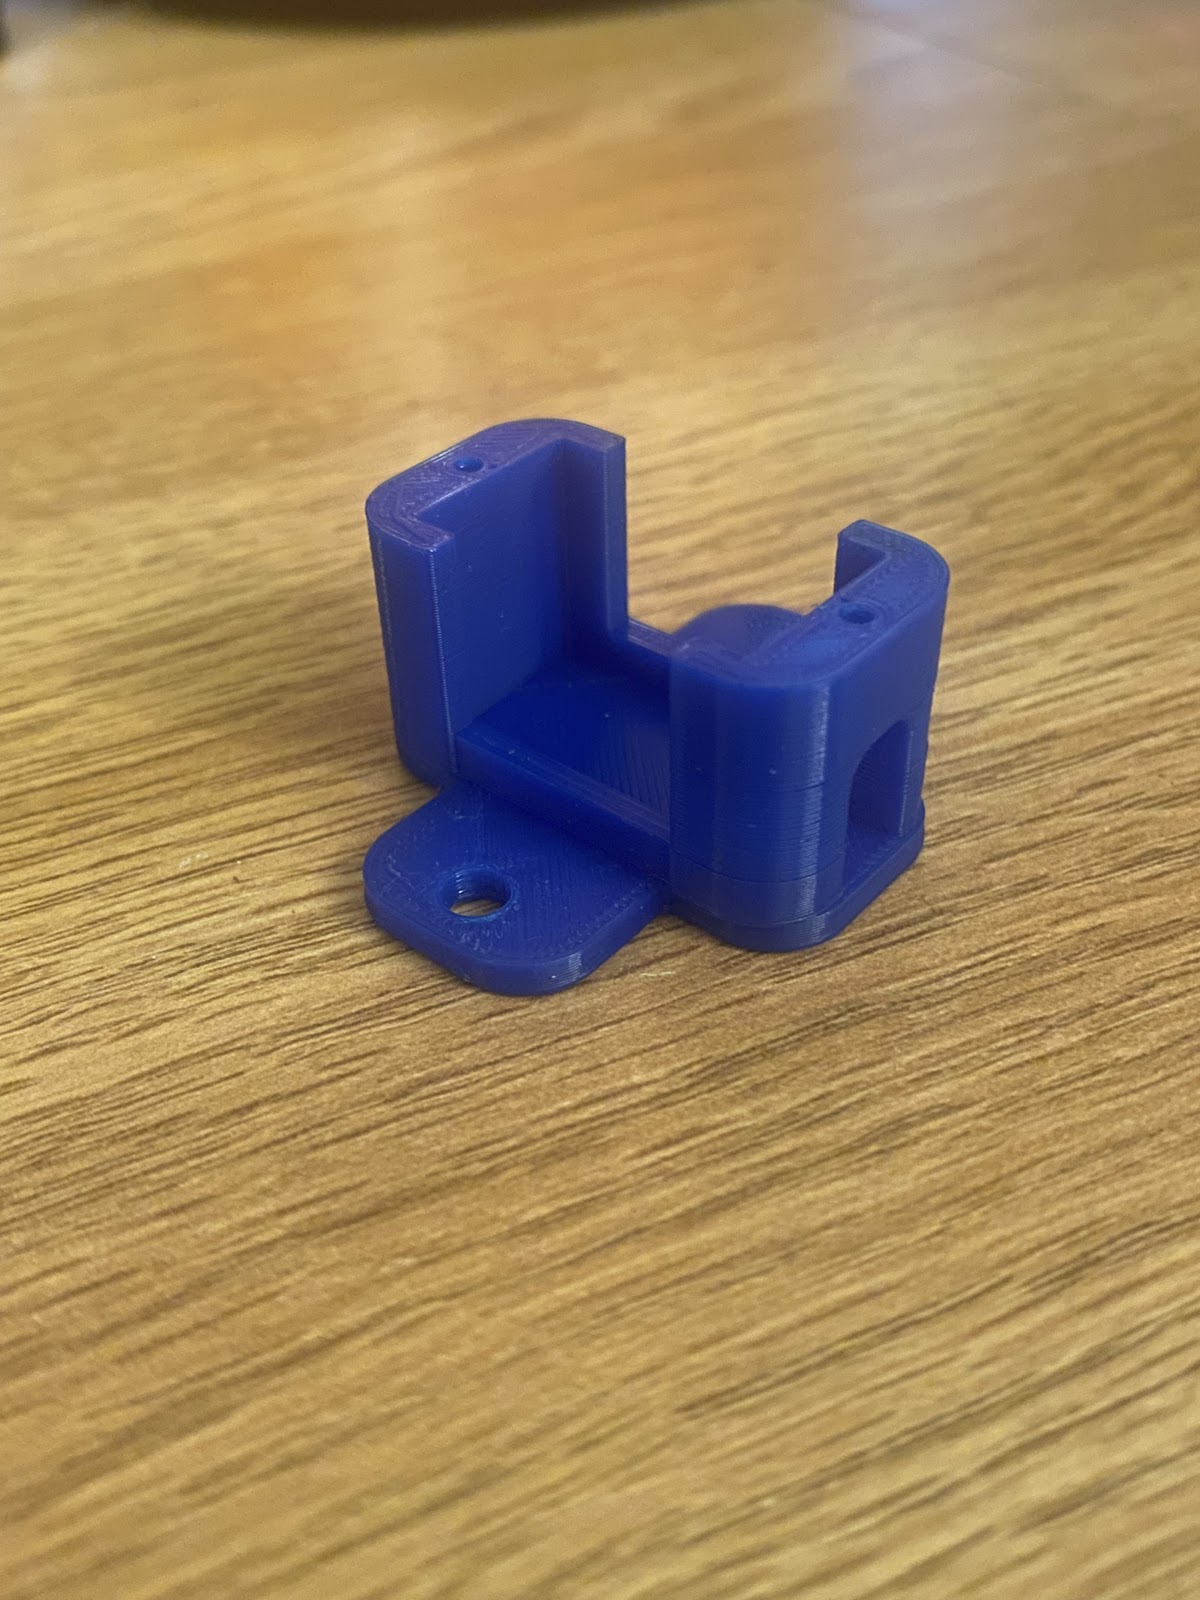
- CPX Mount from Adafruit’s Snap-fit Mount: downloaded from Thingiverse


- STL files must be imported into CloudPrint
- Set printer type to match the type of printer in use
- On sidebar click support type and change it to breakaway material
- On sidebar click under base layer and change to raft
- Watch preview and download the makerbot file
- Import makerbot file onto flash drive
- Place flash drive into printer input and begin print
Step 2: Code

- Follow the instructions to install CircuitPython onto your CPX
- Plug in your CPX
- Once this is done, convert your CPLAYBOOT (the CPX folder accessed when the CPX is connected to a laptop) to CIRCUITPY
- Using the learn.adafruit.com website, write a few ‘if’ statements in the Mu Editor to have each button or switch accomplish a goal of the CPX. Name the file code.py
- Save code.py to CIRCUITPY
- The provided code will:
- Cause the lights to flash different random colors when button B is pressed
- Cause the motor to rotate clockwise when button A is pressed
- Cause the motor to stop rotation when the switch is flipped
- Causes the CPX to play an elephant noise on repeat with the CPX is switched
Step 3: Assemble


- Remove supports using cuticle cutters
- Sauter wires onto CPX
- One wire should be sautered to VOUT
- One wire soldered to A1
- Third wire soldered to GND next to A1
- Place the CPX mount on the front of the helicopter face
- Hot glue on foundation
- Once dry place CPX in mount
- Place the servo motor mount…
- Hot glue on foundation
- Once dry place motor in mount
- Connect brown servo wire to GND
- Connect red servo wire to VOUT
- Connect yellow servo wire to A1
- Place 3 AAA batteries into battery pack
- Glue the battery pack next to the servo motor
- Glue tail, rear rotor blades and legs onto the helicopter
Step 4: Usage
- Turn on the Helicopter by sliding the on switch on the battery pack
- Press button B for the lights to turn on
- Press button A for the rotor blades to spin
- To stop the motor and play a sound, flip the switch below the buttons
- When done, slide the battery switch to off when not in use.


