

Introduction: Aligning the Rings to the Planet


The following information is a single lesson in a larger Tinkercad project. Check out this and more projects on Tinkercad.
Return to Previous Lesson: Creating the Rings
Lesson Overview:
Now we're going to align the rings to our planet!
Step 1: The Align Tool

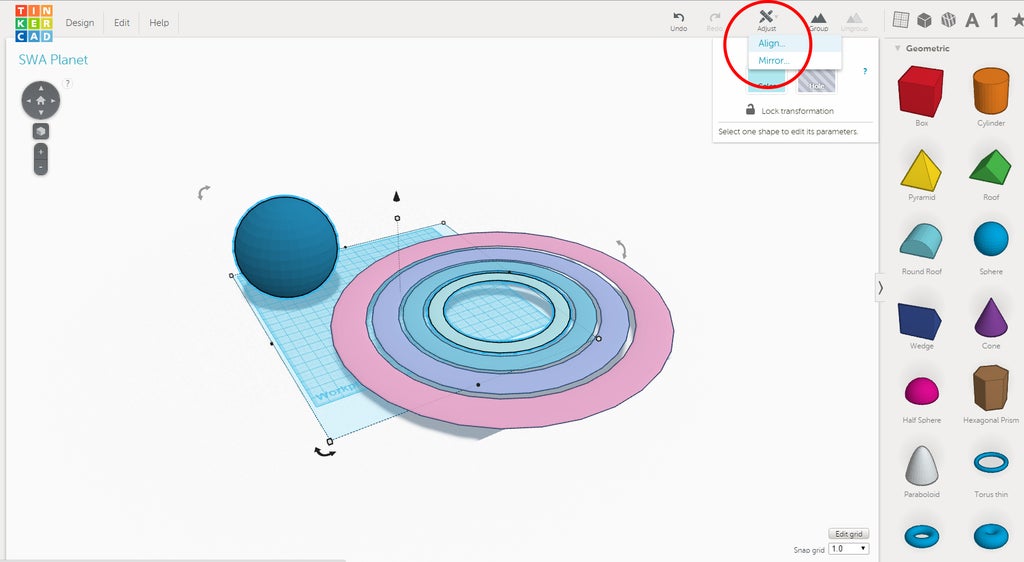
The Align Tool can be found in the Adjust menu, at the top right corner of the screen. When finished, it will look like the image below.
In this lesson, the Align Tool will be used to center the rings around the planet.
Instructions
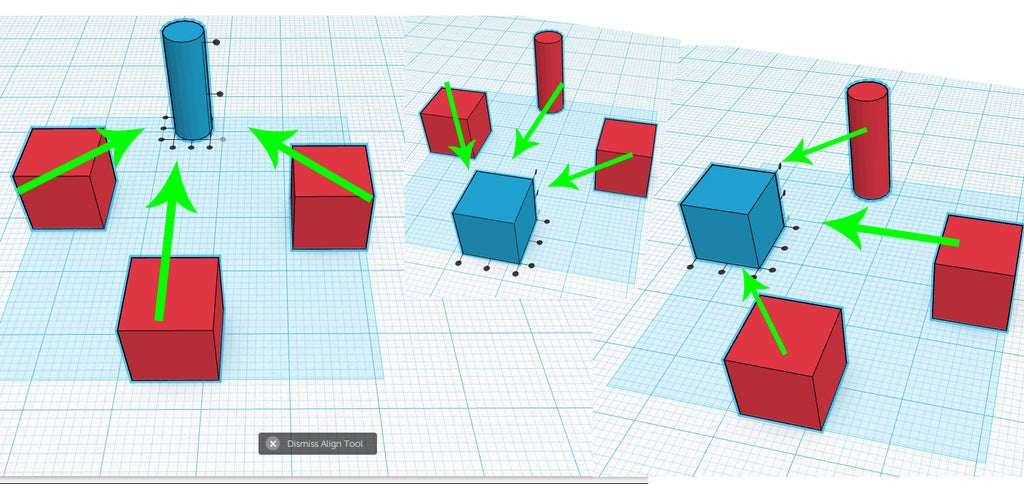
- The image below shows 3 boxes and 1 cylinder that were selected before choosing align. The object in blue was selected again after choosing Adjust>Align. Doing this will cause the red objects to move and align toward the blue object.
Step 2: Aligning the Rings to the Planet


Instructions
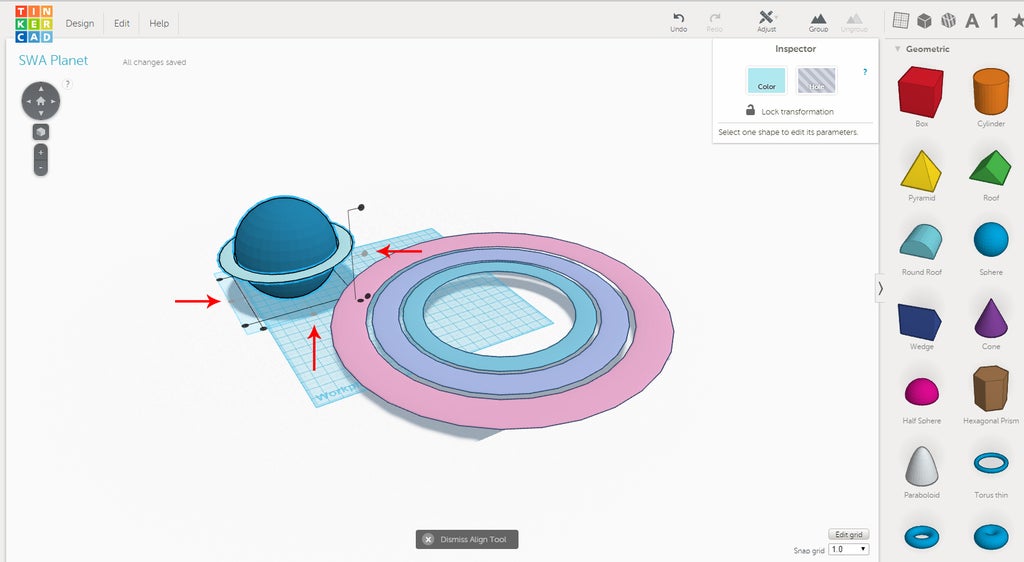
- Select the inner most ring. Add the planet to the selection by holding SHIFT before left clicking the planet.
- Choose Adjust>Align. Left click on the planet so that the ring will move toward the planet. Select the center tabs on all three axes.
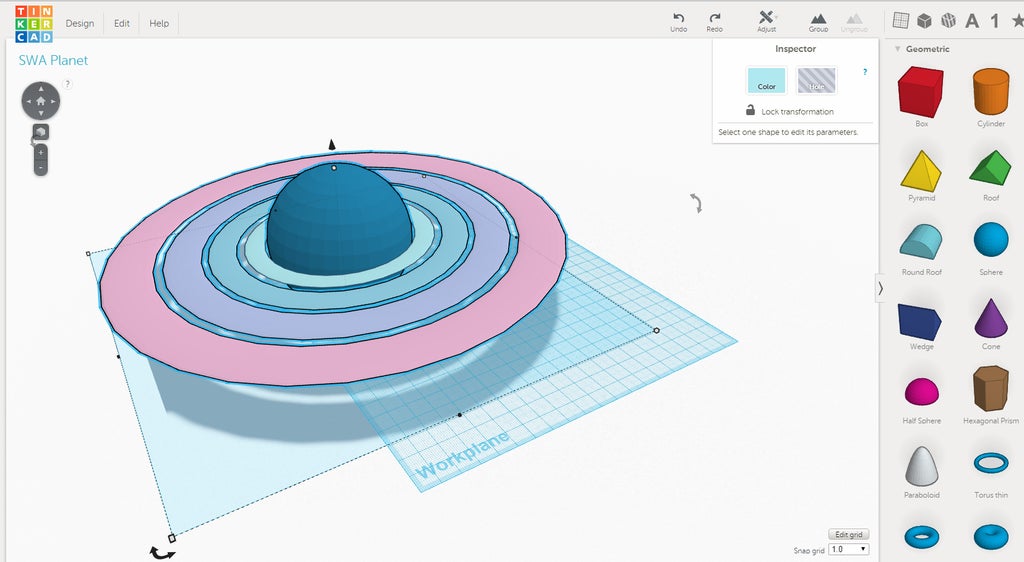
- Repeat steps 1 and 2 until all rings are centered on the planet.
- Select all of the rings and rotate them on either the Y or X axis. Good job! You have completed a ringed planet!
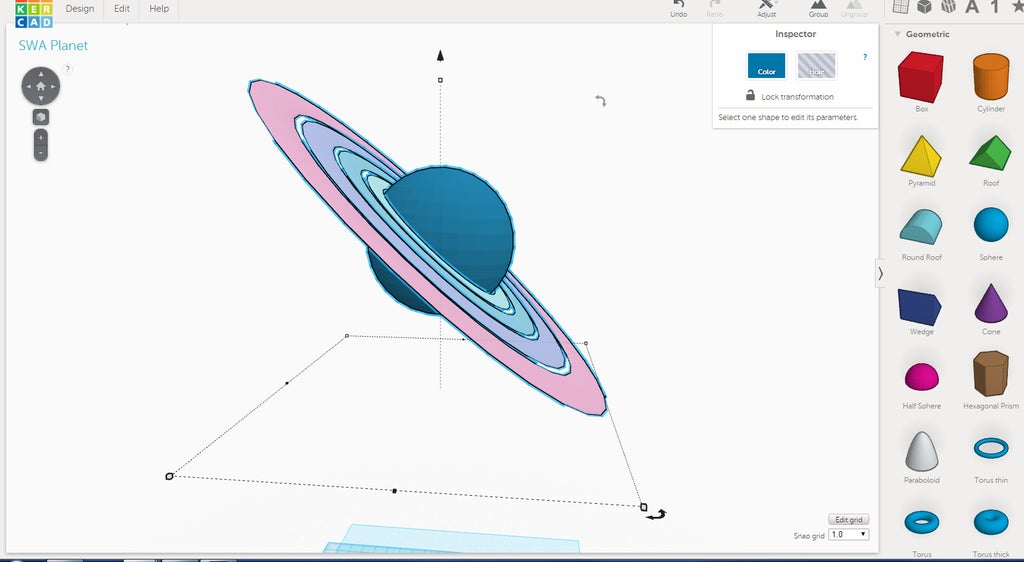
Congratulations, you have completed this project!
Check out other great projects on Tinkercad.


