

Introduction: Arduino Based Humanoid Robot Using Servo Motors


Hello everyone,
This is my first humanoid robot, made by PVC foam sheet. It is available in various thickness. Here, I used 0.5mm. At now this robot can just walk when I switched ON. Now I'm working on connecting Arduino and Mobile through Bluetooth module. I have already done an App like Cortana and Siri for windows phone which is available in app store https://www.microsoft.com/en-us/store/apps/patrick... After Successfully connecting both, I can control it through voice command in Windows Phone.
I've spent many months in solving the battery over weight problem and ended with an epic fail due to budget problem. So, finally I decided to give power from external Lead-Acid Battery.
Lets see how I figured out the perfect design of the body for the robot.
Step 1: Trials and Errors on Designing the Model


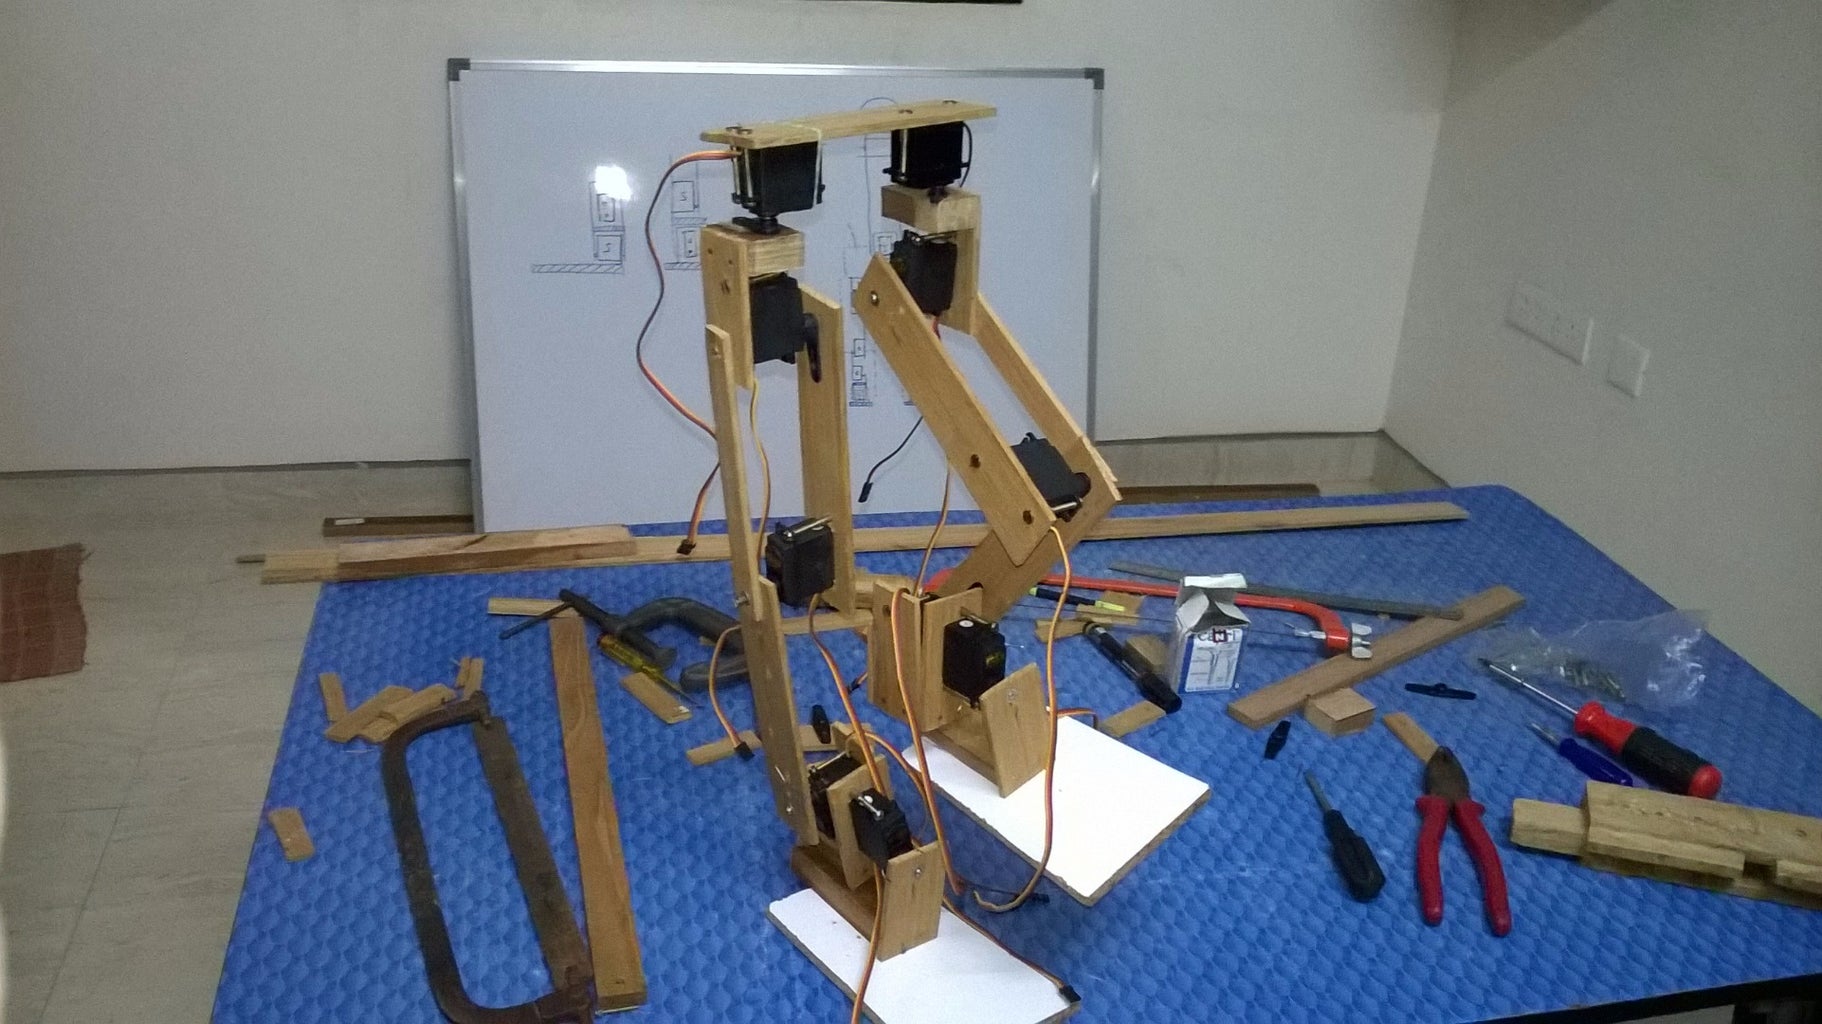


At first I have no idea about the power of Servo motors and Electronics-Electricals that deals with batteries and circuits. I first planned for a life size robot for about 5 to 6 feet. After trying almost 6 or 7 times I realized the maximum torque of a servo and reduced upto 2 to 3 feet of total height of the robot.
I then tried upto hip of the robot to check the walking algorithm.
Step 2: Designing the Model and Algorithm


Before moving on we need to decide how many motors needed, where we need to fix. Then design the body parts according to the images given.
Step 3: Components Required


1) Plastic sheet
2) Super Glue
3) 15 - High torque Servo motors ( I used TowerPro MG995 )
4) Arduino Atmega 2560 or other Arduino boards
5) 6V Battery (minimum 3 nos. Atmost 5 motors for each battery)
6) HC-05 Bluetooth module for communication
7) Other basic stuffs which every hobbyist have!
Step 4: Building the Body

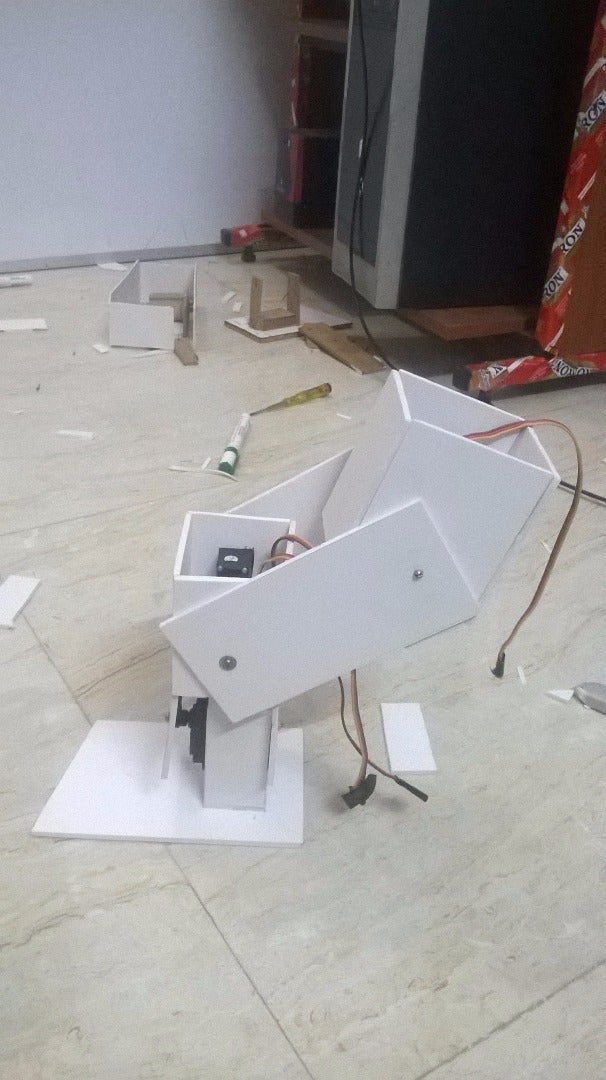
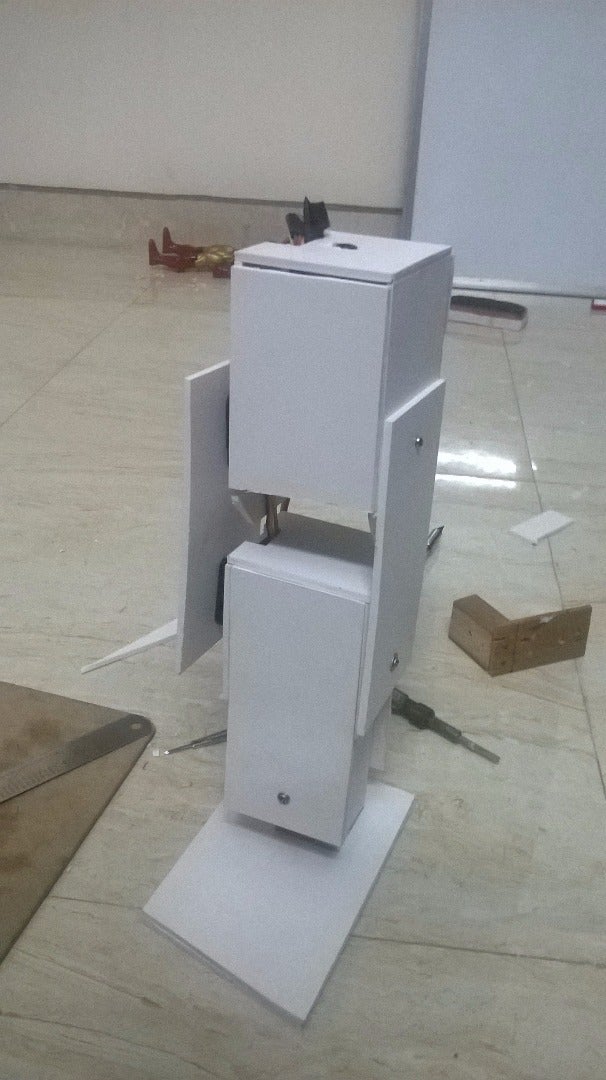


After struggling with wooden pieces I found this plastic sheet pretty easy to cut and paste to make various shapes.
I cut holes to fit servo motors directly into the sheet by applying super glue (I used 743).
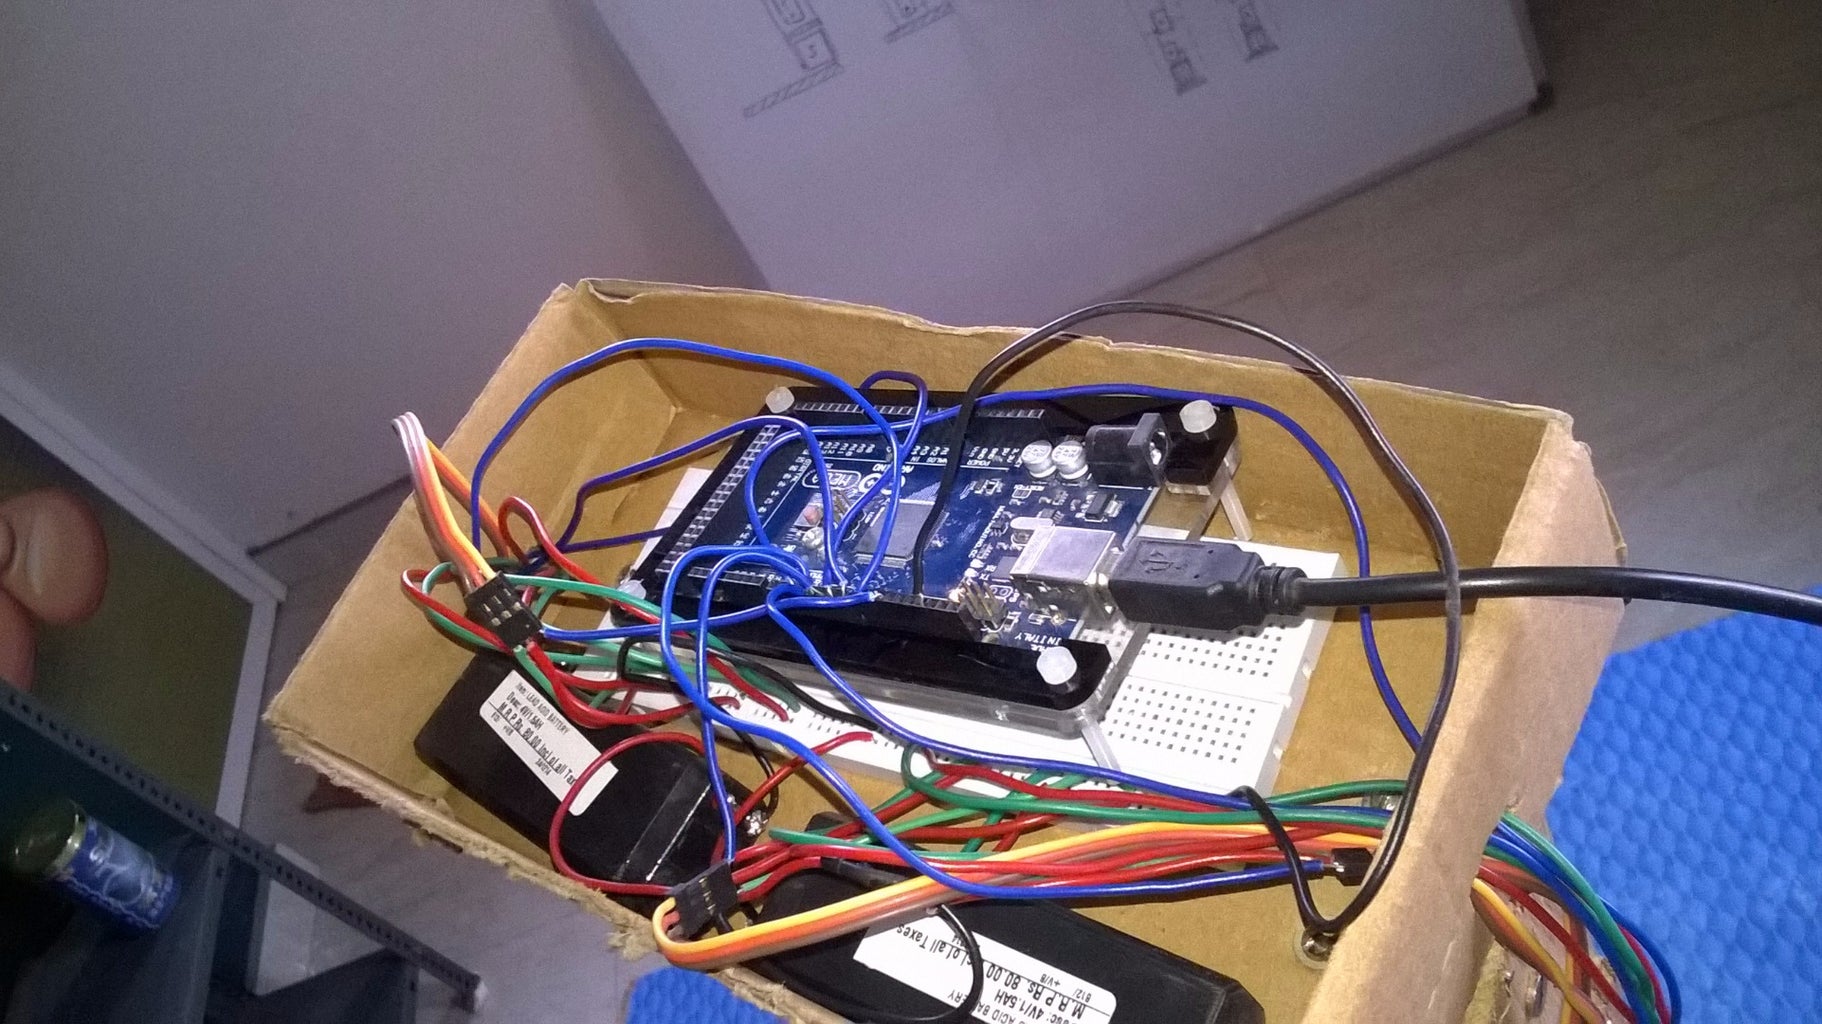
Step 5: Wiring

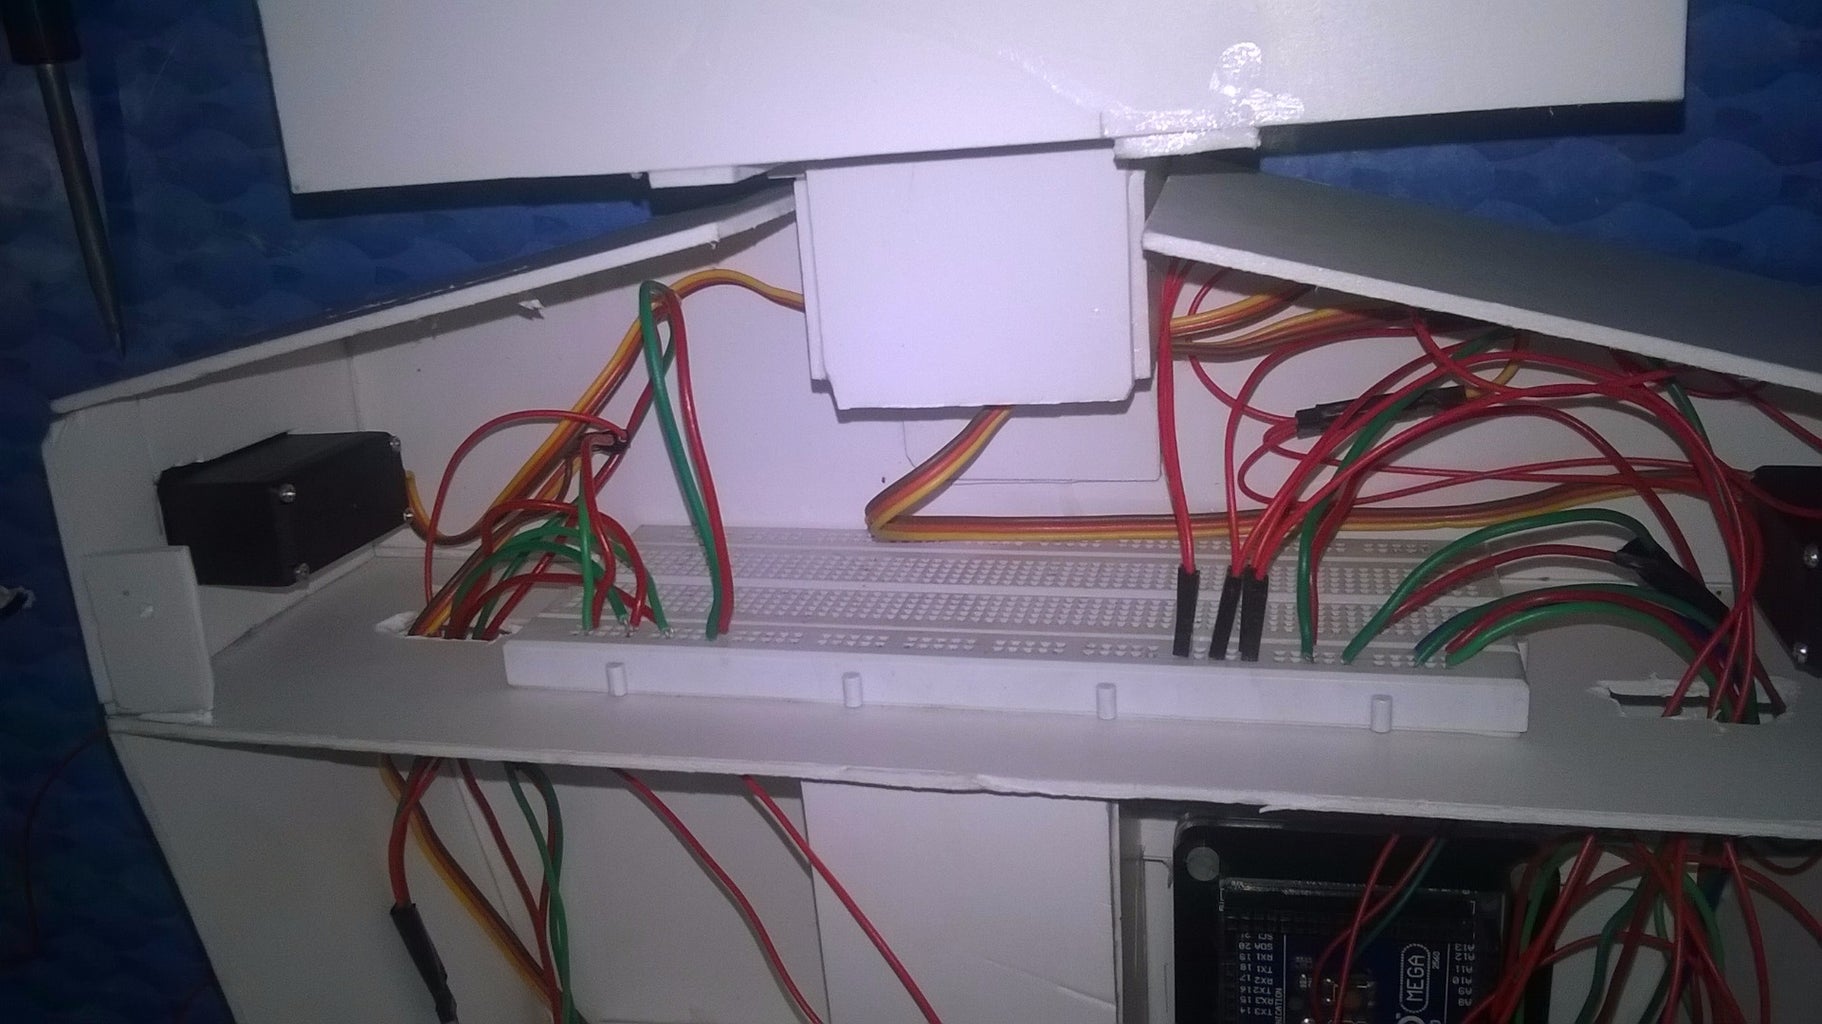

I'm not studying an electronics or electrical major. And I have not enough patience to design a PCB or designing proper wiring. That's why this messy wiring.
Step 6: Increasing Power

You can see that I used only 11 servo motors at first. due to over weight problem, It fell down and broken during testing. So, I increased 4 more servos at each joins of legs.
Step 7: Coding
I've attached Arduino code.
for(i=0;i<180;i++)
{
servo.write(i);
}
This is the basic code for rotate any servo motor attached to any Arduino board.
But calibrating the rotating degrees and deciding which motors should run during the movement of each leg is the most tricky part of coding. It can be done by another Sketch called (Servo_Test). By testing the degree of rotation of each motors through serial communication through Arduino board, we can calibrate every motors.
Finally, the robot begins to walk after entering the value "0" in serial monitor window.
I have also included a sample windows phone 8.1 sample source code for connecting Arduino and Mobile using bluetooth.

