Introduction: Arduino MIDI Rockband Drumset

More by the author:


About: I'm an Electrical Engineer working out of Northern California with a never ending interest in repairing and creating.
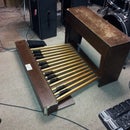
This video shows an early prototype of my arduino MIDI rockband drumset.


