

Introduction: Arduino-Powered Iambic Morse Key


Note: In this Instructable, I'm assuming you know how a breadboard works, how an Arduino works(how you program it, how to power it on, and such) And you know how to wire the RGB LED in this project. If you don't know such things, I STRONGLY recommend you go check other instructables and wiki's to get the required knowledge.
Hello,you! Yes, you, the guy or gall who clicked on this Instructable!
First of all, I'd like to point out a few things.
1) English is not my first language, so please forgive the misspellings and other grammar mistakes.
2)It's my first Instructable.
3) I'm still beginning in the amazing world of coding and electronic in general.
Now that that's out of the way, let's begin!
I'm not going to teach you the history of morse code, nor am I going to teach you morse in general. But, if you still want to learn about it, I recommend you go read a few lines on the Wikipedia Article
Step 1: What Is a Iambic Morse Key?

Figure 1.1 A Iambic morse key
A lambic morse key, or dual-lever morse key is basically a morse key with (wait for it..) two paddles.
One for the "Dihts" (Left,generally)and the other one for the "Dahs" (Right)
In this montage, a blue light will mean a "Diht" or "Point" and a red one will mean a "Dah" or "Dash".
The green light is a signal, signaling that a key has been pressed.
Step 2: What You'll Need


Finally! After reading pages after pages, you're ready to do it! You learned the morse code for years, and you waited for that moment your whole life! Or not...
Erm, moving on, you'll need a few parts (You should be able to get them all at your local electronic shop)
1) A Breadboard
(I used two for convenience, one will work just fine.)
Always usefull, since you don't need any soldering skills, nor do you need a soldering iron to make connections.
2) Some breadboard wire
Beacause those connections aren't going to make themselves!
3) An Arduino (Any will work)
The maker's best friend.
4) 2x Buttons
*click click*
5)An RGB LED(With four legs!)
Or three LED's of your choice,it's up to you.
6) 3x 660 Ohm Resistor
Beacause fried Arduino aren't that good.
Step 3: The Code
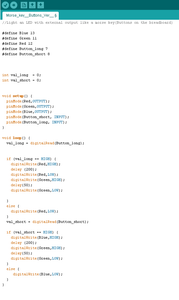
The code part is really simple. If you'd like further explaination, I'll update the Instructable.
Step 4: Wiring the LED


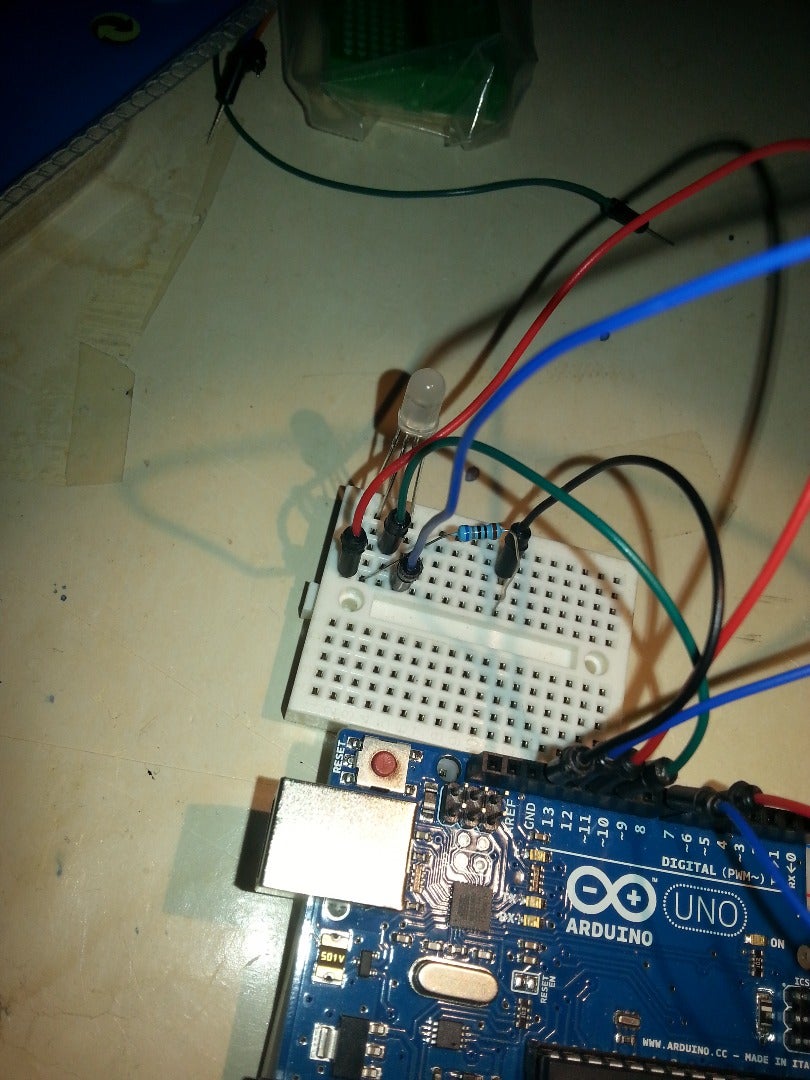
This is the most complicated part. You shouldn't do a lot of damage if you do something wrong here, but it's frustrating to fix!
Keep in mind that if you modify the code,your pins may vary!
Also,I Strongly recommend you keep your Arduino unplugged while doing the wiring.
Step 5: Wiring the Power Lanes

It's not necessary to wire the power lanes, but it's handy, and we'll need only one there.
Step 6: Wiring the Buttons 1/2


This it it, last step before testing! Saddly, the most complicated one.
If you want/need more detailed explaination, I'll update the Instructable!
Step 7: Wiring the Buttons 2/2


It's exactly the same process, except for the last wire. It goes in the pin 8 of the Arduino.
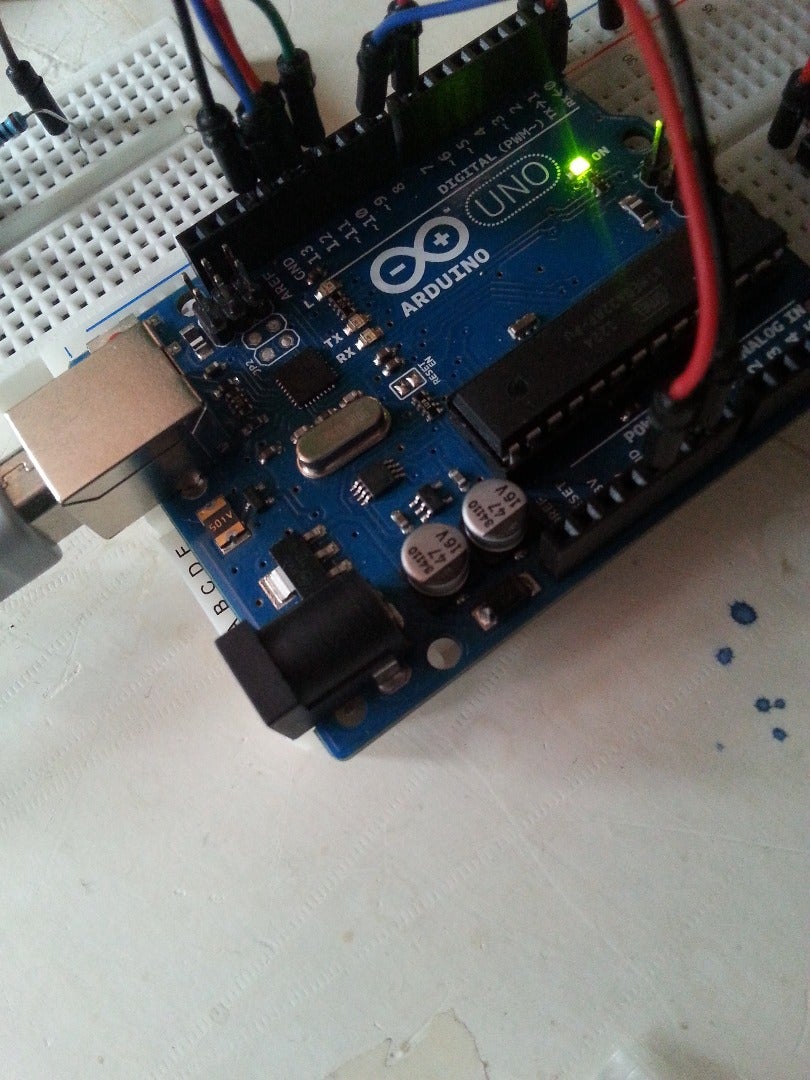
Step 8: Testing!
Finally!
Indeed,finaly. Altrough, I recomend you double-check your wires before pluging the Arduino on, you never know!
Yes, I learned the hard way.
Step 9: The Bit With the Credits
First of all, if you came this far, I'd like to thank you, because it's my first Instructable.
Then, I'd really appreciate if you could point out the things I should improve for my next Instructable.
Finally, you can probably see how my writing style, light in the pictures, and so on, changed during this Instructable, It's beacause it took me more than two and a half hour of work. But was it worth it? Hell yes!

![Tim's Mechanical Spider Leg [LU9685-20CU]](https://content.instructables.com/FFB/5R4I/LVKZ6G6R/FFB5R4ILVKZ6G6R.png?auto=webp&crop=1.2%3A1&frame=1&width=306)


