Introduction: Arduino Security System


Hello everybody! Today, I'm going to show you how to make an Arduino Security system.
I also have a video on that project, so if you want your instructions in video format, give it a click.
Step 1: Parts
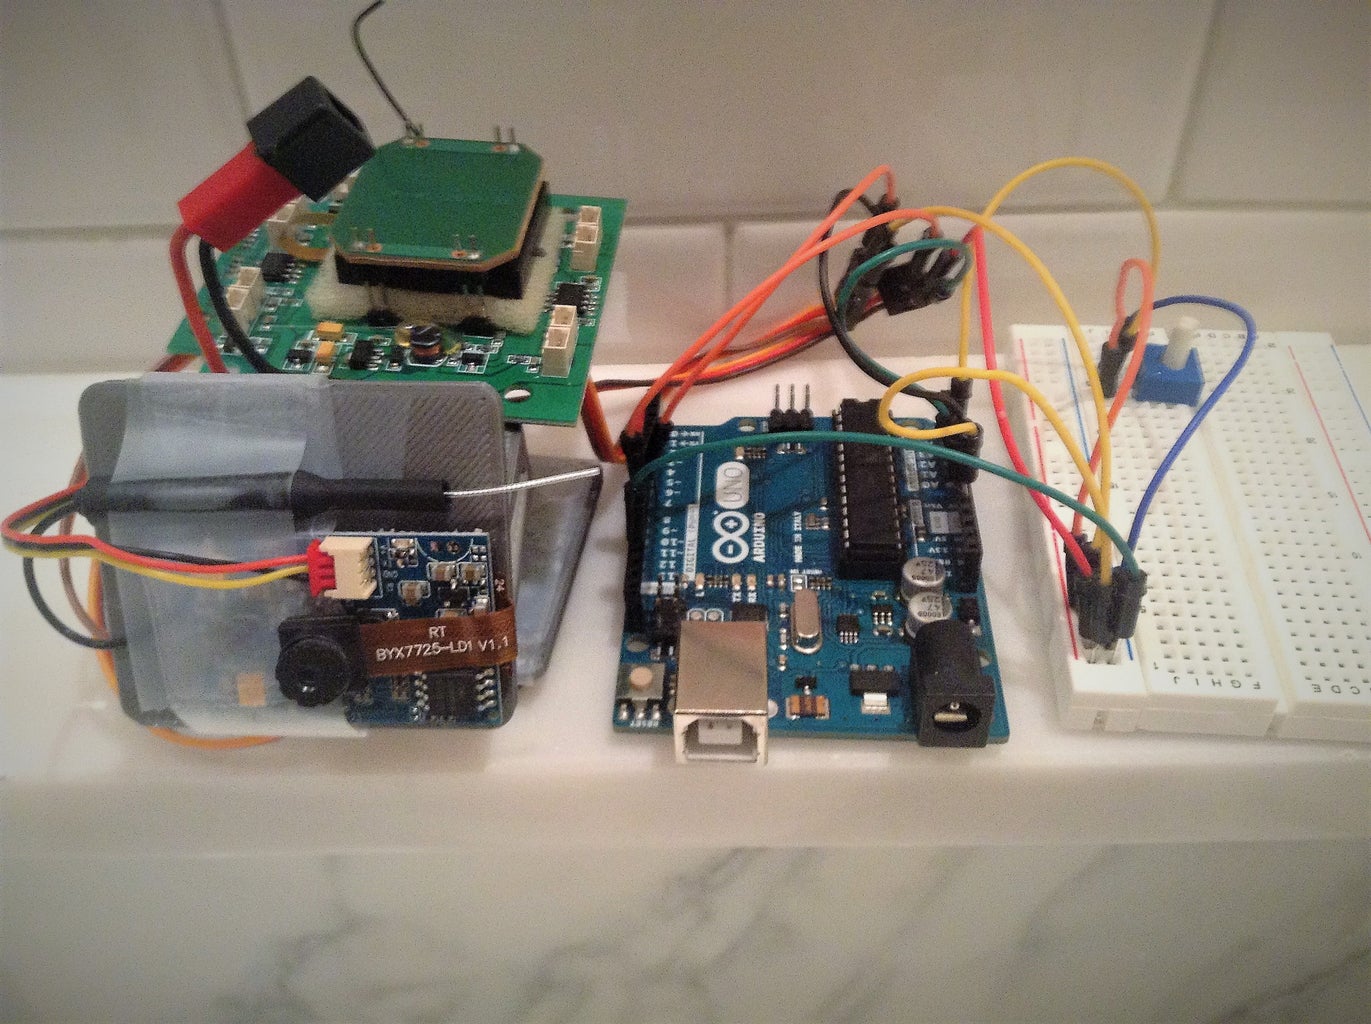
For this project, you will need:
- Arduino Uno
- 10k Potentiometer (1)
- Breadboard
- Pan & Tilt platform *
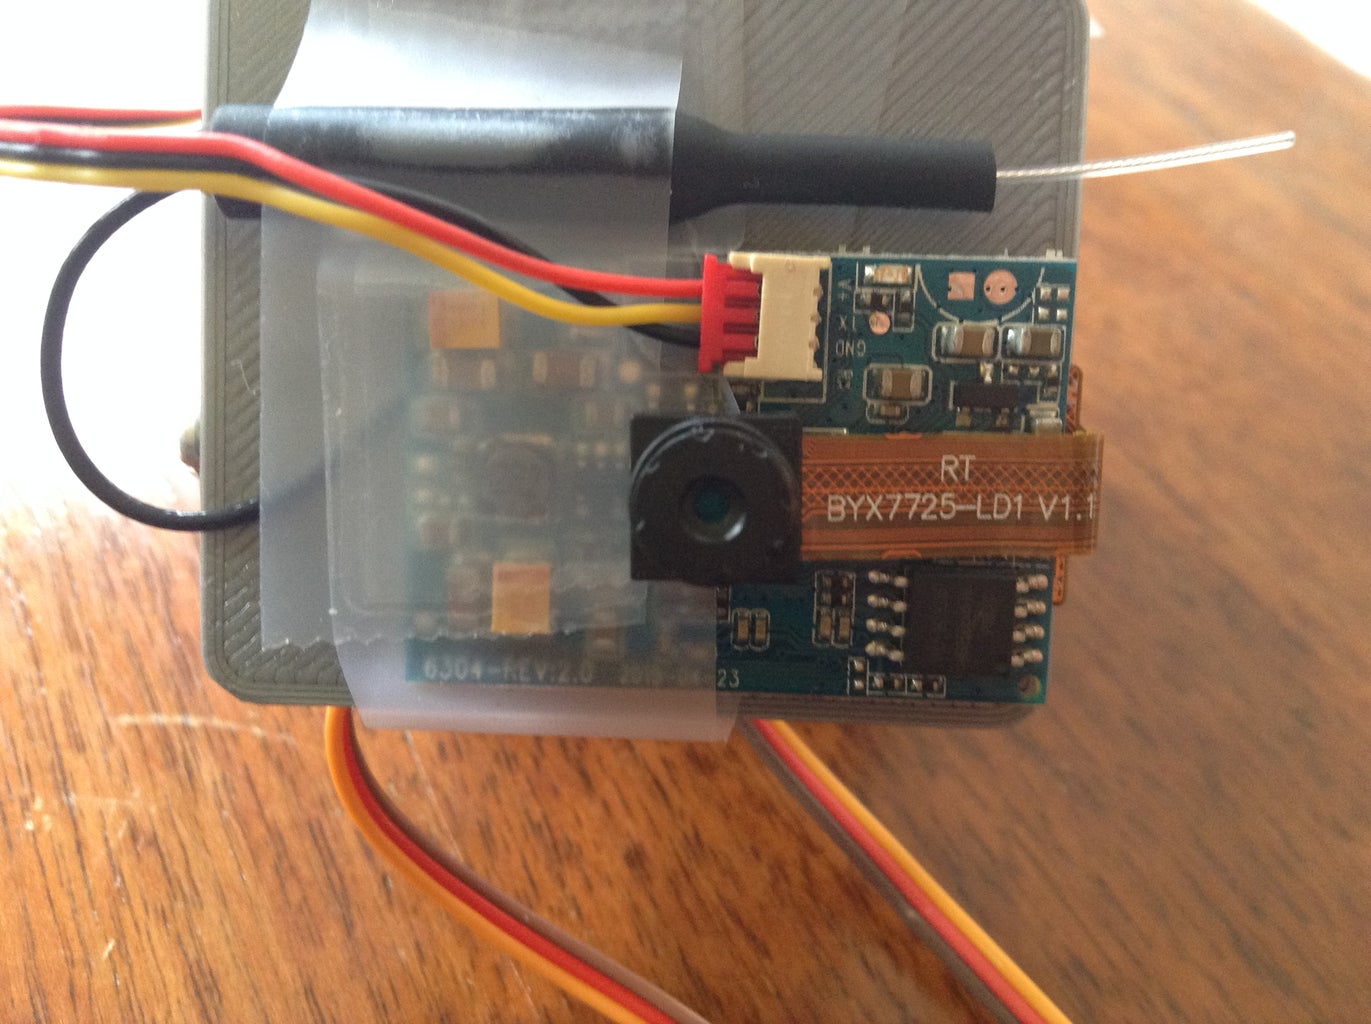
- Drone Camera w/ Antenna w/ wifi module**
- Jumpers (several)
- USB B cable
*I wrote a previous instructable about making a pan and tilt platform. You can buy one or make on yourself, either way works. If you'd like to make one yourself, here's my instructable: https://www.instructables.com/id/Simple-Arduino-Pan-Tilt-System/.
**I used the camera from a cheap WL toys drone.
Step 2: Wiring the Circuit


Let's get right in to the build:
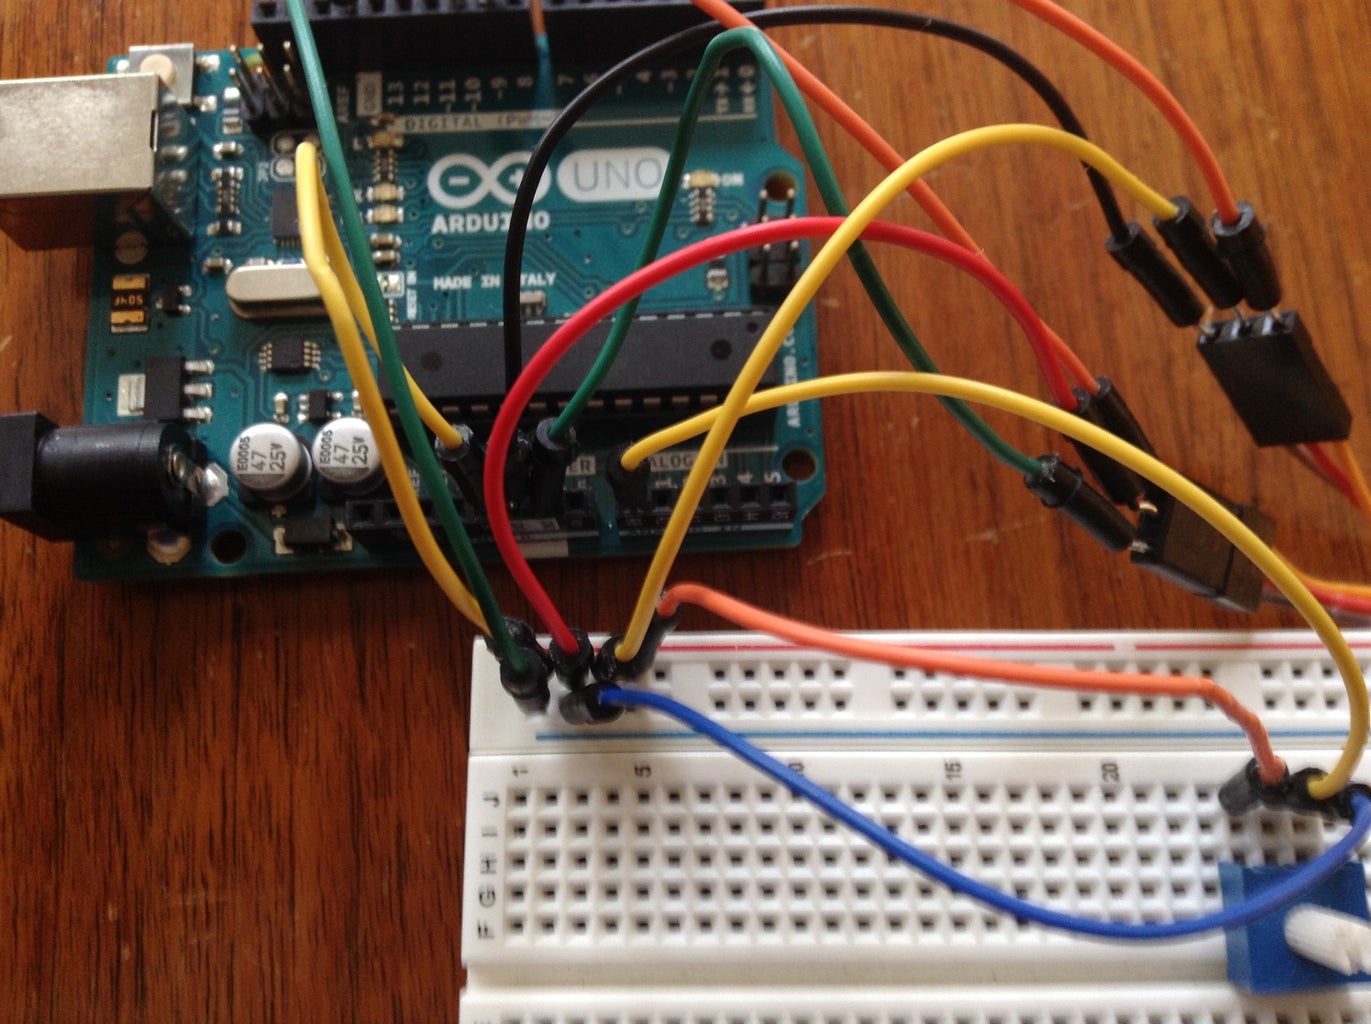
- Wire the 5v pin and one of the Gnd pins of the Arduino to the power bus of the breadboard.
- Connect the two servos to those power buses (positive to positive and ground to ground). The colors of the Servo wires will indicate whether said wires are positive or ground.
- Now wire the pan servo's input jumper to PWM pin 10 and the tilt servo's input jumper to PWM pin 9.
- Place the 10k pot in to the breadboard. Wire V+ to the right lead and Gnd to the left lead of said pot. Connect the middle lead of the potentiometer to analog pin "0".
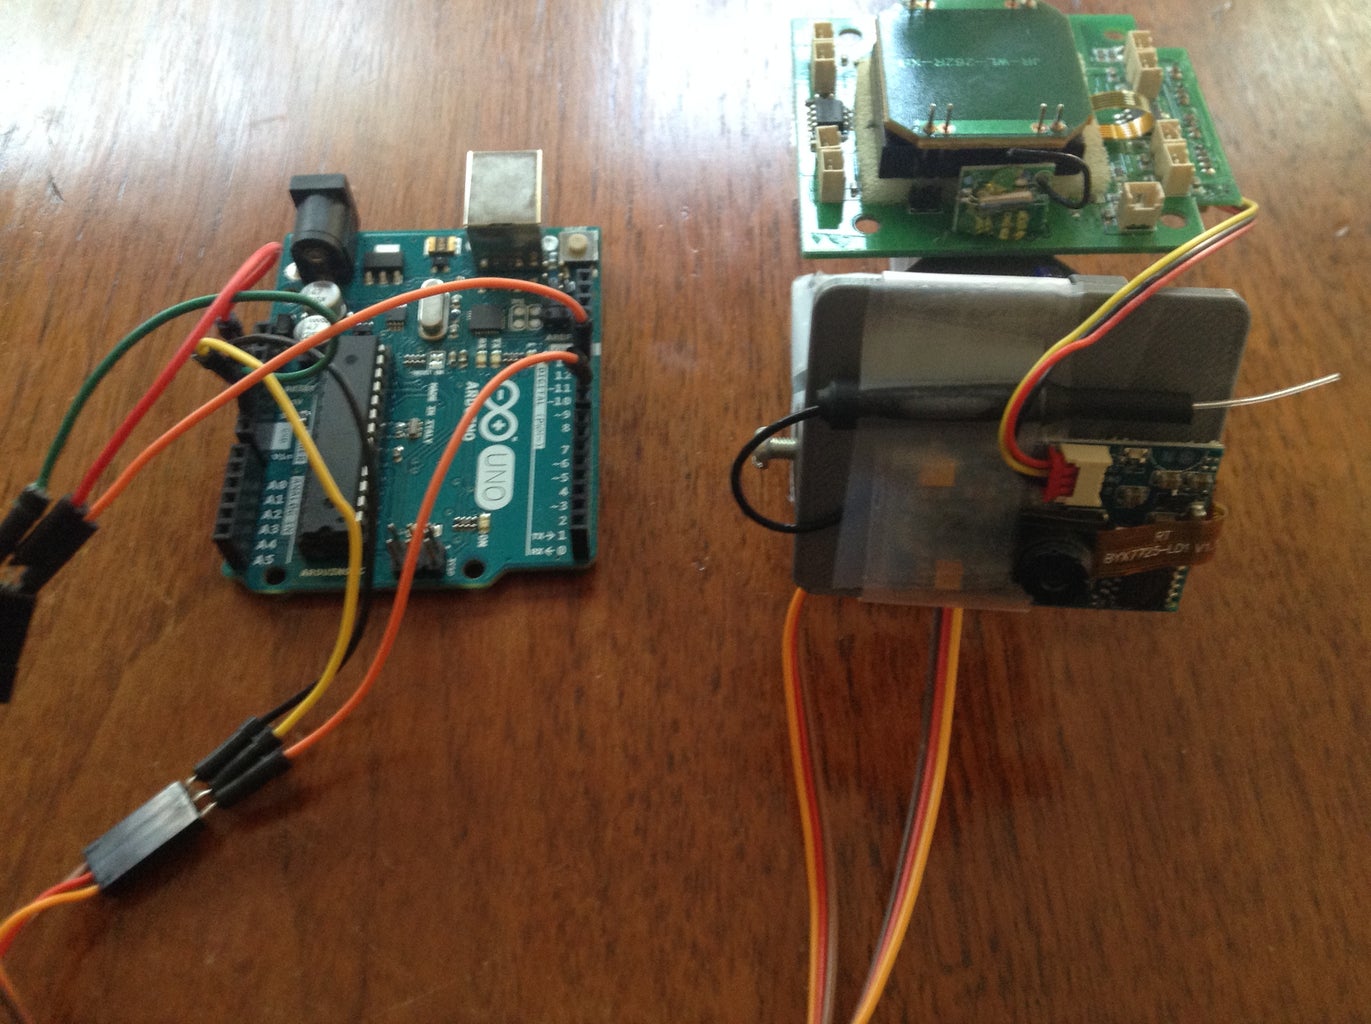
That's it for the circuit. Now just tape the camera to the tilt platform and the wifi module to a stationery portion of the pan/tilt platform. Now to the code!
Step 3: Code

I attached the .ino file above. This particular program causes the base servo to constantly sweep. The "tilt" servo can be adjusted by the 10k pot and any adjustment made will be made at the end of the sweep cycle that said adjustments were made.
Now for operation. You will need to connect your smart device to the wifi network of the camera. Now open whatever app you would use to drive that drone and, Ouila, you have a live feed from your camera. If you used the same camera as I did, you should be able to record, which is an added bonus.
Alright, that's pretty much it. Thanks for reading, and as always, Happy Making!
Attachments


Participated in the
Invention Challenge 2017

Participated in the
Makerspace Contest 2017


