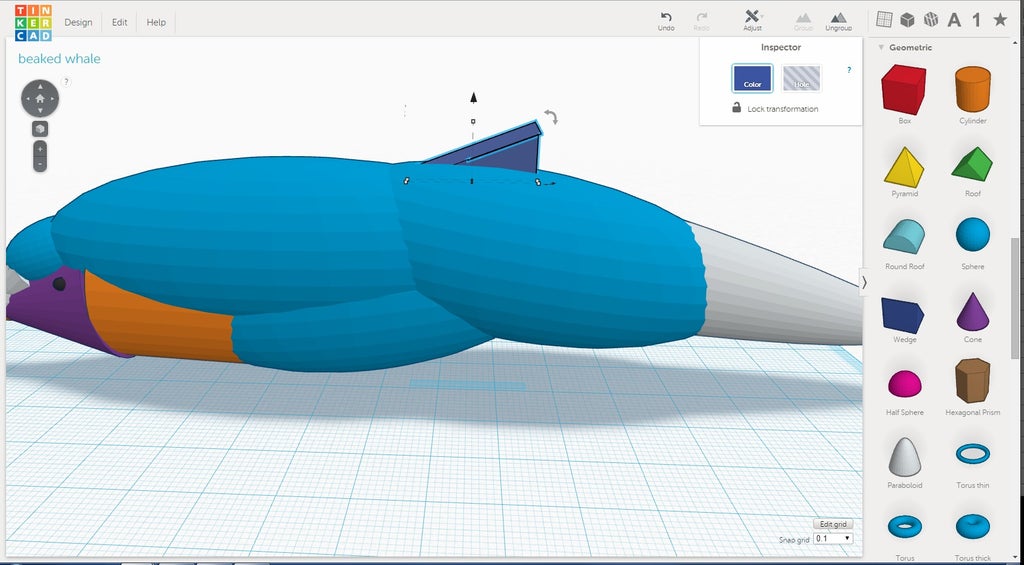
Introduction: Creating the Details


The following information is a single lesson in a larger Tinkercad project. Check out this and more projects on Tinkercad.
In this lesson you will add additional detail to the whale.
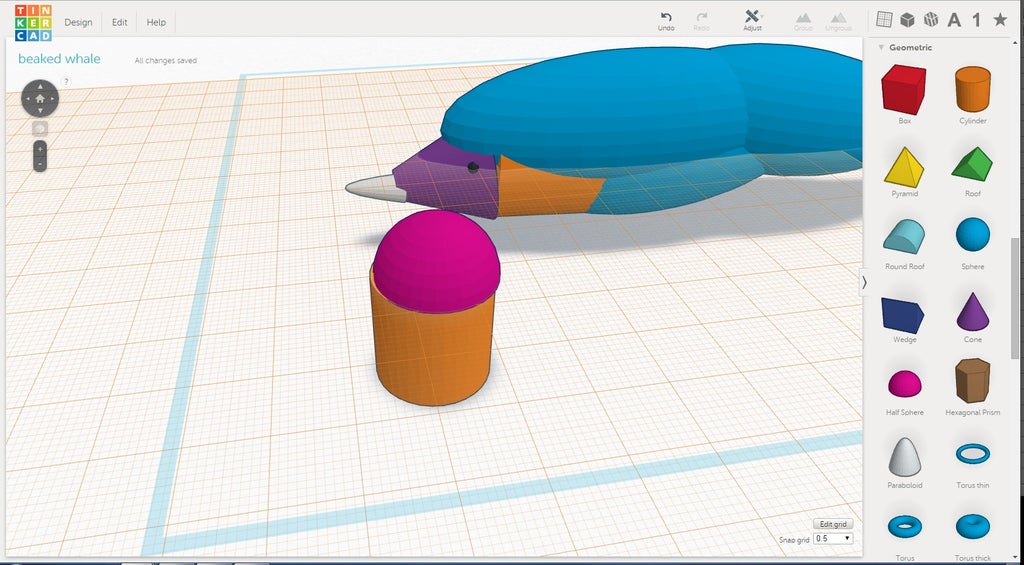
Step 1: Adding the Eyes
The following information is a single lesson in a larger Tinkercad project. Check out this and more projects on Tinkercad.
The eyes are between the height of the nose and the top of the head.
Instructions
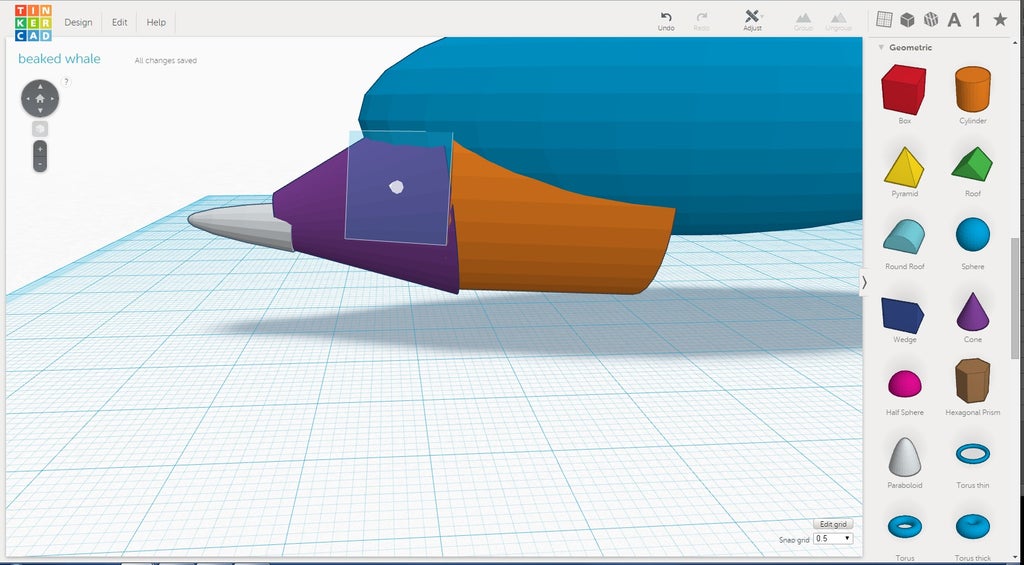
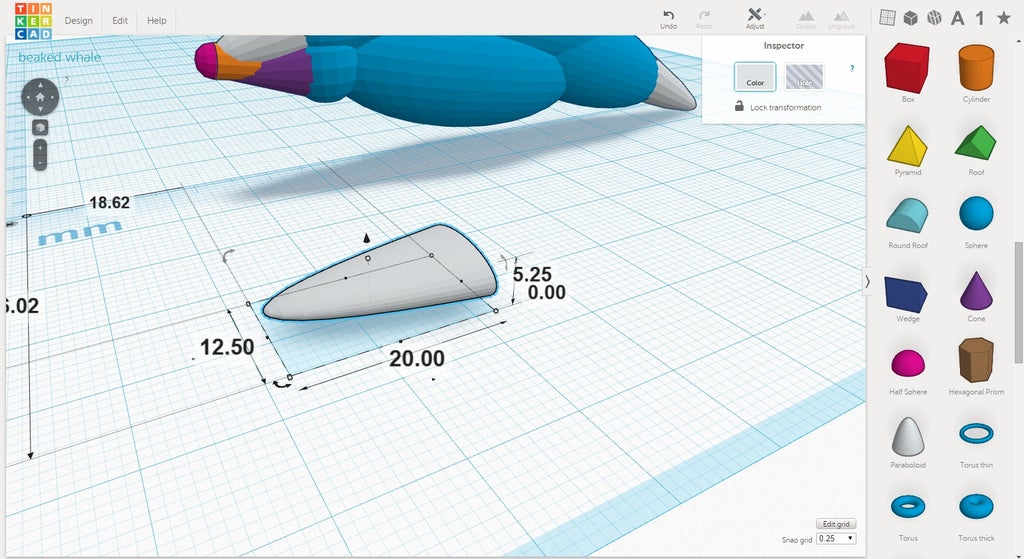
- Select the workplane tool by pressing "W". The image shows where to place the cone.
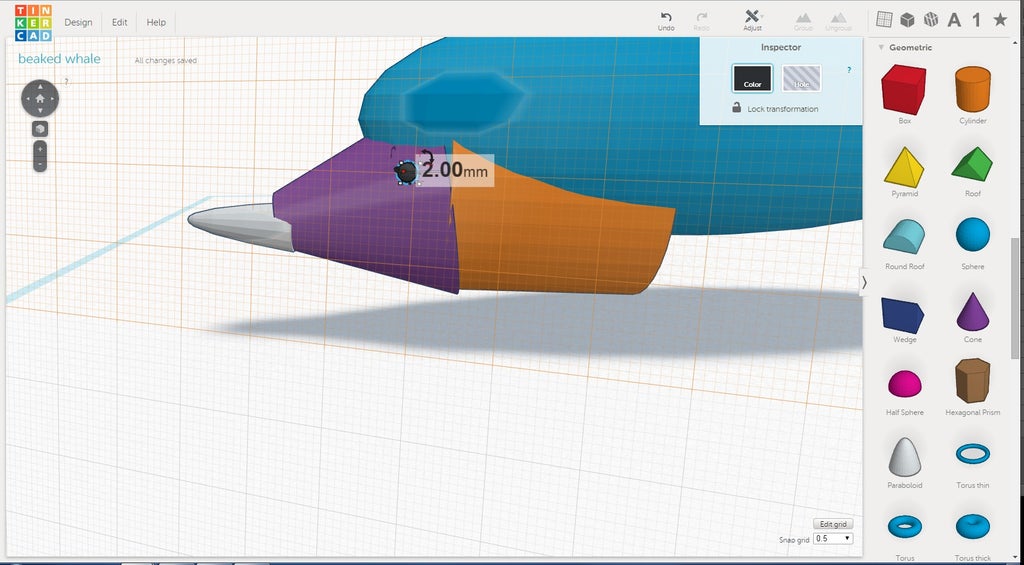
- Place a sphere on the workplane. Holding SHIFT, scale it down to 2mm.
- Align the sphere to the cone.
In the next lesson you will start making the smaller parts!
Next Lesson:Creating the details
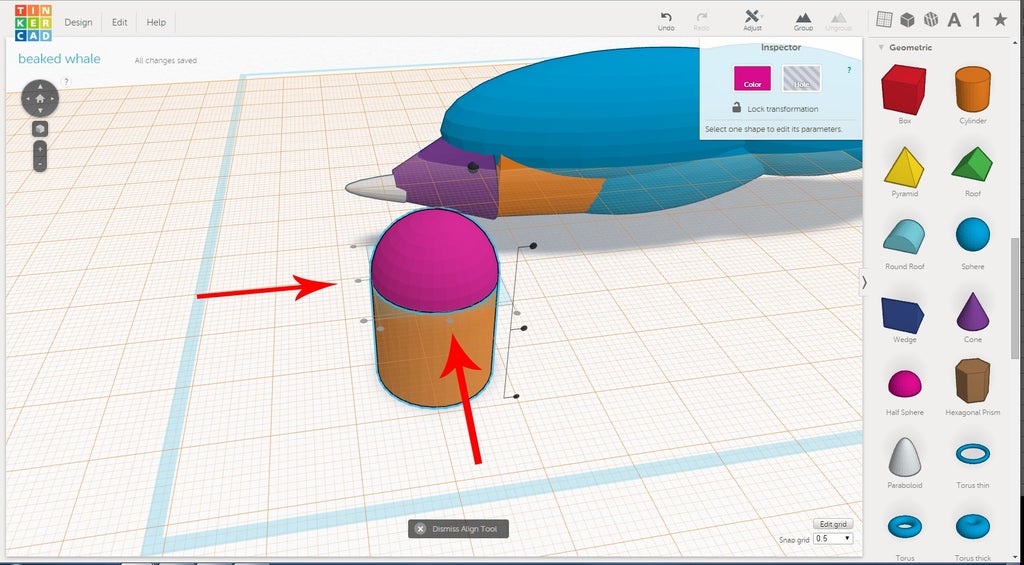
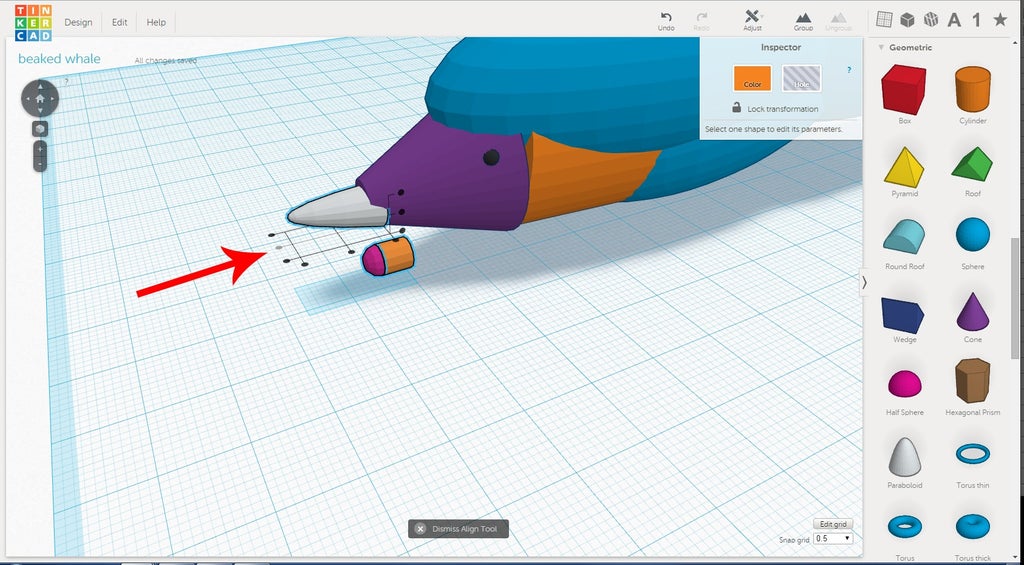
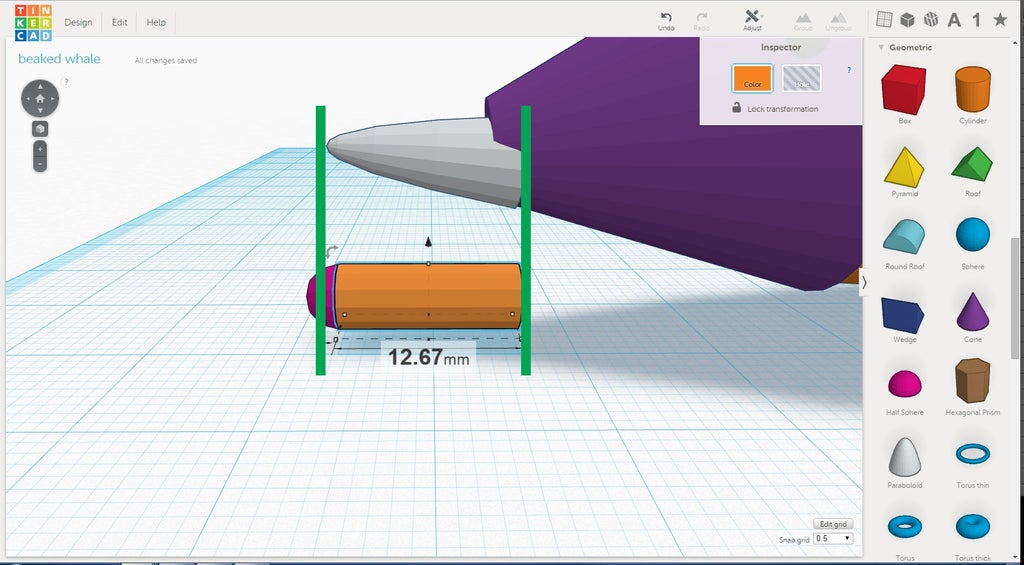
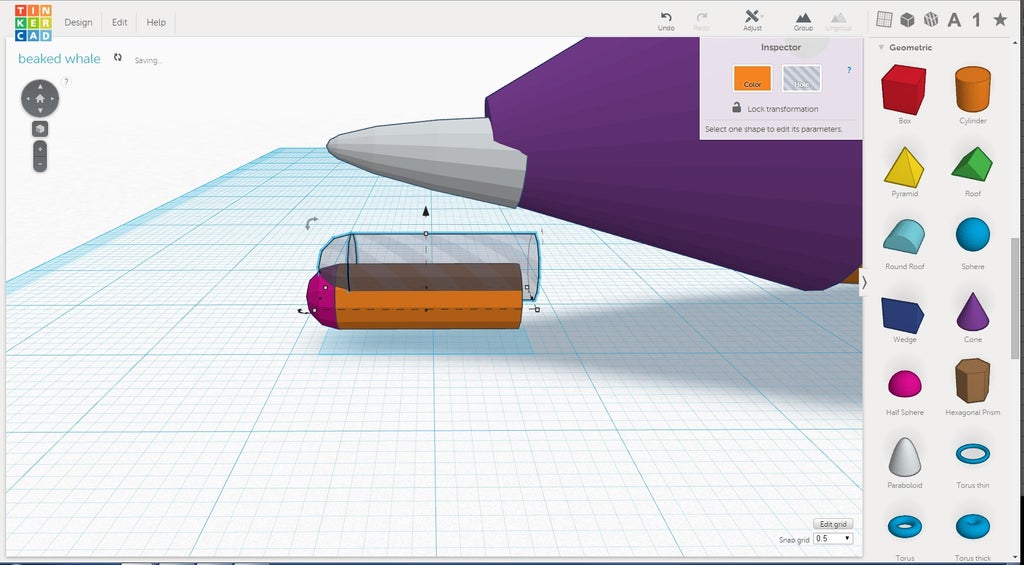
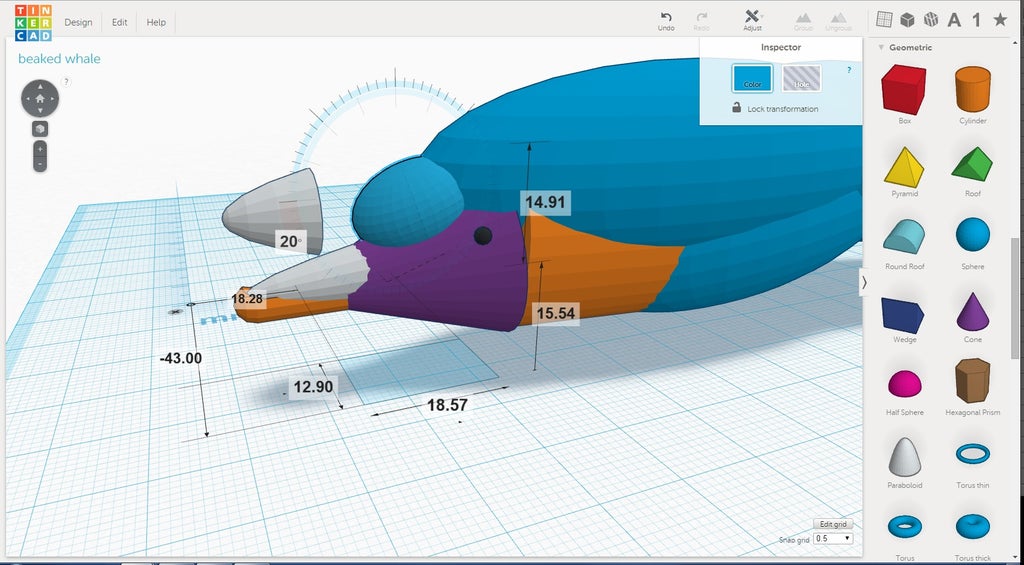
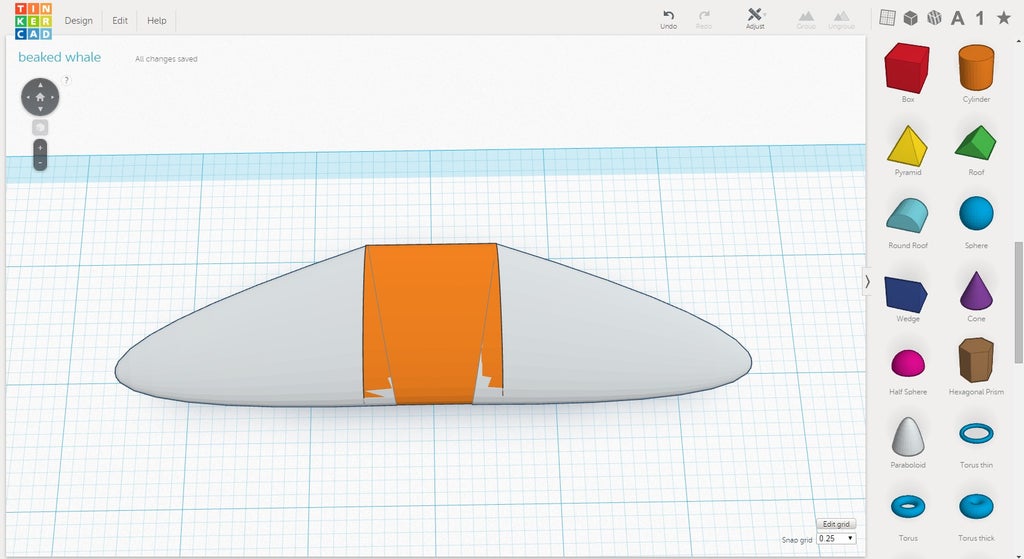
Step 2: Adding the Detail to the Head
The following information is a single lesson in a larger Tinkercad project. Check out this and more projects on Tinkercad.
In this step, we will create the mouth and the melon of the whale. The melon is the bulge on the forehead of the whale. It helps the whale project and receive sounds from the water.
Instructions
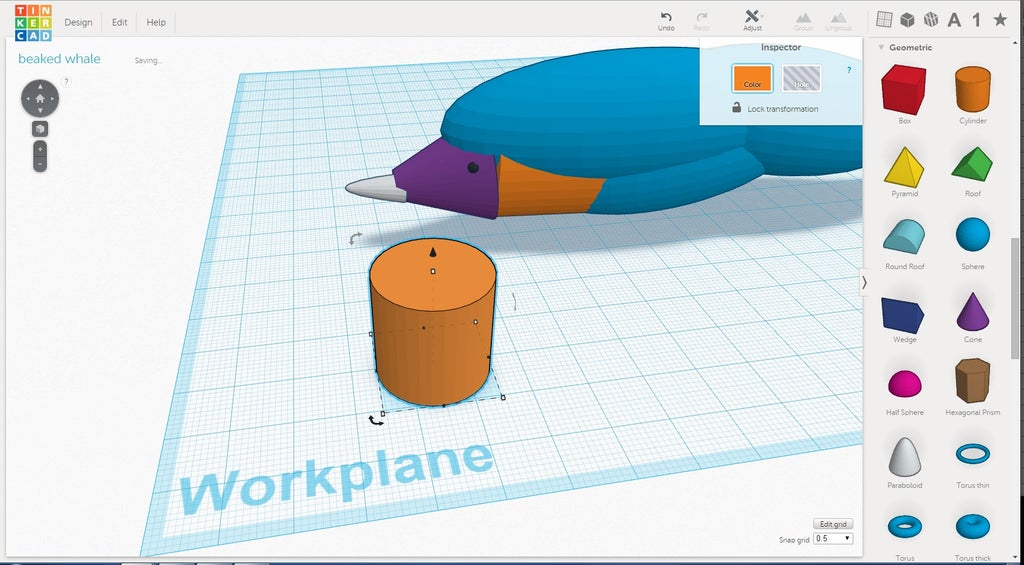
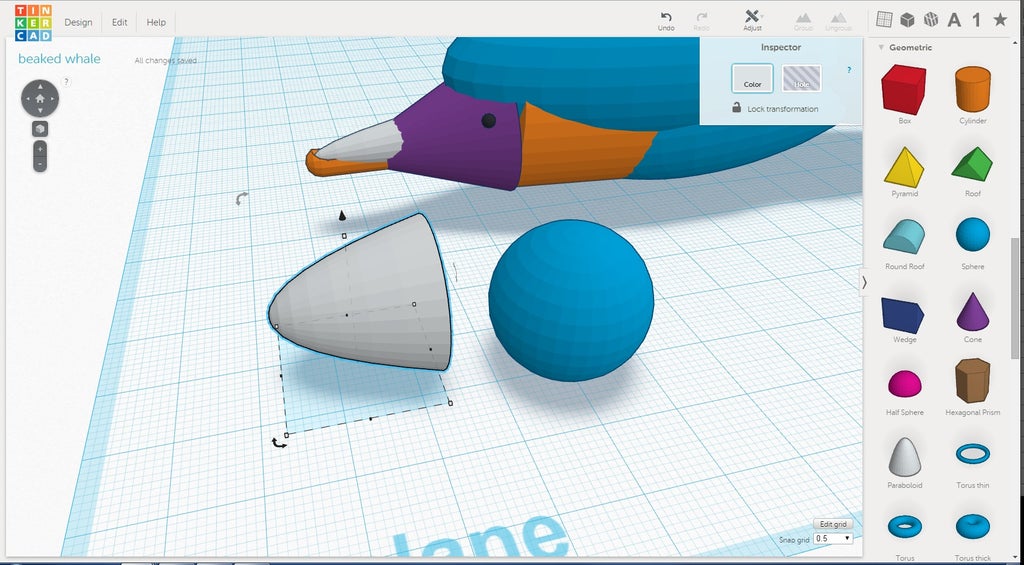
- Place a cylinder on the workplane
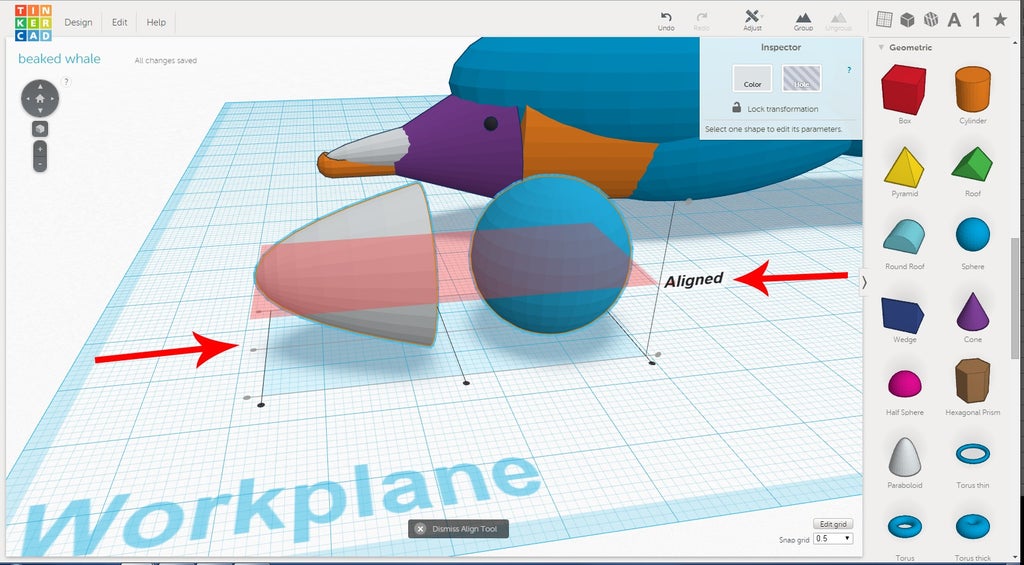
- Select the workplane tool pressing "W". Select the top of the cylinder and place a half sphere
- Align the cylinder and half sphere on the X and Y axis.
- With both selected and while holding SHIFT, scale them down to 7mm.
- Rotate them 90 degrees so that the half sphere points away from the body.
- Select the cylinder and scale its length to about 12mm
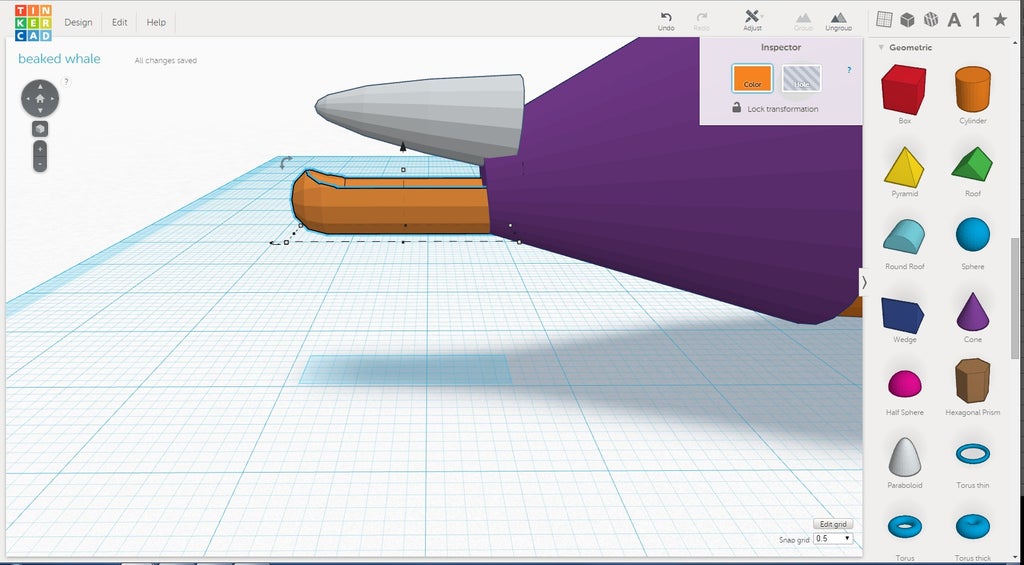
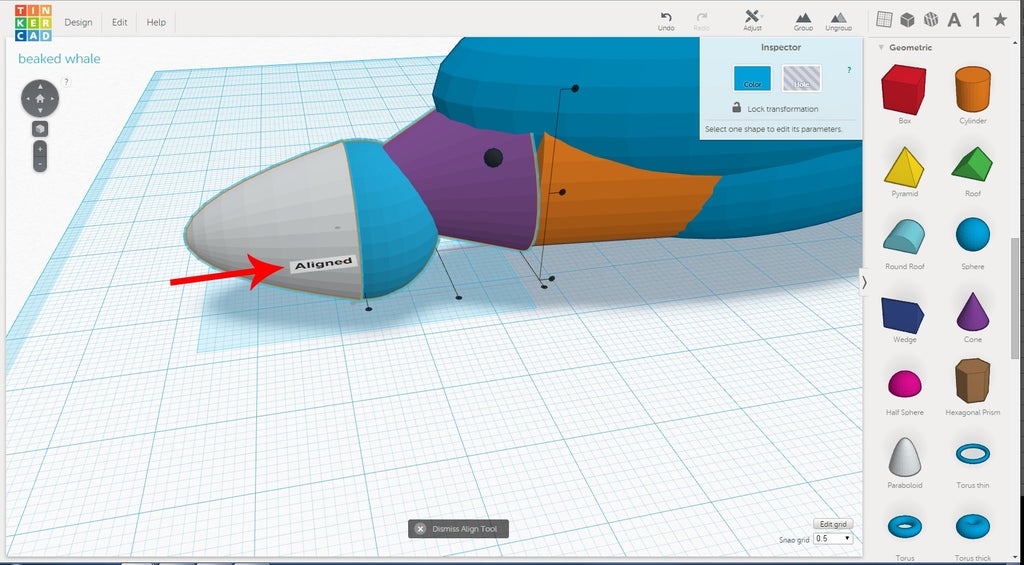
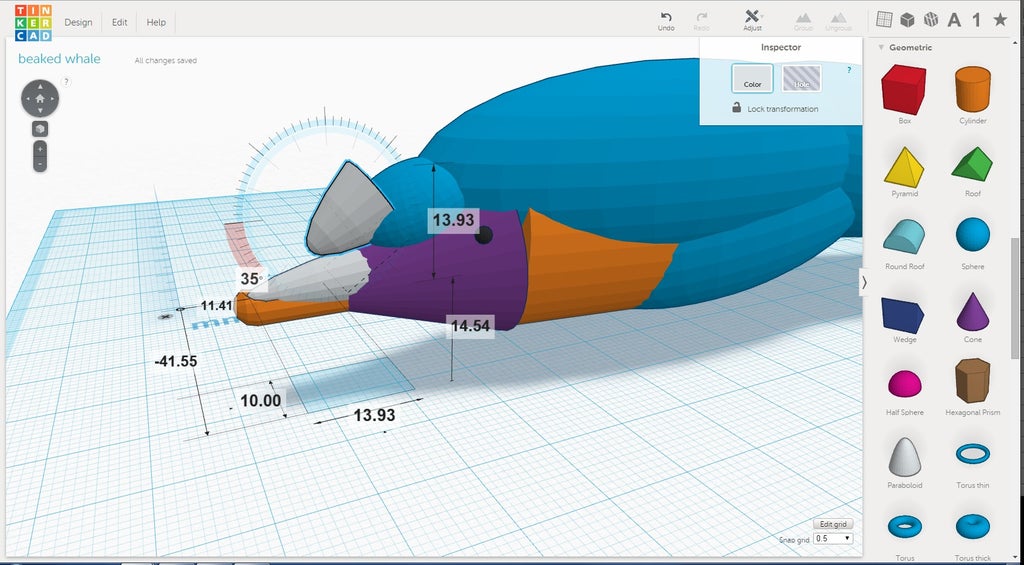
- Select the cylinder and half sphere and duplicate them. Move the duplicates half way up and slightly back as shown in the image. Make the duplicates a hole.
- Group the hole and orginal objects together. Move the group up to the bottom of the cone.
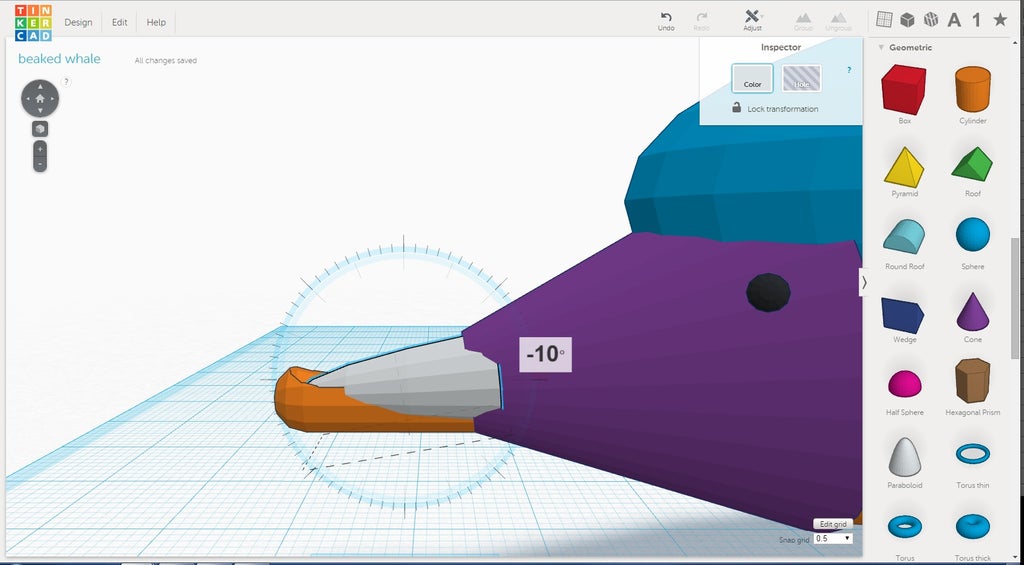
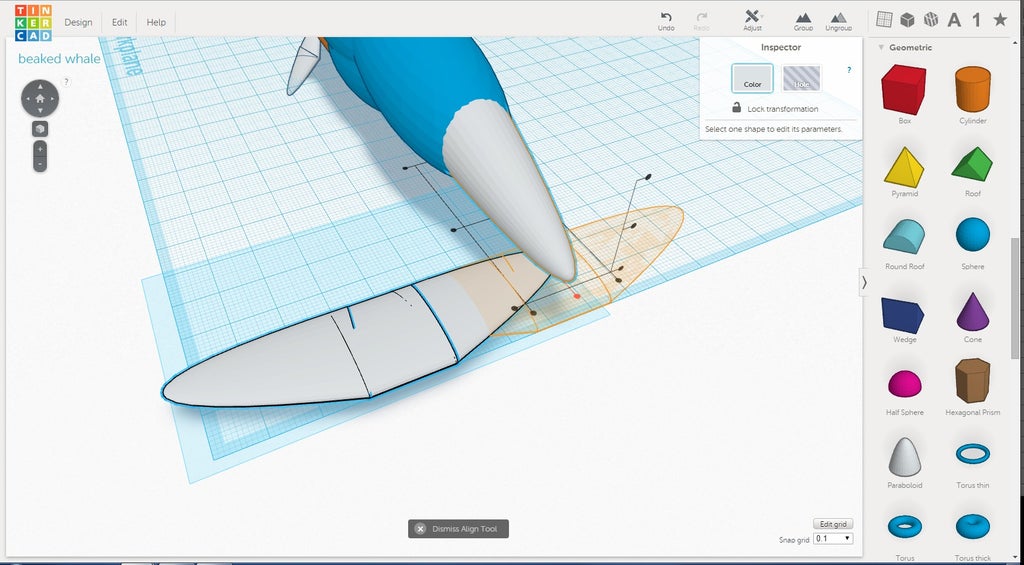
- Rotate the paraboloid down 20 degrees on the Y axis.
- Move the paraboloid so its base goes inside the cone as shown in the image.
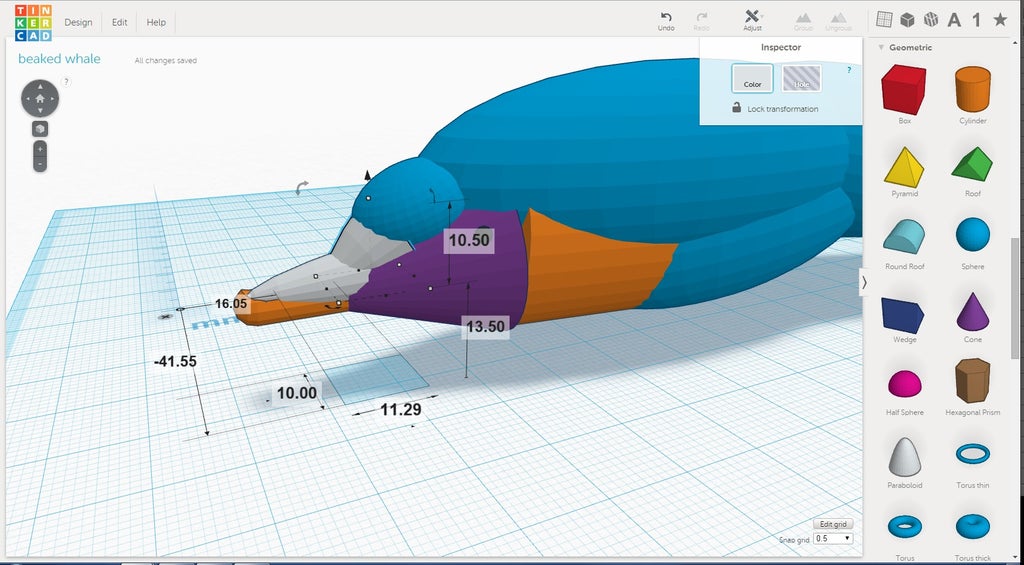
- To make the Melon, place a paraboloid and sphere on the workplane.
- Align them together on the Z and Y axis.
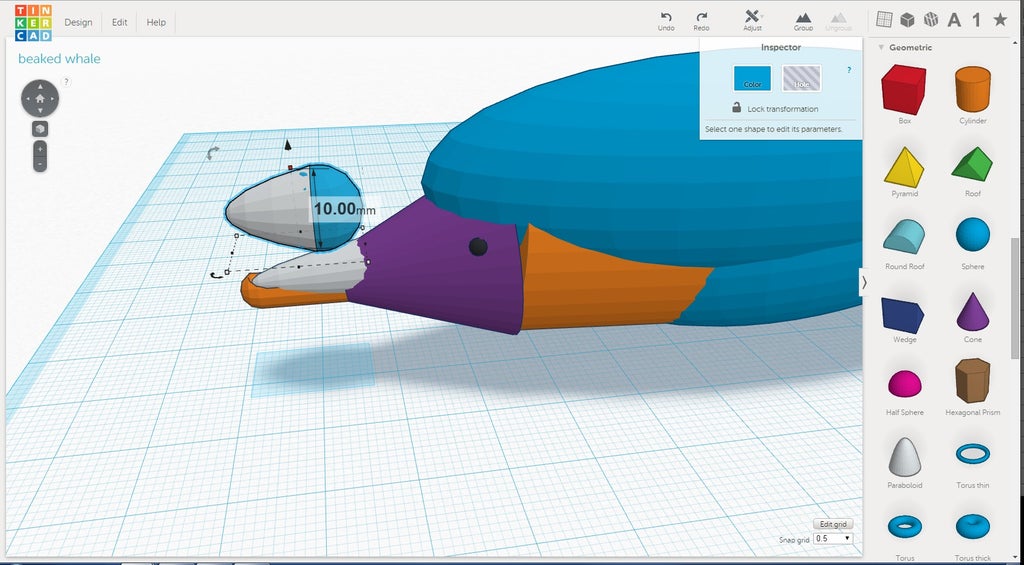
- Align the melon objects to the cone on the Y axis.
- Holding SHIFT, scale the melon down to 10mm.
- Scale the sphere to 13mmX16mmX10mm. See the image for help.
- Rotate the sphere 20 degrees down on the Y axis.
- Rotate the paraboloid 35 degrees down. Move it towards the sphere.
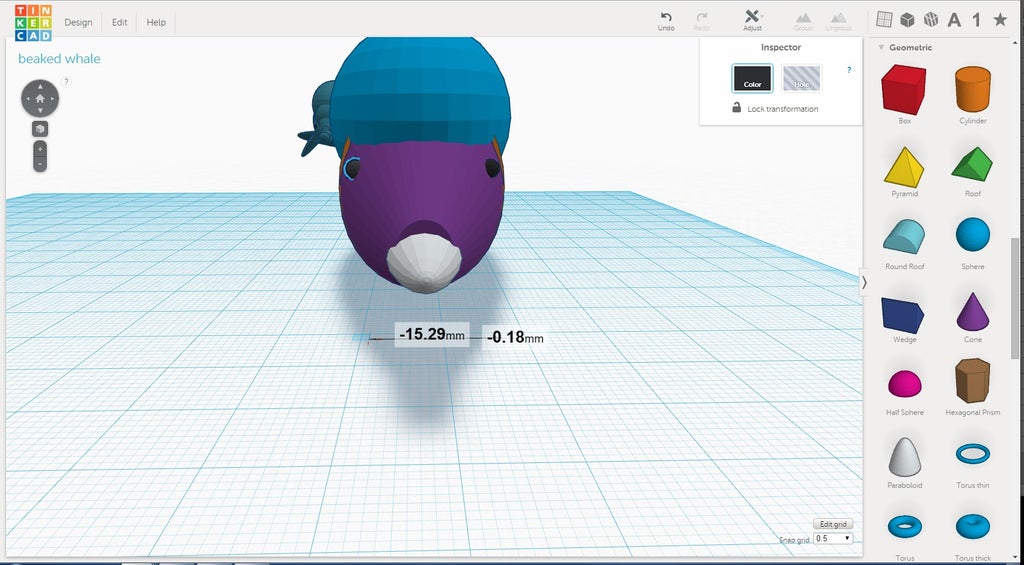
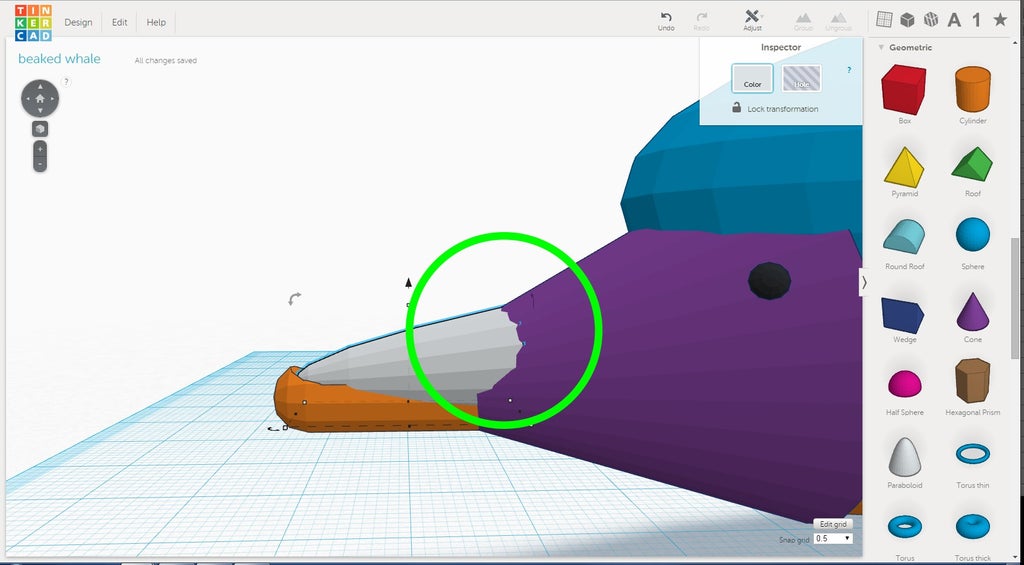
- When finished, the melon should look like the image below.


In the next lesson you will start making the smaller parts!
Next Lesson:Creating the details
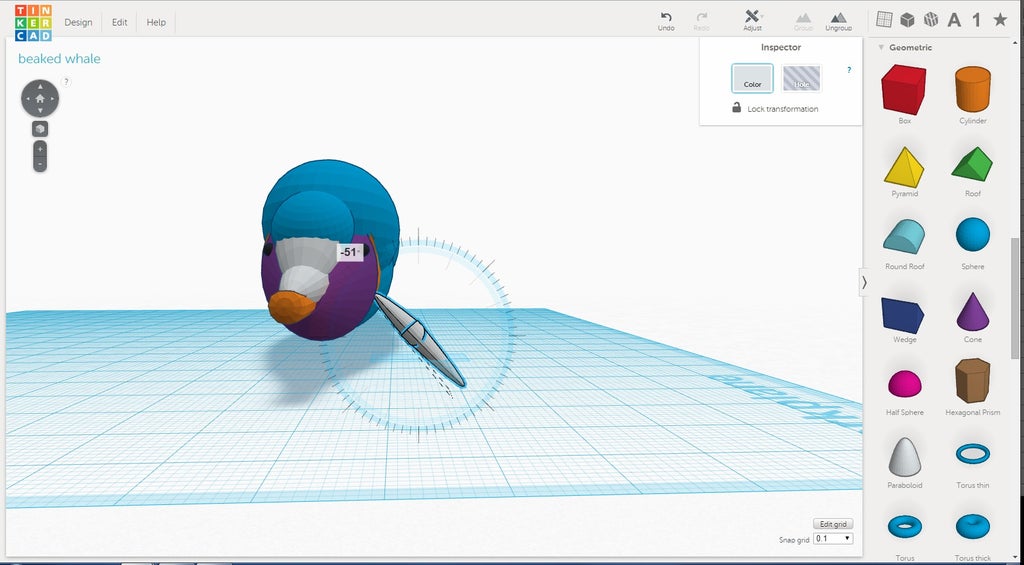
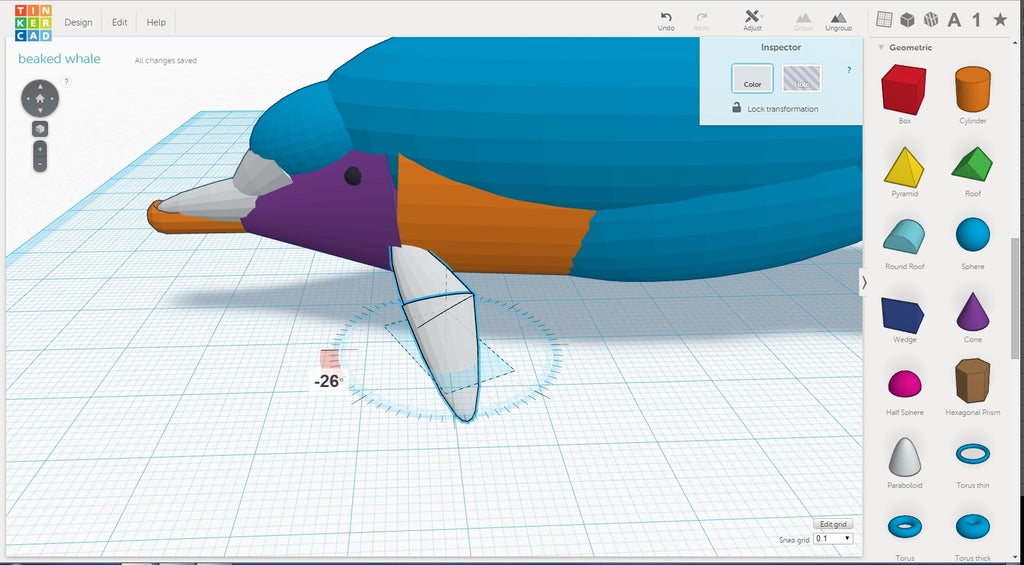
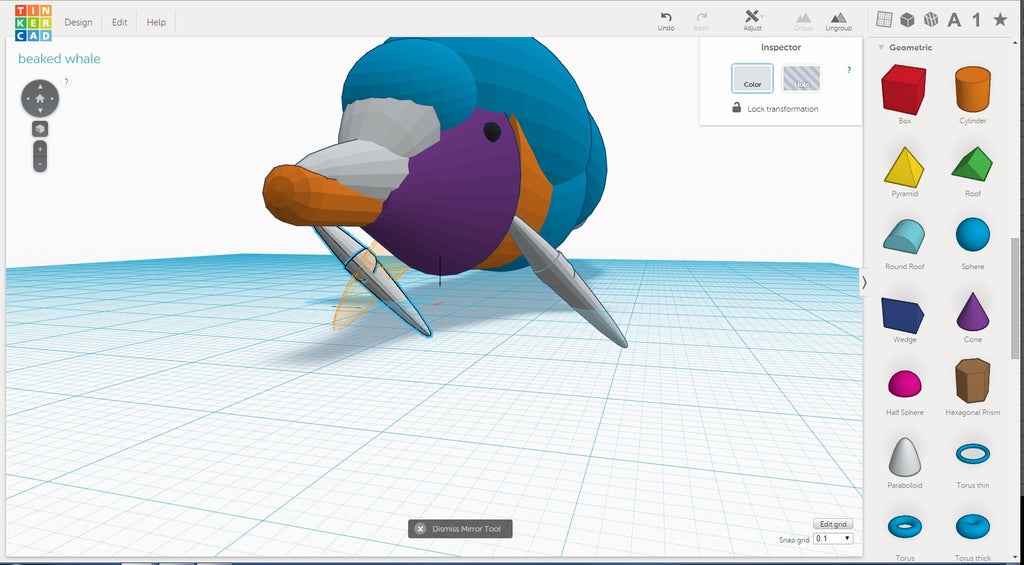
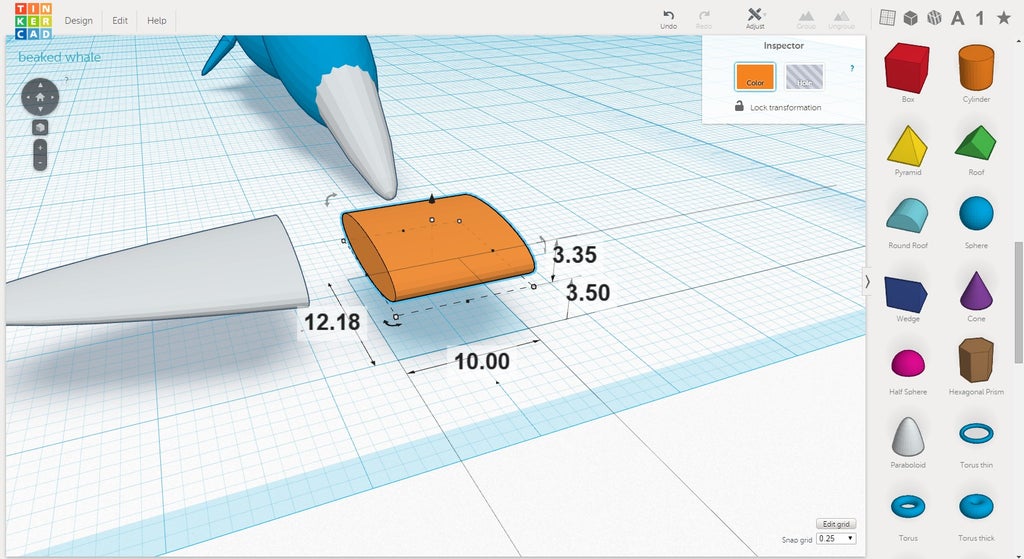
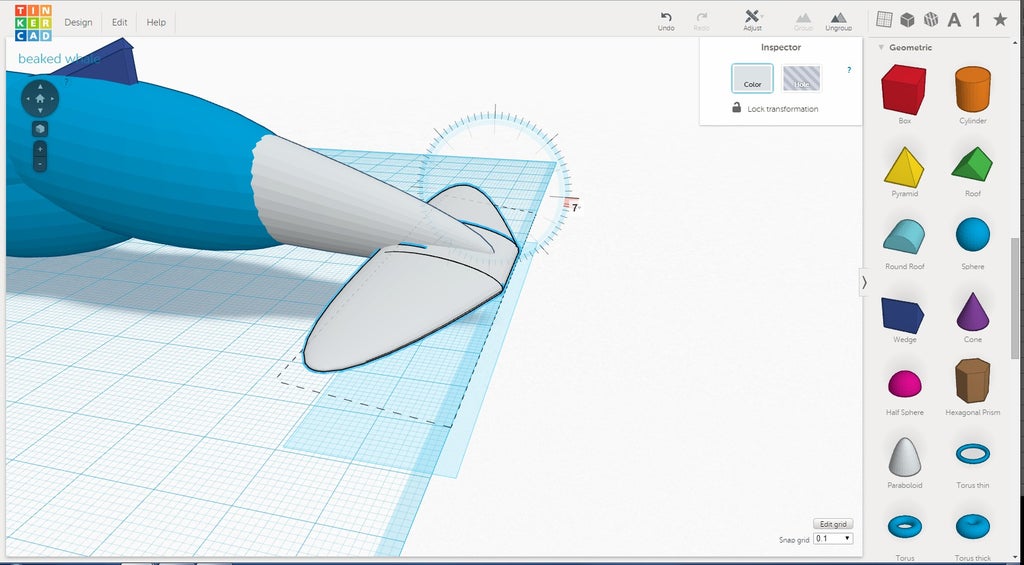
Step 3: Creating Pectoral Fins
The following information is a single lesson in a larger Tinkercad project. Check out this and more projects on Tinkercad.
The pectoral fins are the fins on the side of the whale.
Instructions
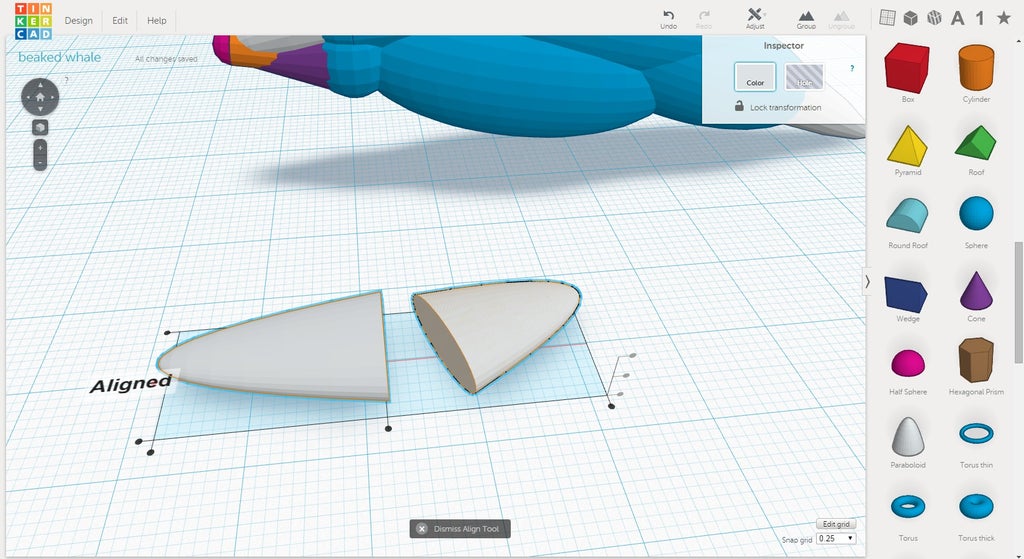
- Place a parabolic and rotate it 90 degrees on its side. Scale on each axis to create a shape similar to the image below.
- Make a duplicate and mirror it to point the other way.
- Rotate the duplicate on the Z axis
- Select both objects and align them as the image shows.
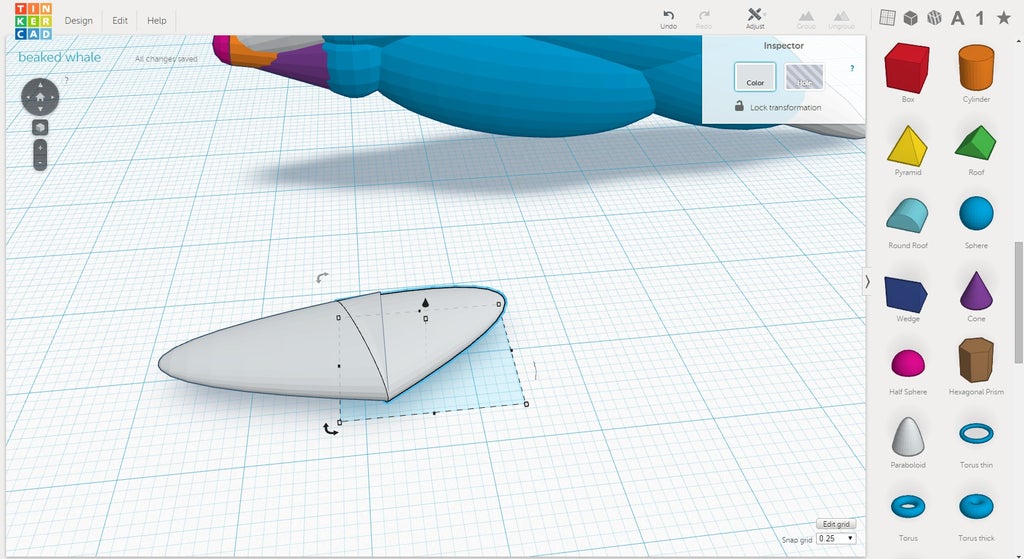
- Move them together until there is no space between them.
- Group them together. Holding SHIFT, scale on all axis to 4mm.
- Rotate 90 degrees, so the smaller half is pointing towards the whale body.
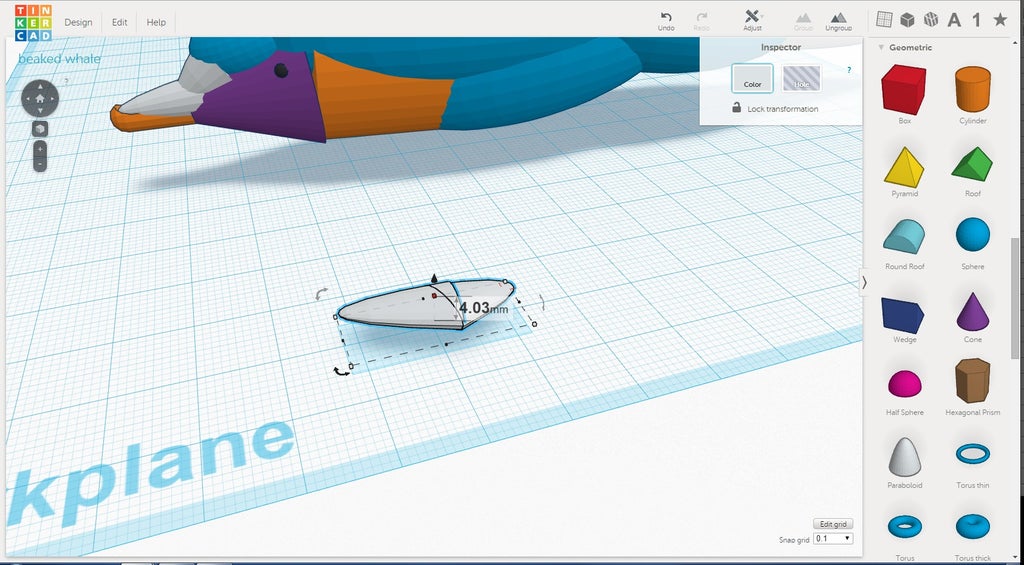
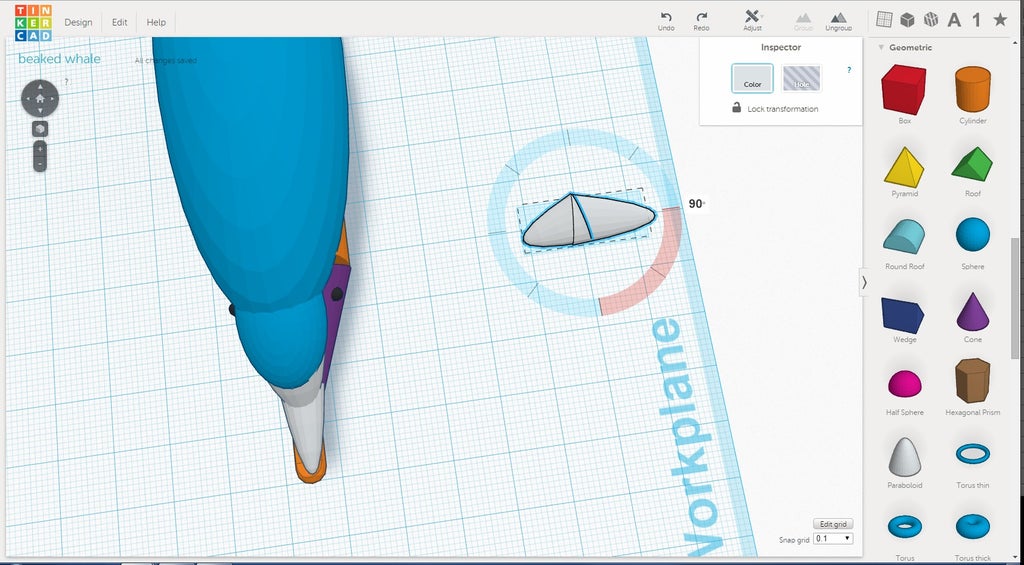
- Position the camera to face the front of the whale. Rotate the final down about 50 degrees.
- Lastly, rotate on the Z axis about 25 degrees towards the tail. Move the fin so it touches the body
- Copy and mirror the final to the other side.


In the next lesson you will start making the smaller parts!
Next Lesson:Creating the details
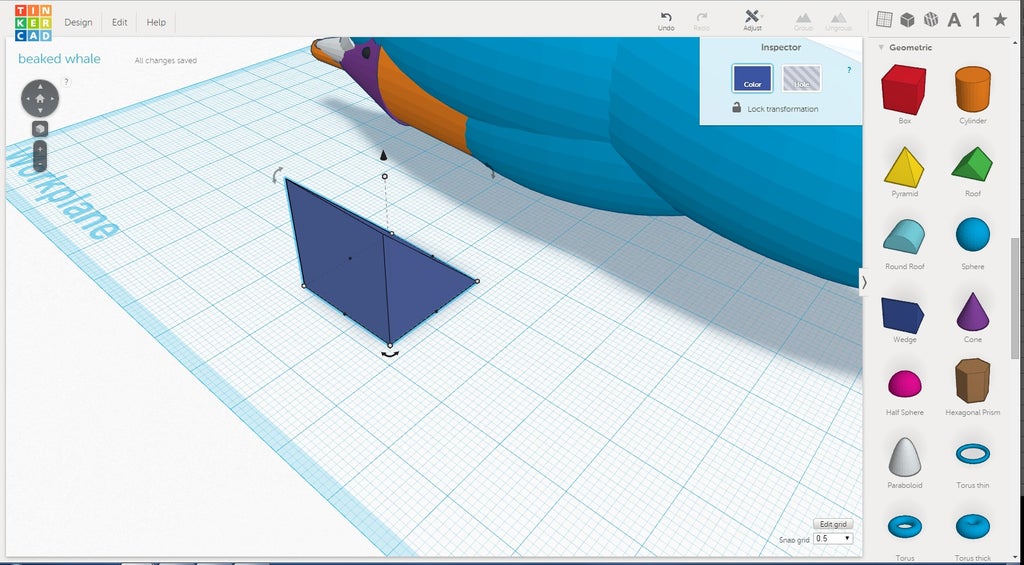
Step 4: Creating the Dorsal Fin
The following information is a single lesson in a larger Tinkercad project. Check out this and more projects on Tinkercad.
The dorsal fin is on the back of the whale.
Instructions
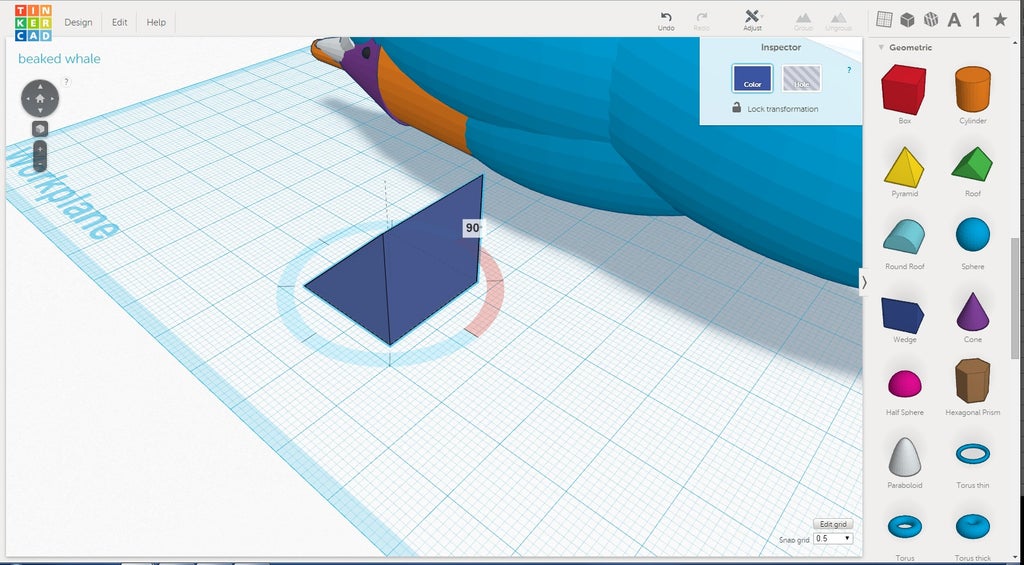
- Place a wedge on the workplane
- Rotate it 90 degrees on the Z axis
- Scale the height down to 9mm.
- Scale the width to 2mm
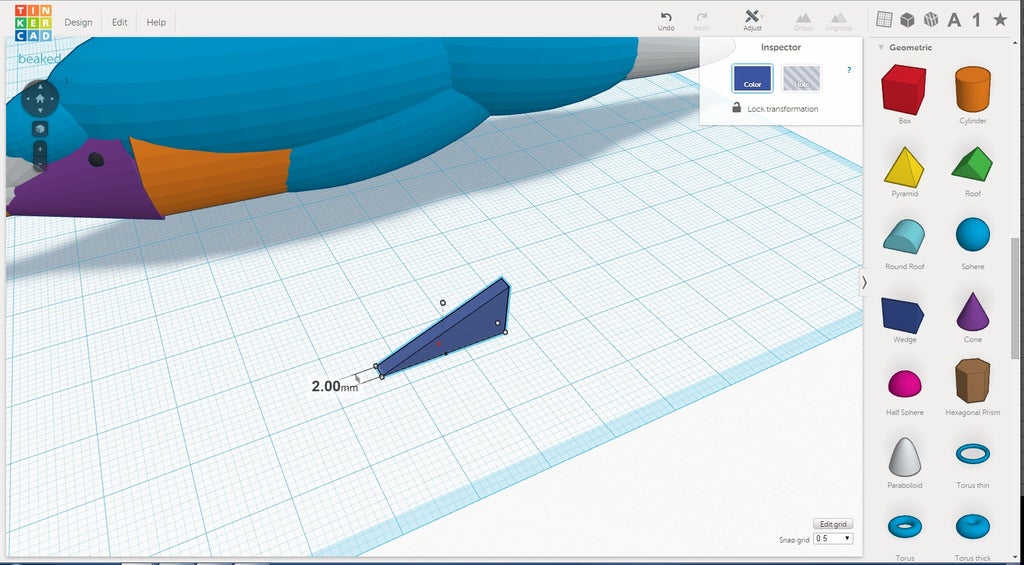
- Use the workplane tool to select the top surface of the wedge.
- Place a Roof on the workplane
- Scale its height and width to 2mm.
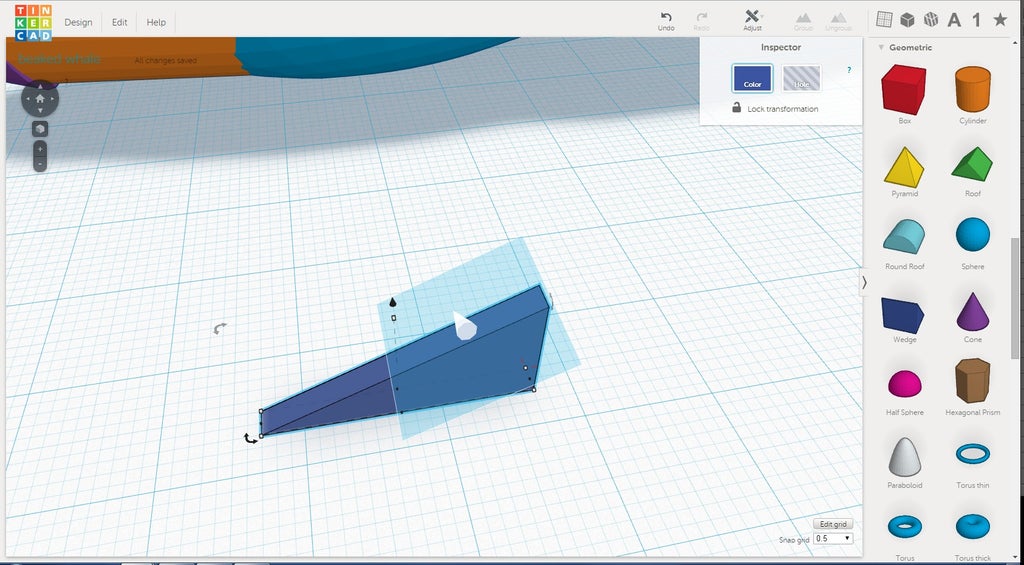
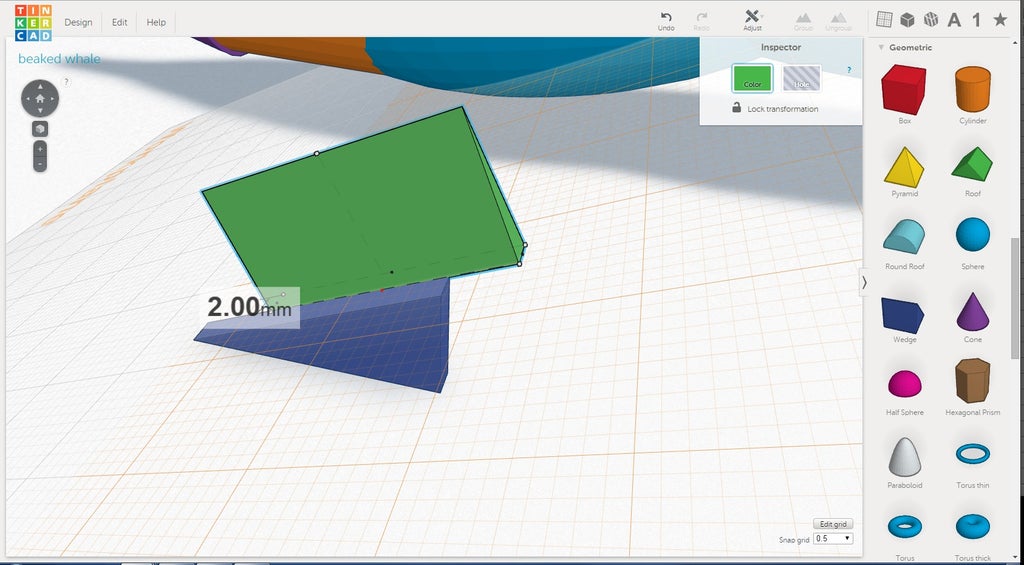
- Change to the Workplane tool and select the side of the Roof.
- Move the Roof down the wedge and line up the edge
- Move the Roof down the wedge and line up the edge

In the next lesson you will start making the smaller parts!
Next Lesson:Creating the details
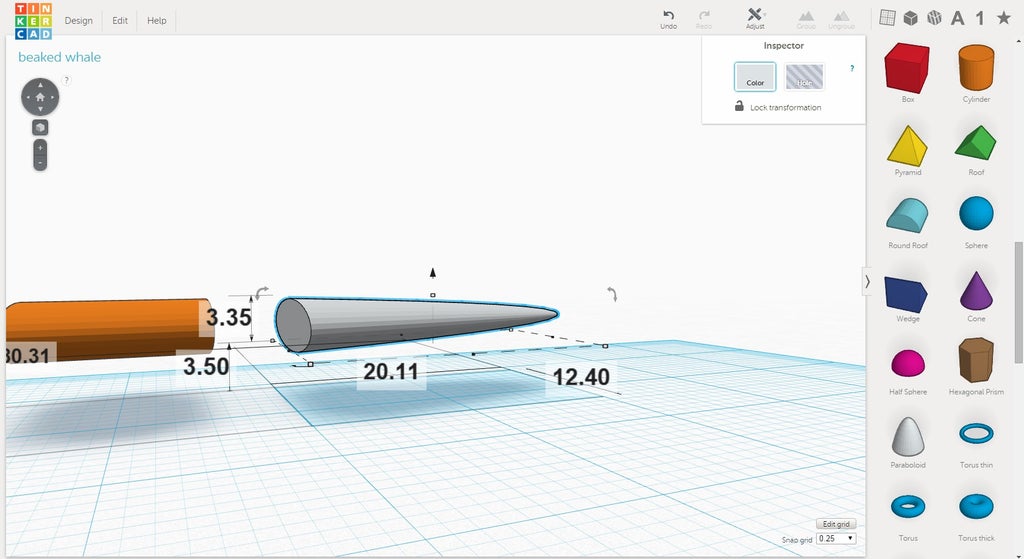
Step 5: Tail Fin


The following information is a single lesson in a larger Tinkercad project. Check out this and more projects on Tinkercad.
The tail fin is at the end of the whale.
Instructions
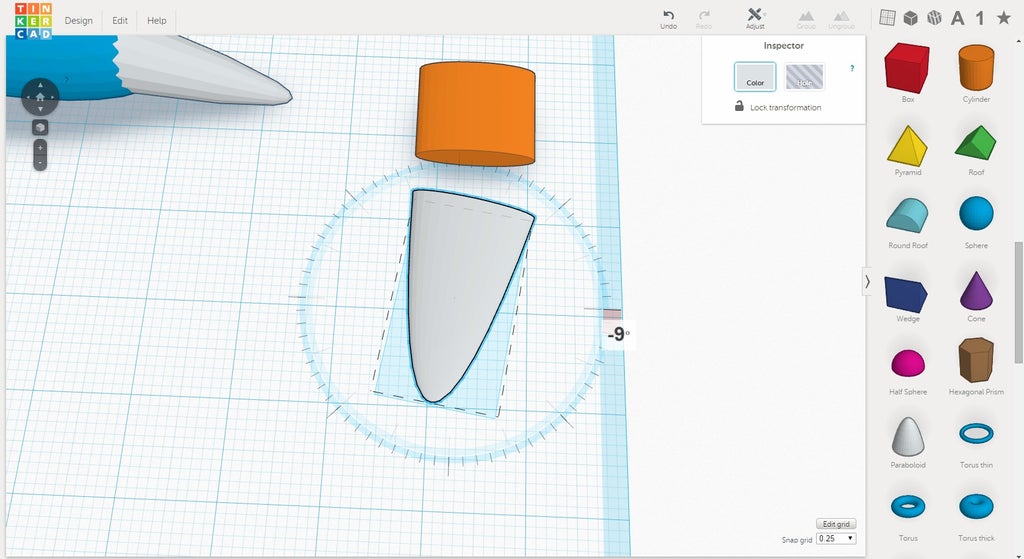
- Place a cylinder and paraboloid on the work plane. Rotate them 90 degrees so they rest on their side. Scale the cylinder to the dimensions in the image.
- Scale the paraboloid to the dimension in the image.
- Position the camera to look down on the paraboloid. Rotate the cylinder -9 degrees on the Z axis.
- Align the Paraboloid and the Cylinder. Move the paraboloid so that it looks like the image.
- Make a duplicate of the paraboloid and mirror it to the other side.
- Group all three shapes together. Align the group to the tail paraboloid.
- Rotate the tail down a bit.
- Continue to the next step

Step 6: Congratulations!
The following information is a single lesson in a larger Tinkercad project. Check out this and more projects on Tinkercad.
The tail fin is at the end of the whale.


