

Introduction: DIY Convert a Standard Convection Oven to a 3000W Electric Pizza Oven

Neapolitan pizza is considered by many to be the best pizza of all. Creating this pizza isn't as easy as other types of pizza. A lot of effort is put into creating the pizza, and quality ingredients must be used. The most difficult step to replicate at home is baking the pizza. These types of pizza are baked at temperatures much higher than a normal household oven can reach (485c or 905f). This high temperature is necessary to completely cook the pizza in 60-90 seconds.
This instructable will show you how to convert a normal oven to a pizza oven capable of reaching high temperatures.
Supplies
TOOLS:
- Drill
- Angle Grinder
- Welder
- Screwdrivers
- Insulation knife
- Multimeter
- Measuring equipment (ruler, tape measure)
MATERIALS:
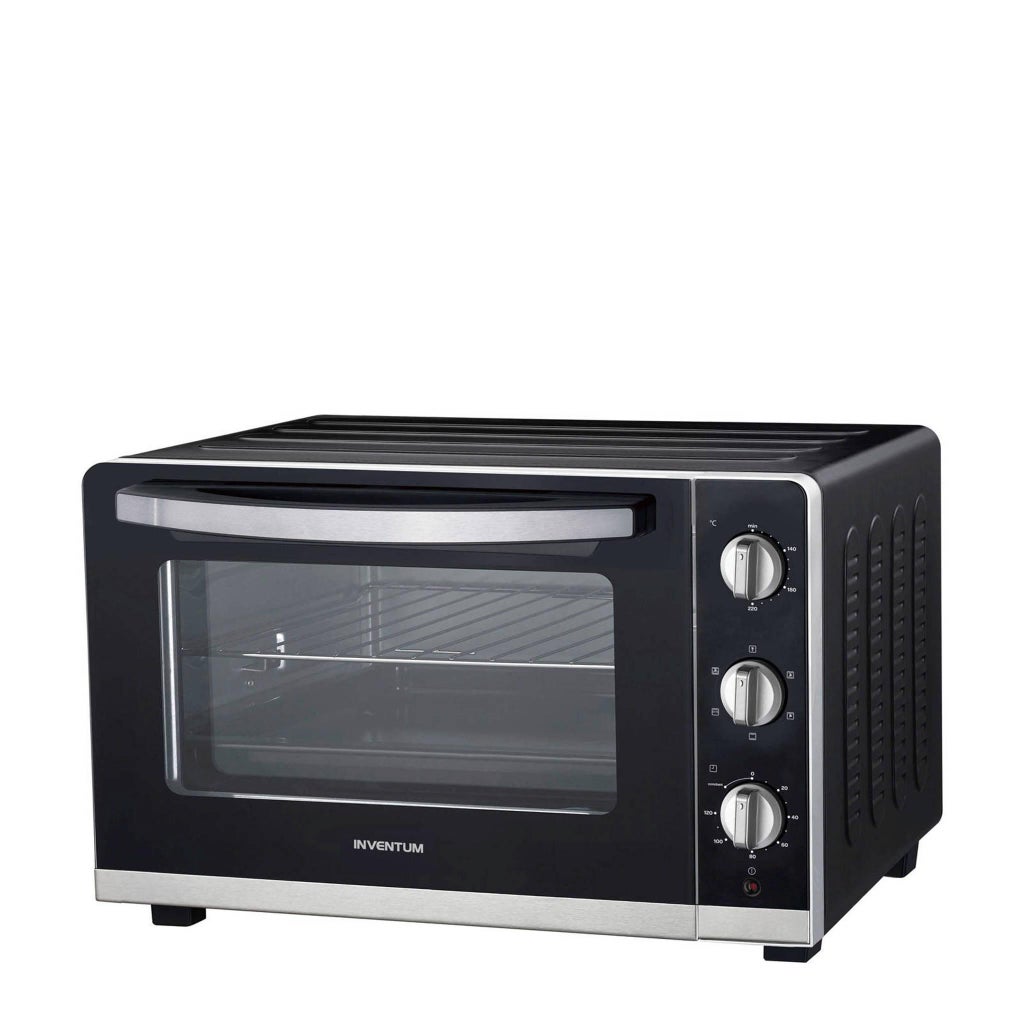
- (Old) standard convection oven, we have used a Inventum OV606
- Pizza Stone
- Some steel tubes (https://www.hornbach.nl/shop/KAISERTHAL-Vierkante-buis-20x20x1-5-mm-staal-300-cm/7810829/artikel.html)
- Custom heating elements (https://aliexpress.com/item/1005004042928444.html)
- PID controllers & temp sensor (https://aliexpress.com/item/32953281745.html)
- Wires (heat resistant)
- Insulation
- Power cord
- Fan
- Bimetal switch
- Fuse
Step 1: Removing All the Parts We Don't Need

We need to remove all the old electronics, since we are planning to replace them. This includes heating elements, knobs, motors and all the wiring. After this step, you should be left with a barebones oven.
Step 2: Reinforcing the Oven


To ensure that the oven is really sturdy, we added steel bracing on the back of the oven. We also made a small steel frame for the pizza stone to sit on. In the next step we will also show another advantage of the small frame. The frame is bolted to the bottom of the oven. By adding the frame to the back, we are also able to insulate the rear of the oven.
Step 3: Mounting the Heating Elements


For this oven, we chose 2 heating elements. one 1000W heating element at the bottom of the oven, and a 2000W heating element at the top of the oven. The elements will be controlled seperately with a PID controller. The bottom one will heat up the pizza stone, so we mounted it inside the frame at the bottom of the oven. This will ensure good heat transfer. The top element is mounted tot the side of the oven, this way all the connections will be in the wiring compartment.
Step 4: Mounting the Electronics


The electronics are mounted in the side compartment of the oven, to cool them we added a fan in the back. The old electronics also used to live here. We mounted the Two PID controllers in place of the old knobs. The Solid State Relays are mounted on the bottom of the oven. These are used to switch 230V with a low voltage DC control signal from the PID controller. The PID controllers also come with a temperature probe. We chose a K-type probe because they are suitable up to 1300 degrees celsius. The probes are mounted in the side of the oven, one above the pizza stone, and one around the top of the oven.
Step 5: Wiring


We've made a wiring diagram which you can use for reference. Overall this is a general design which should be applicable if you use the same hardware as we did. We've added safety features including a fuse, bimetal switch and a main switch. The bimetal switch is a switch that turns off when a certain temperature is reached. We will screw this to the outside of the oven. The switch is opened at a temperature of 60 degrees celsius, this way the oven never gets to hot to touch on the outside. The fuse is used to protect the oven from short circuits. The last safety measure is grounding all the parts and chassis of the oven, this is very important to prevent electric shocks.
Step 6: Insulating the Oven

This step is still a work in progress. We will add pictures and detailed info when we finished putting al the insulation in.
Step 7: Testing

For testing, we suggest placing the oven outside or in a controlled environment. This way, if anything catches fire nothing gets hurt. Try to power up the heating elements one by one, and very slowely. Don't go all out at the beginning. To test if the oven is working correctly, you could use a infrared thermometer to check the temperatures.


