Introduction: DIY Smart Door Knocking Detector
Most of us have been in a situation when somebody couldn’t get our attention because we were wearing a pair of headphones. It usually ends up fine as long as the attention seeker can poke us, but what if there is a barrier between the two?
For such occasions we made a simple home automation solution: whenever someone knocks on the front door, lights blink and a notification is sent to Slack.
The recipe:
1 Raspberry Pi
1 MicroSD card
1 Prota OS*
Optionally for the lights to blink:
1 Philips Hue or 1 smart power socket.
*If you decide to make this, send us a photo of a completed or in progress project and we'll send you a Prota license back. Send here.
Step 1: Check If You Have the Following Items.
In order to make this instructable make sure that you have Prota OS installed on your SD card. WLAN dongle which is shown in the picture is optional and you can use a LAN cable. However having WLAN makes installation process a lot easier.
Step 2: Connect Sound Sensor to Your Raspberry Pi.
Connect as following:
Sound sensor’s power to Raspberry PI pin #1. VDD -> 5V (#1)
Sound sensor’s ground to Raspberry PI pin #6. GND -> Ground (#6)
Sound sensor’s data to Raspberry PI pin #12. DOUT -> GPIO18 (#12)
Step 3: Plug in SD Card and WLAN Dongle.
Step 4: Prepare to Install on Wall or Door.
We used Raspberry Pi box and a double sided foam tape to stick the system on the door.
Step 5: Attach the Sound Sensor Where You Want People to Knock.
We marked where visitors should knock with a red circle and attached the sound sensor in its center.
Step 6: Isolate the Sound Sensor.
We recommend isolating the sound sensor to reduce the rate of false alarms.
Step 7: Once the Hardware Is Up and Running, Go to Myprota.me and Install 2 Apps.
Assuming that Prota OS is already in the SD card that you've just put into your Raspberry Pi, you can discover it by going to http://myprota.me.
Then from the App Repository you should install two apps: Webhook and GPIO.
GPIO app is necessary for Prota to interpret data from the sound sensor while Webhook app integrates this data with 3rd party services (like Slack).
Step 8: To Get Notifications (and for Lights to Blink) Make an Automation Rule With Prota.
First go to the GPIO app and configure GPIO18 as shown in the video. Then go to the Ambiency app, select GPIO app as your sensor and Webhook app as your actuator. Again, configure as shown in the video. To complete this step you'll need a Slack token. Please read how to get one here.
For lights to blink we used Philips Hue which can be connected to Prota. If you have Hue, you can install the Hue app from the App Repository and add to your automation rule.
Alternatively, you can plug any lamp into a smart socket and make it blink with Prota ON OFF app. See an instructable on how to make smart sockets here.
Step 9: UPDATE: You Can Also Add a Camera
Adding a camera to the system is not at all complicated.
Step 10: UPDATE: Simply Plug Web Cam's USB Cable Into Raspberry Pi
Step 11: UPDATE: Download the Webcam App From the App Repository
Step 12: UPDATE: Now You Can See Who's Knocking on Your Door
Camera's live feed can be check with a web browser which supports HTML5.
Also you can include the Webcam app as an actuator for automation rules. For example, when someone's knocking, take a snapshot and email it.
You like our projects? Make your own!
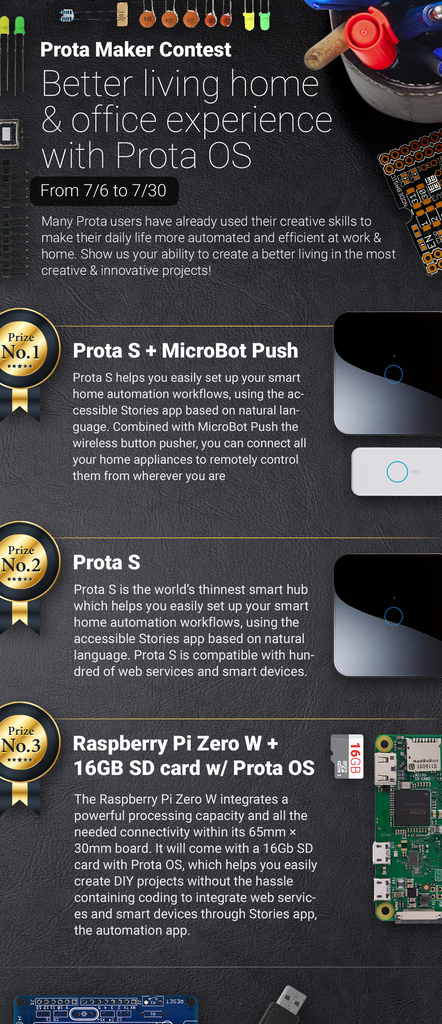
We are currently (and until July 30) running a maker contest. Show us the creative projects you can do with Prota OS and win awesome prizes!
More info here - https://support.prota.info/hc/en-us/community/top...


