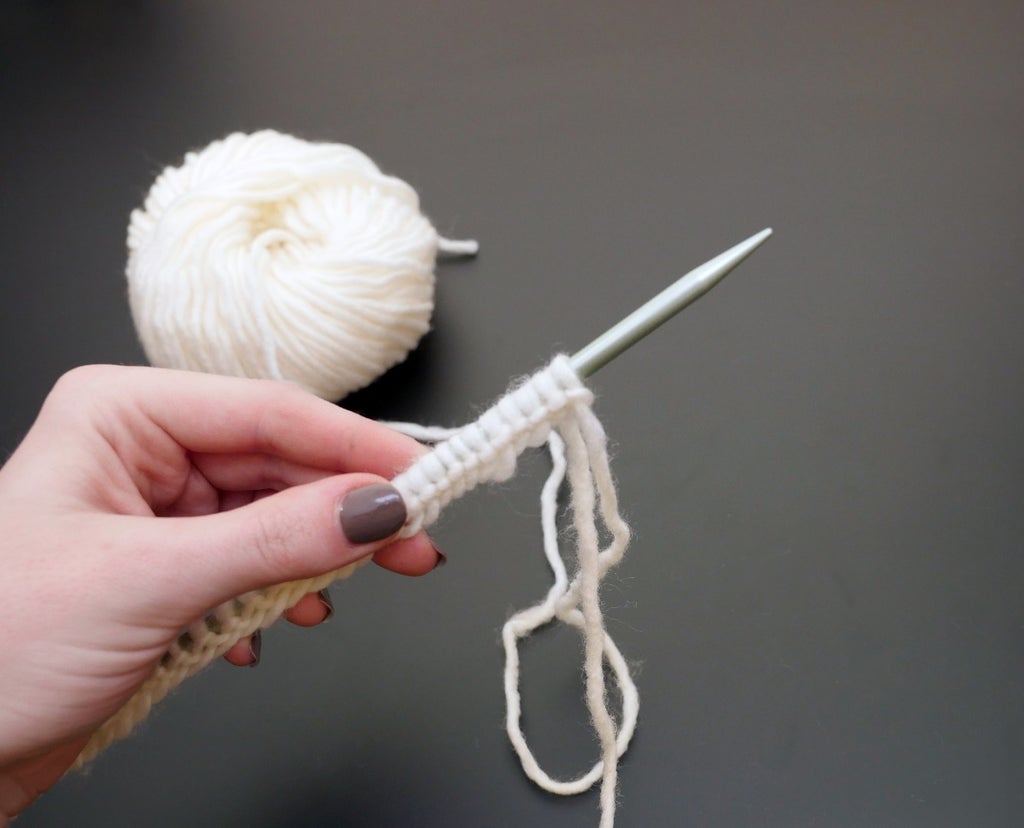
Introduction: How to Do the Knit Stitch
Ok, it's time to get to it-- your first knit stitches are about to happen! Make sure you have a comfortable seat and plenty of light. Check with yourself: are you ready to concentrate, be persistent, and stretch some new areas of your brain? I know it's not yoga class, but a positive attitude goes a long way when learning to knit for the first time-- take a moment to set your intention for this lesson, which will take practice to improve your skill.

There are two main methods for knitting: English and Continental. Knitters are divided in their preferences for various reasons, but rather than weigh the pros and cons of each, I'd like you to try both and use the method you find the most comfortable.
Step 1: Continental Yarn Hold
Set up your working yarn in your left hand by looping under it with your pinky and index fingers while you grasp the needle. This yarn hold allows you to control the tension of the yarn as it feeds into your project. Some people like to wrap the yarn around their pinky finger one more time.

With the empty needle in your right hand, position both needles in front of you as if to create a right angle. Your shoulders and neck should be relaxed.
Step 2: Continental Knit Stitch
Use your empty right needle to enter the first stitch from left to right, and position it behind the left needle.


Then use the right needle to pick up the working yarn and pull a loop of it back through the stitch. Then slide the left stitch off the left needle.


Step 3: English Yarn Hold

You don't have to hold onto the yarn with your left hand in the English method of knitting. Let the working yarn hang freely and position your needles as shown. Take a moment to check in with your posture.
Step 4: English Knit Stitch
Insert your empty needle into the first stitch from left to right, crossing it behind the left needle. Pick up the working yarn and wrap it counterclockwise around the right needle until it rests between the needles. Twist the right needle back out of the left stitch, creating a loop of working yarn in the process. Then just slide the left stitch off the left needle and repeat the process for the next stitch.


Step 5: You Did It! Now Repeat

Knit to the end of the row, practicing English and continental methods along the way. When you finish knitting all the stitches from the left needle to the right, count them! Are there still 25? Great! If not, don't worry about it just yet.
Turn your work around so the populated needle is in your left hand, and repeat the entire process again, knitting each stitch from left needle to right. Congratulations on your first three rows of knitting! They're the hardest rows you'll ever knit.
Your homework is to practice your knit stitch with all your fury. Put on the TV and try some comfortable knitting sprints! Your goal here is to even out the inconsistencies of your yarn/needle handling by putting in some serious practice time. I know it may seem intimidating at this point, but keep knitting until you run out of yarn.
Step 6: Starting a New Skein of Yarn
When you've reached the end of a row and you only have an arm's length of yarn left (or less), it's time to start on a new skein. Find the center end as you did with the first skein, and line it up with the working yarn tail on your scarf. Hold these ends with your right fingers as you knit with the new strand. After a few stitches, you won't have to hold the tail anymore. When you return to knit the row above the first stitch of the new skein, it will come slightly loose again. Hold onto it with your left hand or simply pull it tight again after the row is complete.

You can start a new skein at the beginning of a row, or somewhere in the middle. Leave these yarn tails alone for now-- just keep knitting! We'll weave in the ends at the end of the project.
If you run out of yarn in the middle of a row, leave an ample tail of new yarn along with the old and continue knitting the row with the new yarn.
When you look at your scarf, you should see a noticeable improvement in the consistency of your stitches from the early rows to now. They may be wobbly and uneven toward the beginning, but now you've got the hang of this! Knit your heart out until the scarf measures five or six feet in length.

Want to cheat? I won't tell. As long as you've practiced enough to knit evenly and consistently, it's ok to finish up your first, likely lumpy, project early. But if you do keep going, that's great! Your first project is a great keepsake. In the next lesson, you'll learn how to finish the scarf by securing all the stitches.
Class table of contents:


