

Introduction: Formatting a Research Paper Using LaTeX in Overleaf

Welcome to a guide suitable for novice or expierienced users on formatting a research paper using LaTeX. LaTeX is a typesetting language that gives users vast control on how they format their papers. Through these instructions you will find a clear and direct guide that will allow easy navigation through Overleaf and Latex.
Estimated time: 15-30 minutes depending on your familiarity with LaTeX.
Supplies
Materials:
Access to Overleaf
Step 1: Optional Background Information
For a better understanding of LaTeX and Overleaf, consider following the link below for a thirty-minute tutorial on the basics of LaTeX.
https://www.overleaf.com/learn/latex/Learn_LaTeX_in_30_minutes
Step 2: Open Overleaf
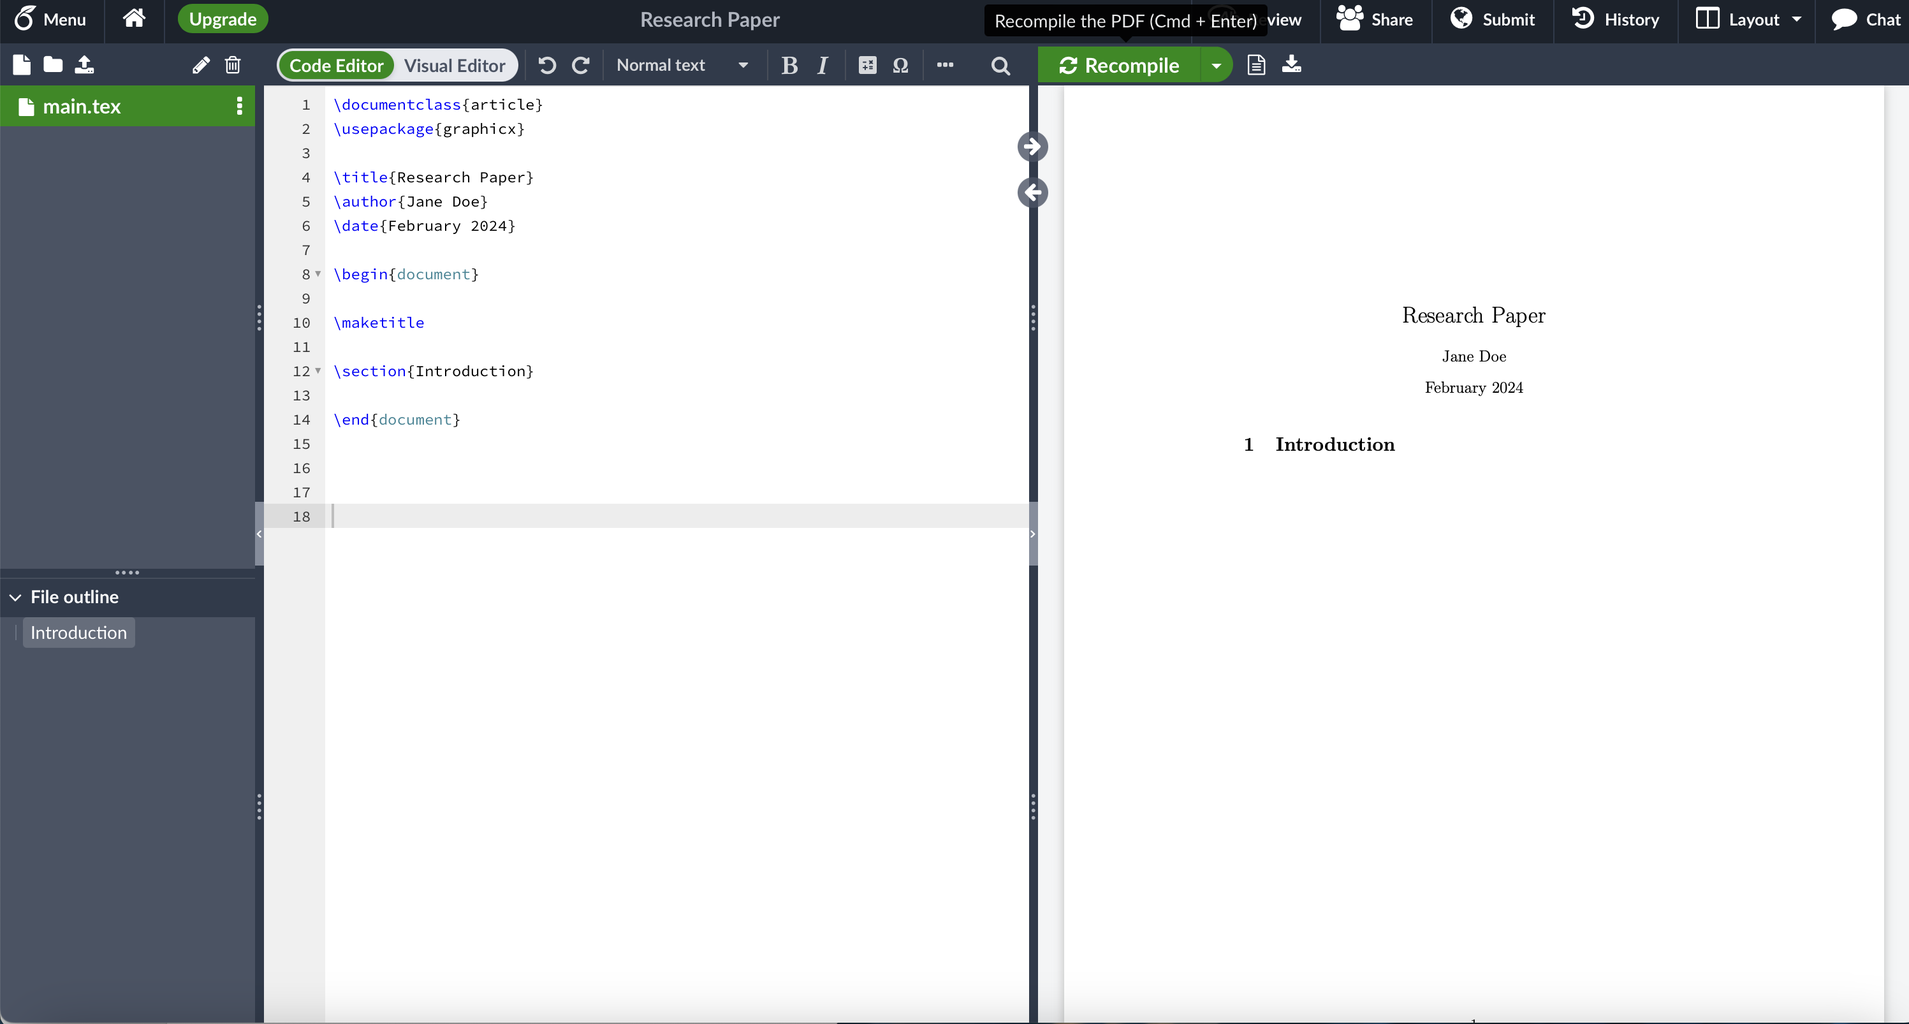
Open Overleaf, sign in, and press create a blank document. Above is what you should see.
Step 3: Change the Document Class and Import User Packages

Change the document class and import the following user packages shown below:
\usepackage{multirow} %allowed
\usepackage{listings} % allowed
\usepackage{amssymb} % allowed
\usepackage{natbib} % allowed
\usepackage{graphicx} % allowed
\usepackage{dirtytalk} % allowed
To the right of your code is what your document should look like so far after compiling.
Step 4: Include Author Information
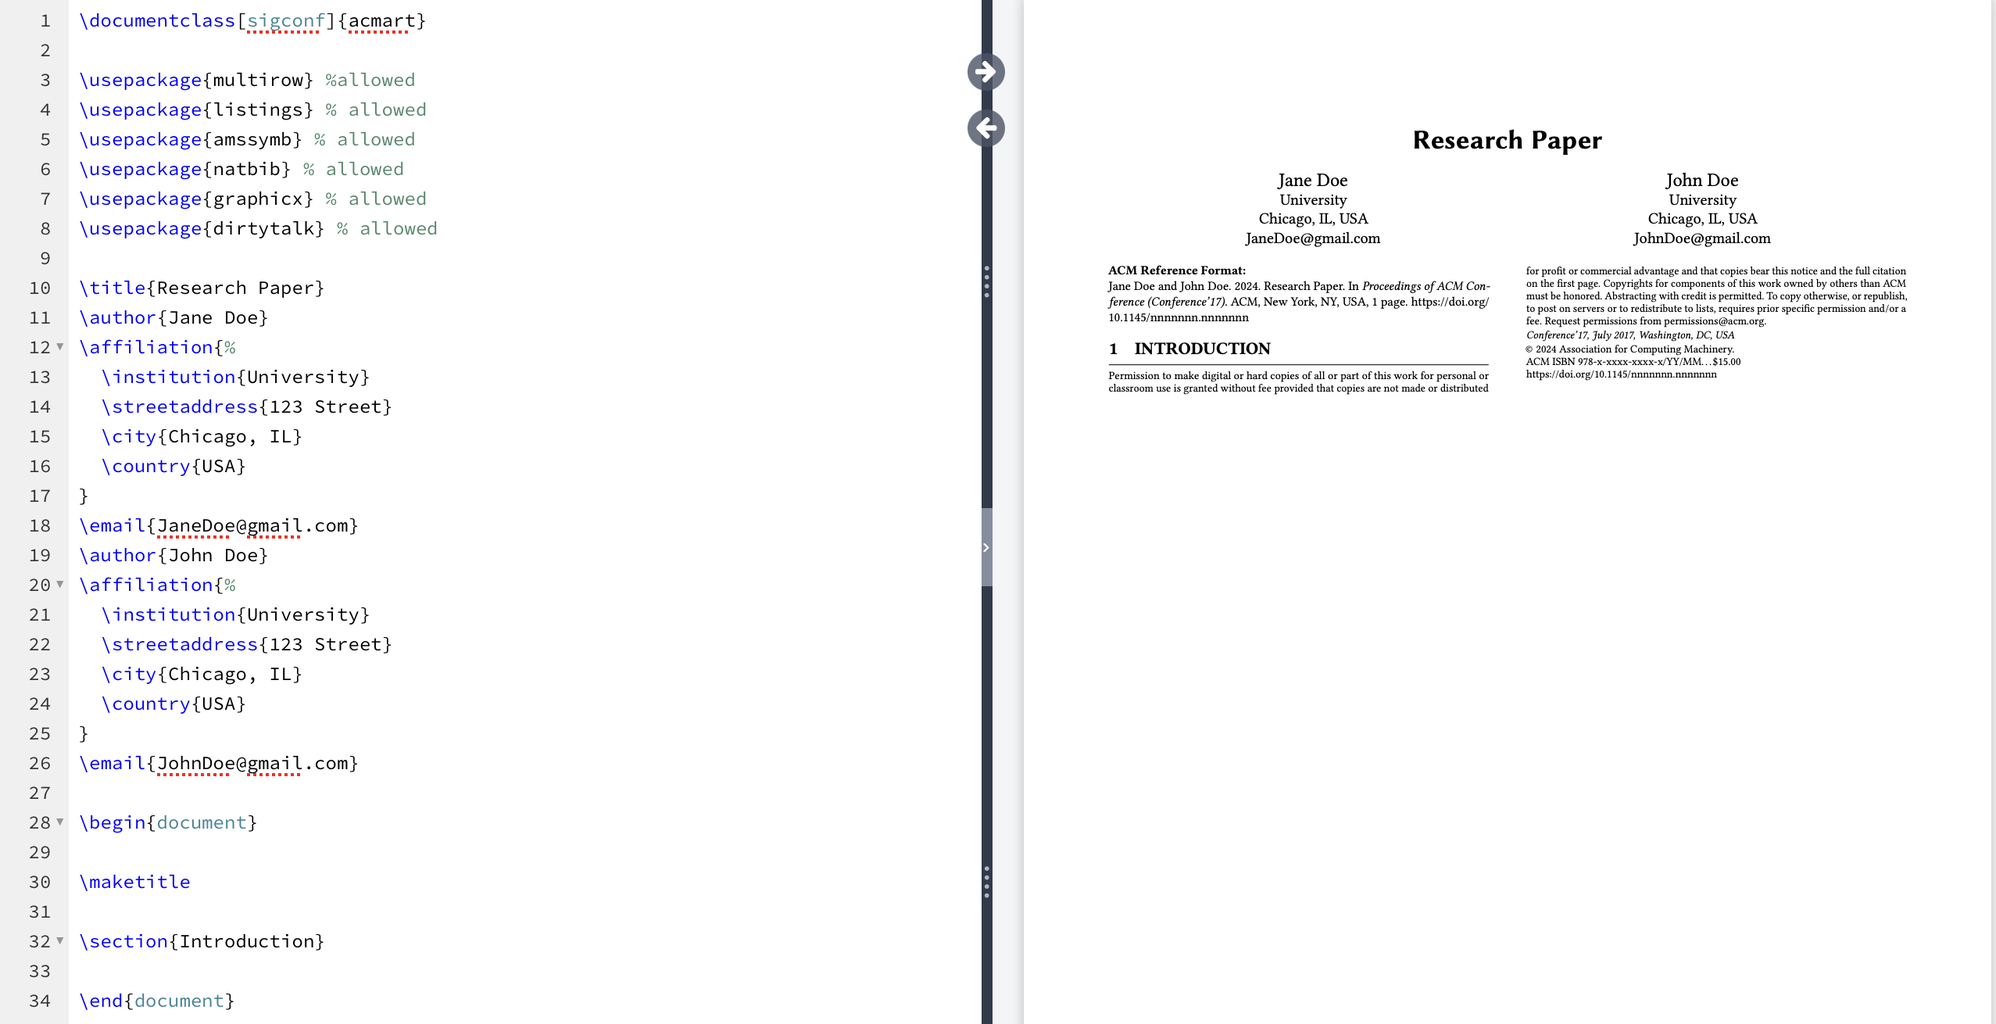
Below the \author{} line, write the following lines to include additional details about the author:
\affiliation{%
\institution{University}
\streetaddress{123 Street}
\city{Chicago, IL}
\country{USA}
}
Replace the information inside the curly brackets with the information of your author. If you would like to include another author replicate this step again. If you would like to include your authors contact information, such as their email, under the affiliation block, write:
\email{JohnDoe@gmail.com}
You can delete the \date{February 2024} line. Above is what your document should look like after compiling.
Step 5: Add Abstract

Below the \begin{document} block you can begin writing your abstract block by writing:
\begin{abstract}
On the line below, begin writing your abstract. After you finish writing your abstract, write \end{abstract} on the line below.
Above is what your document should look like after compiling.
Step 6: Add Keywords

Below the abstract block begin adding the keywords section by writing
\keywords{keyword, keyword2}
Replace the words inside the curly brackets with your keywords. Above is what your document should look like after compiling.
Step 7: Add Sections
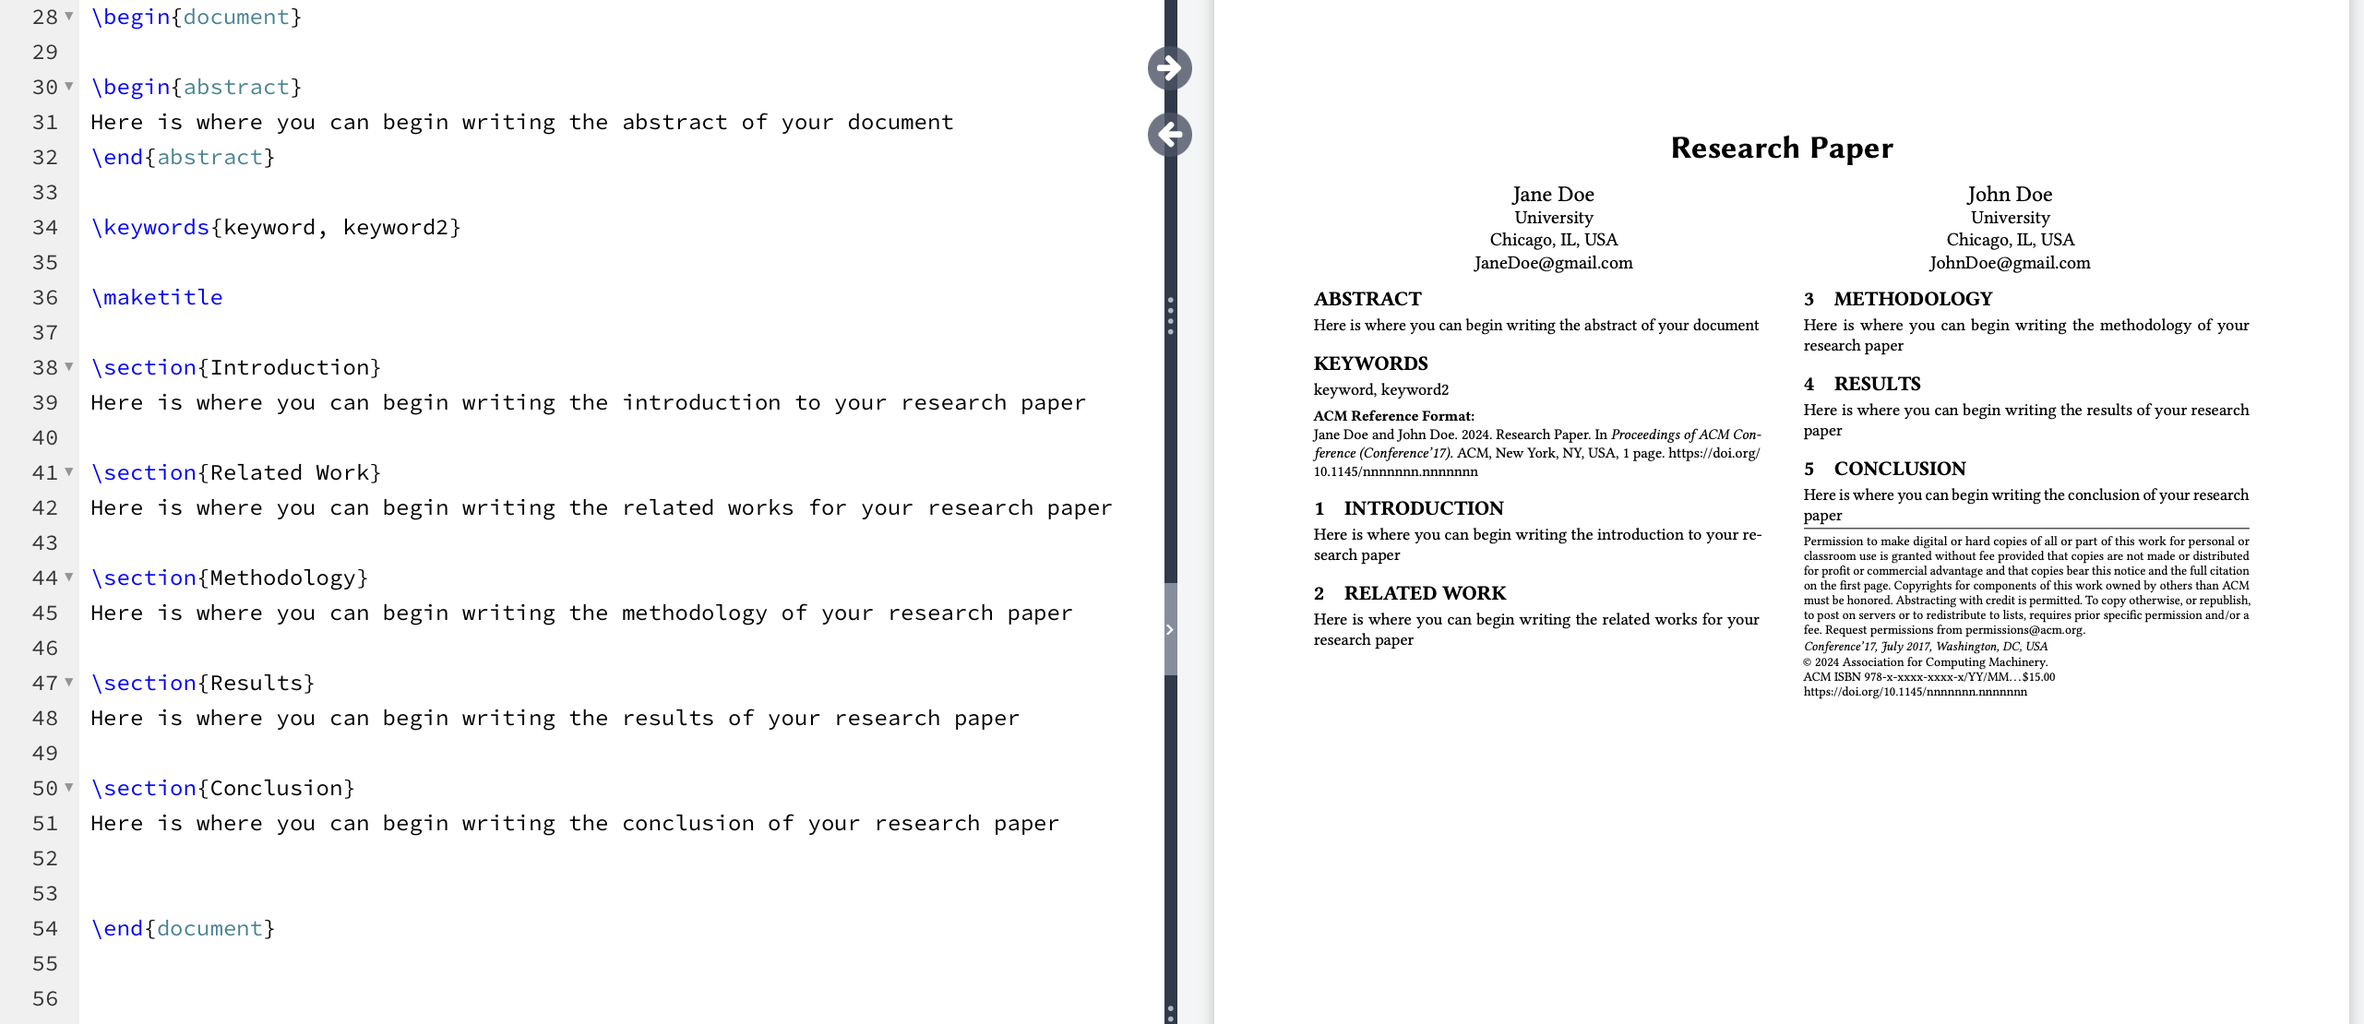
Below the \maketitle section begin adding additional sections by using the \section{} command. Put your section title in between the curly brackets. You should already have an introduction section added, but for a research paper, I recommend adding a Related Work, Methodology, Results, and Conclusion section. After each section you can write the content you have for each section.
Above is what your document should look like after compiling.
Step 8: Add Subsections
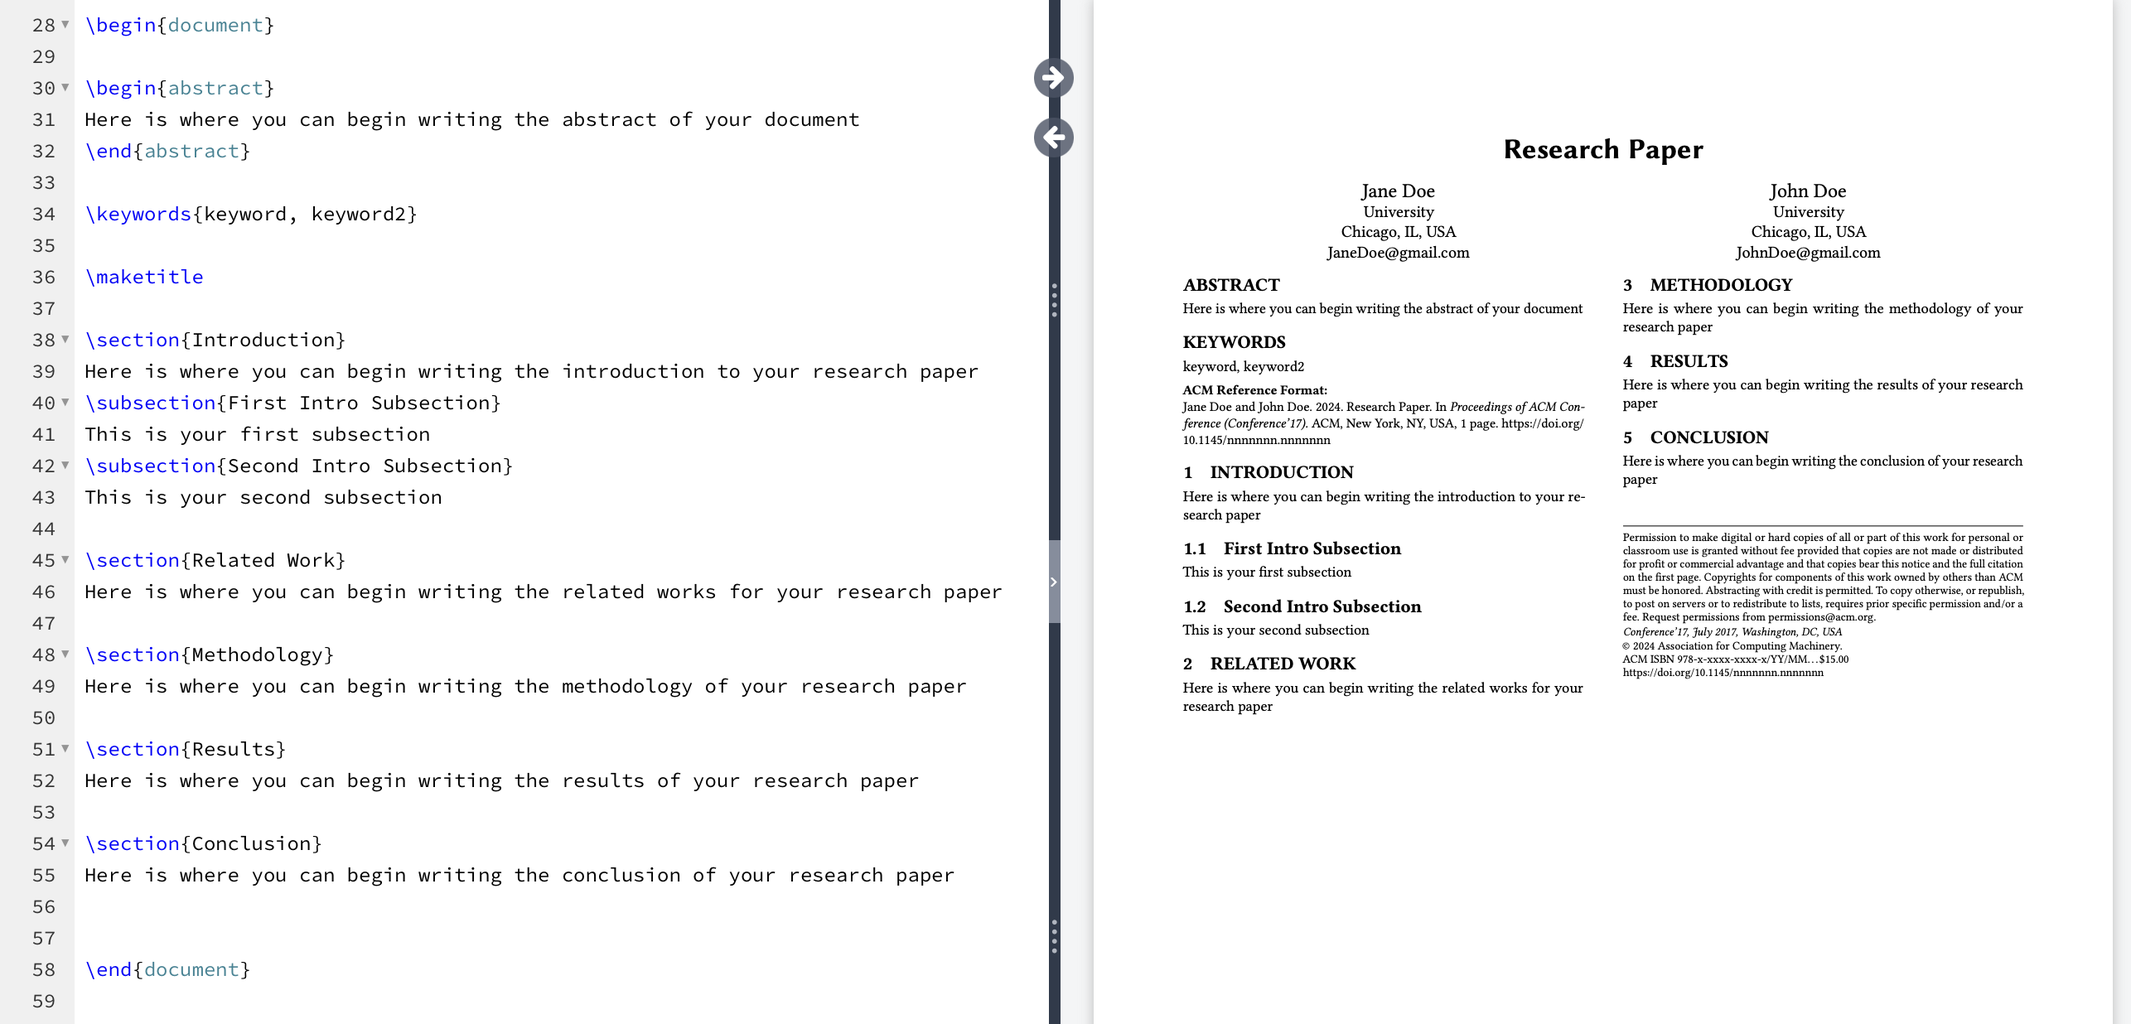
To create subsections, use the \subsection{} command directly below the relevant \section{} line. Add the title of your subsection in between the curly brackets.
Above is what your document should look like after compiling.
Step 9: Troubleshooting
It is very important to pay attention to case sensitivity. It is also important not to confuse \ with / in your document. Avoiding these syntax error will help your code run smoothly.
Congratulations! You have begun to format a research paper using LaTeX. Your document should look similar to the picture above, with your title, authors information, abtract, sections, and subsections neatly organized. You can now begin to further customize your document for your specific purpose.


![Tim's Mechanical Spider Leg [LU9685-20CU]](https://content.instructables.com/FFB/5R4I/LVKZ6G6R/FFB5R4ILVKZ6G6R.png?auto=webp&crop=1.2%3A1&frame=1&width=306)


