

Introduction: How to Design a Cookie Roller Using SelfCAD


Learn How to Design a Cookie Roller using SelfCAD with the help of this tutorial
Step 1:
How to Design a Cookie Roller using SelfCAD
Welcome to this tutorial on crafting a cookie roller with SelfCAD. SelfCAD is an intuitive 3D modeling software designed to make the creative process smooth and enjoyable for users of all skill levels. In this tutorial, we'll walk you through the process of designing your very own cookie roller, perfect for adding unique patterns and textures to your homemade treats.
Whether you're a baking enthusiast looking to personalize your cookies or a designer exploring the world of 3D modeling, SelfCAD provides the tools you need to bring your ideas to life. By following along with this tutorial, you'll gain valuable insight into creating custom shapes and applying intricate details with ease.
To access the interactive tutorial to this article, visit https://www.selfcad.com/tutorials/a544r655x5s6w6bkj265i6f4x1f2s3893a2u
Once you’ve launched the editor;
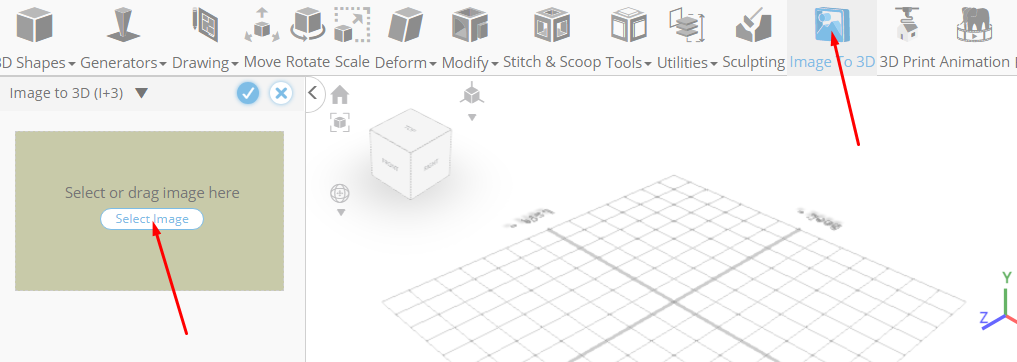
Click Image to 3D on the Toolbar
Click Select Image button to load new image
Click Load Image from tutorial button to add image
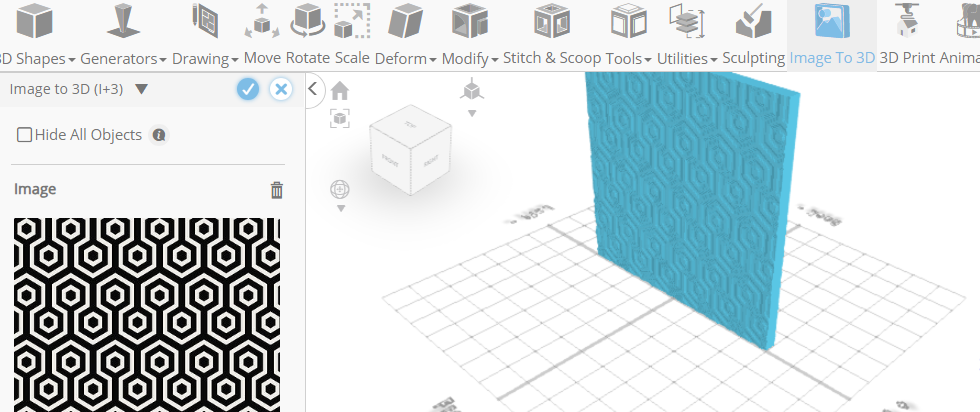
Set Resolution to 302, Amount to -7, Blur to 2
Click to finalize Image to 3D
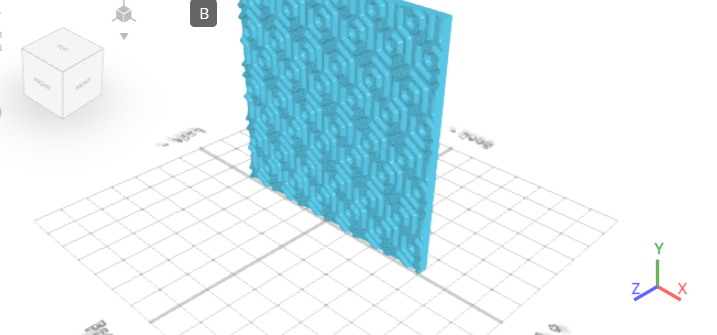
Click Scale on the Toolbar
Set x to 253.82, y to 253.82, z to 13.18 using highlighted gizmo

From the Deform category on the Toolbar choose Bend
Set Dynamic origin to true. Set z to -360
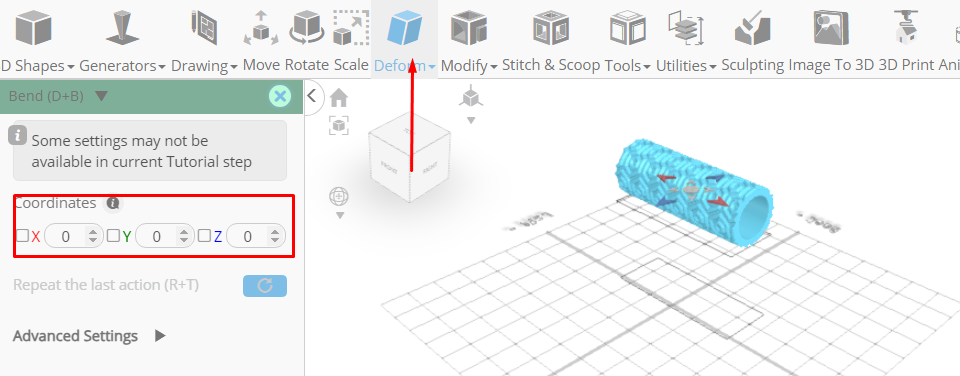
Click ‘x’ to close Transformation panel
From the 3D Shapes category on the Toolbar choose Cylinder
Set Top Radius to 34, Bottom Radius to 34, Height to 286, Position y to 168, Position z to -39, Rotation z to 90
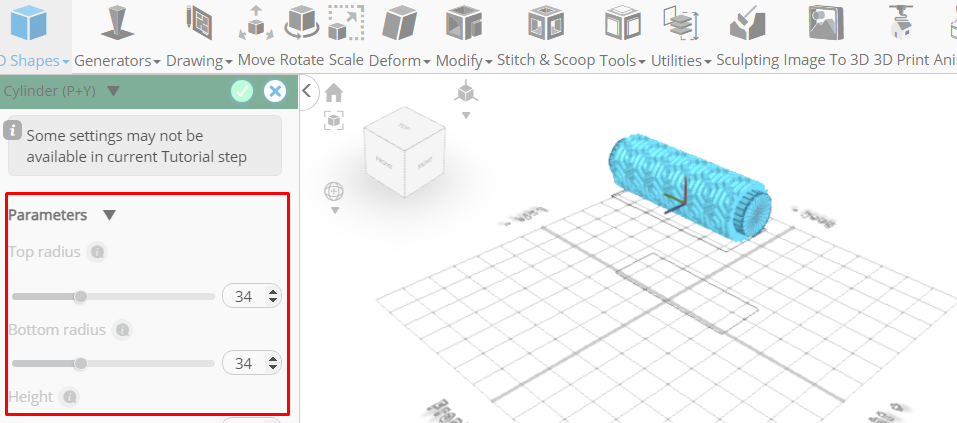
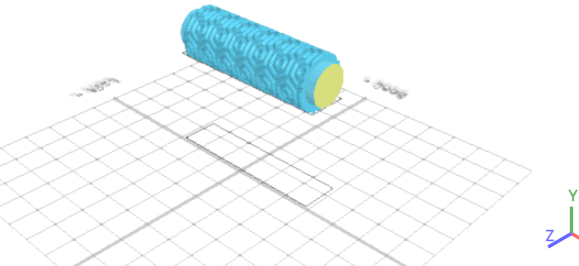
Click to finalize Cylinder
Click to activate Polygon selection
Click on highlighted region to select it
From the Modify category on the Toolbar choose Inset
Set Inset Amount to 15. Click Add Option to add next macro step. Set Operation to Extrusion
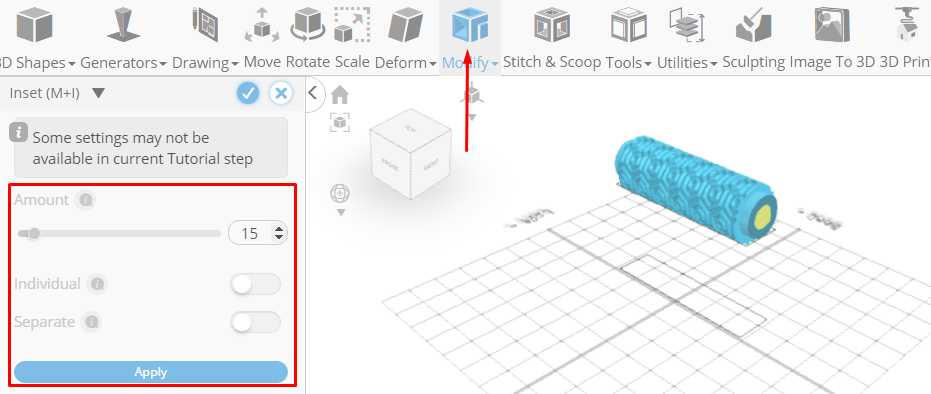
Set Amount to 80
Click Add Option to add next macro step. Set Operation to Inset. Set Amount to 10
Click Add Option to add next macro step
Set Operation to Extrusion. Set Amount to 30
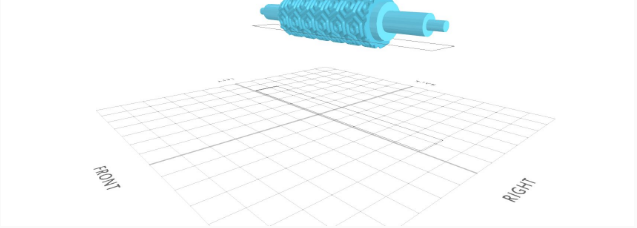
Click to finalize Inset
As you continue honing your design skills, remember that SelfCAD offers a wealth of resources to support your learning journey. To deepen your understanding and explore more advanced features, consider checking out the interactive tutorials (https://www.selfcad.com/tutorials) available on the SelfCAD website. The tutorials page provides a treasure trove of guides, tips, and tricks that cater to designers of all levels.
More structured learning experience can also be accessed at the SelfCAD Academy (https://www.selfcad.com/academy/curriculum/), https://www.youtube.com/@3dmodeling101, and 3D Modeling 101 series (https://www.youtube.com/playlist?list=PL74nFNT8yS9DcE1UlUUdiR1wFGv9DDfTB). This comprehensive resource offers in-depth courses taught by industry experts, allowing you to master the intricacies of SelfCAD at your own pace.


