

Introduction: How to Design a Corkscrew Using SelfCAD


Learn How to Design a Corkscrew Using SelfCAD with the help of this article
Step 1:
How to Design a Corkscrew Using SelfCAD
Welcome to this tutorial on designing a corkscrew using SelfCAD. Corkscrews are essential tools for wine enthusiasts and professionals alike, facilitating the effortless extraction of cork from bottles. In this tutorial, we'll explore how to utilize the powerful features of SelfCAD, a user-friendly 3D modeling software, to design a functional and aesthetically pleasing corkscrew from scratch. By following along step-by-step, you'll gain hands-on experience in creating intricate designs while mastering the fundamentals of SelfCAD's intuitive interface.
To access the interactive tutorial to this article, visit https://www.selfcad.com/tutorials/2w442z4t4a4s31v5y326s6c1y13131a3u4k2
Once you’ve launched the editor;
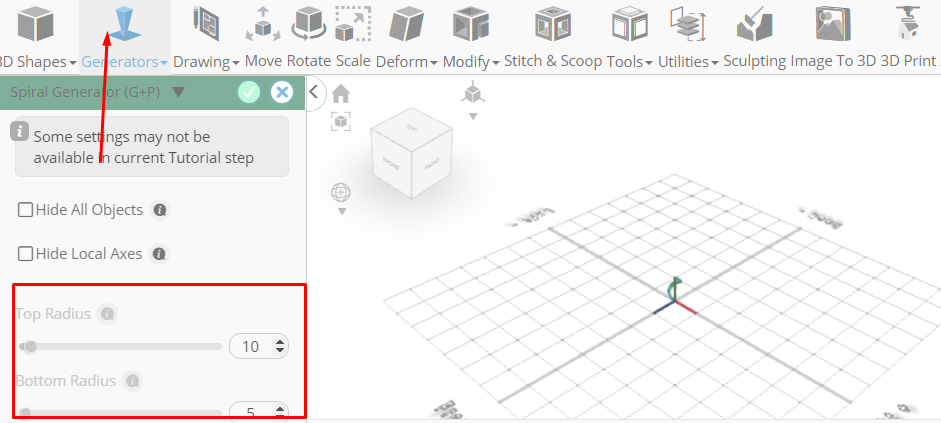
From the 3D Shapes Category on the Toolbar choose Spiral Generator
Set Top Radius to 10, Bottom Radius to 5, Bottom thickness to 1, Edges to 34
Click to finalize Spiral Generator
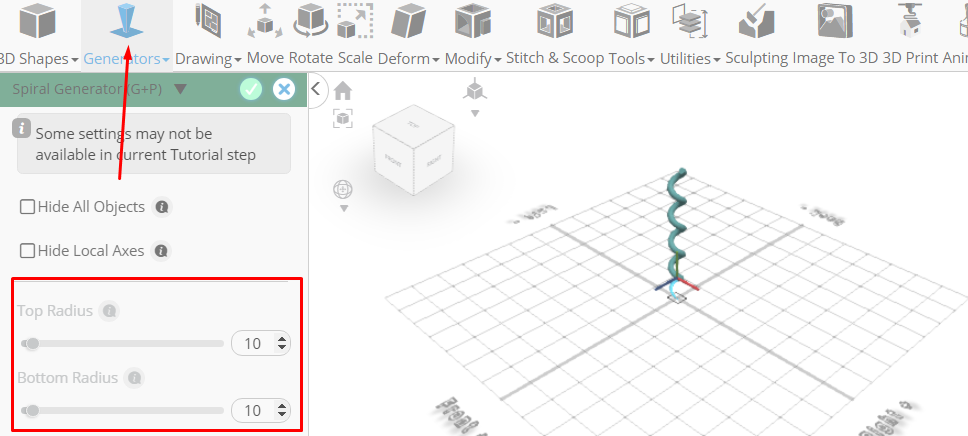
From the 3D Shapes Category on the Toolbar choose Spiral Generator
Set Top Radius to 10, Bottom Radius to 10, Height to 200, Revolutions to 200, Edges to 34, Position y to 41
Click to finalize Spiral Generator
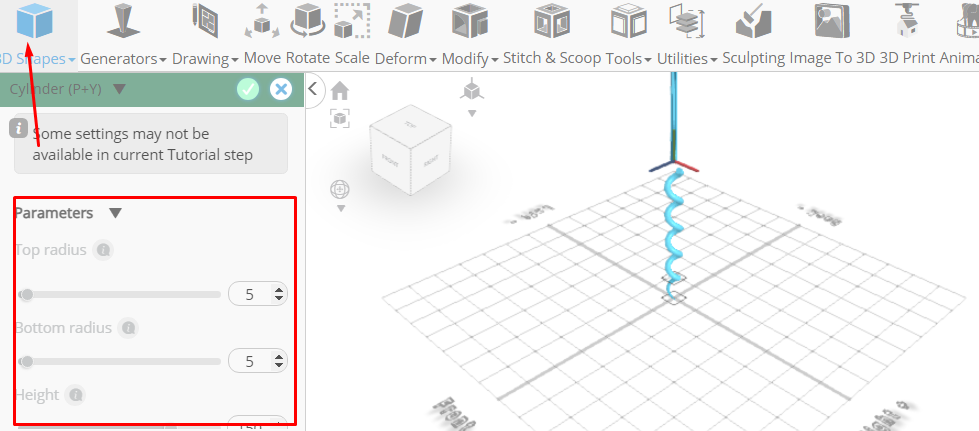
From the 3D Shapes Category on the Toolbar choose Cylinder
Set Top Radius to 5, Bottom Radius to 5, Height to 150, Position y 250
Click to finalize Cylinder
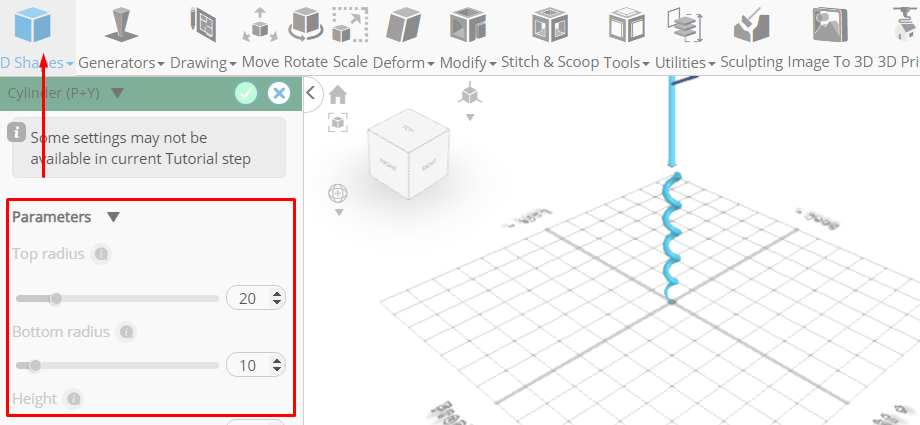
From the 3D Shapes Category on the Toolbar choose Cylinder
Set Top Radius to 20, Bottom Radius to 10, Horizontal segments to 7, Position x to 50, Position y 395, Rotation z o 90
Click to finalize Cylinder
From the Deform Category on the Toolbar choose Inflate
Set Symmetry to true, Set y to 3. Set z to 3
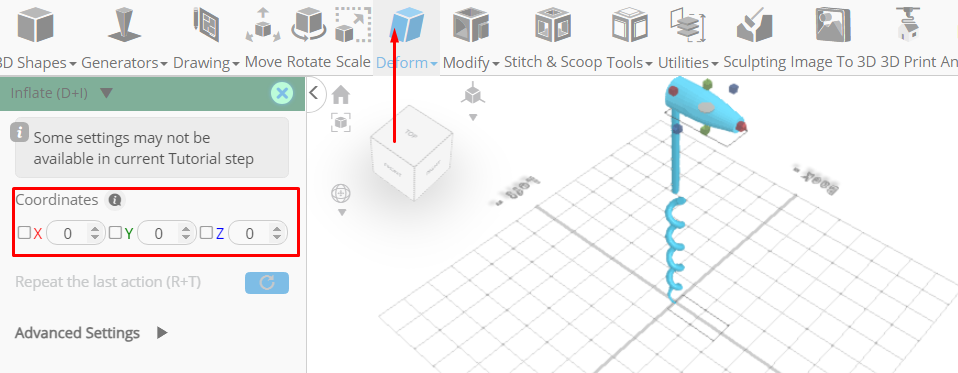
Click ‘x’ to close Transformation panel
Click to activate Edge Selection
Click Selection Settings button to change selection settings. Set Loop selection to true
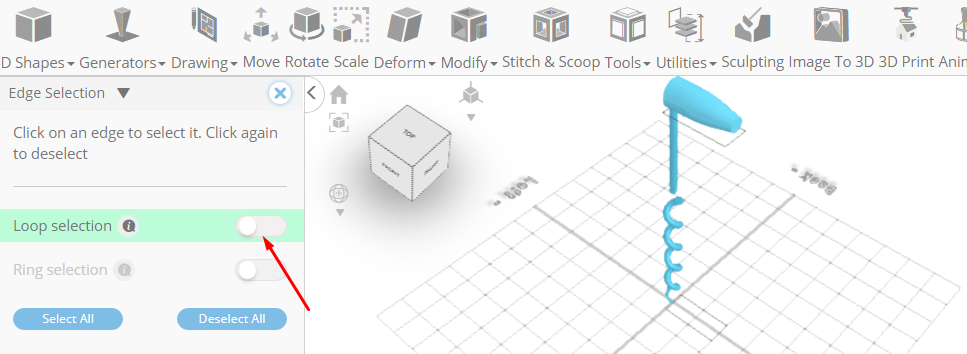
Click on highlighted edge to select loop from the object
Click ‘x’ to close selection settings panel
From the Modify Category choose Fillet. Set Intensity to 4, Level to 5
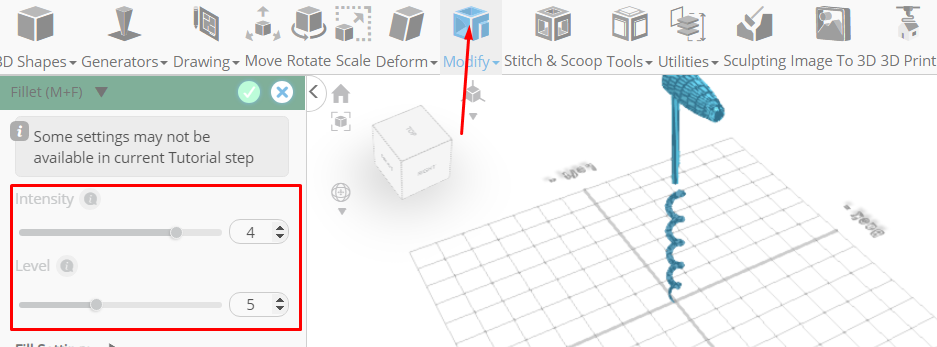
Click to finalize Fillet
From the Utilities category on the Toolbar choose Mirror
Set Create copy to true. Set Direction to Left
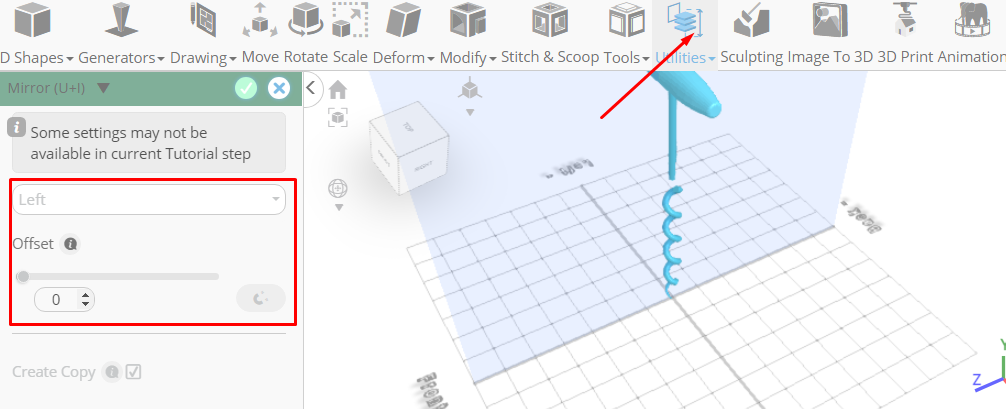
Click to finalize Mirror
Click highlighted part on selection cube to turn off region selection
Click on mesh 4, mesh 8(1) to select
Click Move on the Toolbar. Set y to 233 using highlighted gizmo. Set z to -3 using highlighted gizmo. Set x to 10
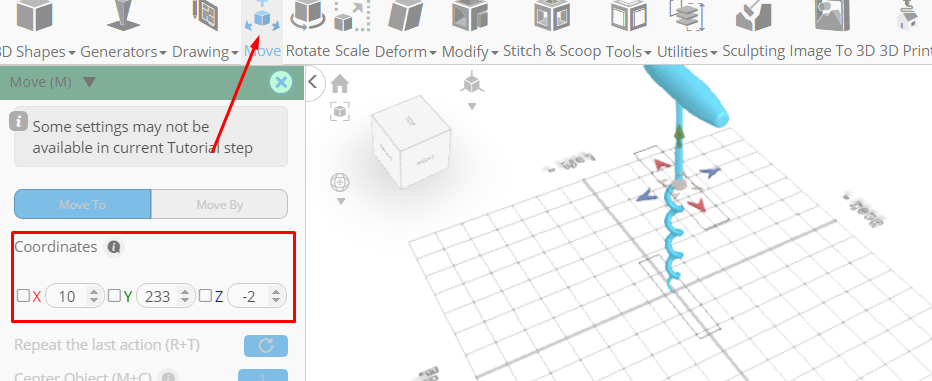
Click ‘x’ to close Transformation panel
Click on spiral 1, spiral 2 to select
Click Stitch & Scoop on the Toolbar. From the Tool panel choose Union
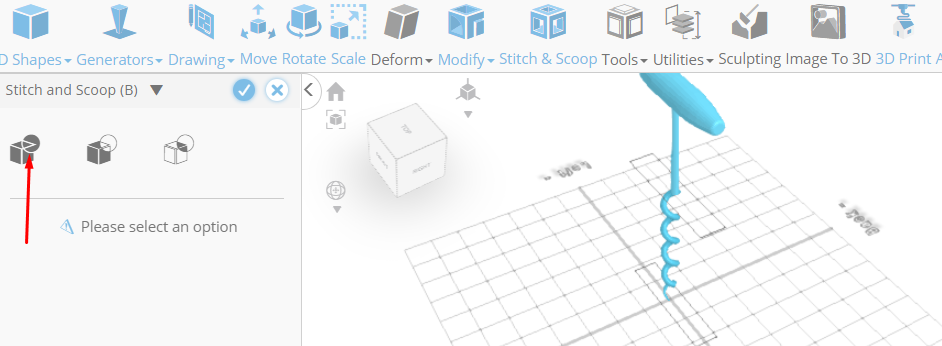
Click to finalize Union
As you continue honing your design skills, remember that SelfCAD offers a wealth of resources to support your learning journey. To deepen your understanding and explore more advanced features, consider checking out the interactive tutorials (https://www.selfcad.com/tutorials) available on the SelfCAD website. The tutorials page provides a treasure trove of guides, tips, and tricks that cater to designers of all levels.
More structured learning experience can also be accessed at the SelfCAD Academy (https://www.selfcad.com/academy/curriculum/), https://www.youtube.com/@3dmodeling101, and 3D Modeling 101 series (https://www.youtube.com/playlist?list=PL74nFNT8yS9DcE1UlUUdiR1wFGv9DDfTB). This comprehensive resource offers in-depth courses taught by industry experts, allowing you to master the intricacies of SelfCAD at your own pace.


