

Introduction: How to Design a Kid's Bean Bag With SelfCAD


Learn How to Design a Kid's Bean Bag using SelfCAD with the help of this tutorial
Step 1:
How to Design a Kid’s Bean Bag Using SelfCAD
Welcome to this tutorial on designing a kid's bean bag using SelfCAD. Bean bags are not only a fun addition to any child's room but also provide a comfortable spot for relaxation and play. In this tutorial, we'll guide you through the process of creating your own unique bean bag design using SelfCAD, a user-friendly 3D modeling software perfect for beginners and experienced designers alike.
Whether you're a parent looking to customize a bean bag for your child or a designer eager to unleash your creativity, this tutorial is for you. By the end of this step-by-step guide, you'll have the skills to design a kid-friendly bean bag that reflects your style and meets your child's comfort needs.
To access the interactive tutorial to this article, visit https://www.selfcad.com/tutorials/3u3o1q493v692m3k1r27255n32q1xi4i6a1a
Once you’ve launched the editor;
From the 3D Shapes Category on the Toolbar choose Cylinder. Set Top Radius to 70, Bottom Radius to 70
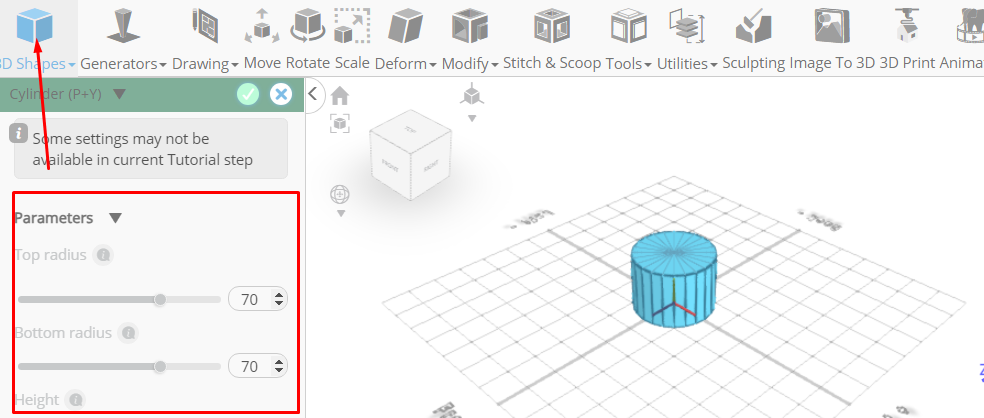
Click to finalize Cylinder
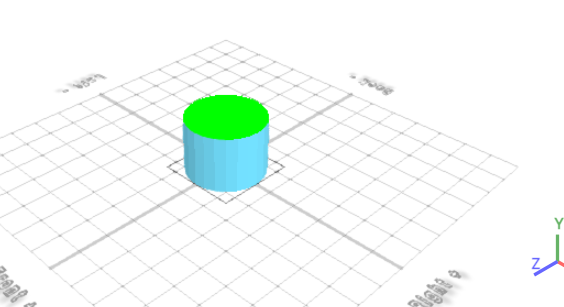
Click to activate Polygon selection
Click on highlighted region to select it
From the Modify Category on the Toolbar choose Inset. Set Inset Amount to 30
Click Add Option to add next macro step
Set Operation to extrusion. Set Amount to 5
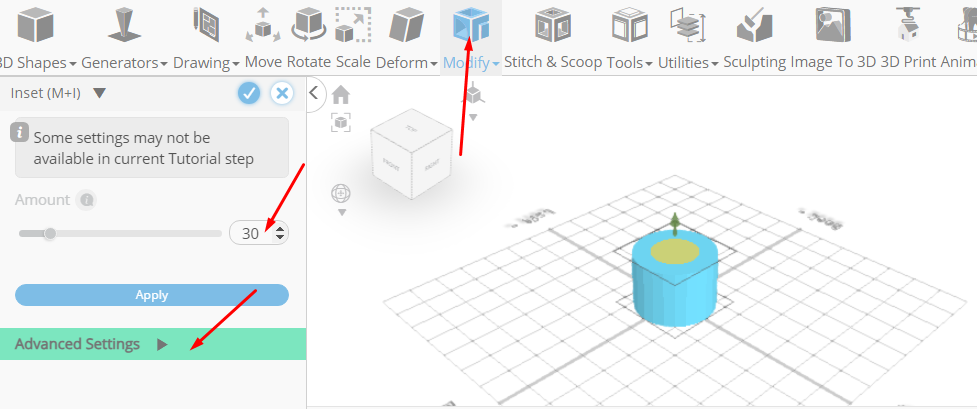
Click to finalize Inset
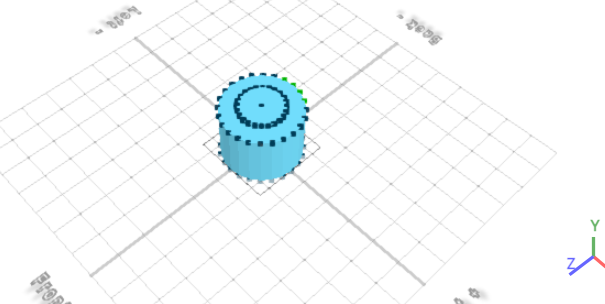
Click on highlighted region to deselect it
Click to activate Vertex selection
Click on highlighted region to select it
Click Move on the Toolbar. Set y to 300

Click on highlighted region to deselect it
Click highlighted part on selection cube to turn off region selection
Click ‘x’ to close Transformation panel
From the Modify Category on the Toolbar choose Round object. Set Smoothness to 3
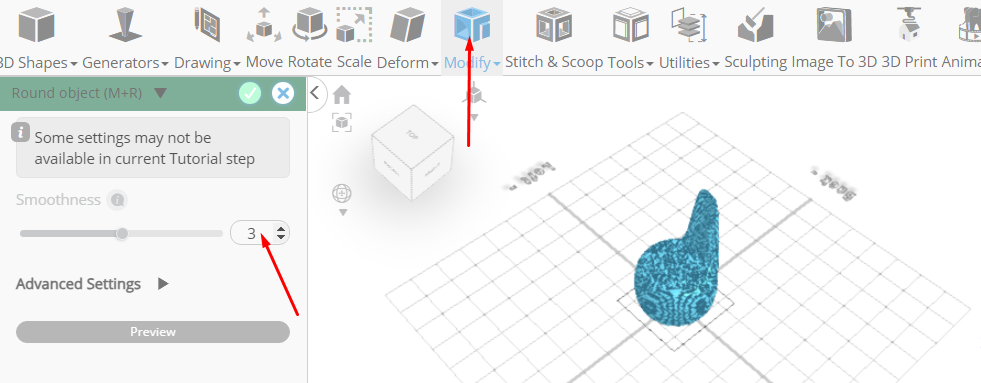
Click to finalize Round object
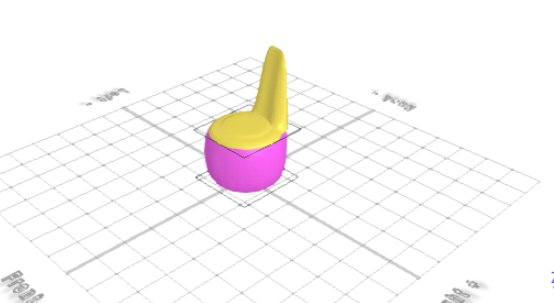
Click Color picker button to change color of selected object. Click Magenta
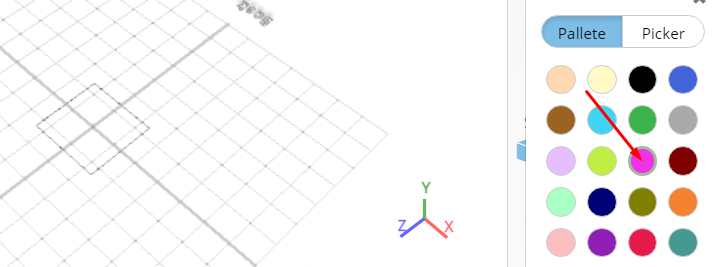
Click OK to confirm color change
From the right panel choose Cube. Set Bottom to 93
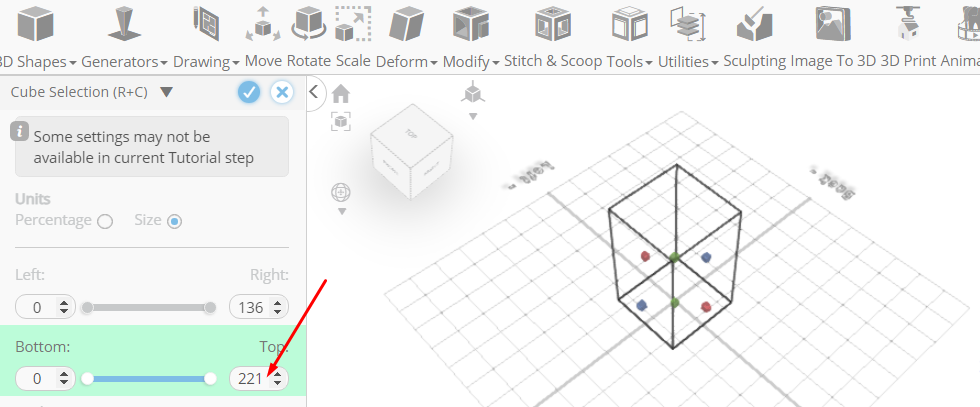
Click to finalize Cube Selection
Click Color picker button to change color of selected object. Click Yellow
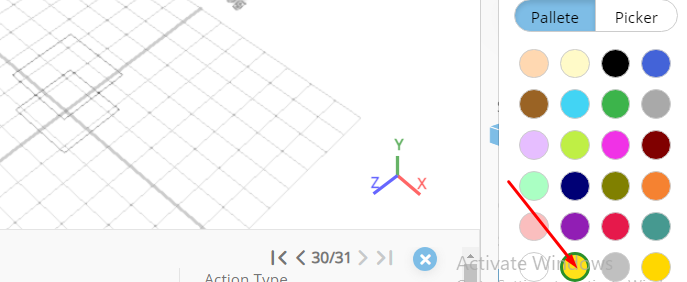
Click OK to confirm color change
Tick the check to finalize Materials
As you continue honing your design skills, remember that SelfCAD offers a wealth of resources to support your learning journey. To deepen your understanding and explore more advanced features, consider checking out the interactive tutorials (https://www.selfcad.com/tutorials) available on the SelfCAD website. The tutorials page provides a treasure trove of guides, tips, and tricks that cater to designers of all levels.
More structured learning experience can also be accessed at the SelfCAD Academy (https://www.selfcad.com/academy/curriculum/), https://www.youtube.com/@3dmodeling101, and 3D Modeling 101 series (https://www.youtube.com/playlist?list=PL74nFNT8yS9DcE1UlUUdiR1wFGv9DDfTB). This comprehensive resource offers in-depth courses taught by industry experts, allowing you to master the intricacies of SelfCAD at your own pace.


