

Introduction: How to Make a Flower Themes Clock!

Some homes look rather boring, and many don't make the effort to provide a more welcoming environment for guests. I felt a flower theme clock would be a nice way to make the house seem a little bit less empty, and that it would lighten up the atmosphere a little. This clock is simple, but adjourned with flowers to grant a comfortable vibe.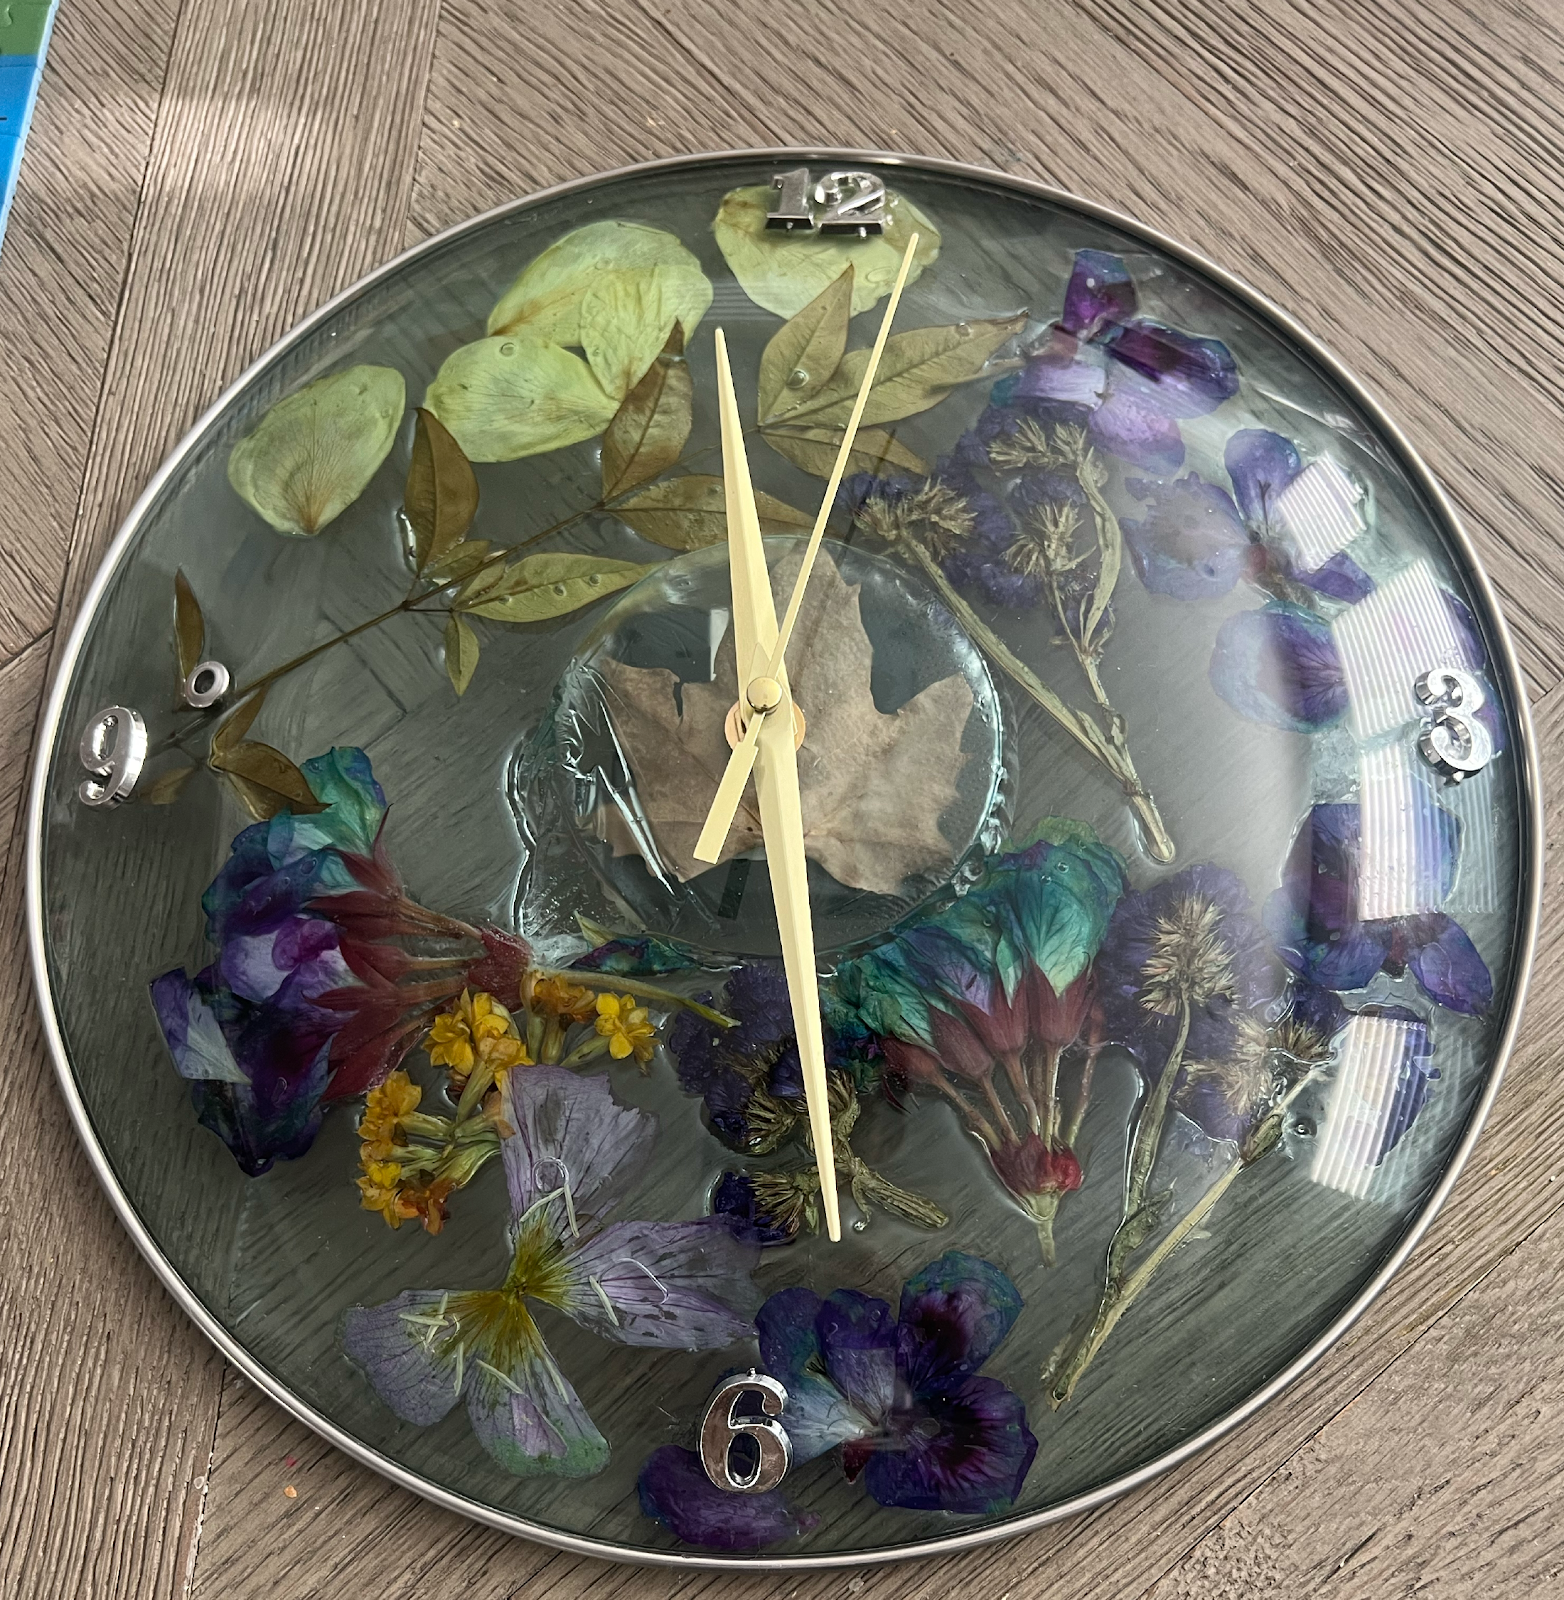
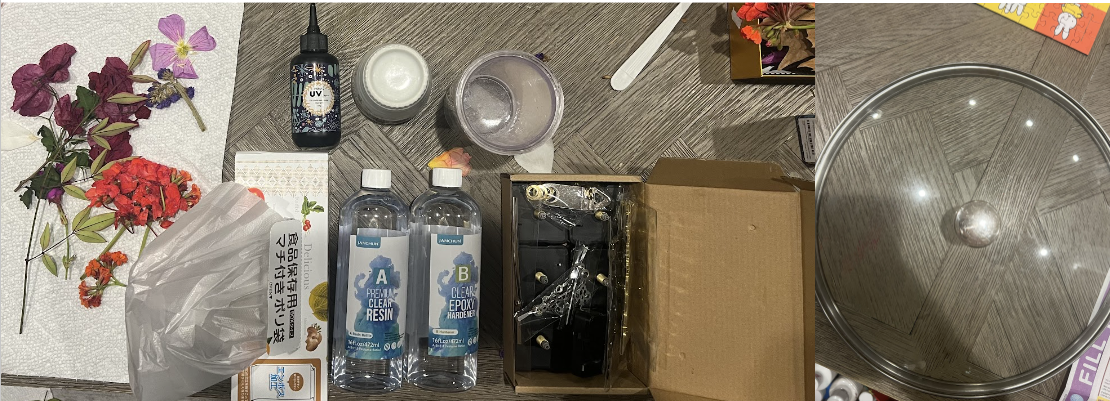
Supplies
Pan lid
Picked Flowers of your choice
UV glue
A bottle of Premium Clear Resin.
100 Miligrams of Premium Clear Resin
100 Grams of Clear Epoxy Hardener.
2 cup
1 plastic bag
Clock parts
High Torque quartz clock movement mechanism
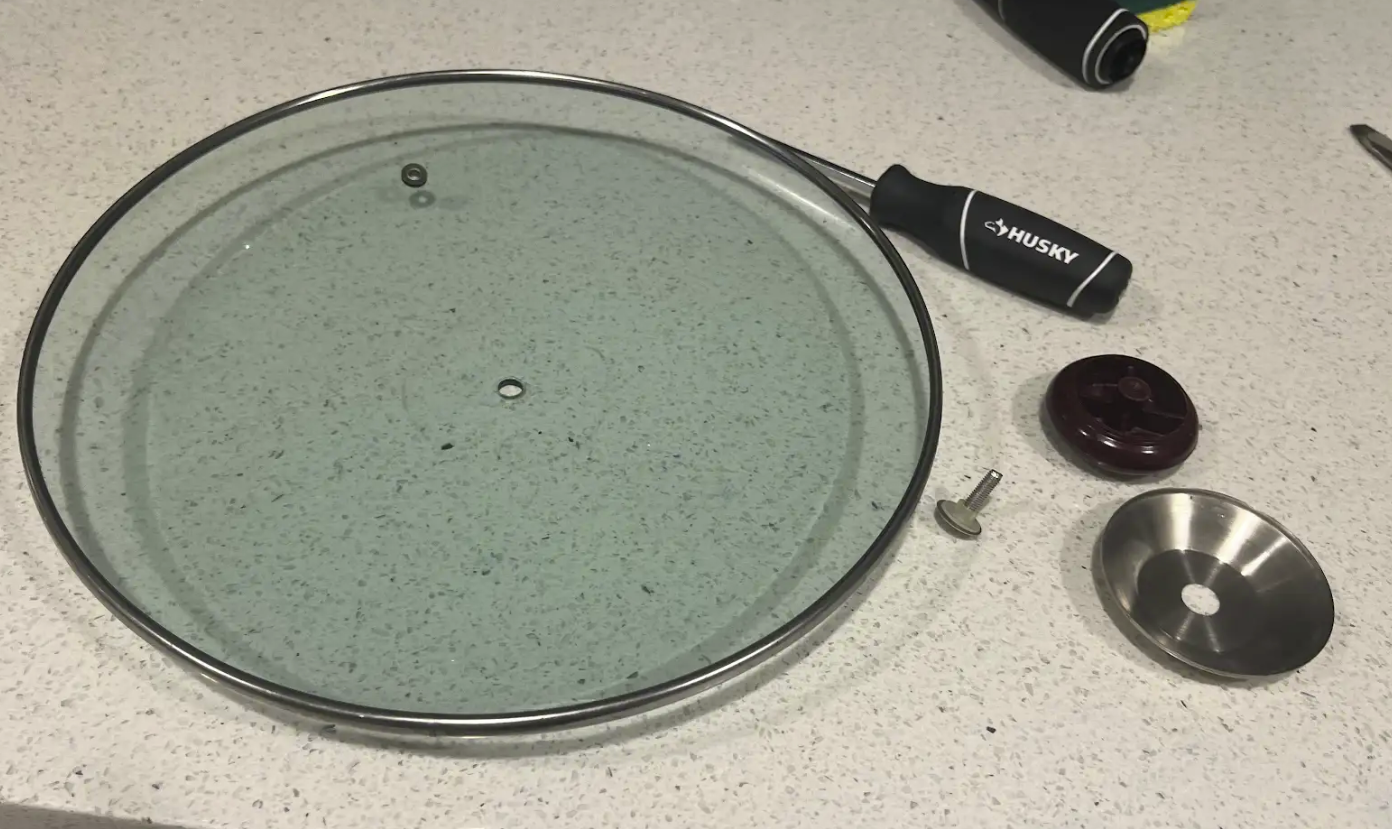
Step 1: Preparing the Lid
Take off the top of the pan lid with a screwdriver (type of screwdriver required may vary depending on pot lid). Make sure your pot lid’s top can actually be unscrewed before attempting to do so.
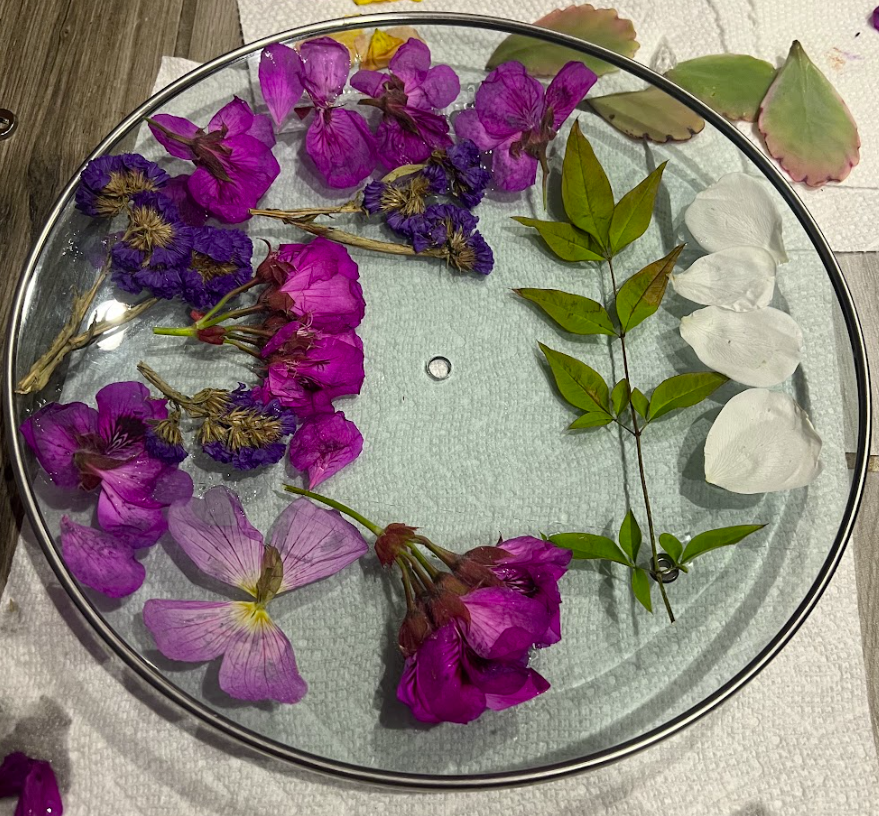
Step 2: Laying Out Your Flowers
Neatly arrange flowers in your desired format inside the pan. Make sure to pick a general theme, whether it be more orange or roses or just leaves. Mine had a general purple vibe going.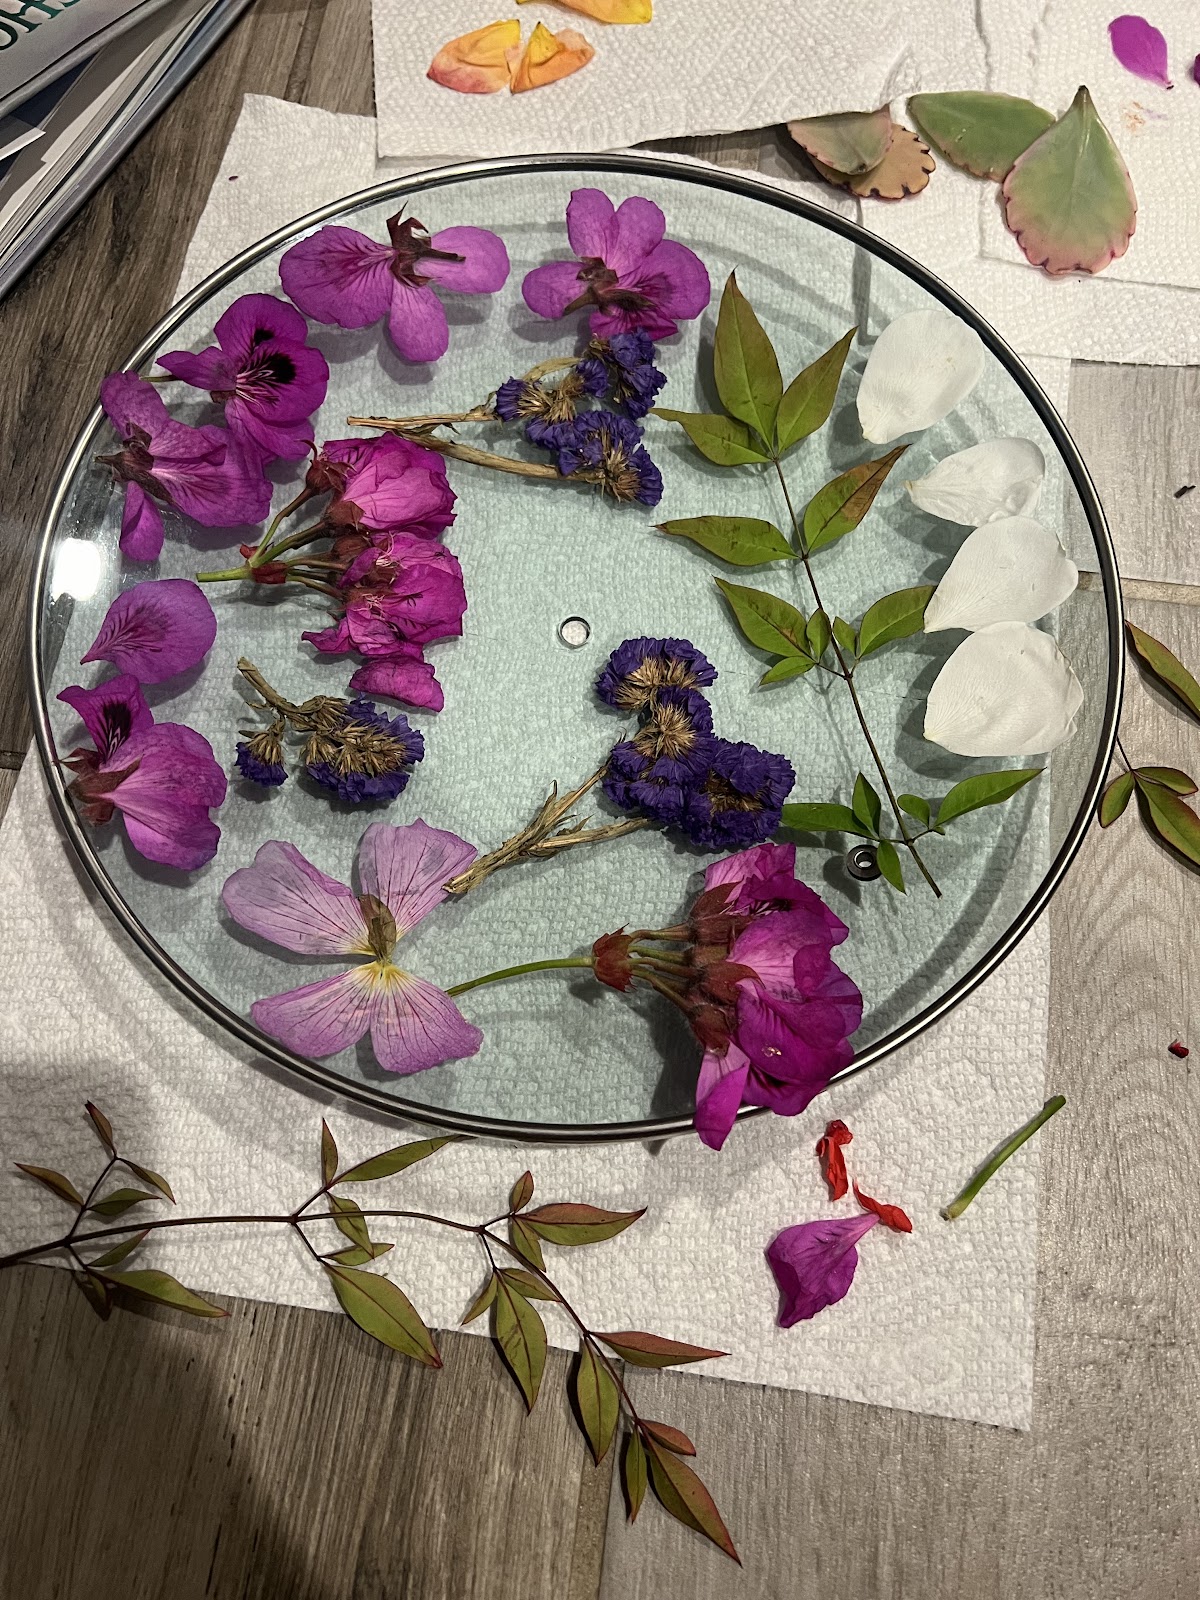
Step 3: Gluing Your Flowers
Carefully stick UV glue to the back of the flower petals and carefully place them on the lid. If you want the flowers to stick to the lid more effectively, you can use a fork to press the flowers down.
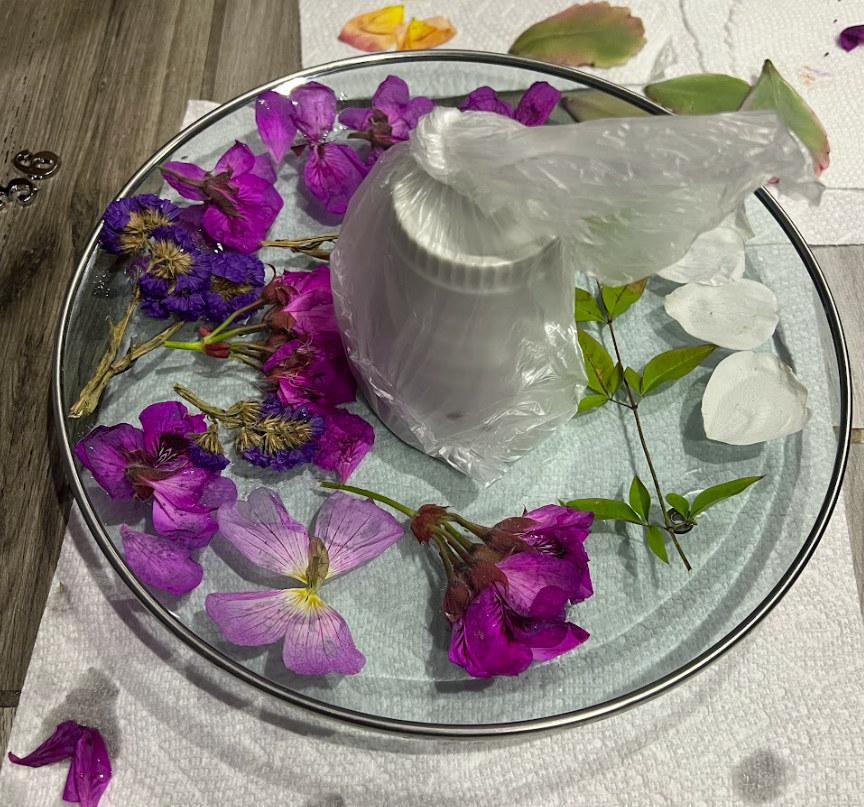
Step 4: Preparing to Gel
Although the flowers are glued, further measures must be taken to secure their positions. Wrap a plastic bag around a cup and place it in the middle of the pot lid to prepare for the next step.
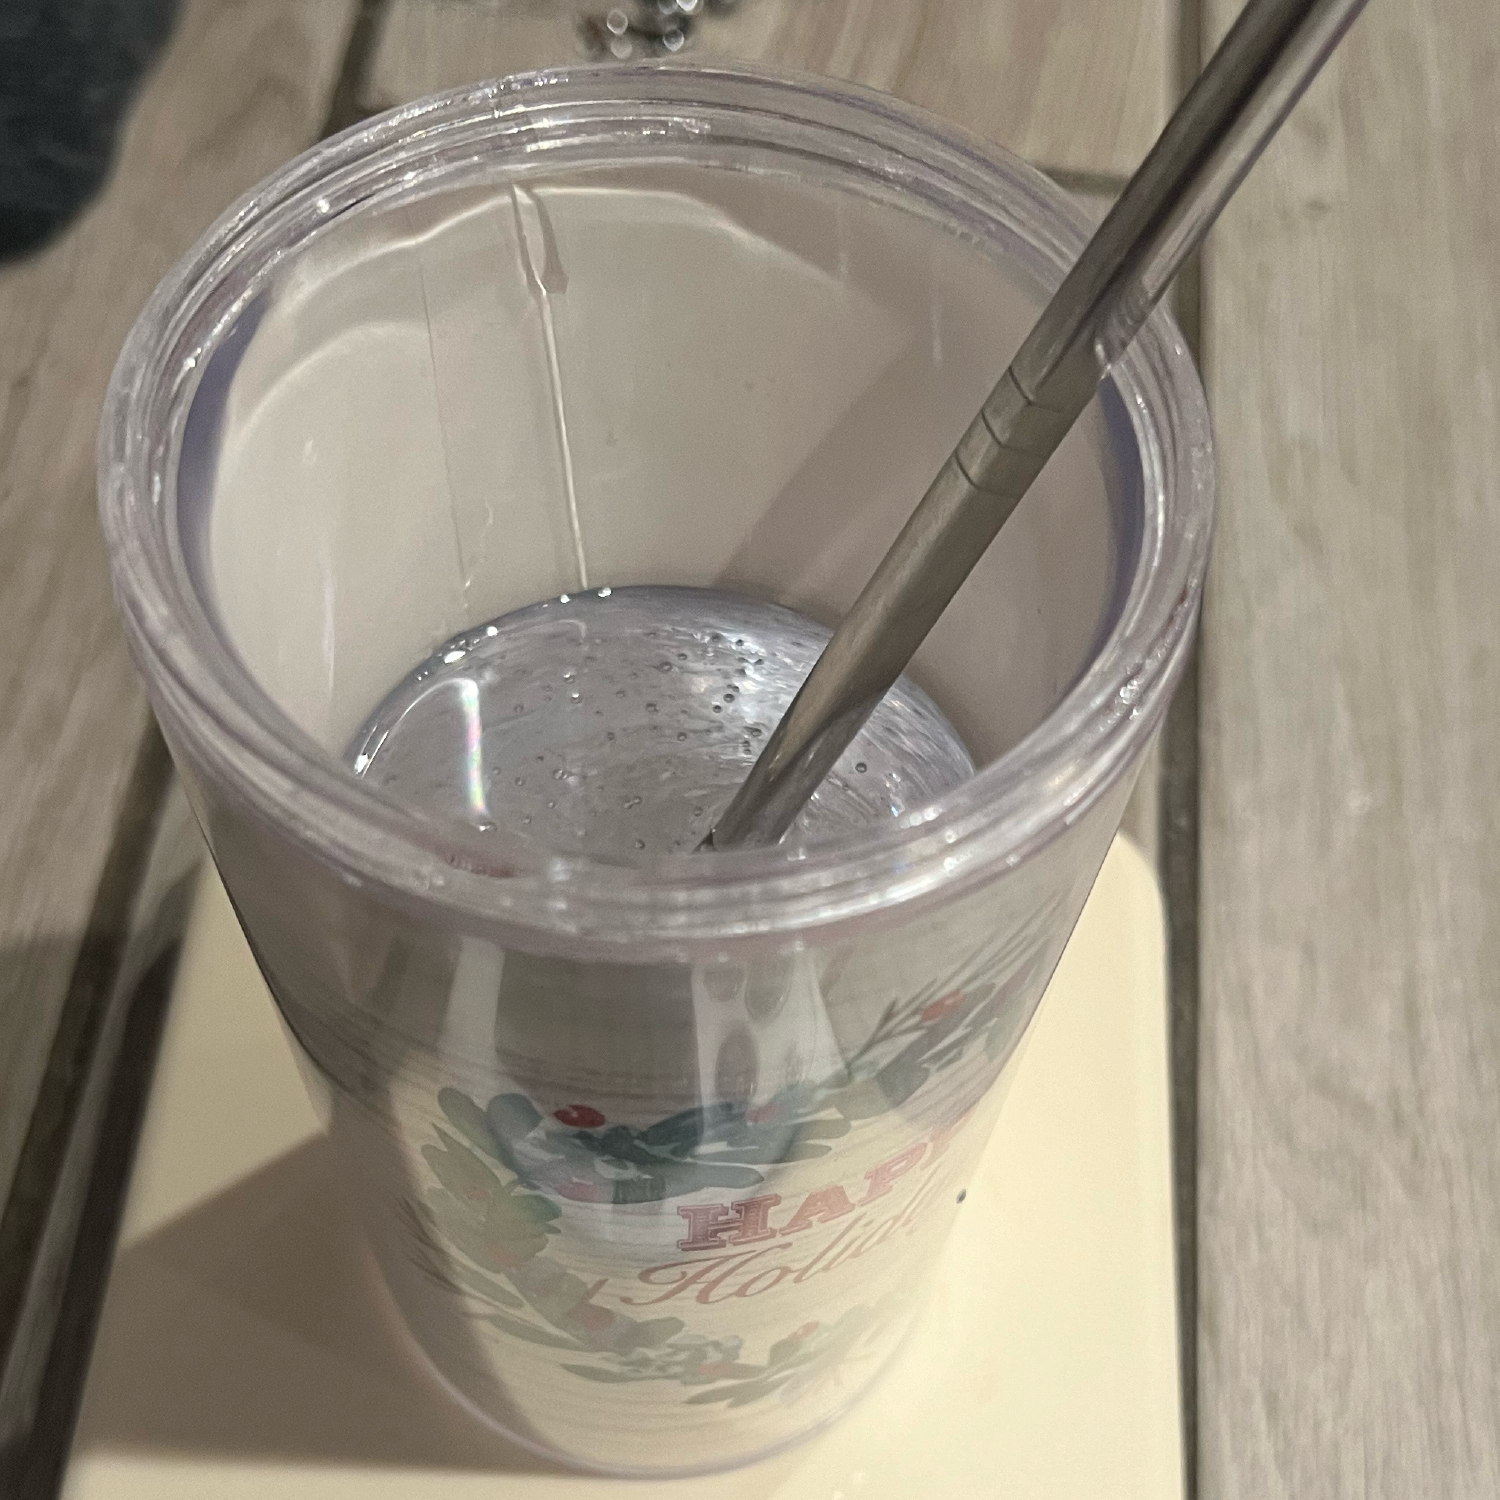
Step 5: Making the Gel
Mix 100 Milligrams of Premium Clear Resin alongside 100 Milligrams of clear epoxy hardener in a cup. Mix them together for about 3 minutes to create a gel-like substance.
Step 6: Solidifying the Pan
After the Resin and Hardener together, pour the mixture into the lid. Make sure to spread the mixture around so all parts of the lid are covered by the mixture. The gel may take over 24 hours to solidify, so be a little patient.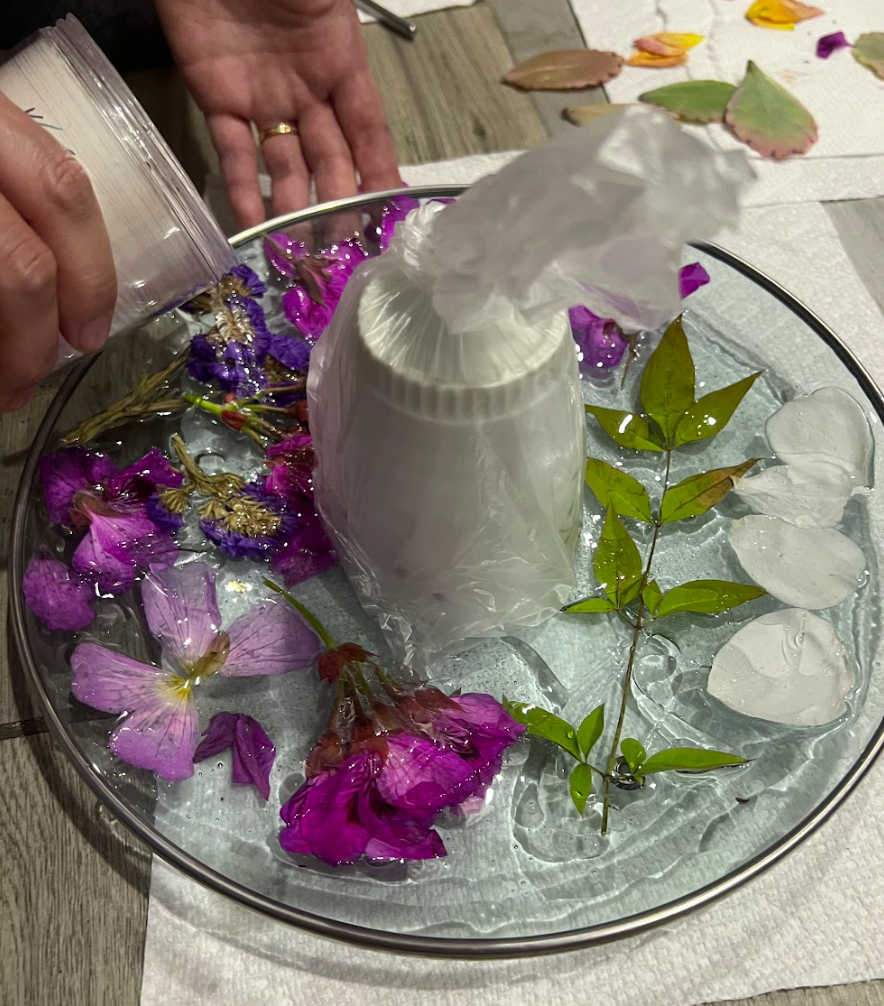
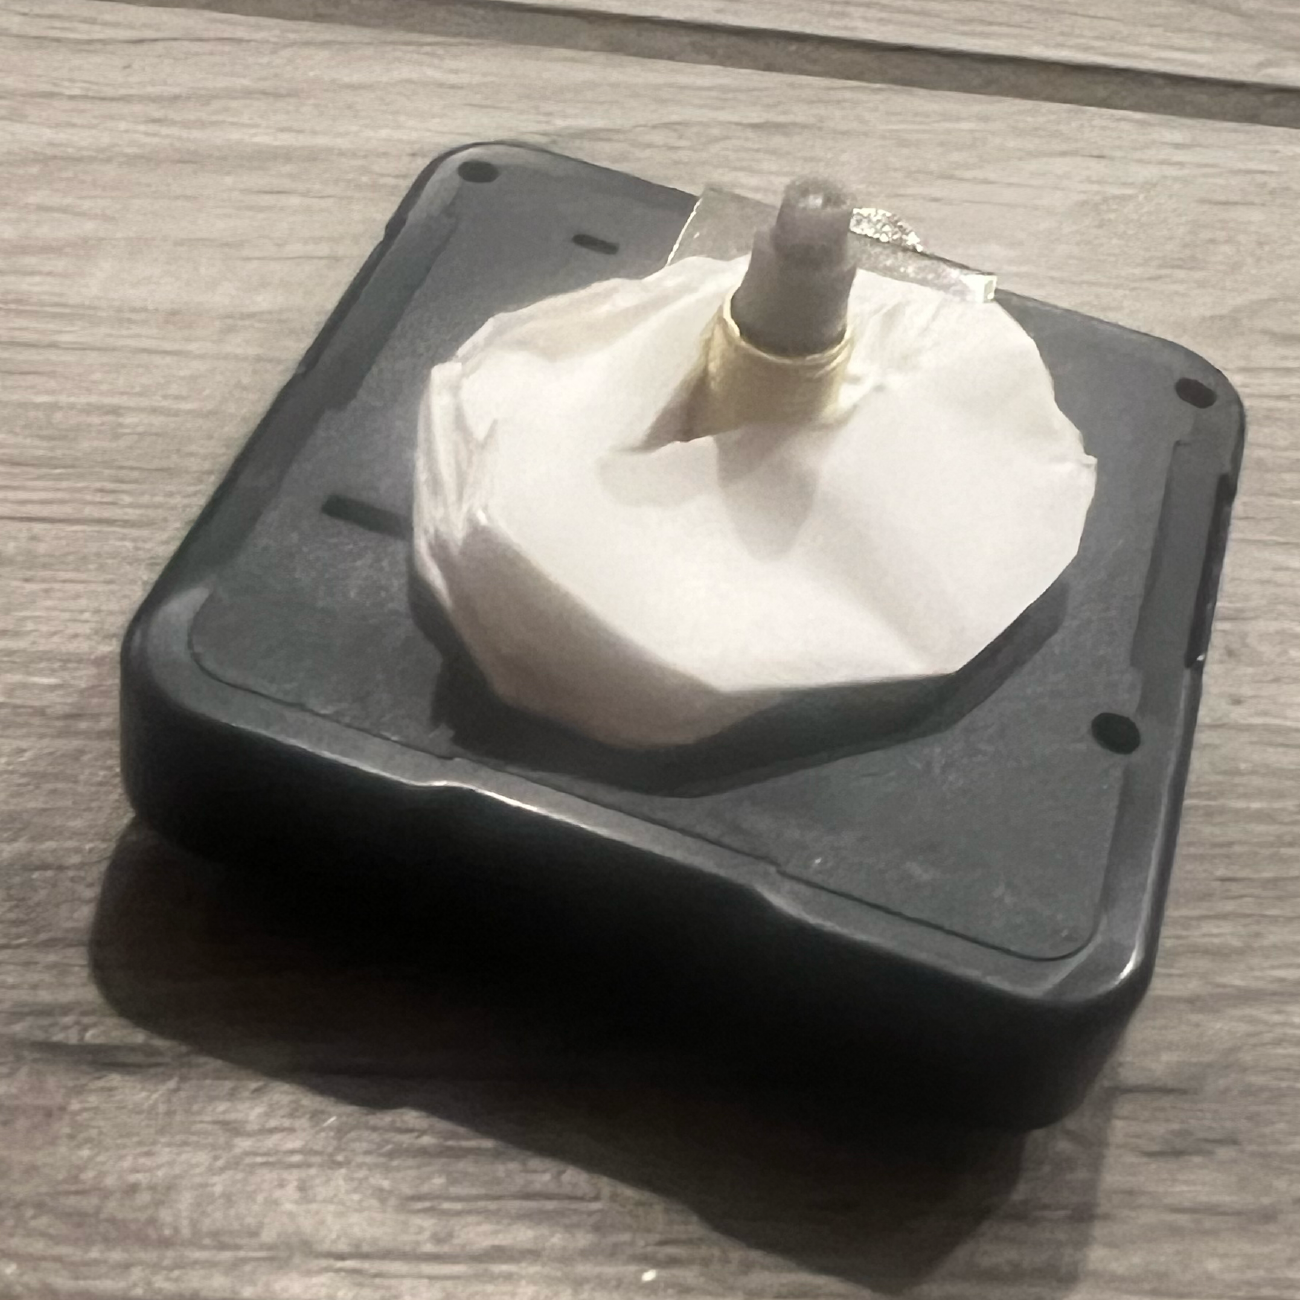
Step 7: Preparing the Mechanism
After the gel dries, take off the plastic bag and then the cup. Grab the clock mechanism from the box and place a hook in the middle. Use some paper to fill out any excess space.
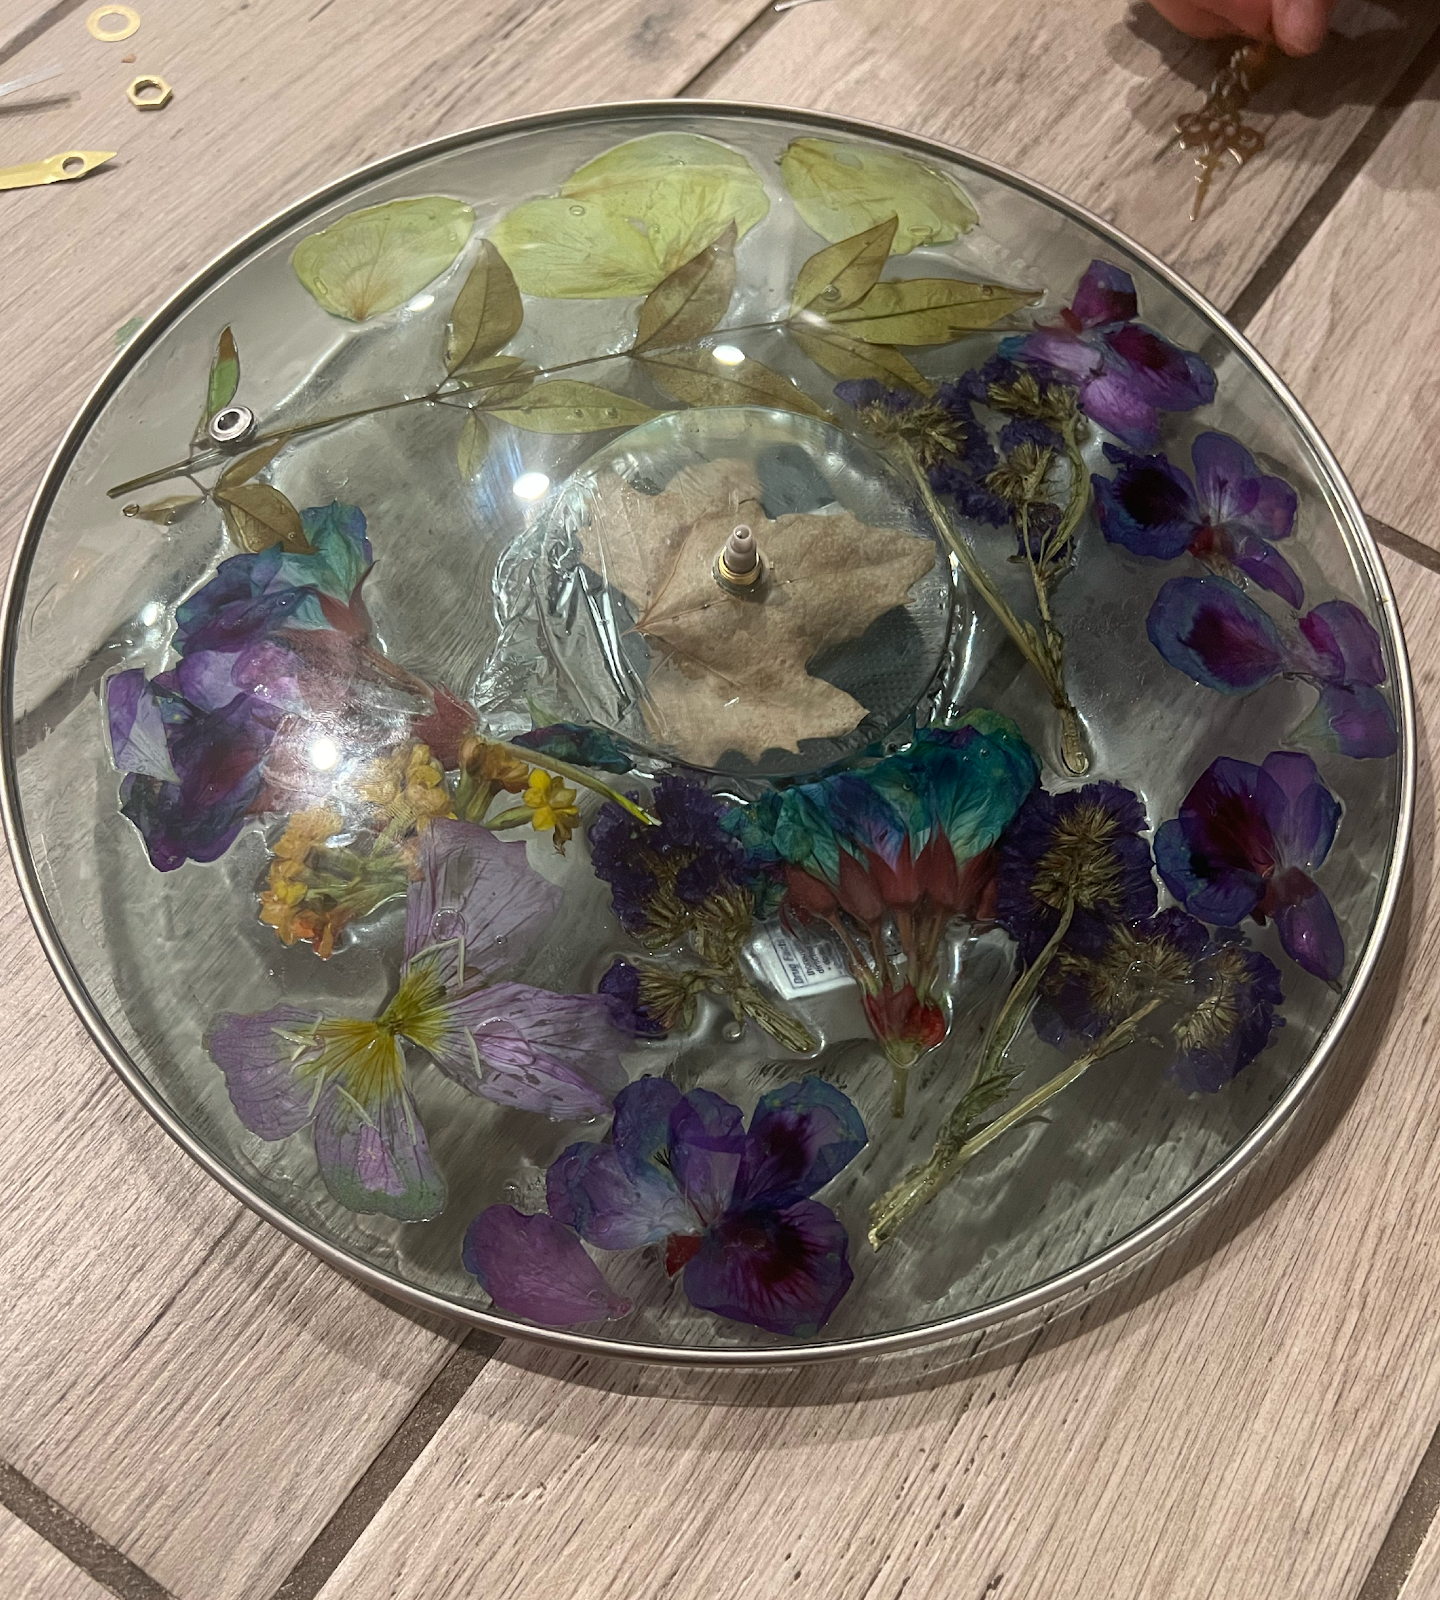
Step 8: Preparing the Hands
After you finish the bottom part of the clock, place the lid over the bottom of the clock mechanism. If you want you can place a leaf right below the lid for extra flavor. Place a circular middle ring around the middle of the lid (the pole on the top of the clock mechanism). After the ring is there, get a screw and screw it tightly against the lid.
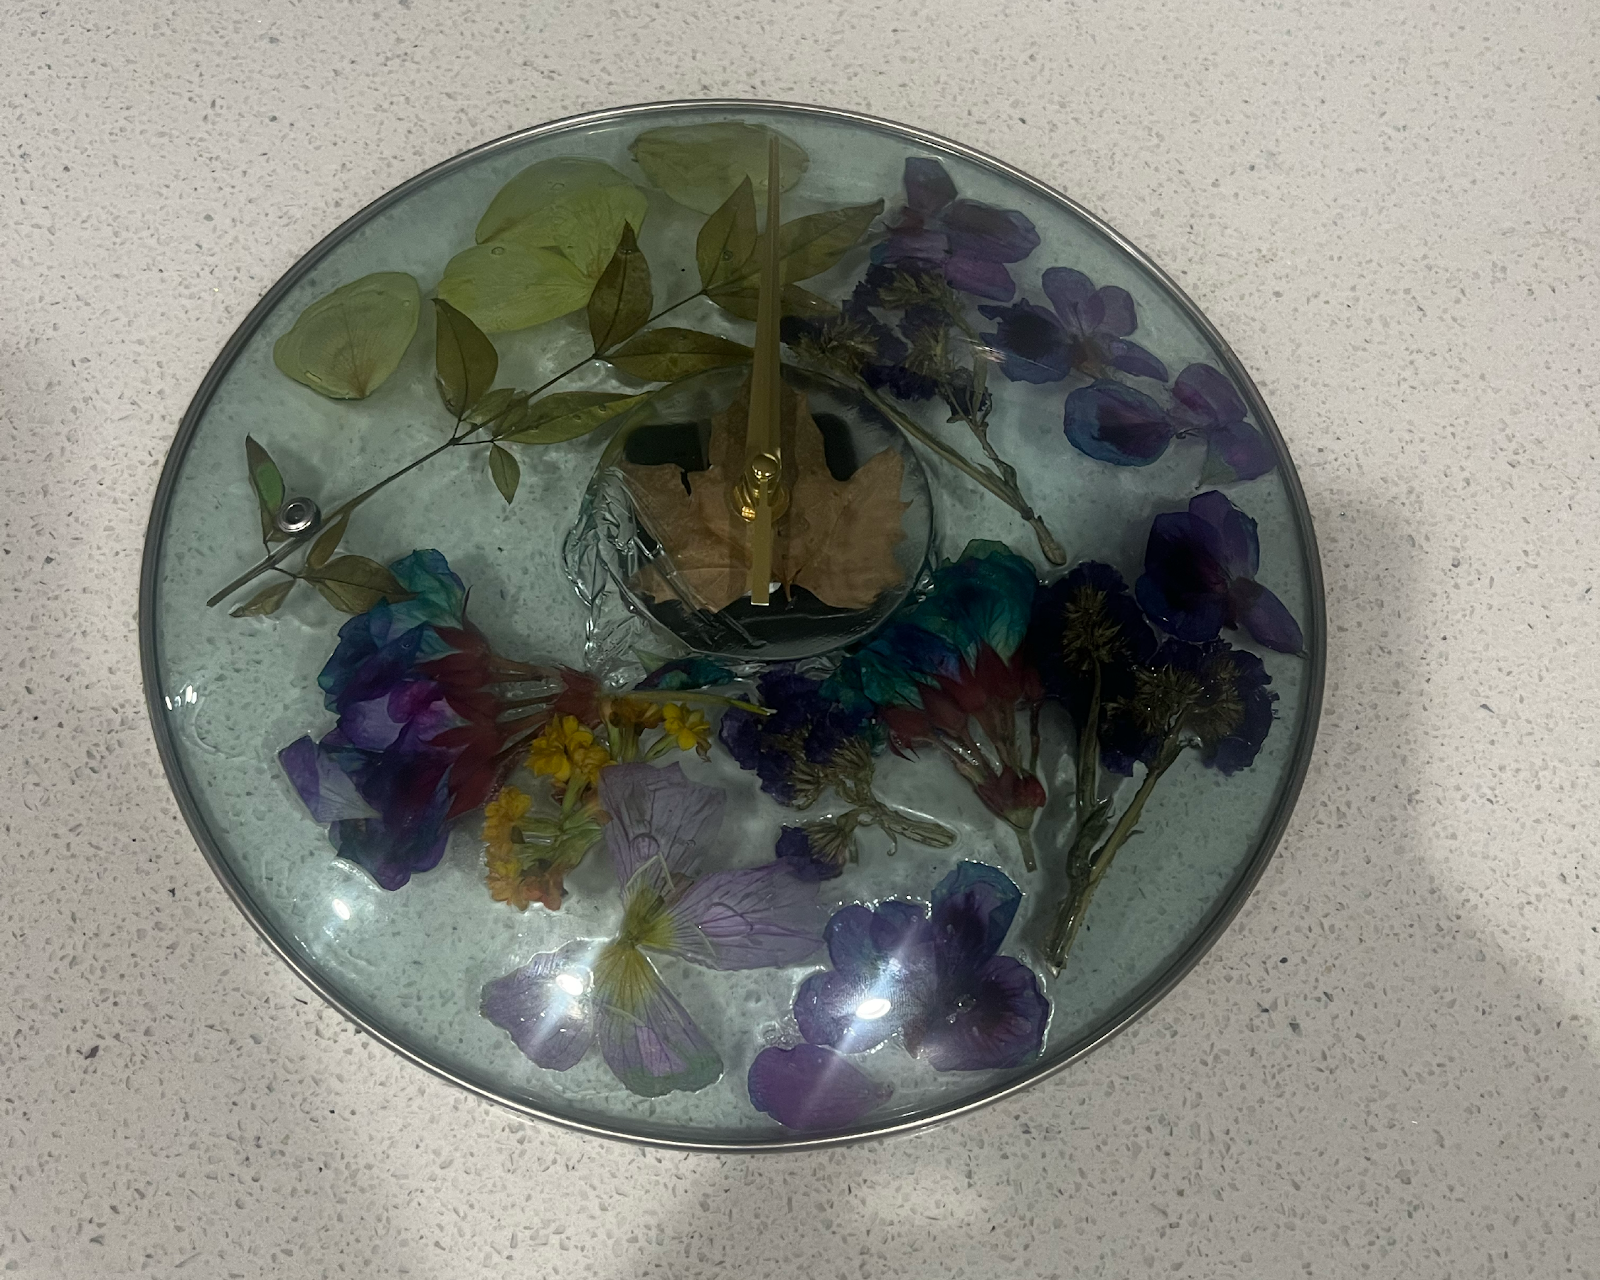
Step 9: Almost Finished
Place the hands of the clock precisely in the middle of the lid, onto the lid. You can set your time by manually moving the clock hands with your fingers. This example will set the time to 12. After desired time is set, insert battery at the back of the mechanism. Make sure to place the hands in this order: Hours, Minutes, Seconds.
Step 10: Placing Down Numbers
Place your select numbers on the edges of the clock, and glue them with the UV glue used earlier. Make sure to put them at equal distance from the rim for consistency. I only put 12, 3, 6, 9, on my clock but you may use all 12 if you wish. After the glue has dried, your clock is done! Hang it up on a wall, do whatever you want with it. Regardless, it'll be a nice addition to your home.

This is an entry in the
For the Home Contest


