

Introduction: How to Recycle Soda Cans Into a Wind Turbine! (Generates Electricity!)


While aluminum sheets aren't the best turbine blades, I think this project ends up looking good, being functional, and would look especially handsome in a garden that has a reused/upcycled theme.
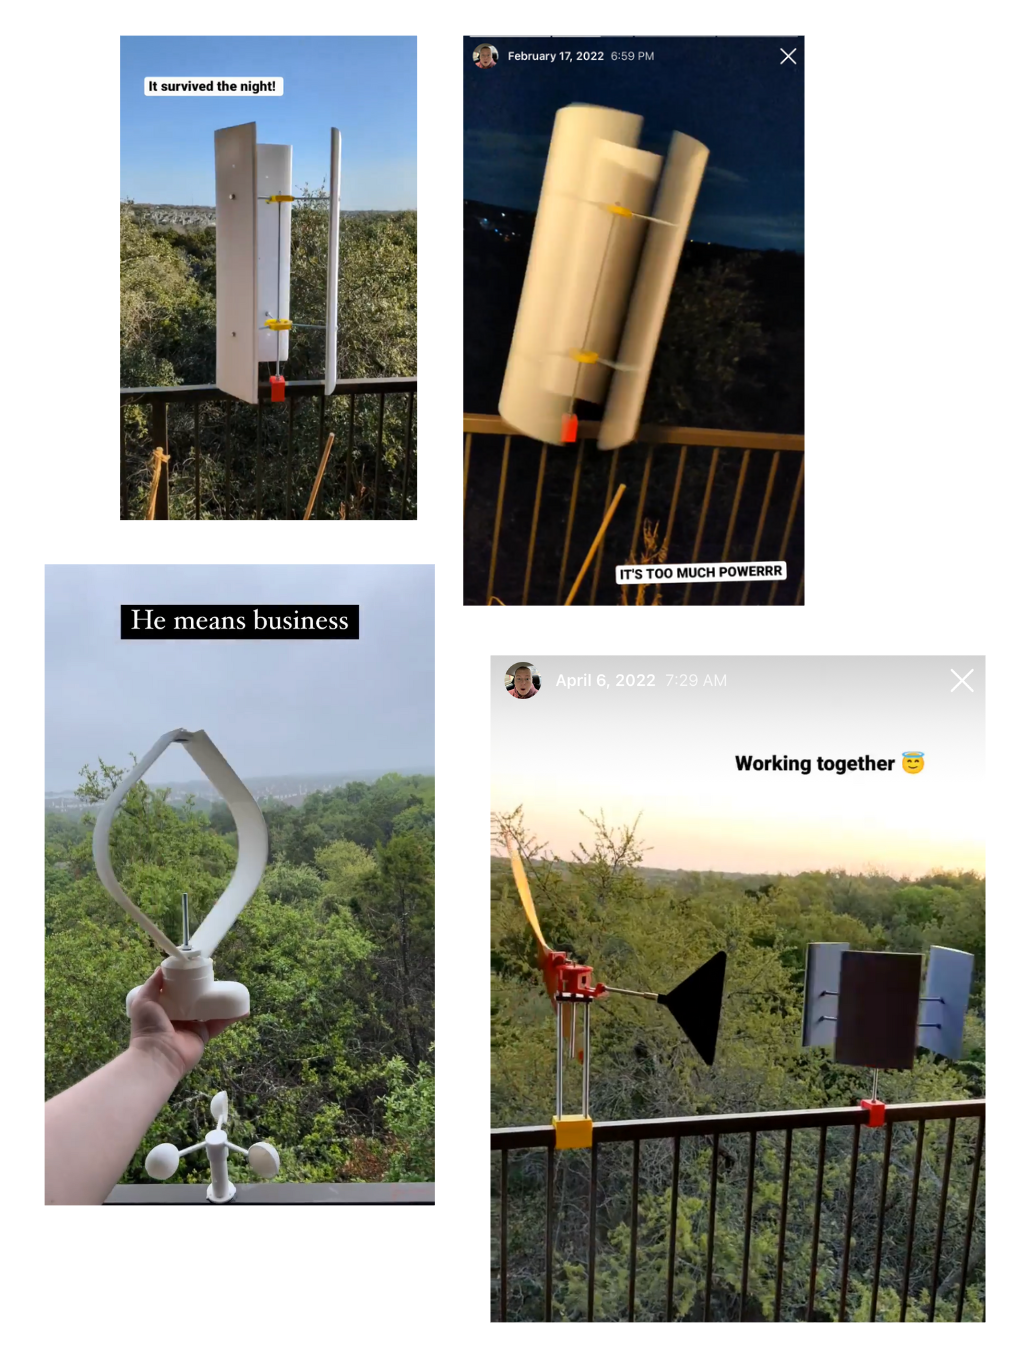
This project was created for the Instructables Repair and Reuse Contest in Spring of 2023.
I am Christopher. I make content on all channels under the handle ChristophersFactory. I especially like making wind turbines, and I have tons of content that describes the working principles and the basics of generators and the electronics necessary, so I will not go as into detail in this project. If you would like more information on the principles of DIY wind turbines, I highly recommend you check out my YouTube channel.
Supplies


For this project, you will need...
Step 1: 3D Printing


I've attached in the files for this step everything that you'll need to 3D print to make this wind turbine. The files include...
- Frames to glue the aluminum to to keep it rigid
- Guides to help you cut the soda cans
- A hub to bolt all the aluminum blades into
- A frame to hold the hub and motor, and to attach the rod into.
I'll go more into detail on how to affix everything, of course, but wanted to put all the required files first so that you can print them while you're doing the rest of the steps.


Step 2: Can Cutting, Flattening, and Framing


Please note that utility knifes are extremely sharp. Wear gloves and cut extremely carefully!
Wash and rinse all your empty aluminum cans to ensure that no soda is left inside them. Then, using the guides, firmly press the knife into the can as you cut around in a circle. The goal here is not to cut the can, but to make a deep crease. Cutting the can will cause sharp edges, but if you do this step right, the can won't be sharp at all.
Flip the can upside-down and use the taller can cutting guide for the top of the can. We're going for just the skin of the can, only the long, flat midsection. Try to be left with a can skin that is as large as possible, as this will make your life easier later in the project.
When you're finished creasing, pinch and press at the seam. The stress will cause the crease to give way with very little effort. You may need to poke a small hole or crease especially deep in one section to get the tear started. One utility blade will last about 3 cans. While the blades won't be dull, we need as sharp of blades as possible for these cans -- the sharper the blade, the easier it will be and the less sharp of an edge we will be left with. Put used blades aside for reuse later.

What you should be left with is a very curly sheet of aluminum. I've found that there is a very simple way to take this curl out with no heat, no ironing, and no waiting for hours. Just roll it along the edge of a countertop, similar to how ribbon can be curled by running it along a pair of scissors.

If it's still not straight enough, try working the curled parts specifically. This does take some finesse and you will get better at it over time.
When you have six flattened can skins, get your six can frames and your glue. Dab a small amount of superglue in the four corners and the middle of the can frames. Wait for all of them to dry before continuing.
When you're done, and all frames are dry, get your knife and cut off any excess. The knife doesn't have to be as sharp for this part, as you'll have a greater range of motion to bend and weaken the crease.
Poke holes in the aluminum where the bolts will go, and bolt each blade into the blade hub. This will complete the turbine portion of this project!


Step 3: Assembly


Take your NEMA-17 Stepper Motor and, using four M3 bolts, secure it into the 3D printed frame. Additionally, put a bearing into the space above it.

Put three bearings into the swivel, two in the shaft, and one in the very top. Check the pictures on this step for more details. Combine the two parts via the 5/16ths bolt slots that lie above the motor, and fix them tight with 5/16th nuts. The whole assembly will slide onto the top of the rod and can swivel freely.
A wind vane can either be placed in line with the two bolts that keep the frame and swivel connected, or by using the coutnersunk 5/16th hole behind the motor.

Please remember that you can read more about how to convert the output of the stepper motor into a more usable DC current via the content on my YouTube channel, this video in particular, but this is beyond the scope of this project for now. :)
I hope you enjoyed this guide on making your own Soda Can Wind Turbine! Please do check me out on other channels if you enjoyed this project.
If you enjoyed this project, please consider supporting my future endeavors through Christopher's Factory:
Or by simply checking out my other content.
You could also get this windmill-themed necktie that I sell on my shop:

Thank you for reading, and please feel free to send me pictures of your projects or any questions you may have to christophersfactory@gmail.com
Thank you, Instructables' contest judging staff for your consideration.

Runner Up in the
Repair and Reuse Contest


