

Introduction: Logitech Clip for K270 and Similar Keyboards


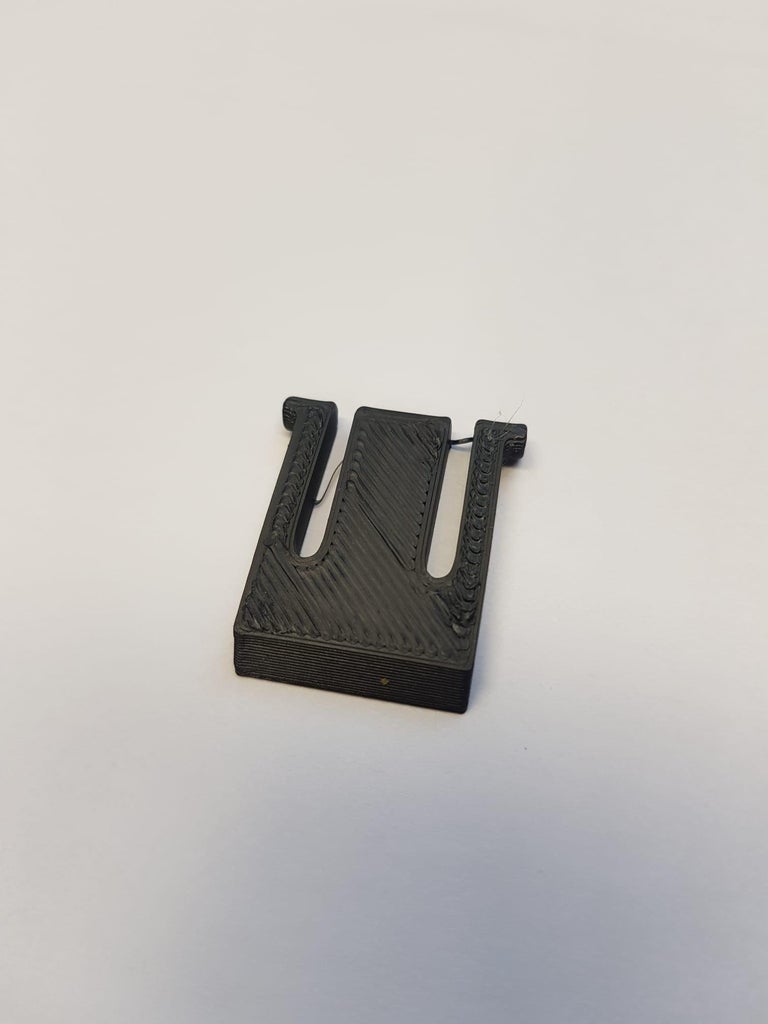
Recently, my keyboard clip broke. As I'm one of those people who type with the clips open, I couldn't really type with the keyboard any more. So I switched on my PC and set to work designing a model for the clip so that I wouldn't have to buy a new keyboard and throw the old one away just because the clip was broken. Then I printed it out and tested it, and after two iterations it worked perfectly.
Supplies
3D-Printer
Filament - PLA recommended
Step 1: Slicing the File for Your 3D-Printer

Because every 3D-Printer is different I just included the stl file instead of the direct gcode. First slice the stl file in a slicer software such as UltimakerCura or PrusaSlicer, rotate the model, so that it has the most bed adhesion and export the gcode file.
Note:
I recommend printing it at a layer height of 0.1mm because then, the file is more precise regarding the plugs that are on the sides.
Step 2: Print It
Next transfer the gcode file to the printer and print it
Step 3: Attatch It


Now you can remove the old clip and attatch the new one. For that just bend the two sides together and then it should already fit in its designated spot


