Introduction: Make a Pocket Hole Jig


What is up everybody, In this tutorial, I am gonna show you how to make a custom pocket hole jig with a 3d printer.
With the hole jig you can drill holes at an angle which is especially useful if you want to achieve strong bond between joining two wooden pieces at a 90° angle.
Step 1: 3d Modeling and Printing


As always, I start this projects with firstly modeling it in a 3d software called solidworks. I made a seperate solidworks tutorial video:
When I finished the model I export it as stl format and slice it with simplify 3d software. Estimated printing time was around 45 minutes which is just enough to do some other household things in the meantime.
Step 2: Making the Jig


As you can see, the slicing software made some support material inside of the jig so I figured out that the best way to remove it is by drilling a hole through the whole part with firstly 8 mm drill and finish it with a 10mm one.
Now, we need to cut a small piece of an aluminum rod, somewhere around from 2 to 3 cm
I chamfer on side so It could slide in the jig more easily.
I used a small rubber hammer to push it inside and the jig is pretty much finished.
Step 3: Customizing Drill Bit


Now we need to modify the drill bit. I use an old 8mm drill on which we have have to thinner the front section to about a diameter of your most commonly used wooden screw.
Drill bits are made from a tempered hss which is very hard to cut or grind so without waisting any time I just used a grinding wheel and grind away most of the front material.
It wasn't actually that bad and It was pretty sharp on edges so I just leave it like that and now we can finally test the jig.
Step 4: Testing the Jig

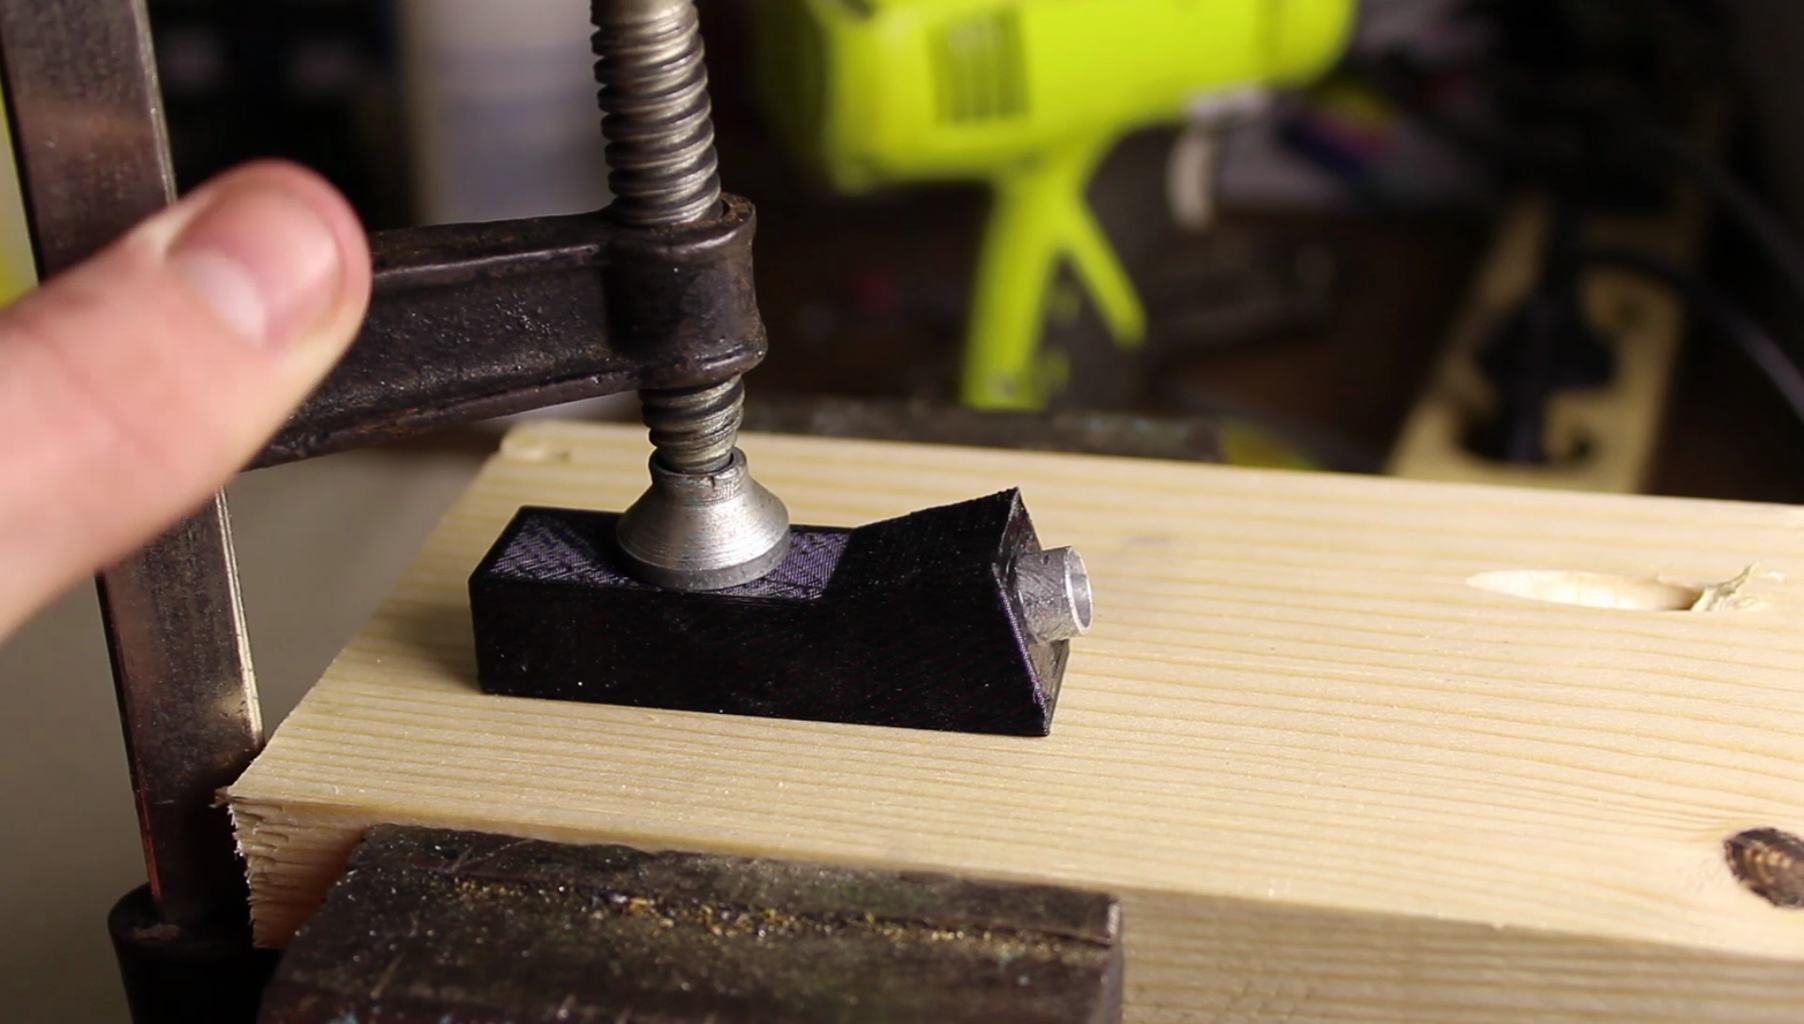


Clamp it down securely and start drilling a hole until you see the tip of the drill coming through the side.
We could also machine a small drill stopper on a lathe but I find it unnecessary for making a few joints.
This is how it basically looks in the sections view and if we want to join two pieces together just use a bigger clamp to hold the parts together and put a screw or two in the middle.
And the pocket hole jig is finished.
You can get a free stl file of the same model here: https://drive.google.com/file/d/0BxRpsbycn3AnaGZhdExkeFBiMlE/view?usp=sharing
or visit my website to download the complete solidworks files and drawings of the pocket hole jig
Thank you for watching this instructable, if you have any questions, please leave a comment below. Also you are welcome to check out my youtube channel where I post random diy projects.