Introduction: Pocket Sized Ink Pen Bow and Arrow


About: I’m a hobbyist who likes to use those things around us to make fun projects.
Are you at work, home or school? Do you want to channel your inner bow hunter, archery or Hunger Game skills? Look no further! Here is a DIY for you.
The Pocket Sized Ink Pen Bow and Arrow...
WARNING! This shoots a projectile that could cause injuries. USE RESPONSIBILY AND WITH CAUTION
The Pocket Sized Ink Pen Bow and Arrow...
WARNING! This shoots a projectile that could cause injuries. USE RESPONSIBILY AND WITH CAUTION
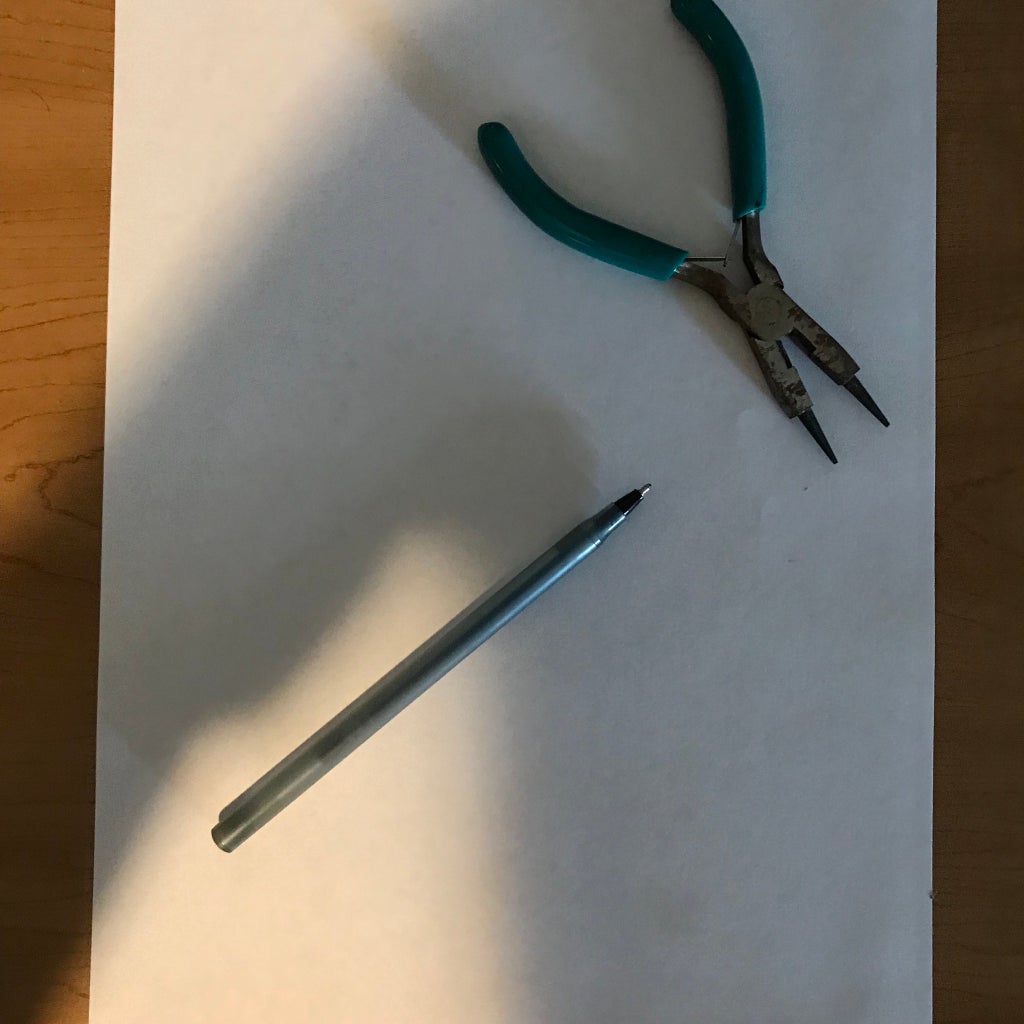
Step 1: Gather Your Materials.

WARNING! USE CAUTION WHEN WORKING WITH SHARP OBJECTS OR POWER TOOLS.
What you’ll need...
1) An ink pen.
2) Two ink pen lids that will fit the body.
(preferably identical pen lids.)
3) Rubber band.
4) Pliers of any sort to assist with disassembling pen.
5) Scissors to cut rubber band.
6) Drill to assist with placing hole in center of pen body.
Knife or scissors can be used for this as well.
Step 2: Disassembly

Using the pliers or your hands, remove the ink pen from body and set aside.
Step 3: Preparation of Bow and Arrow Body

Using drill or other method, create a hole at the center of pen body.
Step 4: Body Assembly Part 1


Place ink pen tip of body that you removed earlier in the hole that your created in center of ink pen body.
Step 5: Body Assembly Part 2


Place one end of rubber band into open end of pen and secure by placing one pen lid on end.
Place the other end of rubber band, stretching across ink pen body and back of center hole, to other end of ink pen body. Securing this end of rubber band with pen lid as well.
Place the other end of rubber band, stretching across ink pen body and back of center hole, to other end of ink pen body. Securing this end of rubber band with pen lid as well.
Step 6: Congratulations!!!! It’s Finished!


Here is how your bow and arrow should look when completed.
To use, place arrow (ink pen) into front opening and pull back as you would with actual bow and arrow.
Now release and watch it fly!
To use, place arrow (ink pen) into front opening and pull back as you would with actual bow and arrow.
Now release and watch it fly!

Participated in the
Pocket Sized Contest


