

Introduction: Print and Cut Heat Transfer Vinyl Using Cricut


More by the author:


About: MADE, the latest innovation of its parent company Hacker Lab, is where dreams become a reality. For over a decade, Hacker Lab has supported countless individuals to “BUILD CODE UNITE”. At MADE, we live by the …
In this tutorial, you will learn how to print and cut Heat Transfer Vinyl (HTV) for making custom bags.
Supplies

Step 1: Download Cricut Design Space Software
You can find the instructions for downloading the software here:
https://help.cricut.com/hc/en-us/articles/360009428814-Downloading-and-Installing-Design-Space
Step 2: Upload Image to Canvas


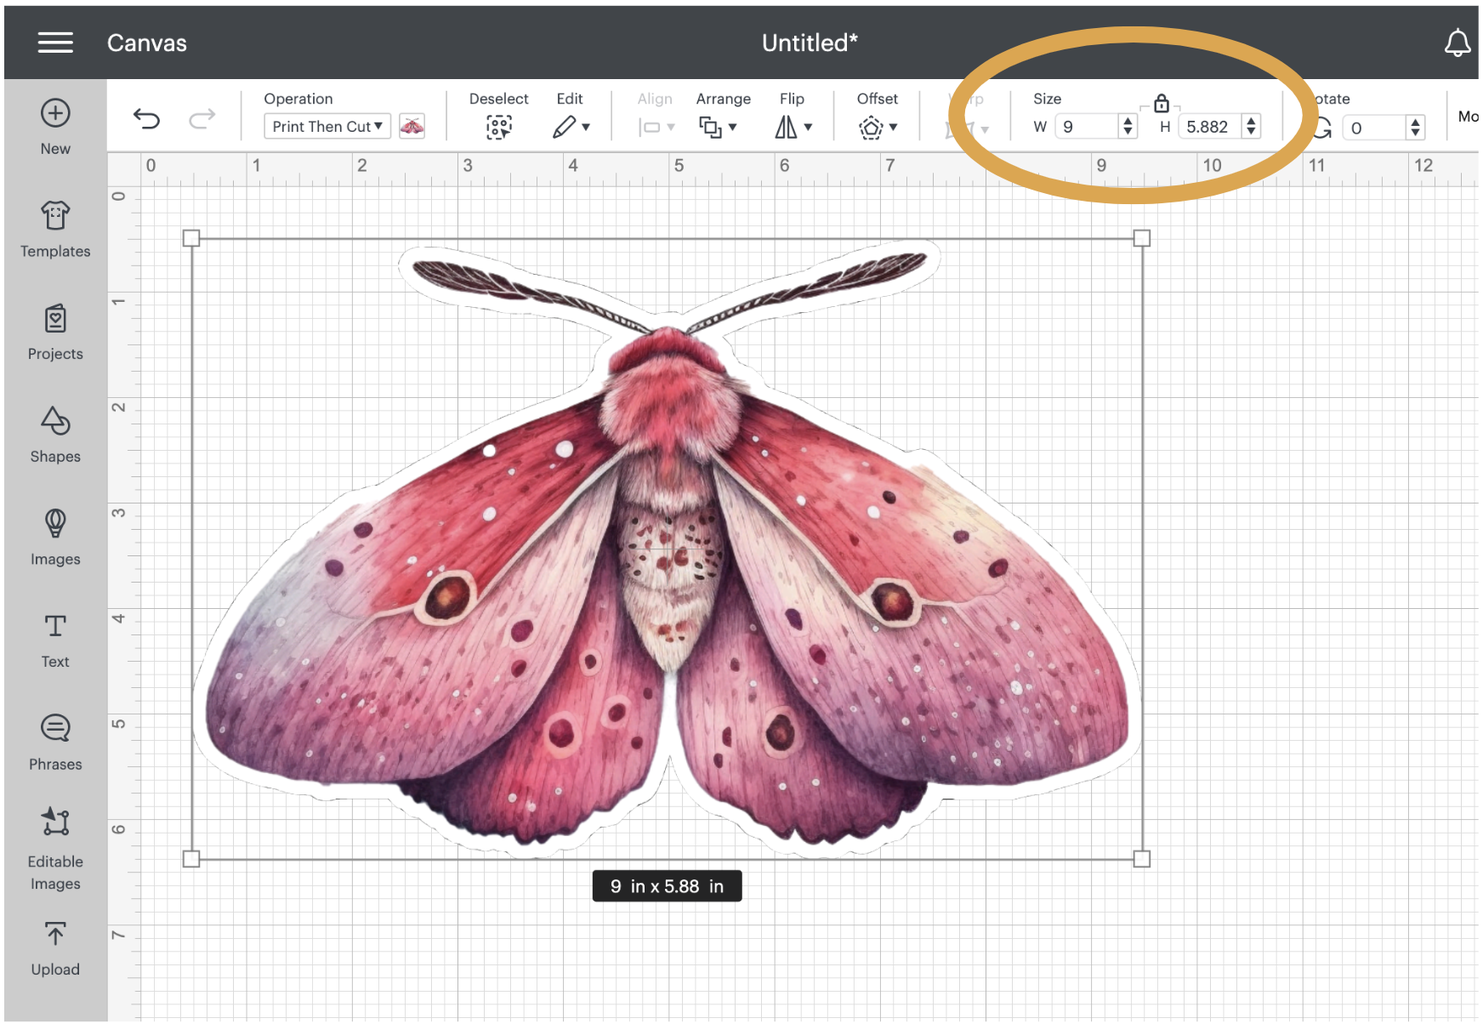
Step 3: Select "Print and Cut" at the Top Dropdown Menu

Step 4: Resize Image to Fit in 9" X 9.75" Print Bounds
Step 5: Select Maker 3 and Click "make It" to Start Print Process

Step 6: Navigate Print and Cut Design Space

Remember to verify the material size is 8.5" x 11"
Heat Transfer Vinyl does not need to be mirrored
Step 7: Go to Sublimation Printer and Load Heat Transfer Vinyl (glossy Side Up)

Step 8: Click "send to Printer" and Select "SAWGRASS SG1000" Then Print!

Step 9: Grab Paper From Printer at the Corner

Do not touch the ink as it will smudge!
Step 10: Stick Printer HTV on to Corner of Sticky Mat


Tip: Be as close to the grid marks on the mat
Use a squeegee to stick HTV onto mat, making sure not to touch the ink as it will smudge.
Step 11: Turn Cricut On

Step 12: Load Mat Into the Cricut

Make sure to line the mat underneath two guide-rails on the bottom of the Cricut.
Step 13: Press Arrow Button to Load Material

Step 14: Select "heat Transfer Non Cricut" in Cut Settings

Step 15: Follow Steps As Instructed on Cricut Design Space
Step 16: Carefully Peel Away Waste Paper


Step 17: Cut Out a Sheet of Transfer Paper

Step 18: Apply Over the Cut Heat Transfer Vinyl

Use a squeegee to evenly stick it on
Step 19: Set the Heat Press to 310 Degrees Fahrenheit and 15 Second Duration
Step 20: Place Bag on Heat Press and Stick HTV With Transfer Paper on Bag


Step 21: Press the HTV Onto the Bag
Step 22: Remove Transfer Paper and Bag Is Finished!


