

Introduction: Tail Fins


The following information is a single lesson in a larger Tinkercad project. Check out this and more projects on Tinkercad.
Return to Previous Lesson: Design the Nose Code
Lesson Overview:
Now we're going to add some tail fins!
Step 1: Create Threaded Base


Make the piece that will thread onto your bottle top.
Instructions
- Drag ruler onto workplane to allow for precise measurements.
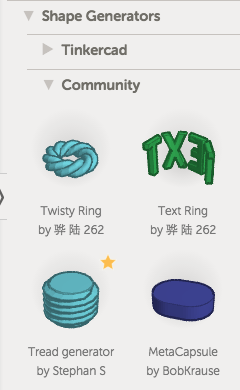
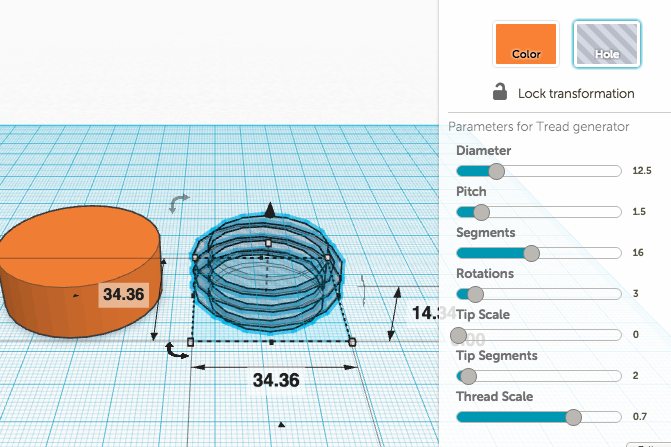
- Find the thread generator (spelled "tread generator") in the Community Shape Generators.
- Drag the thread shape onto the workplane and click on the thread model to open the parameters. Experiment by sliding the parameters and noticing the changes on threads. The settings shown work for typical soda bottles, but you might have to experiment for your particular bottle.
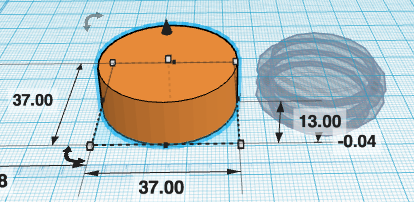
- Drag a cylinder onto the workplane, change the size to to a diameter slightly larger than thread diameter and the height to be slightly smaller.
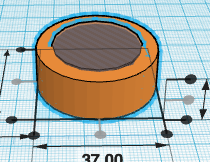
- Select both objects, choose Adjust and Align to center them in both the X and Y directions, then Group them together.
- Stuck?
HINT:
It's a good idea to print and test the fit of the ring before you add fins.
Step 2: Design Fins Option 1 - Tinkercad Shape Generators


Fins, which help provide stability when the rocket is in flight, provide the best opportunity in this project for customization. One way to create fins is using the Extrusion Shape from the Tinkercad Shape Generators.
It's a good idea to use the threaded base you printed earlier along with some paper or card board to prototype some fin shapes and sizes that will fit your bottle.
Instructions
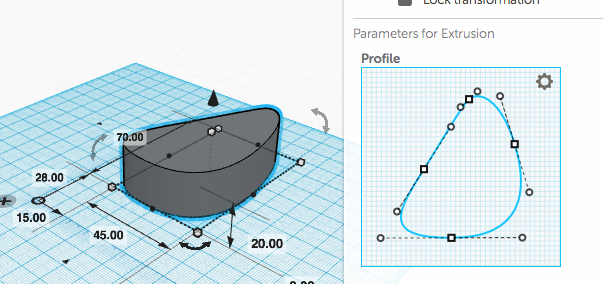
- Drag the Extrusion Shape onto the workplane.
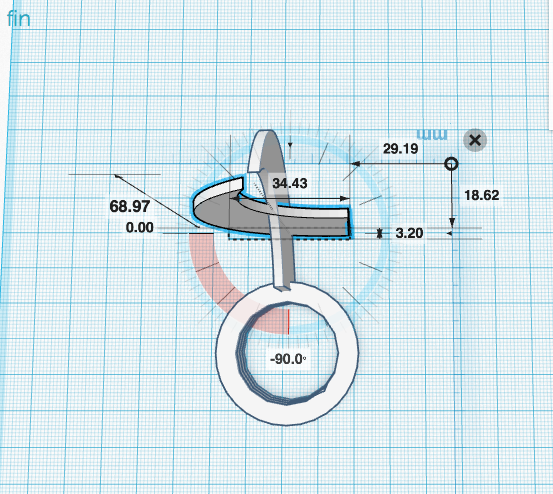
- Instruction image Adjust the profile by dragging the nodes (squares) and handles (circles) until you get the shape that you like.
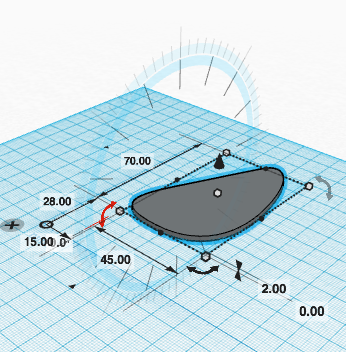
- Change the height of the fin to 2 mm and rotate so that the fin is standing perpendicular to the work plane.
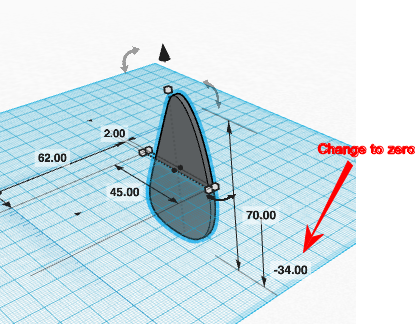
- Place the fin on the workplane by changing the distance to zero or press D on the keyboard to move the shape to the workplane.
- Jump to Step 4 to finish the tail fins.
- fin angle: 70mm Y 25mm X
- Stuck?
HINT:
When rotating shapes, it is often helpful to pan around the object to get a better angle to pick the correct rotation direction. Large rotation steps are made while the cursor is inside of the protractor, smaller steps are made when the cursor is outside.
Step 3: Design Fins Option 2 - Import From Vector Graphics Program


While you can make some pretty nice fins using the Extrusion tool in the Tinkercad Shape Generators, you can get a more complex fin shape using a vector editing program and importing it into Tinkercad.
Instructions
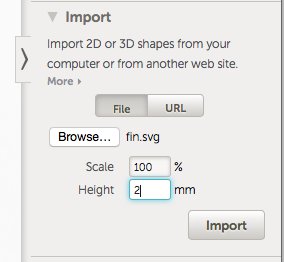
- Design the fin shape in a vector graphics editor (Inkscape, Illustrator, Corel Draw) and save as an .svg file. Note: Default units in Inkscape are pixels, when importing into Tinkercad, the dimensions are interpreted imprecisely as mm, some adjustments will likely need to be made in Tinkercad for parts requiring precision.
- Browse for the file in the Import frame, set the height to 2 mm and import.
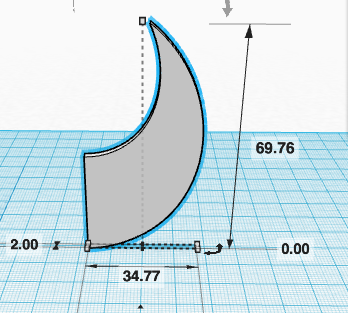
- Rotate the fin to stand vertically and upside down perpendicular to the workplane.
- Place the fin on the workplane by changing the distance to zero.
- Continue to the next step to finish the fins.


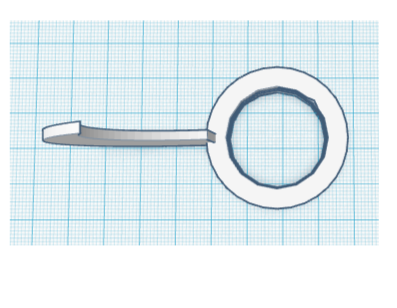
Step 4: Complete Base


The final step is to duplicate and attach the fins, three or four, to the threaded base.
Instructions
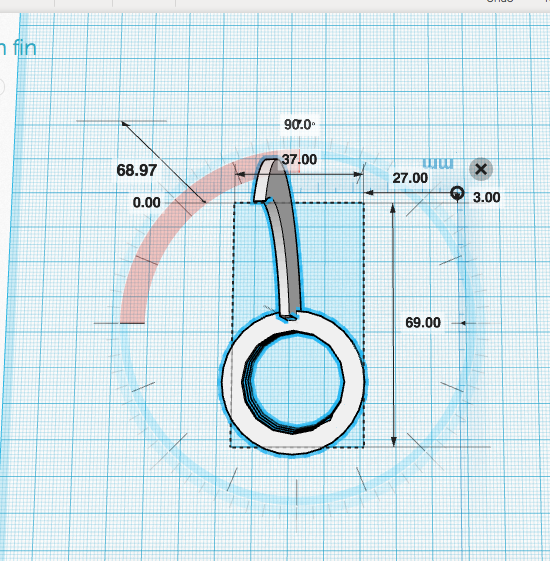
- A trick to accurately attaching the fin to the threaded base is to switch to a top view and orient the fin parallel to the X or Y axis, roughly aligned with the center of the base. Embed the fin into the base enough to have a solid connection but not so much that it pushes through the threads.
- Use the Align command from the Adjust menu to center the fin and base.
- Group the fin and base together, the rotate the assembly 90° if you will have four fins (120° if you will be having three fins).
- Ungroup the assembly, select only the fin, and rotate it back the same number of degrees.
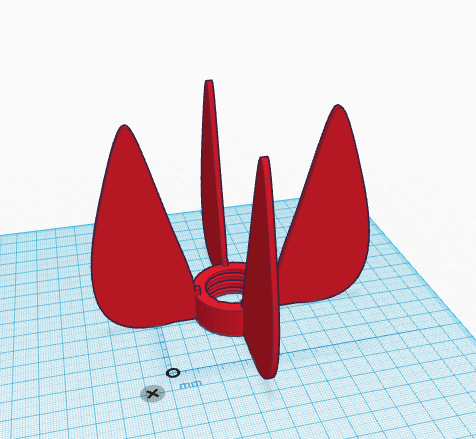
- Repeat the process until the desired number of fins are attached. Example pictured is four fins using option 1.
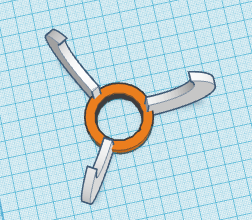
- After inspecting from all angles, select all of the shapes and group together and you're ready to download and print. Example pictured is three fins using option 2.

Congratulations, you have completed this project!
Check out other great projects on Tinkercad.


