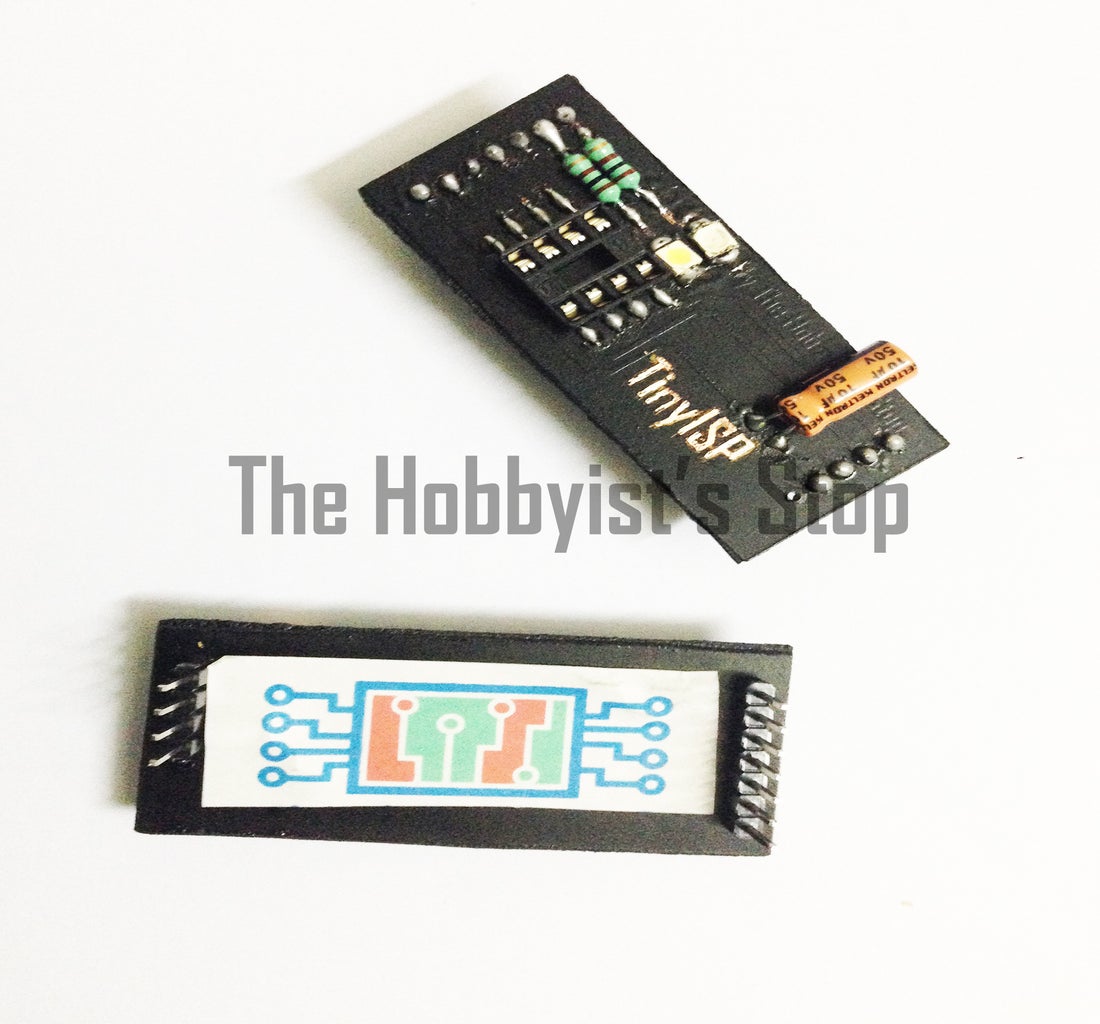
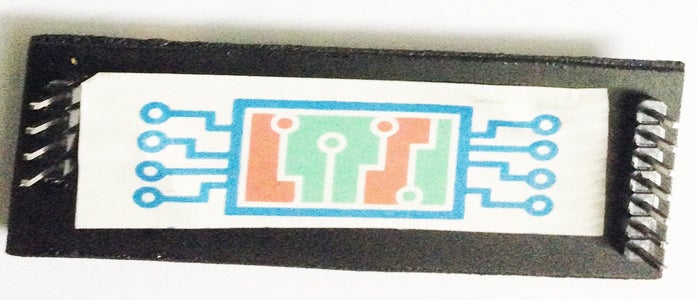
Introduction: TinyISP -Attiny25/45/85 Programming Arduino UNO R3 Compatible Shield

![Pocket ESP8266 Weather Station [No ThingsSpeak] [Battery Powered]](https://content.instructables.com/FDV/RP9L/IP2UCKNC/FDVRP9LIP2UCKNC.png?auto=webp&crop=1%3A1&frame=1&width=130)


Tired of Always hooking up the jumper wires to Program your Attiny?
How About making a Easy to Program Shield for Arduino to Program your At tiny!
By this we will be able to Program our At tiny25/45/85 Easy By just hooking up your shield to arduino!
In this instructable i will be showing my Selling Version [ Pcb files also Included ] but people out there in india can buy an completed shield on ebay [ Sorry Rest of the World - As i am seller on Ebay india Only]
I Hope my Ebay Selling Get's Good. Buy it Here
So Let's Start it,
Step 1: Parts Needed


1. 6x4 cm Copper clad Board
2. 8-Pin IC Base
3. ( 2 ) 100Ohm Resistor
4. (2) Smd Leds [White, Yellow]
5. 10uf Capacitor
6. Male Pin Headers 1mm
Step 2: Etch the PCB

As i bought Ferric Chloride.
I am Able to Etch PCB's Very Fast.
I would consider it to Everybody but Hcl + Hydogen Peroxide is also a green solution to Etching Pcb's.
Remember Ferric Chloride Stains Very object in contact and always wear protective Gloves and Mask.
Step 3: Pcb File.
Here is the Pcb File. Click Here
Step 4: Add Headers
Add the Pin Headers. 1mm male headers considered
Step 5: Add 8-Pin IC Base

I Flattened out the pins. by which i could solder it on top.
Step 6: Add Resistors

Add 100 ohms Resistors on there place.
Step 7: Add SMD Led's

Add SMD Leds which i salvaged from an broken led strip.
I Have Used yellow for Error Led and White for Power
Step 8: And Lastly Add an 10uf Capacitor

Add an 10uf capacitor and apply solder on top.
Step 9: Done!


Now Attach your Shield and Start Programming!
For More Goodies See my Ebay Store :- The Hobbyist's Stop
For Buying This Shield :- Click Here

Participated in the
On a Budget Contest

Participated in the
Burn It! Contest

Participated in the
Explore Science Contest


