

Introduction: Tutorial on Apple Motion 5


Plan
Basic Tutorial
Editing within the Motion 5 software parameter
1. Open Motion 5 on your Mac by either going to the finder and searching in the applications folder for Motion 5. You double click and it will open a new window where it displays a template choosier.
2. Make sure that the duration is set to 0:10 seconds and Timecode
3. Select “Motion Project” and click “open” in the lower right corner
4. A new editing window should appear
5. Click the “Text Tool” with the letter “T” on it or press “T” on keyboard and afterwards aim your cursor somewhere on the black screen in the upper right corner.
6. Type in the text you prefer
7. Press “Esc” to exit out of the text editor
8. Drag the text box in the center of the black screen or another position you prefer
9. In the left upper top there is a list where you have to select “Library”
10. Go to “Fonts” and select a font you prefer
11. When having found one select your text and click on “apply” next beside the font in the library bar
12. After having found the wright font you then enter the gradient section in the library and apply any of the gradients you prefer
13. Afterwards enter the Inspector toolbar on the right side of the Library bar and go to the “text” section
14. If you like you can change the style of the text by using one of the pre-made styles or follow to the end of this tutorial
15. To change the colors of the text you can go to “Style” and add a color gradient to the text by going to the face tab and clicking on to “fill with” and choose gradient
16. Select a color you prefer
17. You can play around with the other tools and settings including the glow of the text which will differ the look of the text
18. After having created your prefered text style you can now start adding animations to the text
19. One of the effects which can be applied is “Blocks Left Down Out” which is located under “Library”, “Replicators”, “All”
20. Going back to the “Inspector” tab will allow you to modify the effect as you would wish to
21. Whilst having done this it is always important to save the project. This can be done by either going onto “File” “Save” on upper corner or pressing “Command” “S” at the same time.
22. To render a project you will go to “Share” “Export Movie” and afterwards there will be options which you can choose from on how the final movie should look
You can play around with all the options and explore the wide ranges and capabilities of Motion 5.
Tutorial on Atmosphere in Motion 5
1. Create a new Project
2. Go into the media tab right beside the “Layers” toolbar
3. Click on the + putton on the bottom of the tab and select the file you prefer in the finder window which will appear
4. After having imported the picture or video you can then select it and drag it into the timeline
5. If you want to use any of the Action Essentials pre-rendered atmosphere files you can use the same method to import these
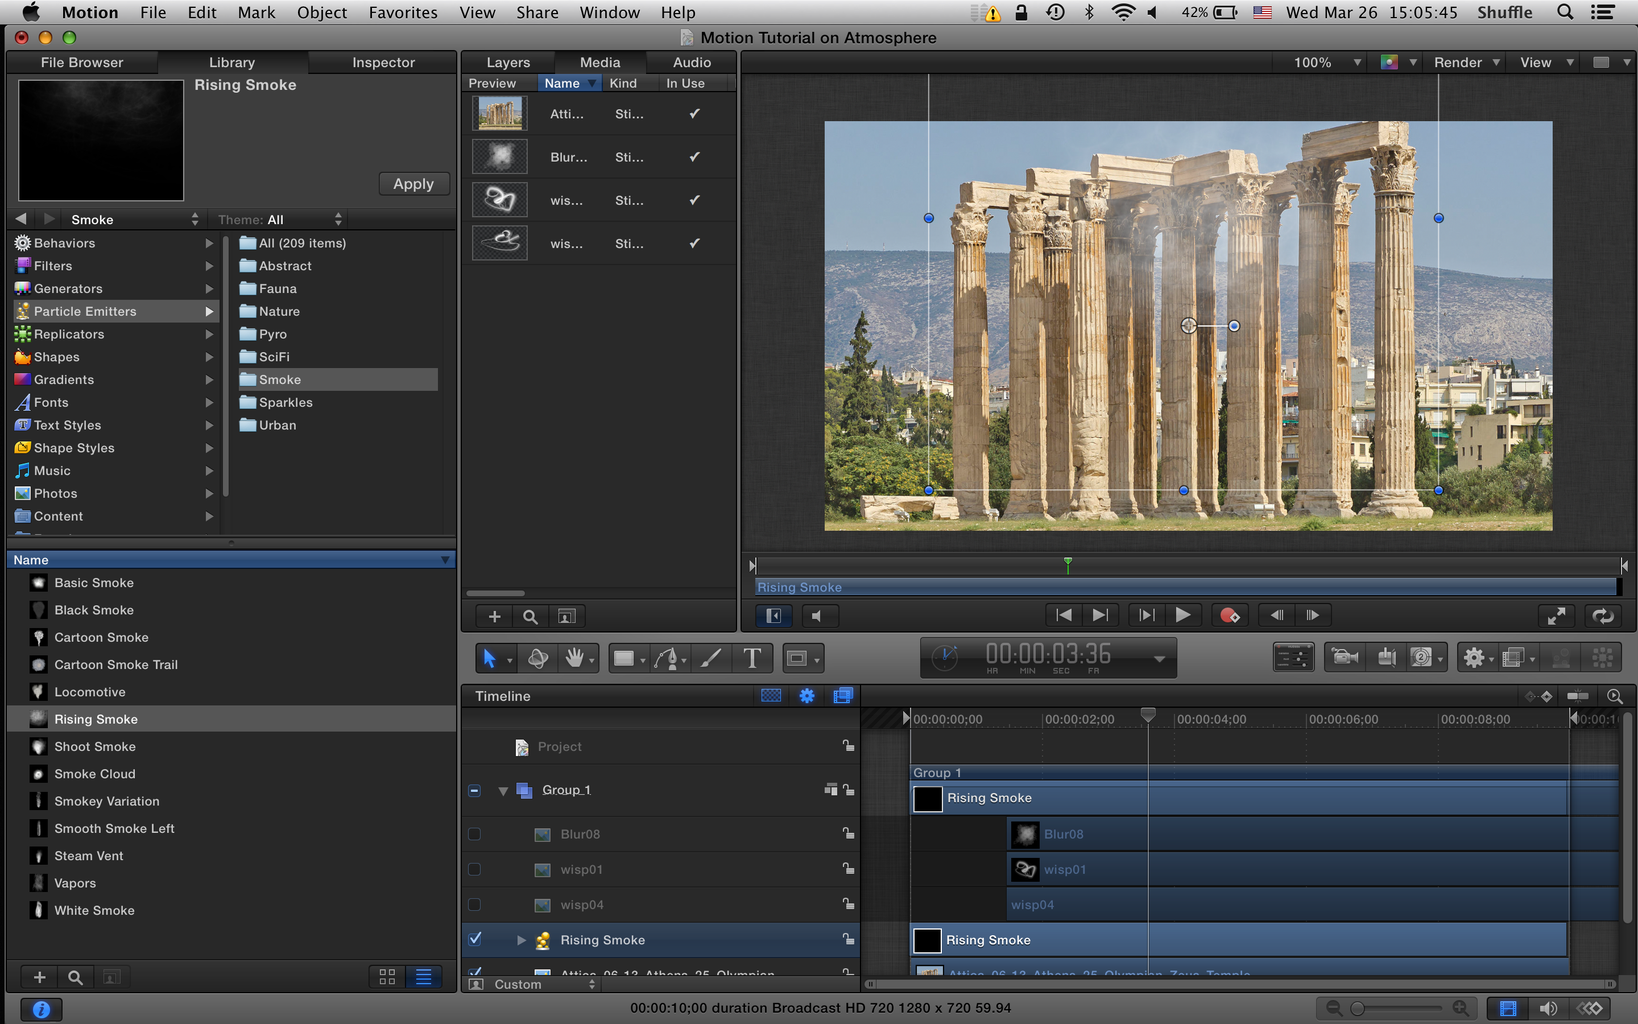
6. I chose to use the particle effects right from Motion 5 which is instantly accessible if you have Motion 5
7. The smoke I use can be found under “Library”, “Particle Emitters”, “Smoke”
8. Select the prefered smoke and click the ‘apply’ button on the right to it
9. It will add the effect to the timeline
10. After having added the smoke to the scene you can then add color correction firstly to the main scene, picture or video
11. This can be done by applying the “Color balance” filter
12. Go to “Filters”, “Color Correction” and choose Color Balance and press apply
13. The object which is selected in the timeline will be effected by the filter
14. In the Inspector tab the filter can be viewed and the colors can be selected and modified
15. You can play around with the colors to get the colored picture you prefer
16. Afterwards the Smoke can be selected again in the timeline and using the “emitter” tab in the inspector bar the smoke can be changed
17. Again there is time to play around with the options including the “Birth Rate, Initial Life, Life, Scale, Speed etc.
18. According to how the scene is build up you want to make sure that the smoke is looking natural in the scene
19. Therefore you should make sure that the smoke is not too vibrant and that the placing of the smoke on to the situation is natural
Adding Color Correction to a scene
Adding Color Correction to a scene
1. Create a new project and import the prefered video clip or picture
2. Select the video clip or picture and go to “Filters”, “Color Correction” and choose Color Balance and press apply
3. Firstly the main colors of the pictures can be changed and modified so that it looks as you want it to look
4. A good and warm looking color set up is shown in the picture using dark skin color in the Shadows, Dark Violet in the Mid tones and dark green in the highlights
5. Afterwards there can be other color corrections tools applied such as “Hue/Saturation” or “Threshold”
6. These tools can be modified in the same way by going to the inspector
7. It is good to play around with the settings of all the effects and filters
8. Other filters such as “Bad Film” can also be applied to change the appearance of the whole clip
9. This filter can again be modified and it can end up looking very interesting


