

Introduction: Zodiac Sign Pendent From Recycled Material


Aim is to make DIY Zodiac pendent using recycled material and 3d printing technology.
This project gives you a knowledge about recycle cardboard material,3d printing, mold design and post process like painting .
So, let's go and make this.
Supplies


Materials Needed:
- Cardboard boxes
- Fevicol adhesive or similar glue
- Water
- Mixture grinder & bowl
- 3D printer
- 3D modeling software
- Zodiac sign images (for 3D mold)
- Sandpaper
- Acrylic paints
- Paintbrushes
- Clear varnish (optional)
Step 1: Collect and Prepare Cardboard:


- Gather cardboard boxes and cut them into small pieces.
- Shred the cardboard into fine strips using a paper shredder or scissors.
- Place the shredded cardboard in a mixing bowl.
Step 2: Mix Cardboard With Adhesive to Make Paste for Mould


- Add Fevicol adhesive to the shredded cardboard in the mixing bowl.
- use mixture grinder to mix them well and make paste like mixture
- Mix the cardboard and adhesive thoroughly until you achieve a consistent, moldable mixture.
- Add water gradually to the mixture to reach a dough-like consistency.
Step 3: Press and Remove Excess Water:


Press the cardboard mixture firmly to remove excess water.
Also use Tissue paper to soak extra water from mixture.
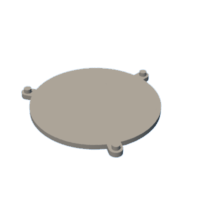
Step 4: 3D Printed Mold Design


Our 3D Print mold have 3 Parts
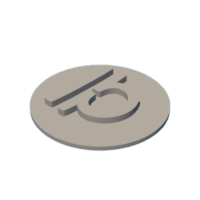
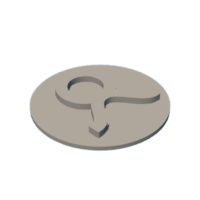
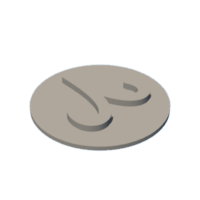
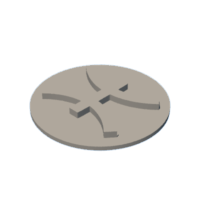
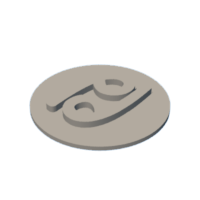
- Top part with various zodiac sign positive impression.
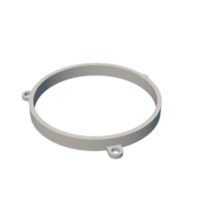
- Cavity for holding cardboard paste inside for molding.
- bottom part to support and provide surface to hold paste.
I use Autodesk Fusion360 for 3d design.
Beginner user also use TINKERCAD for 3d design a mold .
- Incorporate the zodiac sign images into the mold design, creating 12 different impressions for each zodiac sign.
- for that i make a .DXF file. Import in fusion360.
- Use extrude tool to Extrude impression 3mm deep. make base-top of impression 2mm in thickness.
- i Make 6mm deep cavity for mold, which help to ensure all mold material always keep inside .
- For bottom part ,i use 2mm thickness .
- Now our cavity and Bottom part is ready.
- you can create (or use my design attached ) for #d print Zodiac sign top part to make different Zodiac impression.
- I attach 12 different Zodiac sign impression .STL files with cavity and bottom part.
- I use 60mm outer diameter for mold and 2mm wall thickness and 6mm depth .
Attachments


Step 5: Design With TINKERCAD(for Beginners)


Step for design in Tinkercad.
- Make single image of Zodiac signs usiing screenshot from internet image.(attached above)
- convert them into SVG file.
- Import SVG file in Tinkercad.
- Change height as per needed.
- use flat round plan to make base of Zodiac sign impression.
- place each impression on different planes.
- make cavity part with cylinder and set height and radius of cylinder.
- use 60 mm radius , 2mm wall thickness and 6mm height.
- make a circular base of 60 mm .
- Export each file as separately as per needed to 3D print.
Zodiac sign mold
Step 6: 3D Print the Mold:


I use CR-M4 3D printer to print this mold
You can use smaller 3d printer like ender-3 for print this mold.
I use CURA slicer for slide and make G-code for 3d printer.
Use the below parameter for good 3D printing.
- Layer height: 0.2 mm
- Wall: 2
- Top / Bottom : 3
- Infill: 25 %
- Material: PLA White
- Speed: 40 mm / s
- Support: no
- Build Plate Adhesion: Brim
Step 7: Replace Top Part With Zodiac Sign Impression


Place the 3D printed mold on a flat surface.
Fill the to-center cavity of the mold with the cardboard mixture, ensuring even distribution.
Press the zodiac sign image into the cardboard mixture, creating a detailed impression.
use some weight to pressing that top part for while.
Allow the cardboard to dry and harden within the mold for approx 24 hrs.(use weight on top )
Step 8: Remove Pendant From Mold:


Gently separate the 3D printed mold from the dried cardboard pendant.
Use sandpaper to smooth the edges and surface of the pendant.
Step 9: Paint and Finish


Paint the pendant using acrylic paints to enhance the zodiac sign details.
Allow the paint to dry completely.
Optionally, apply a clear varnish for a glossy finish.
Step 10: Repeat for Each Zodiac Sign
Repeat steps 4-8 for each of the 12 zodiac signs, using the corresponding 3D printed mold.
Step 11: Assemble and Use


your Zodiac pendant is created, assemble them with jump rings or small chains.
Display your unique DIY Zodiac Sign Pendant in a way that showcases the craftsmanship and creativity.

Participated in the
Jewelry Contest


