

Introduction: 3 Digit Arduino Binary Counter


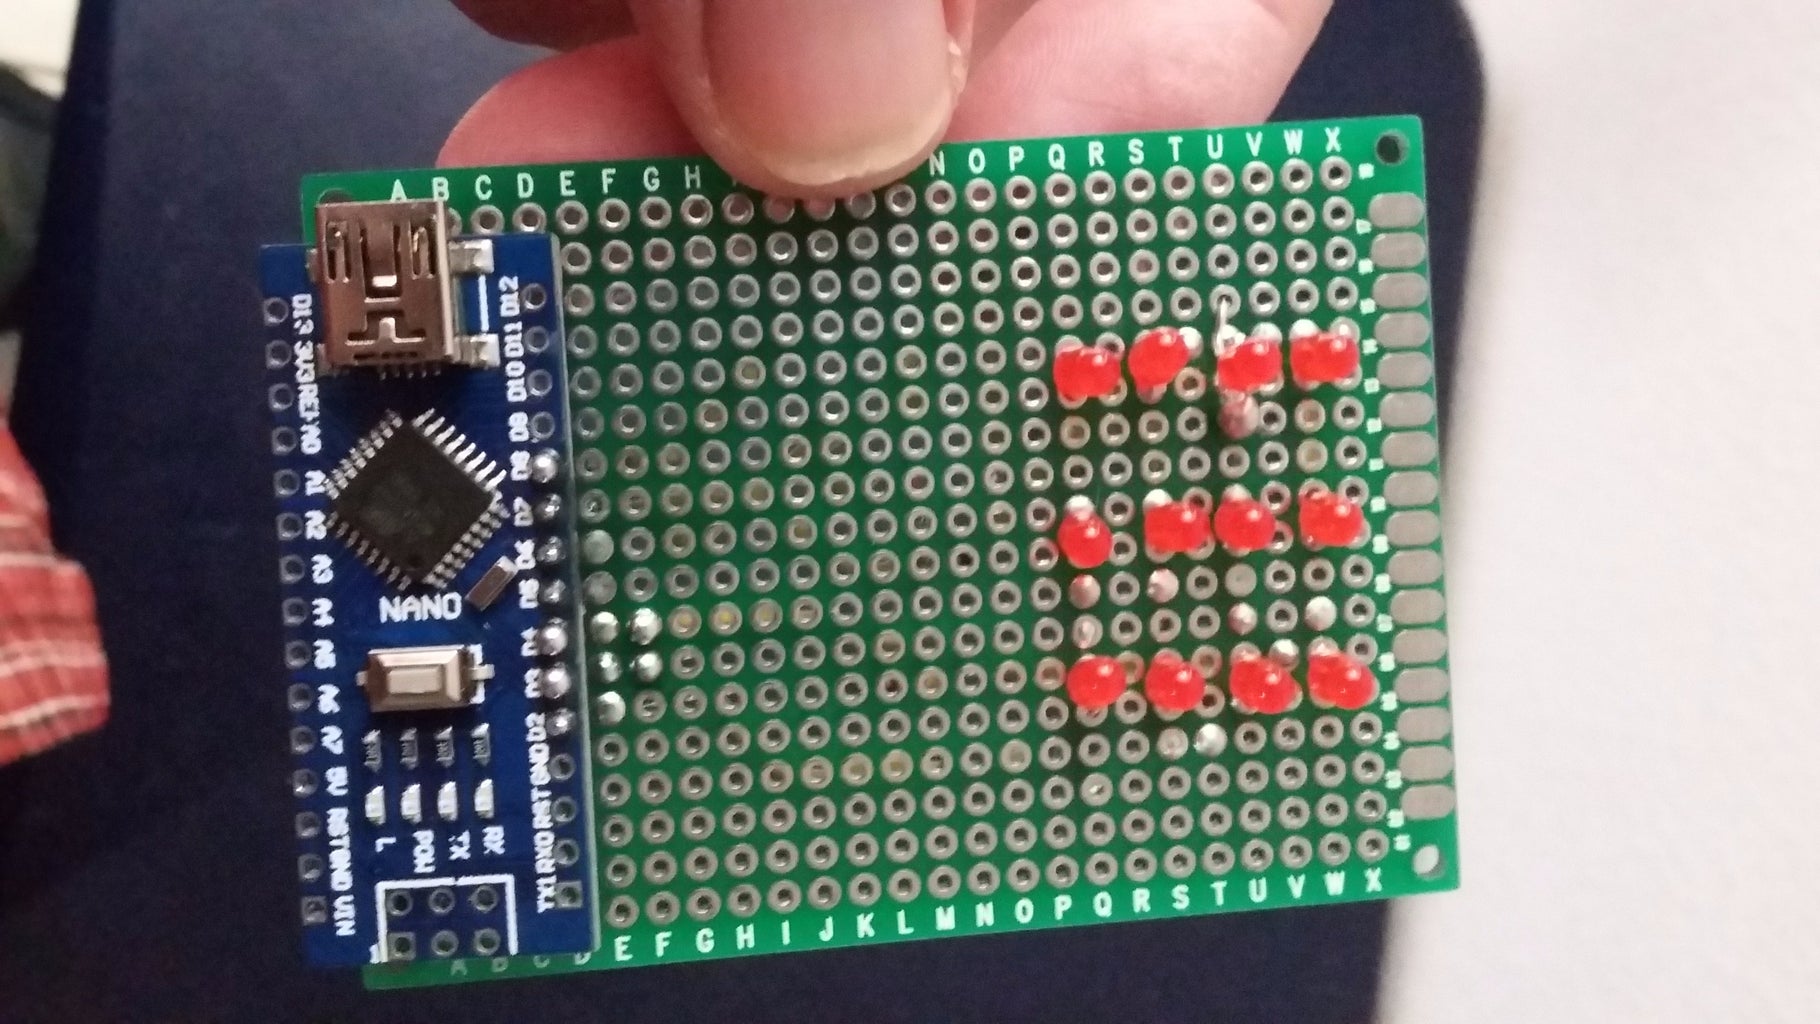
This project is a counter 1-999 by using 4-LED to each digit while its control pin is the anode by leaving free the cathodes for being interconnected to its corresponding row of LEDs and resistor between this and Arduino pin. The common anodes will define the 4-Binary Display will show the ones, the tens, the hundreds from the right to the left respectively.
Step 1: Bill of Materials
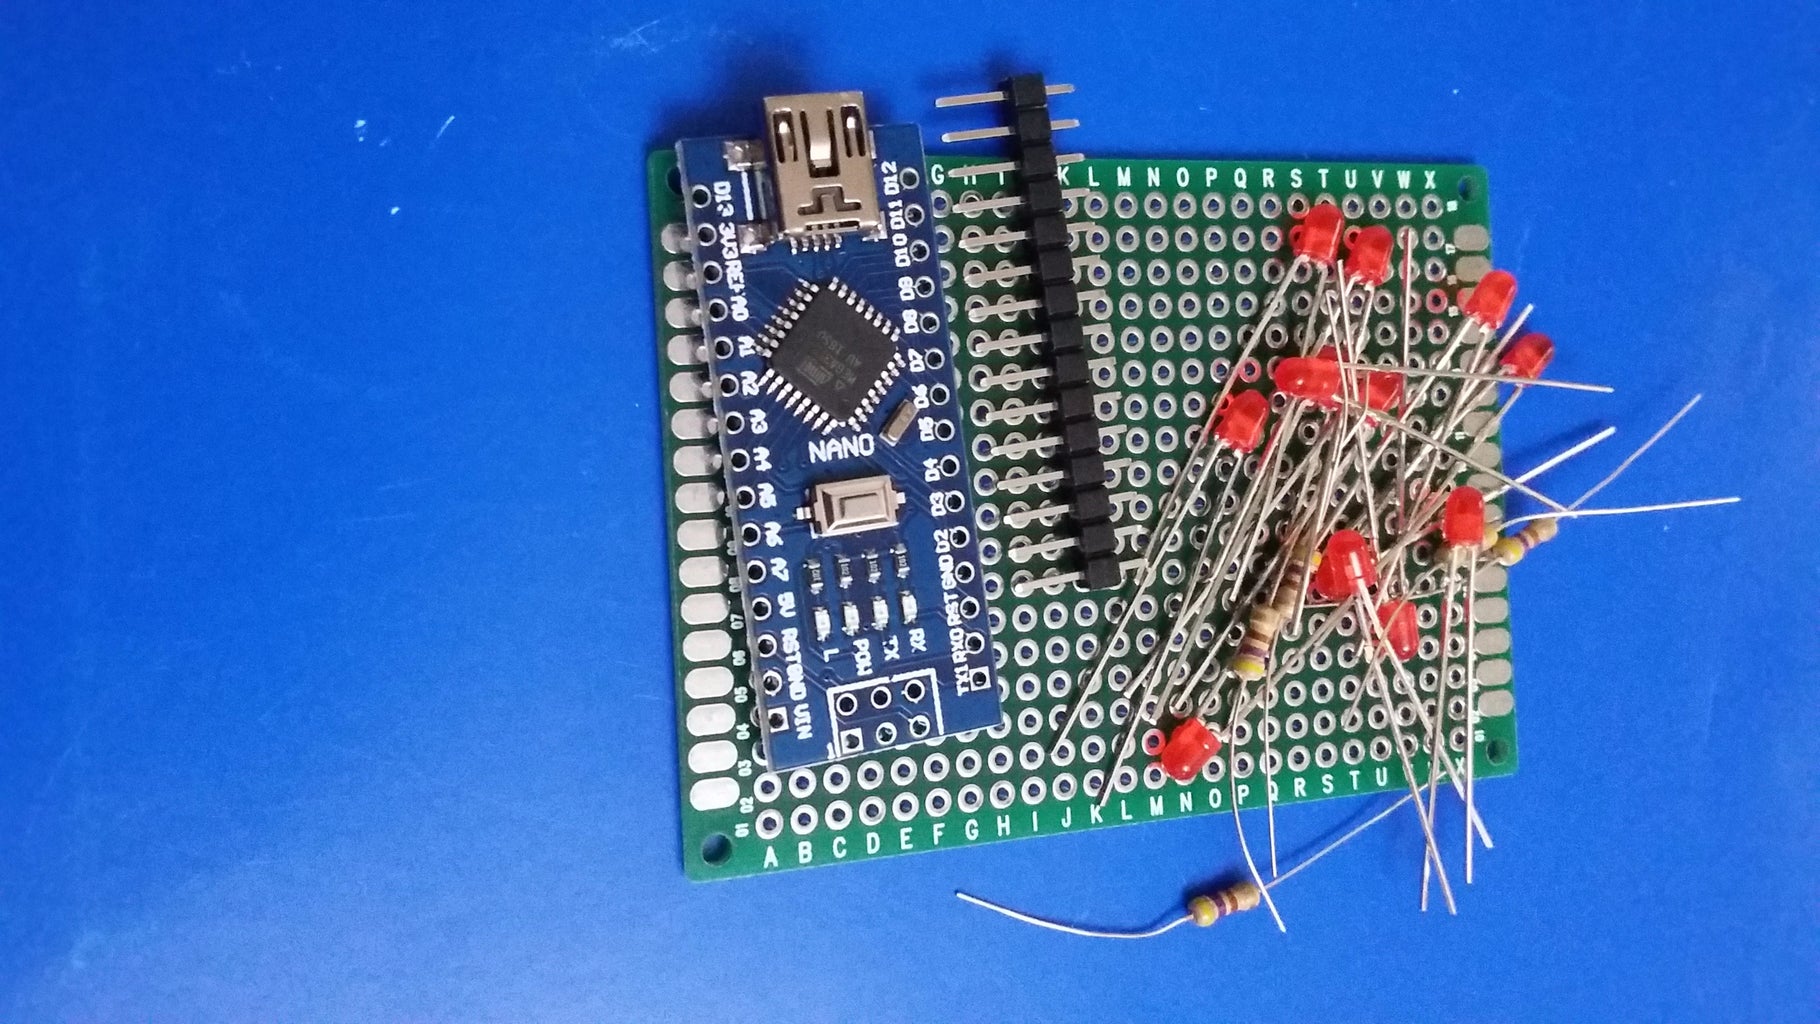
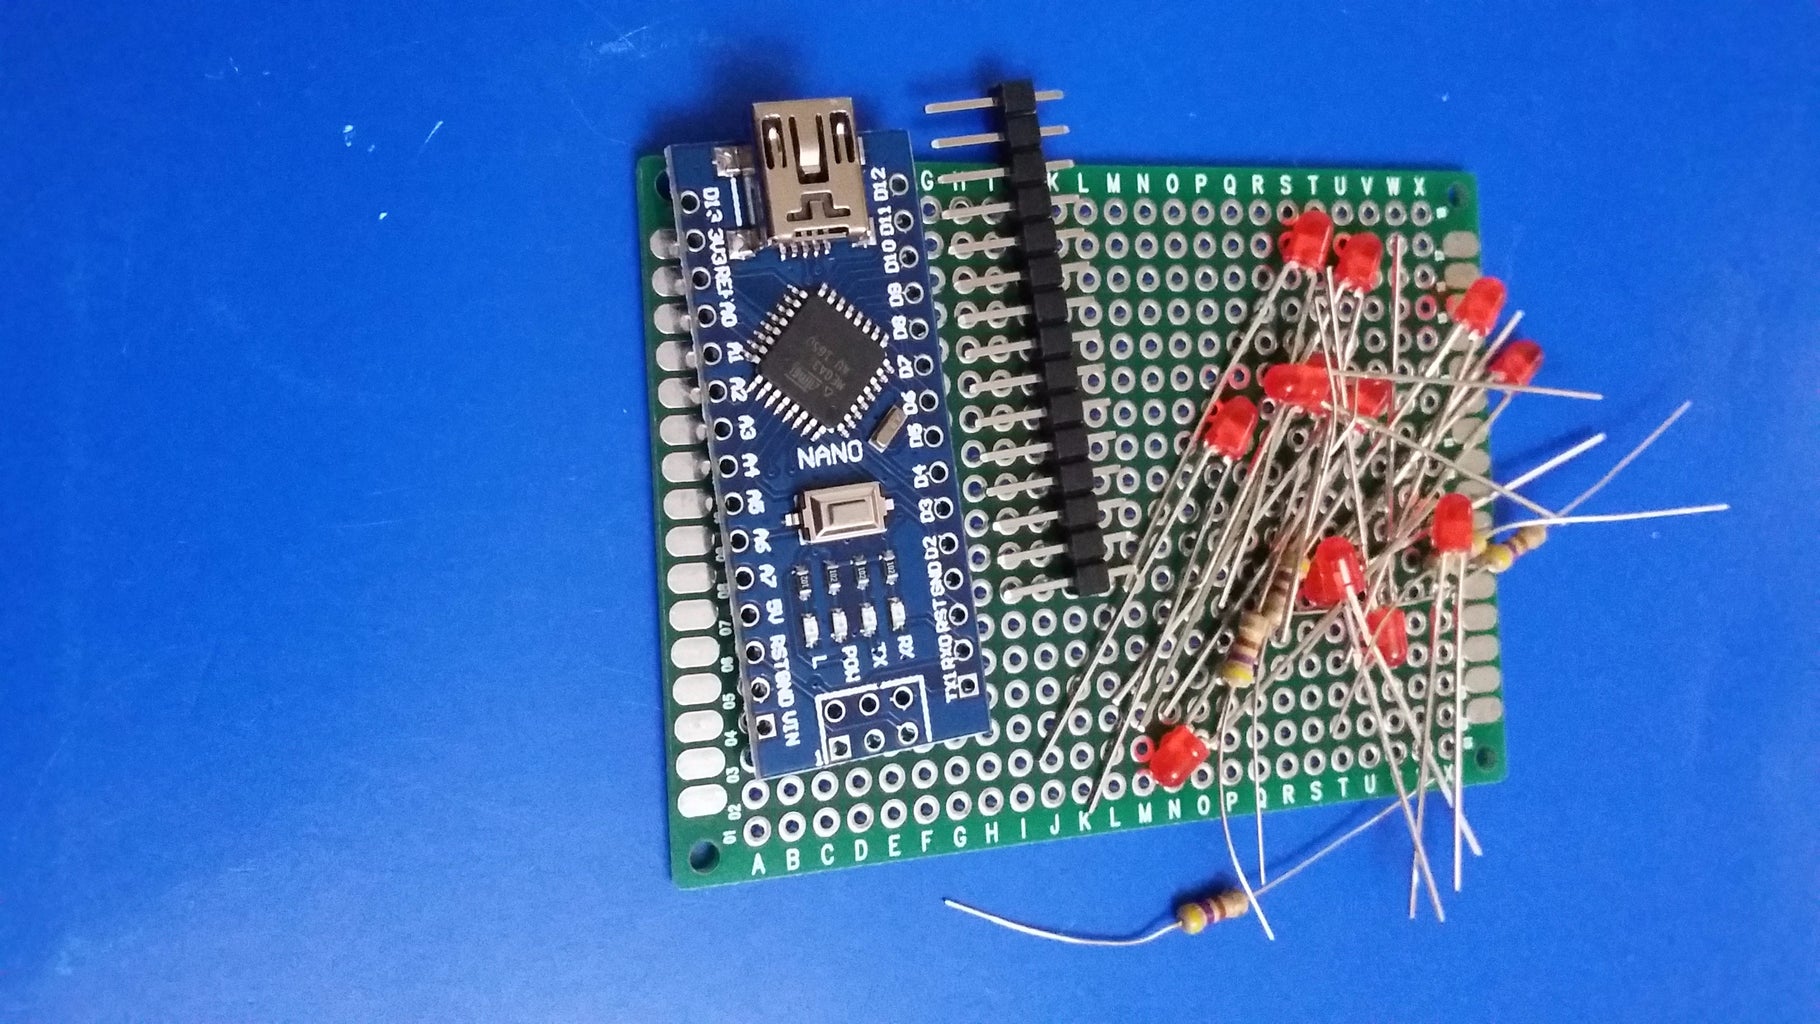
1 Arduino Nano
1 Small PCB
12 3mm Red-LED
4 470 Ohm-Resistor
1 USB-A to mini USB cable
Step 2: Diagram
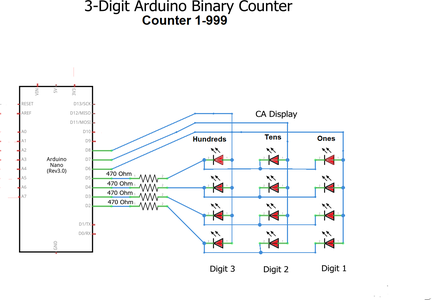
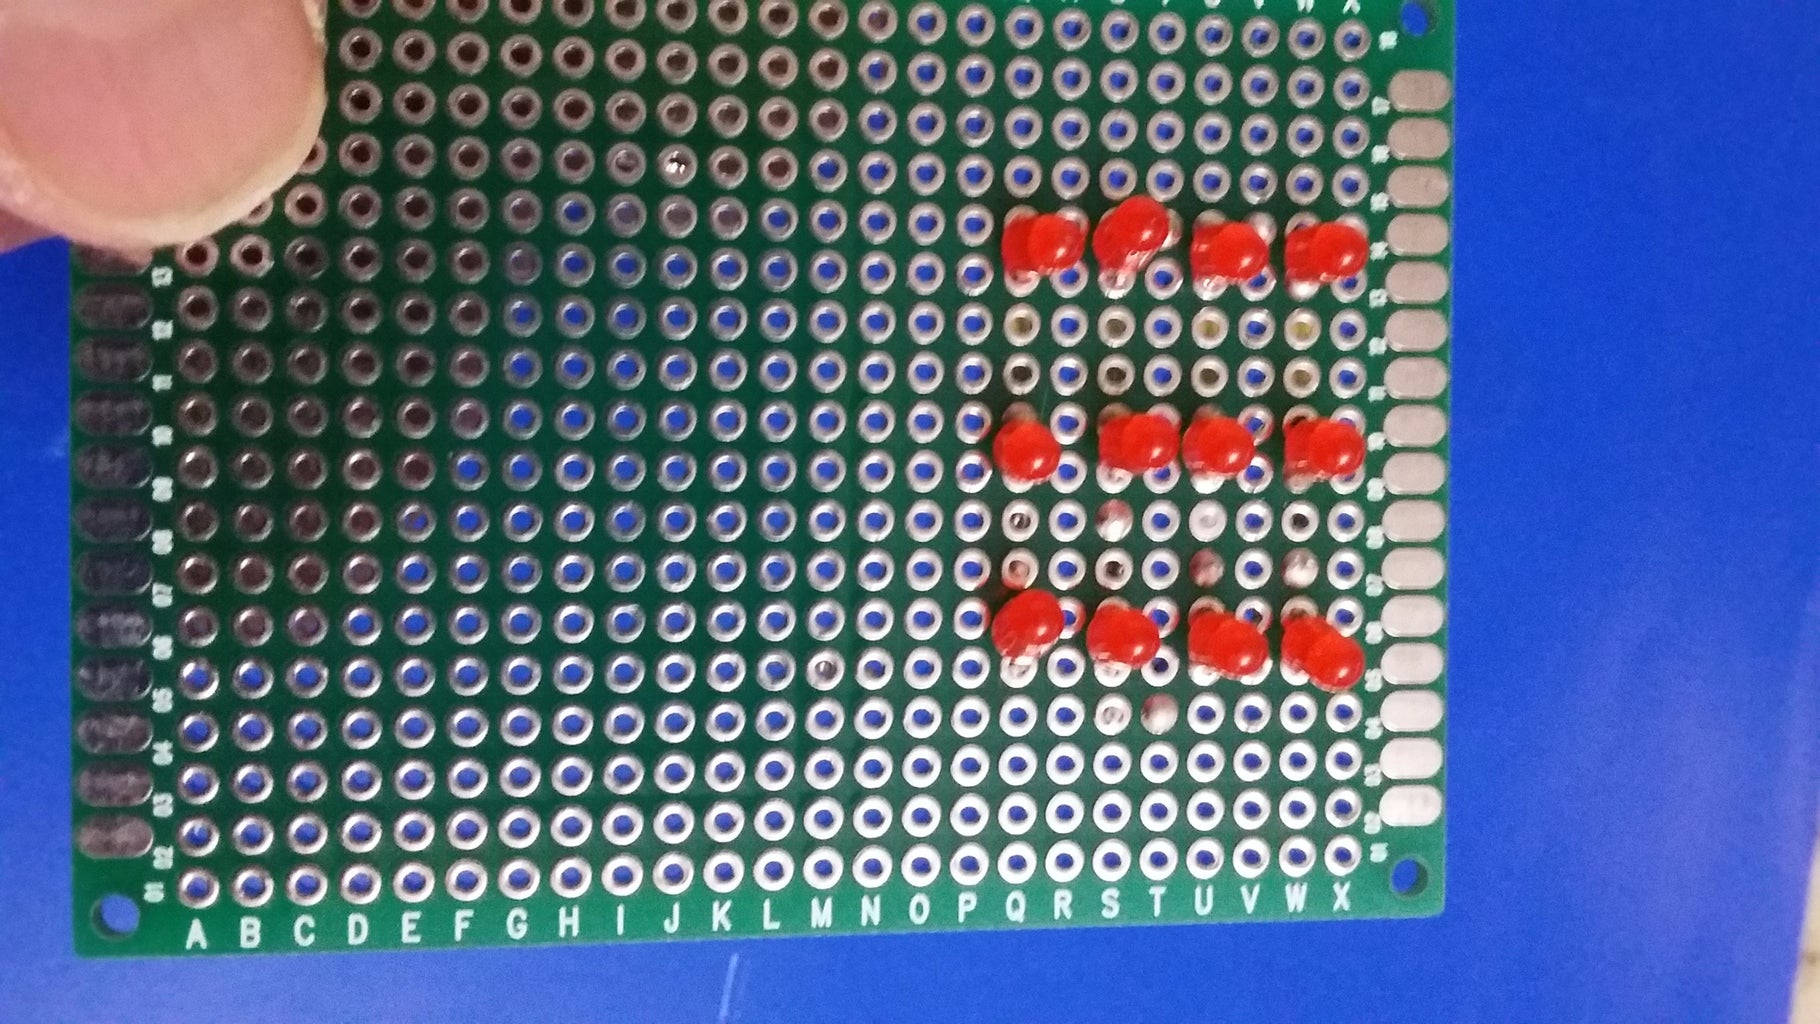
Note that you have to interconnect the cathodes of each row of LEDs that will be connected to its respective resistor between each group and the Arduino Nano pin while the anodes will be commons in each digit by being the ones, the tens and the hundreds from the right to the left respectively the digit 1, 2 & 3..
Step 3: Beginning the Project
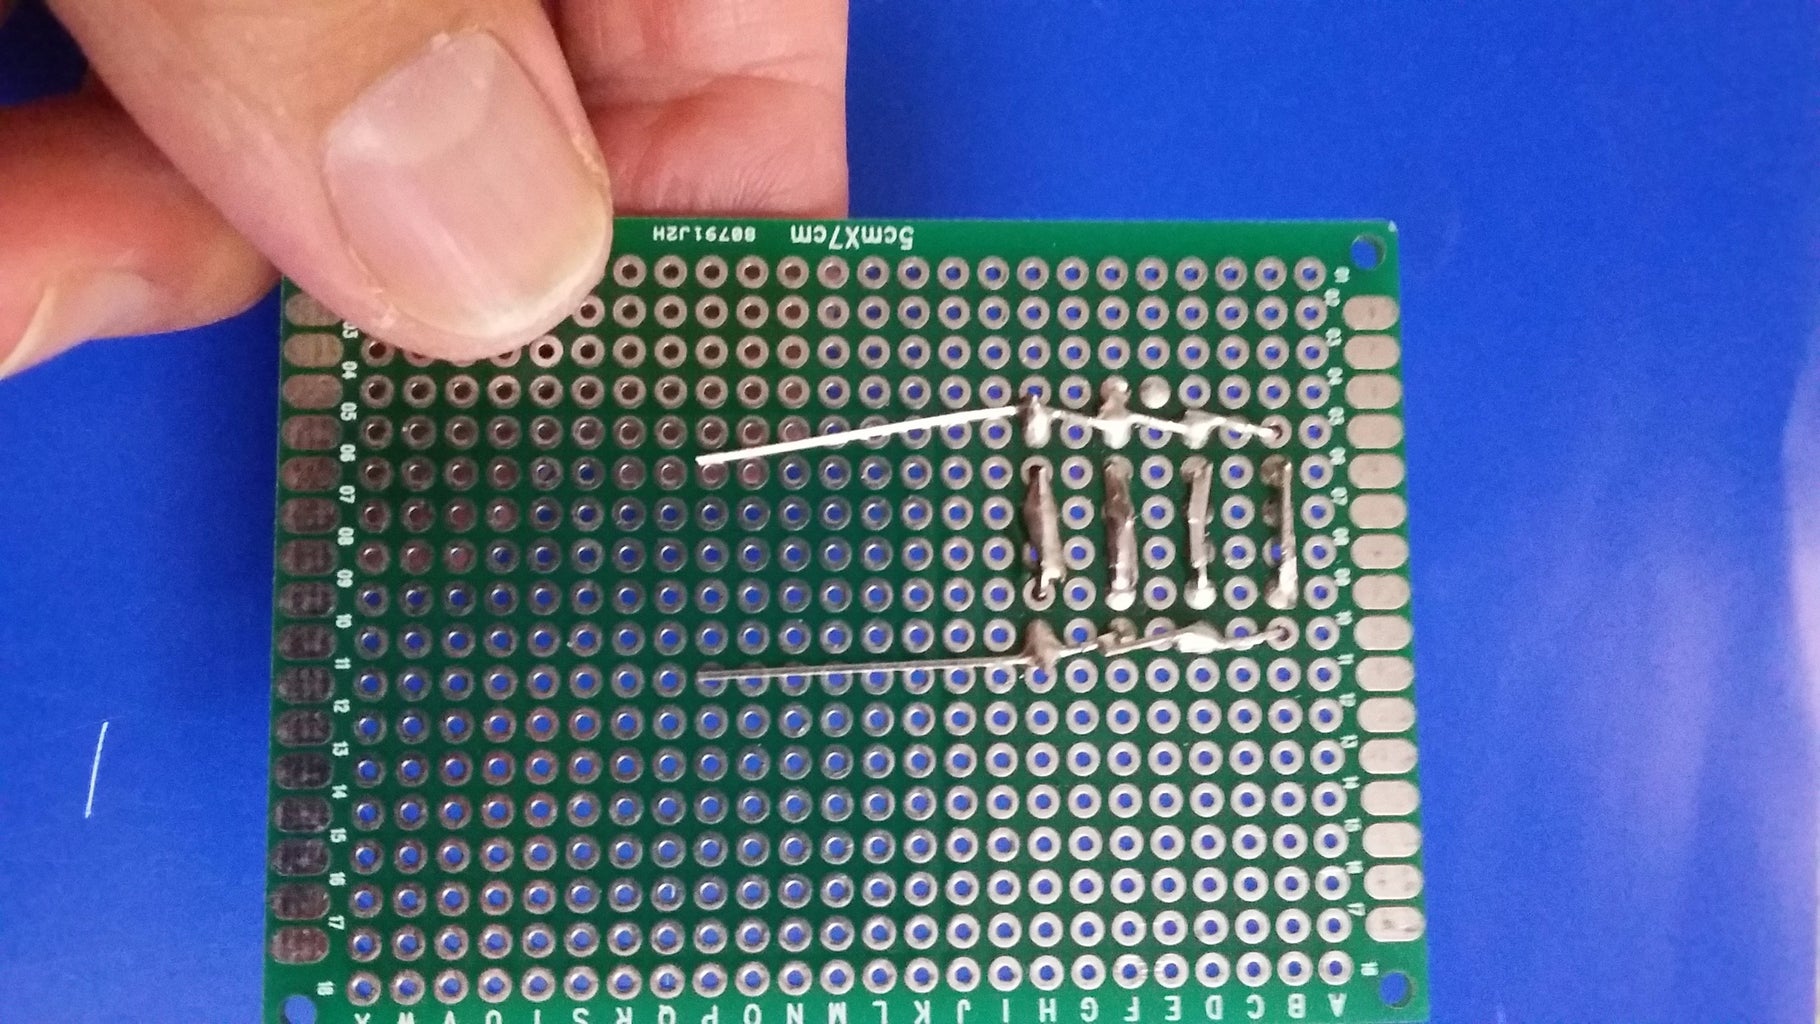
Begin installing the digit 1 & 2 array and interconnect the pair of cathodes in each row as it's seen in the middle of the common anodes while the last groups form the digits mentioned.
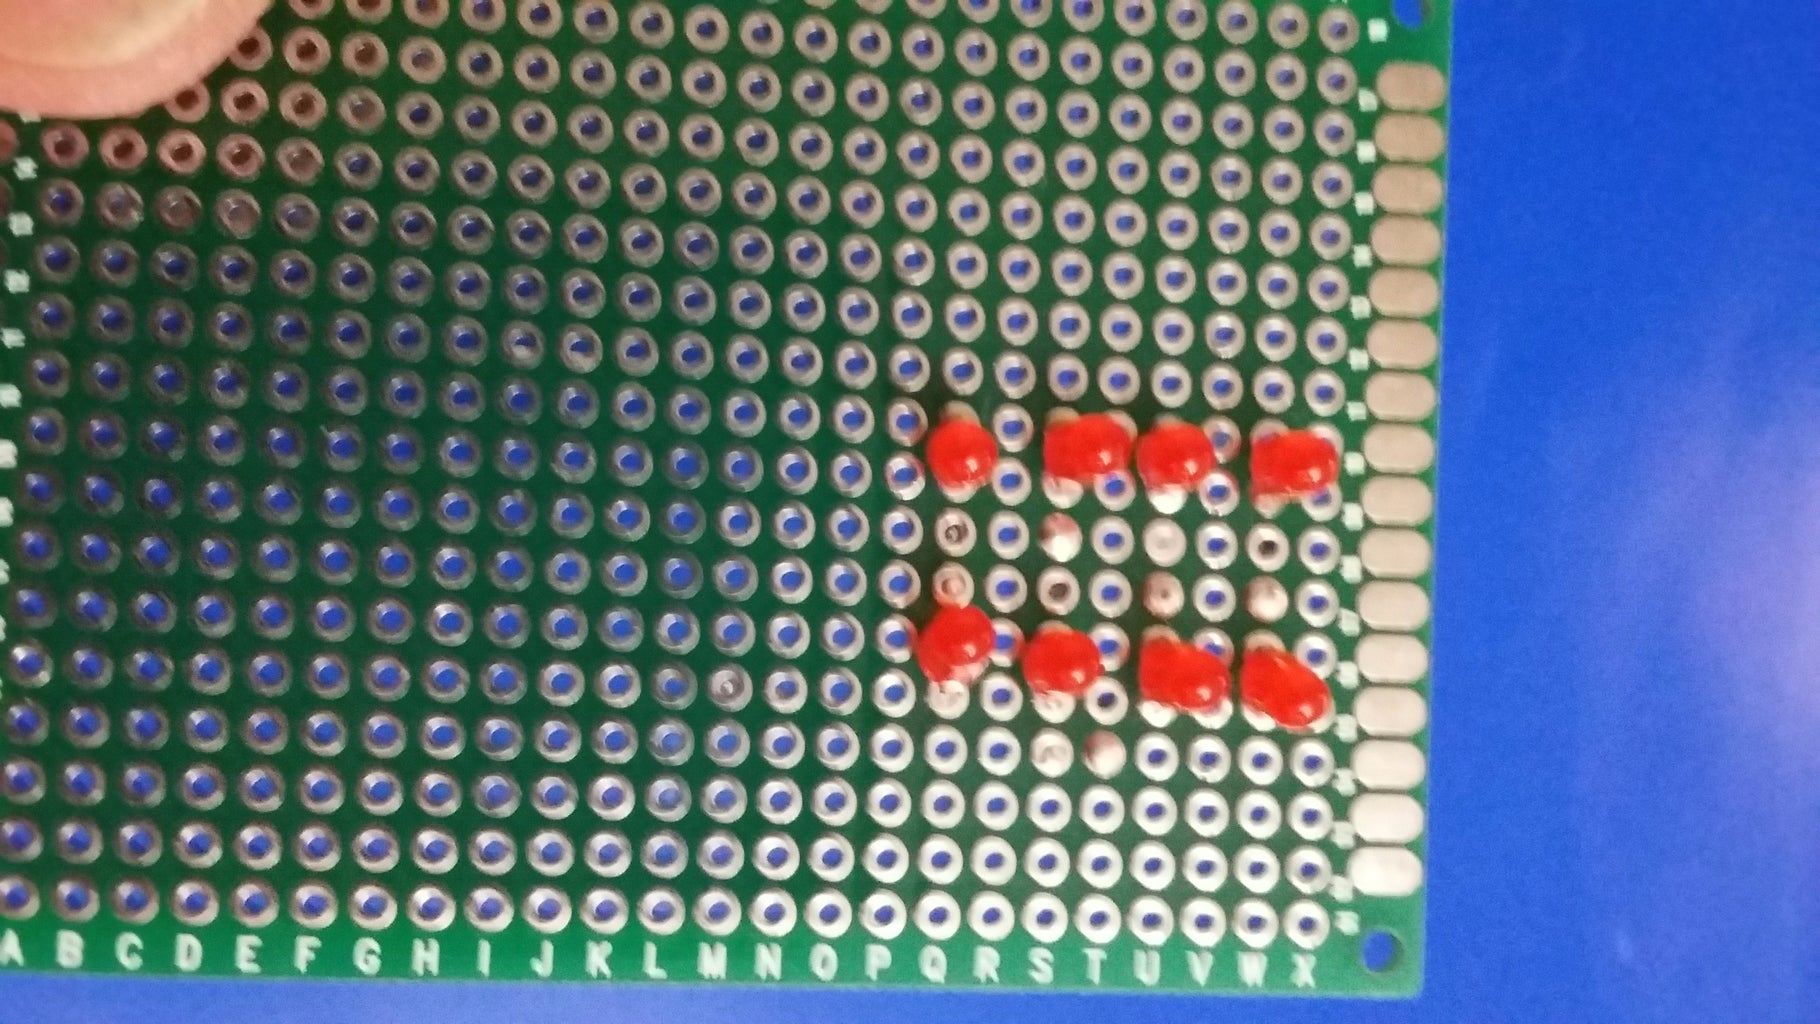
Step 4: Install the Last LEDs
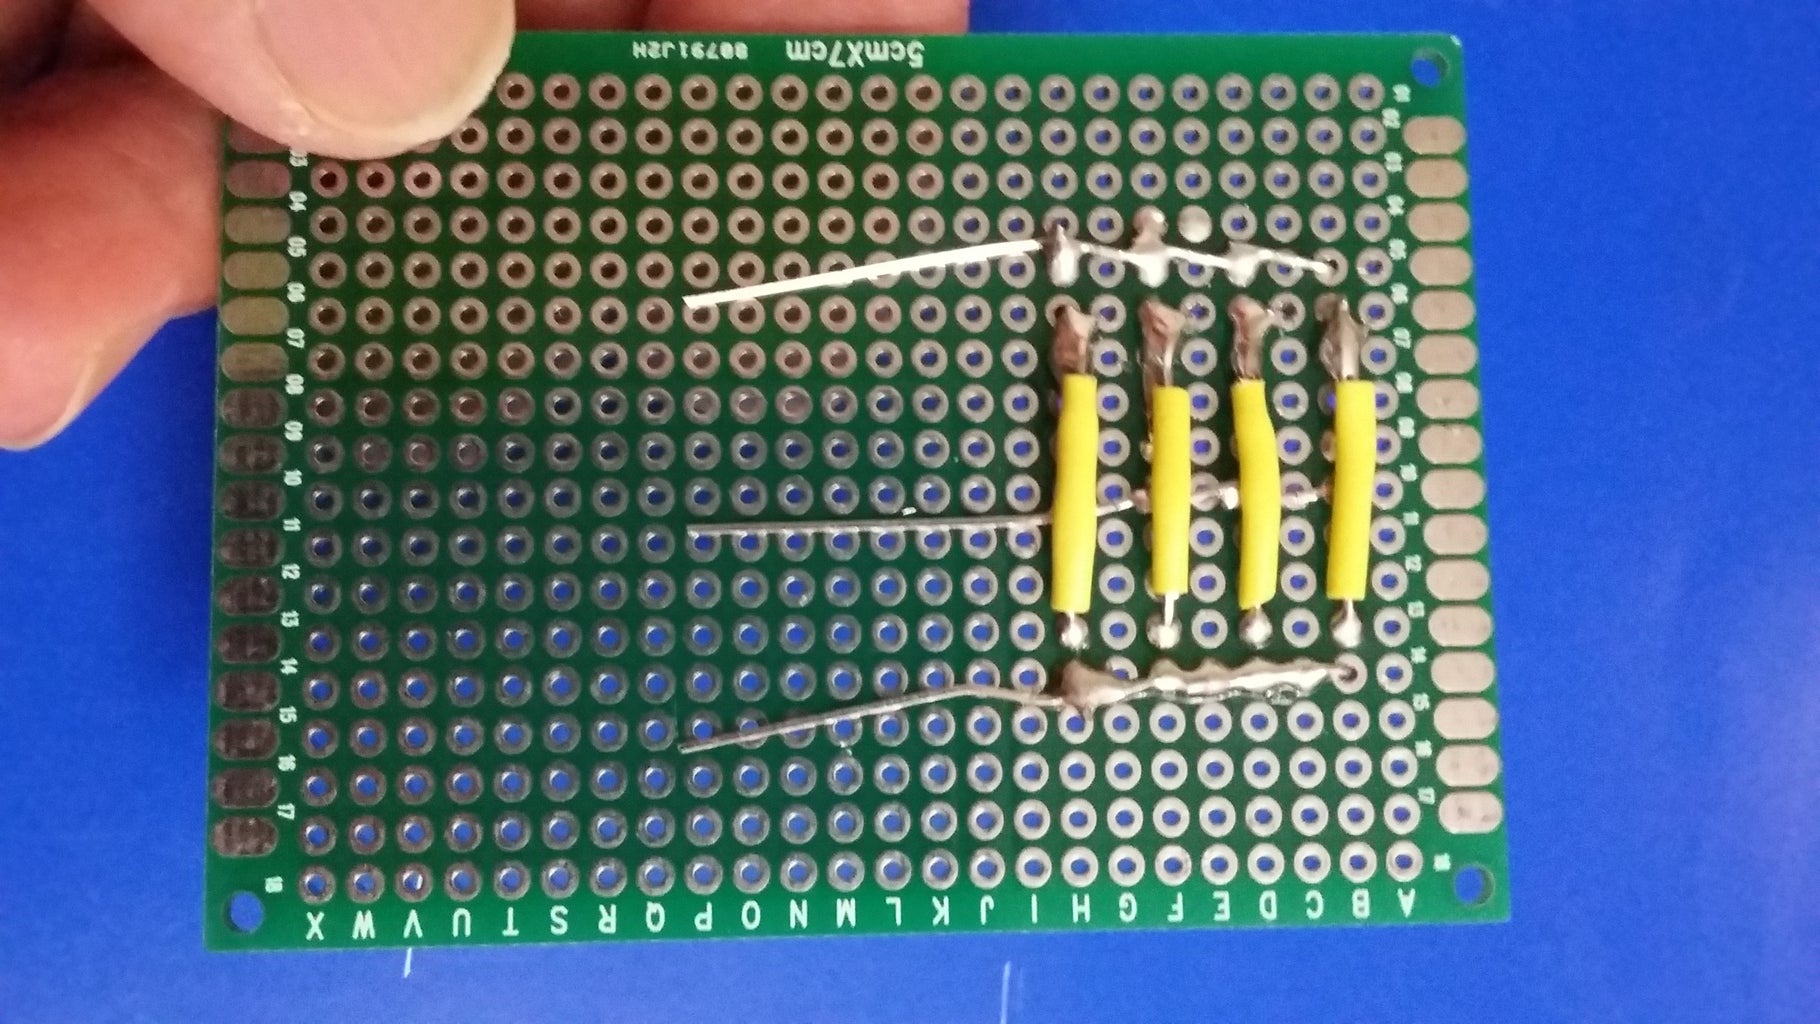

Now, you can interconnect the cathode pins (the yellow ones) of the row of the three LEDs while leave free its anode pins(the silver ones) that will be forming the digit 1, 2, & 3.
Step 5: Preparing Your Arduino Nano
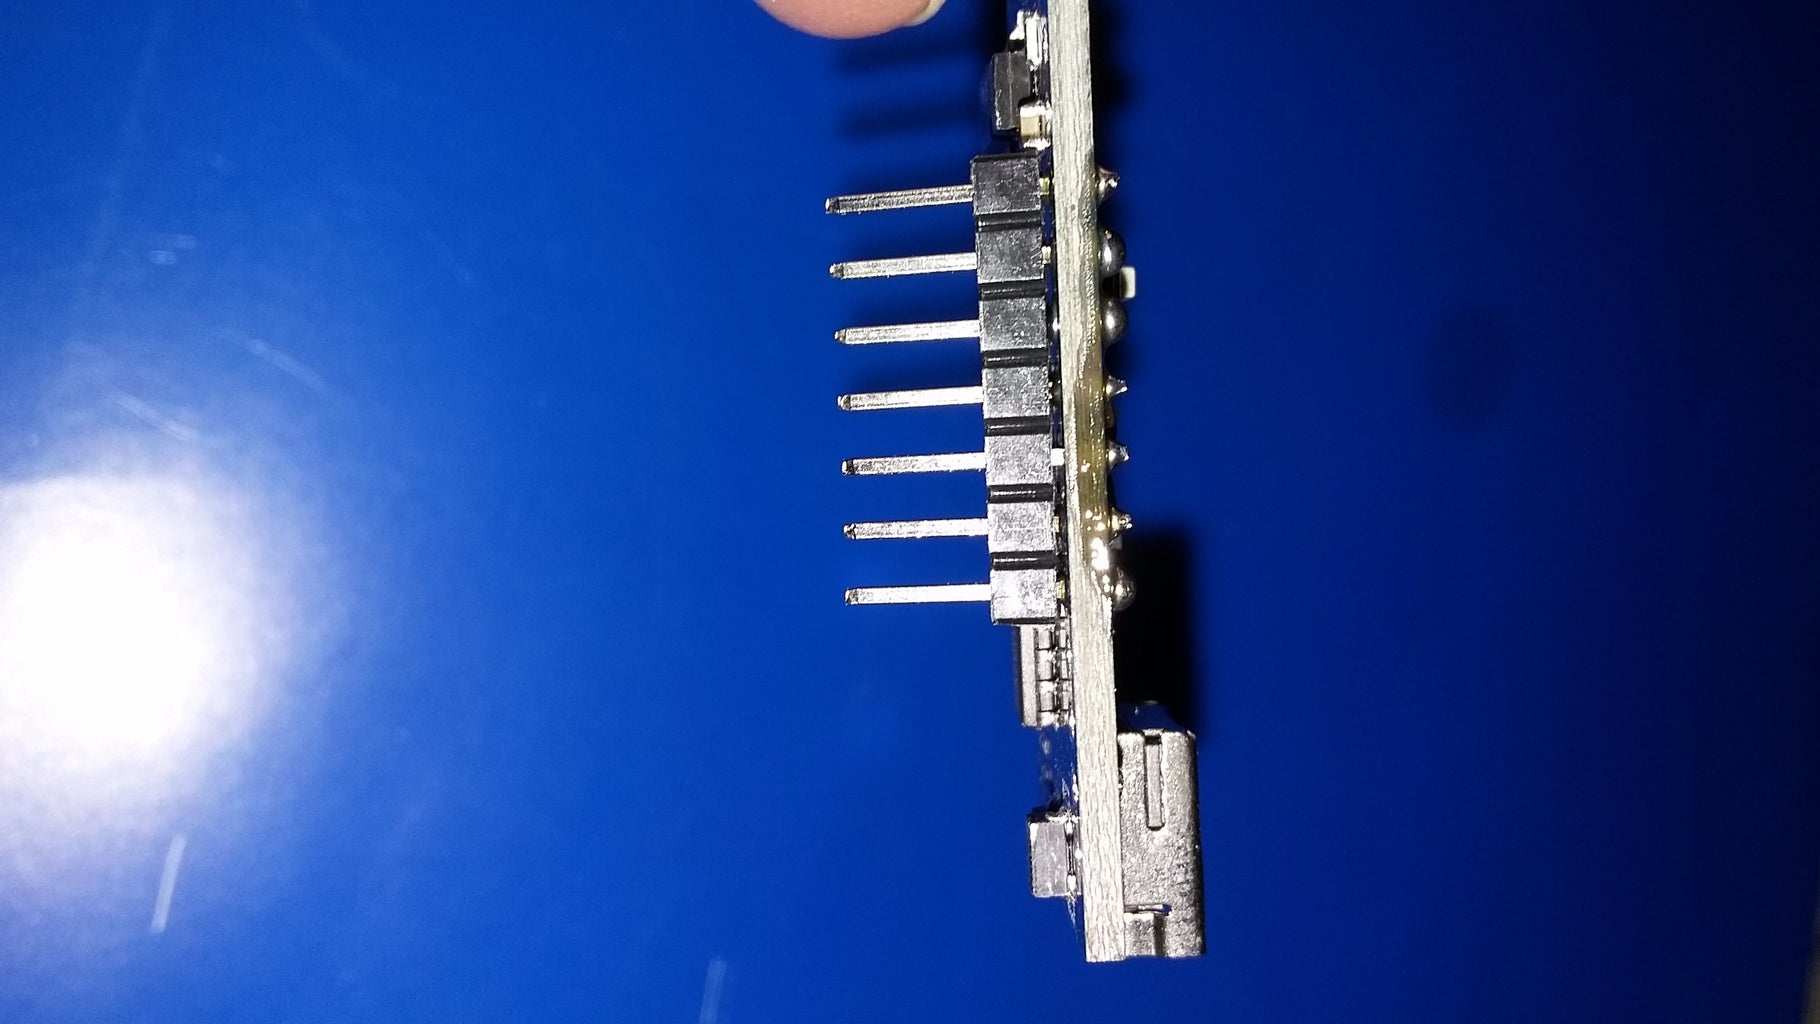

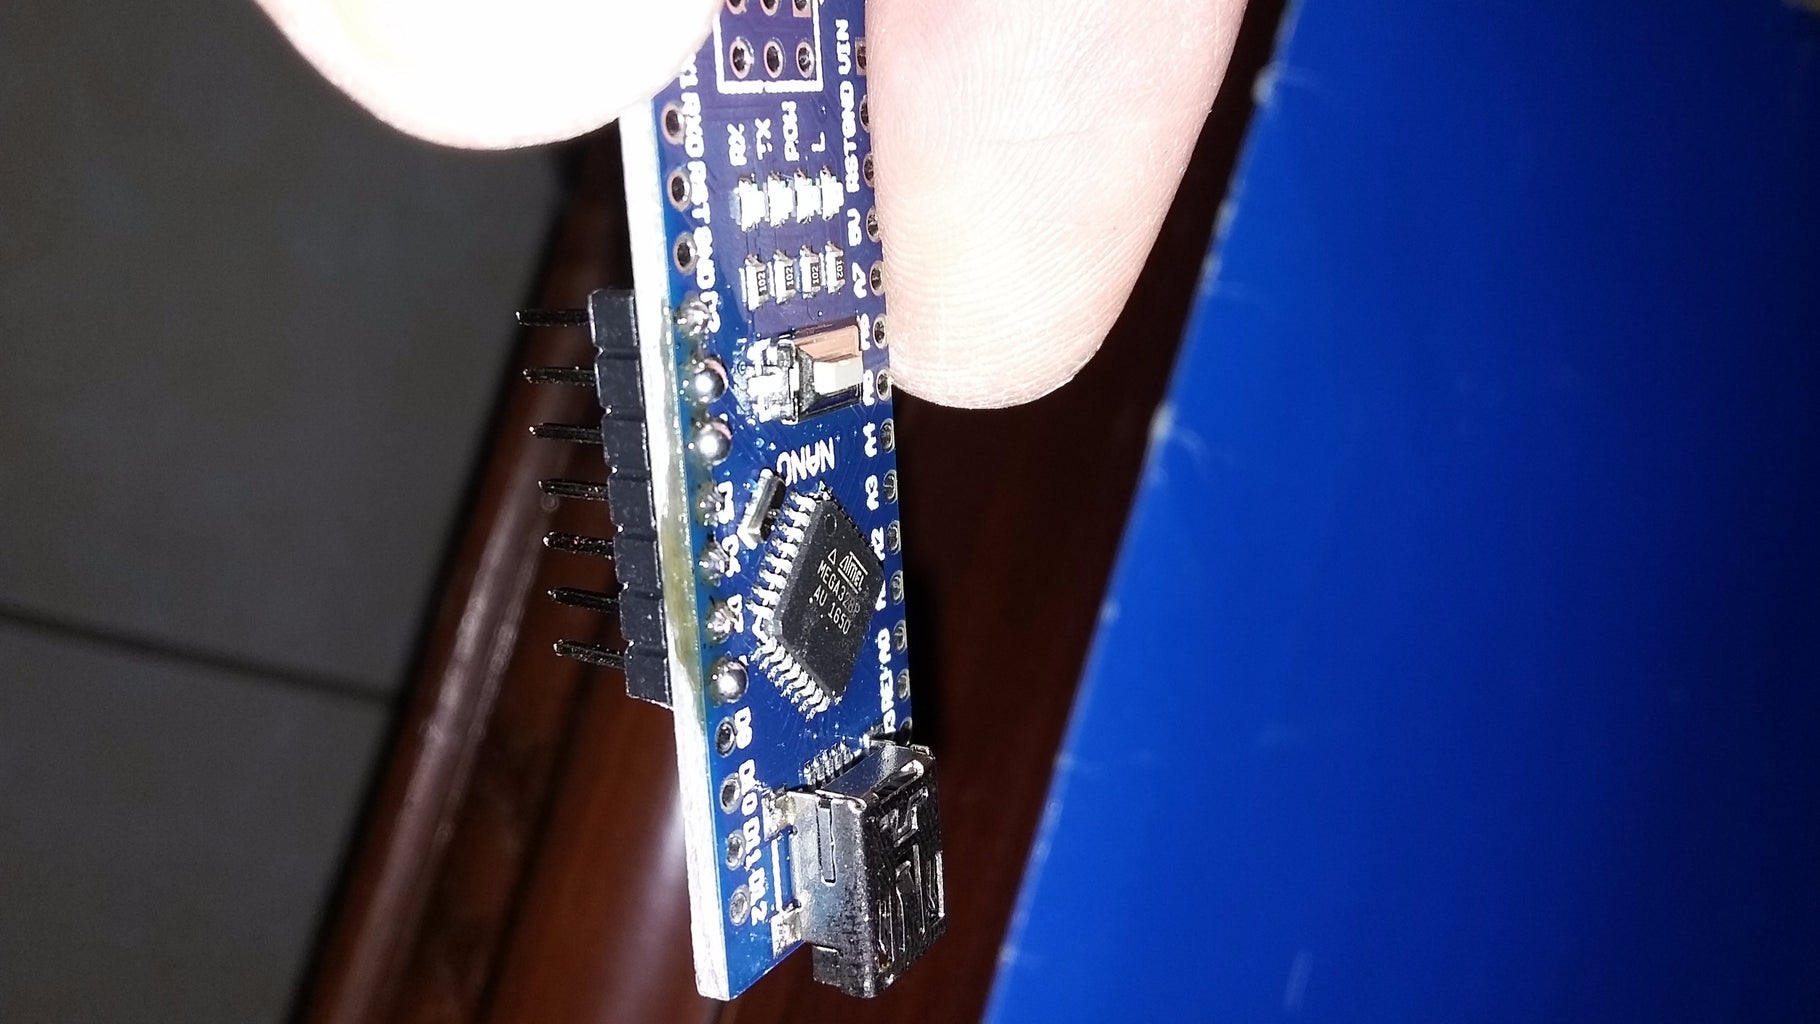
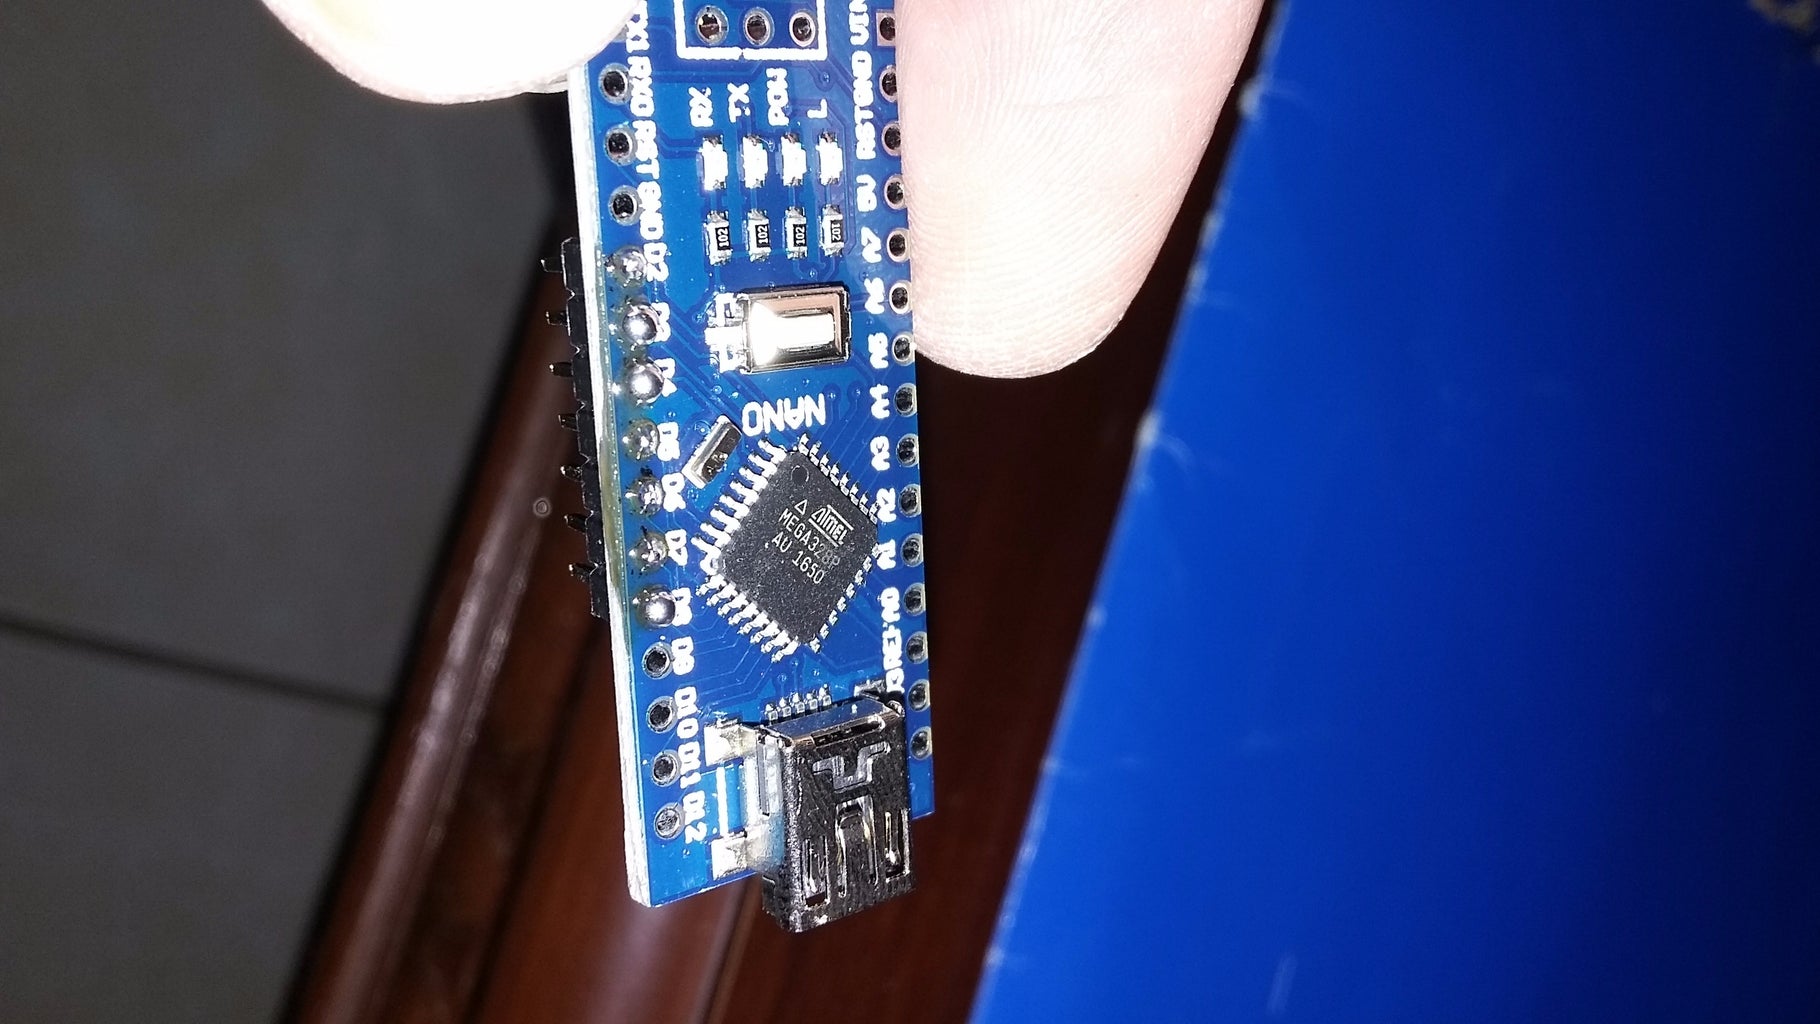
For preparing your Arduino Nano, you only insert 7-pin into the Arduino holes from D2 to D8.
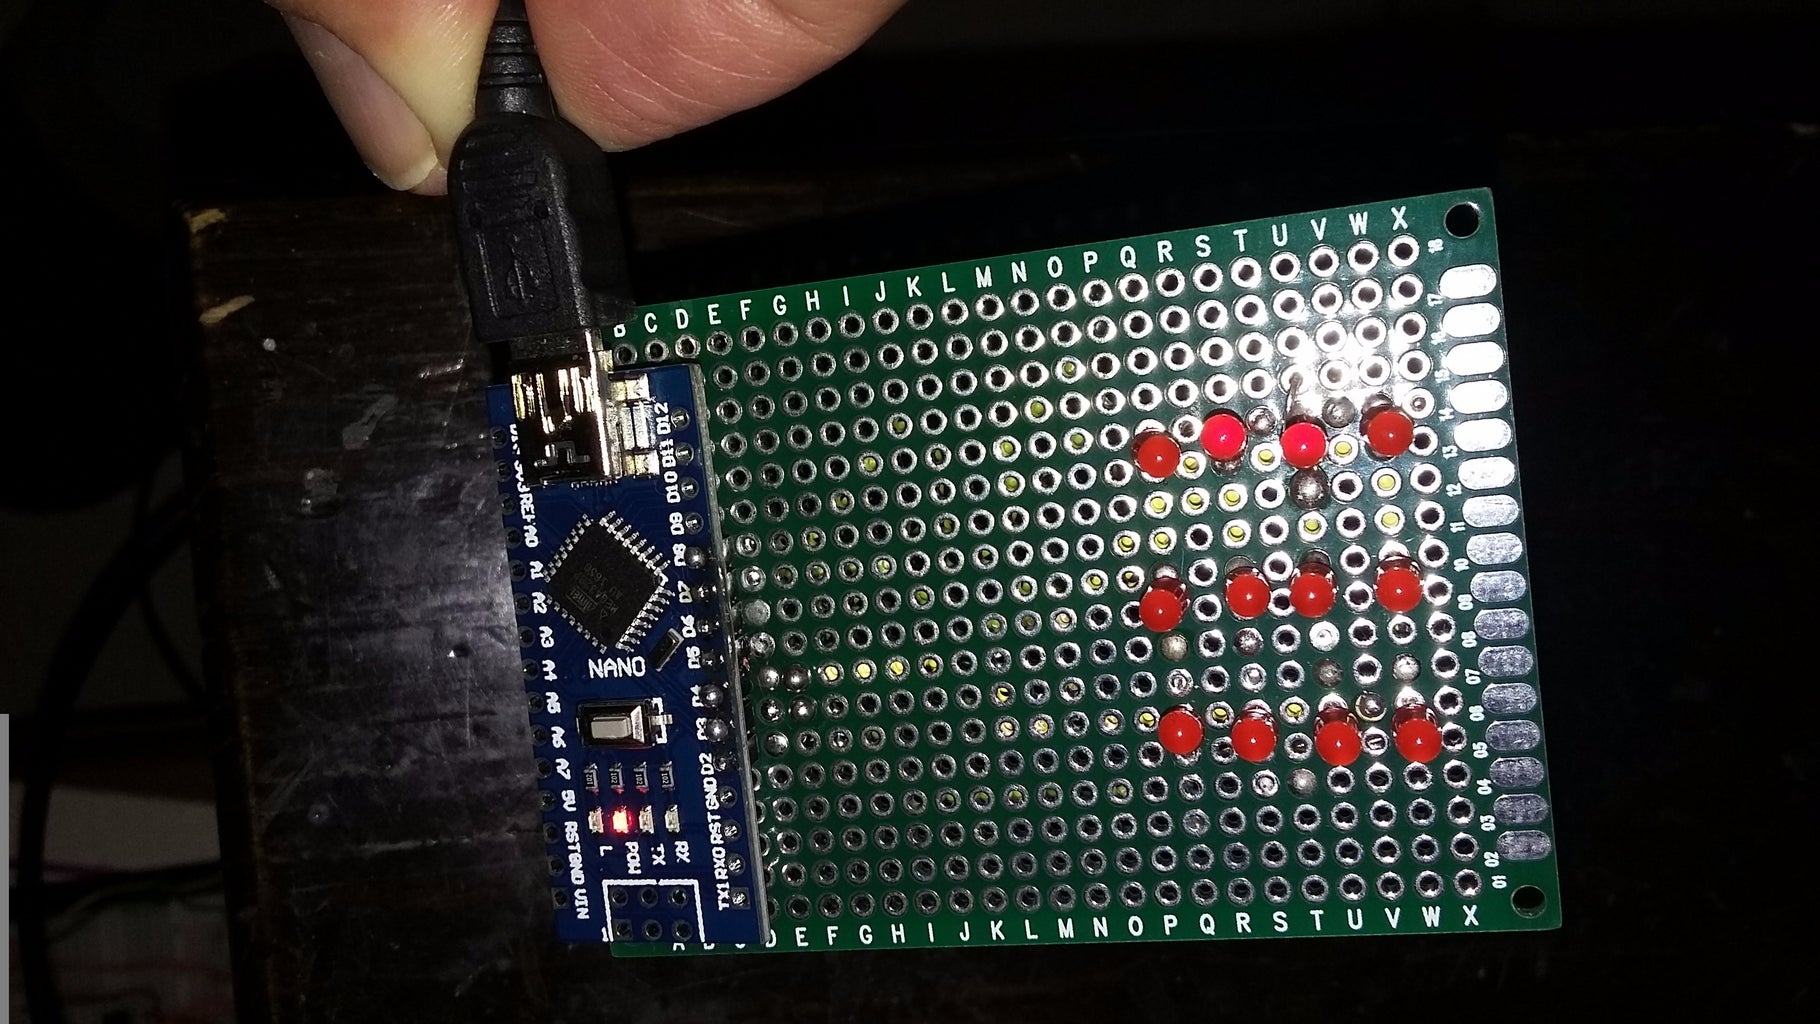
Step 6: Install the Arduino Nano
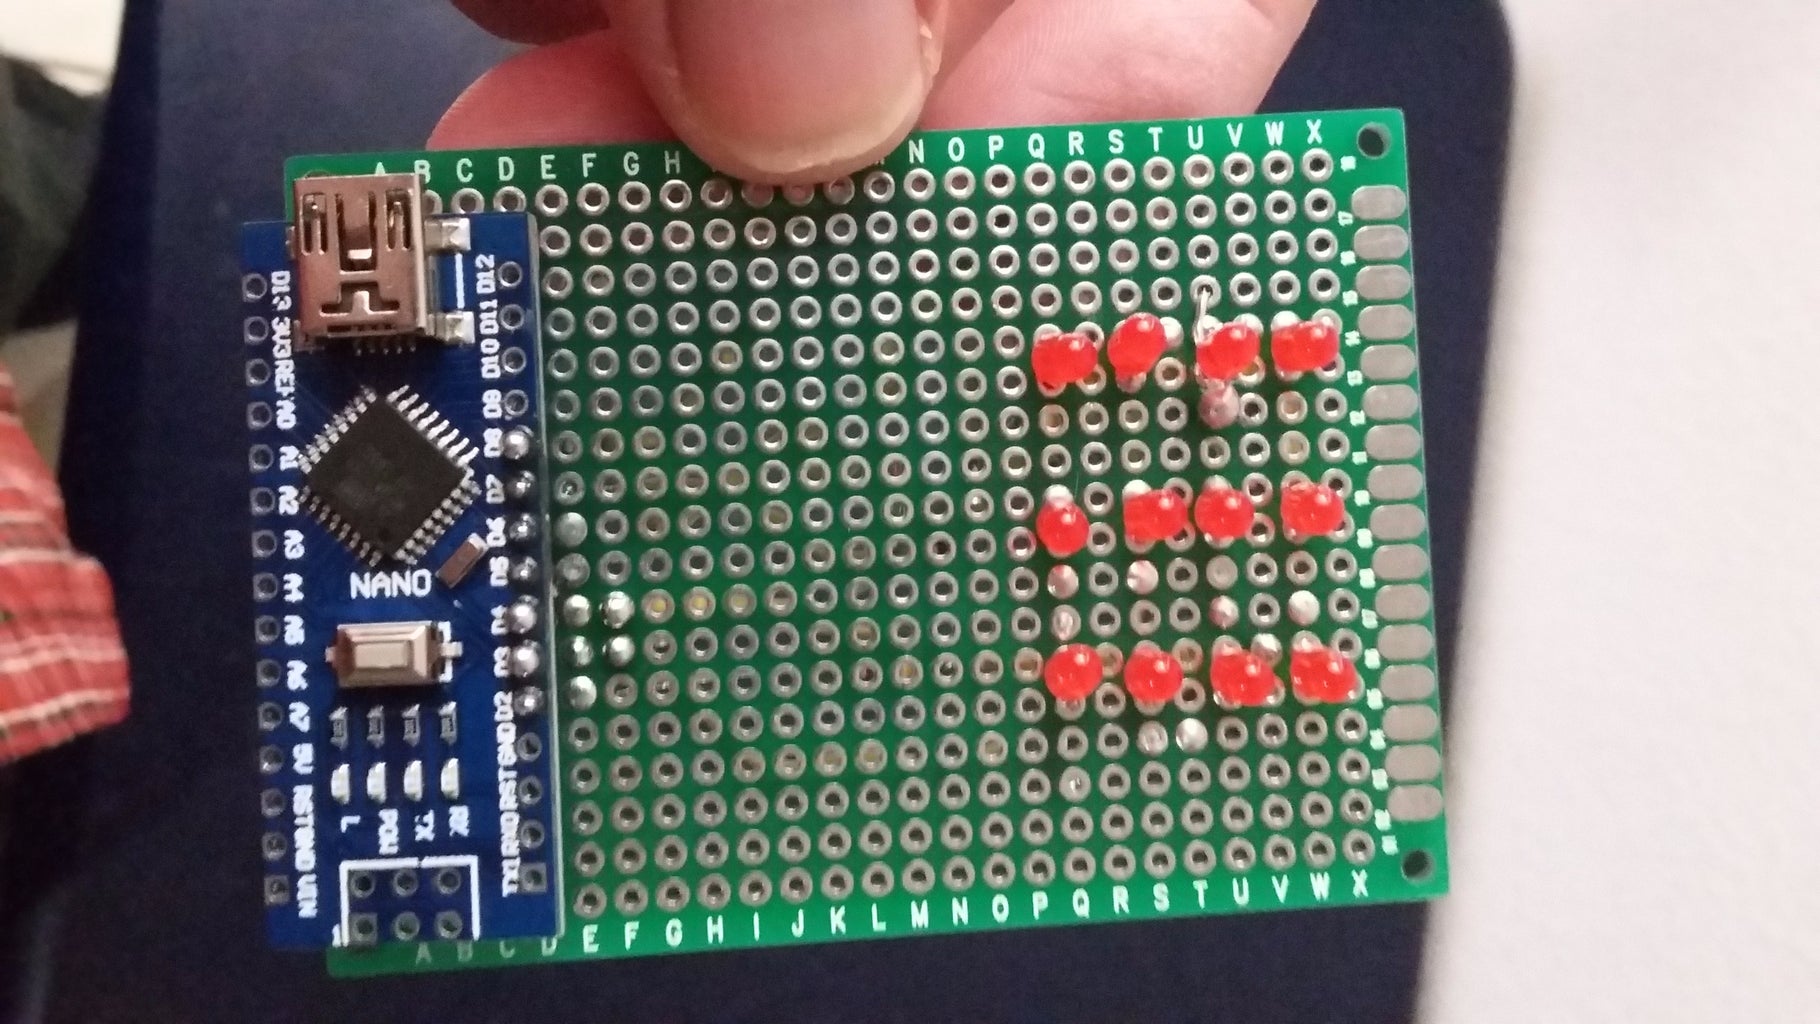
Insert the Arduino Nano prepared in the previous step in the appropriate holes of your PCB.
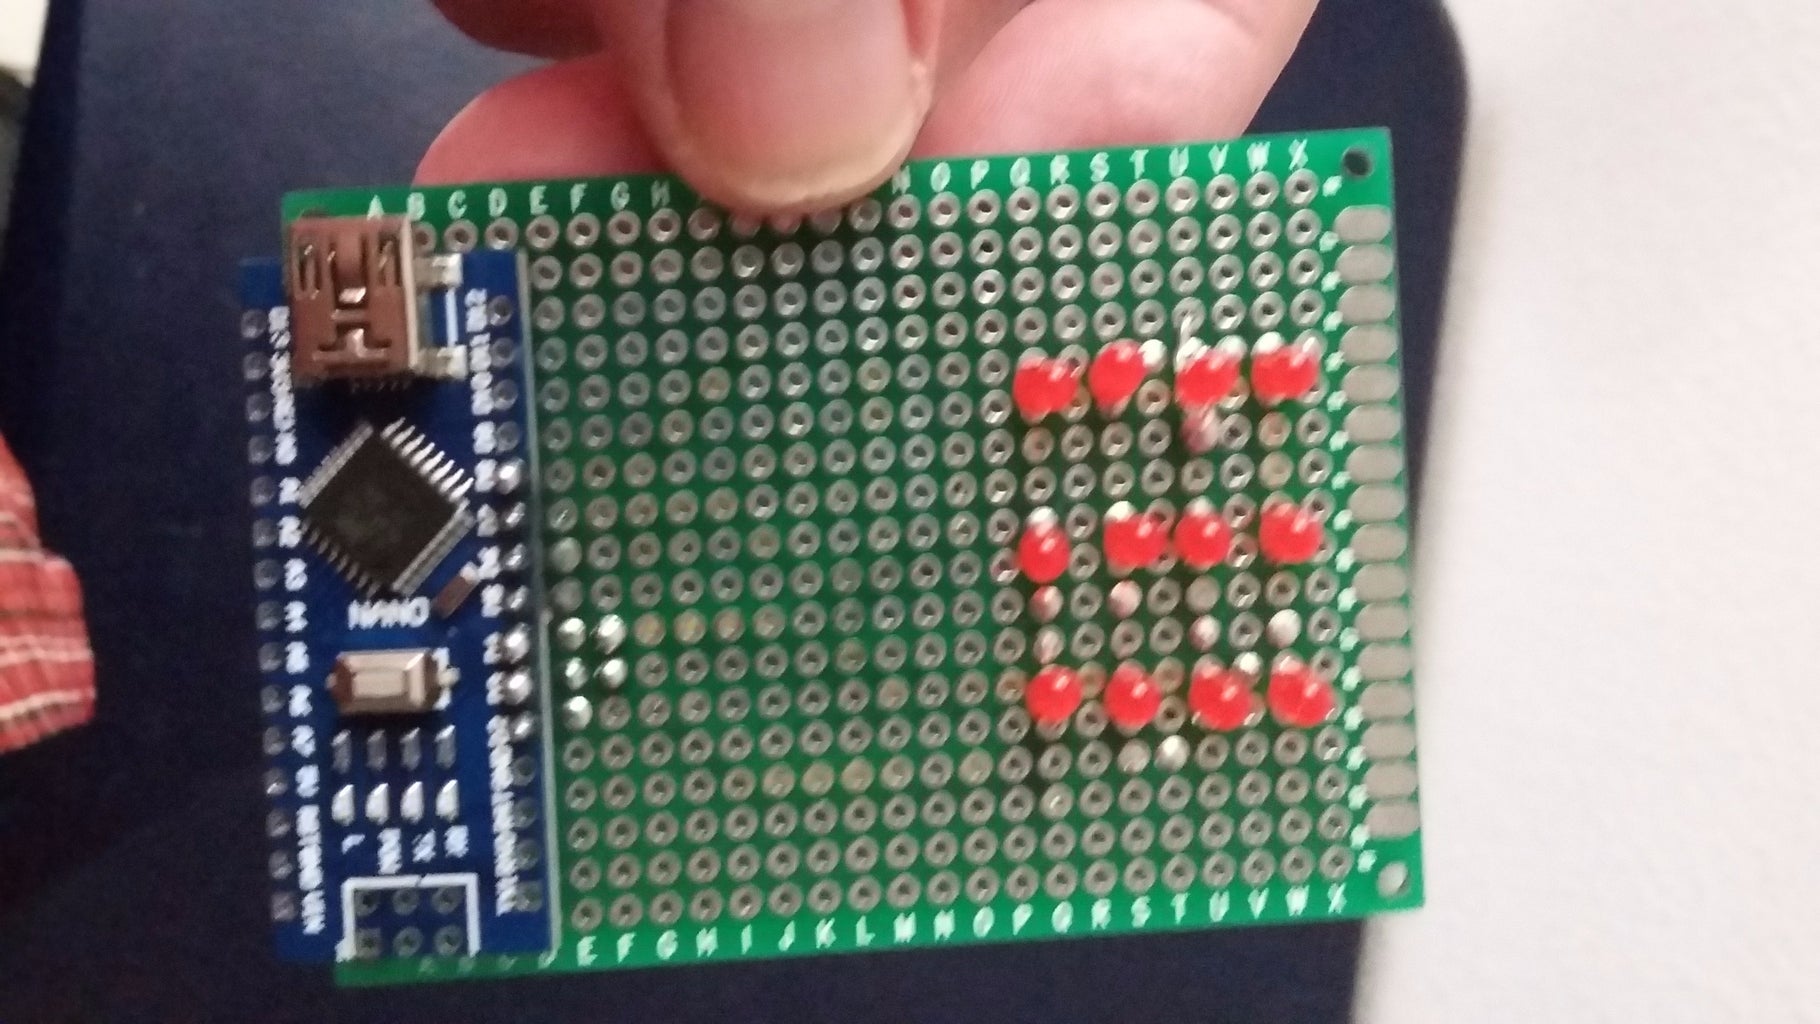
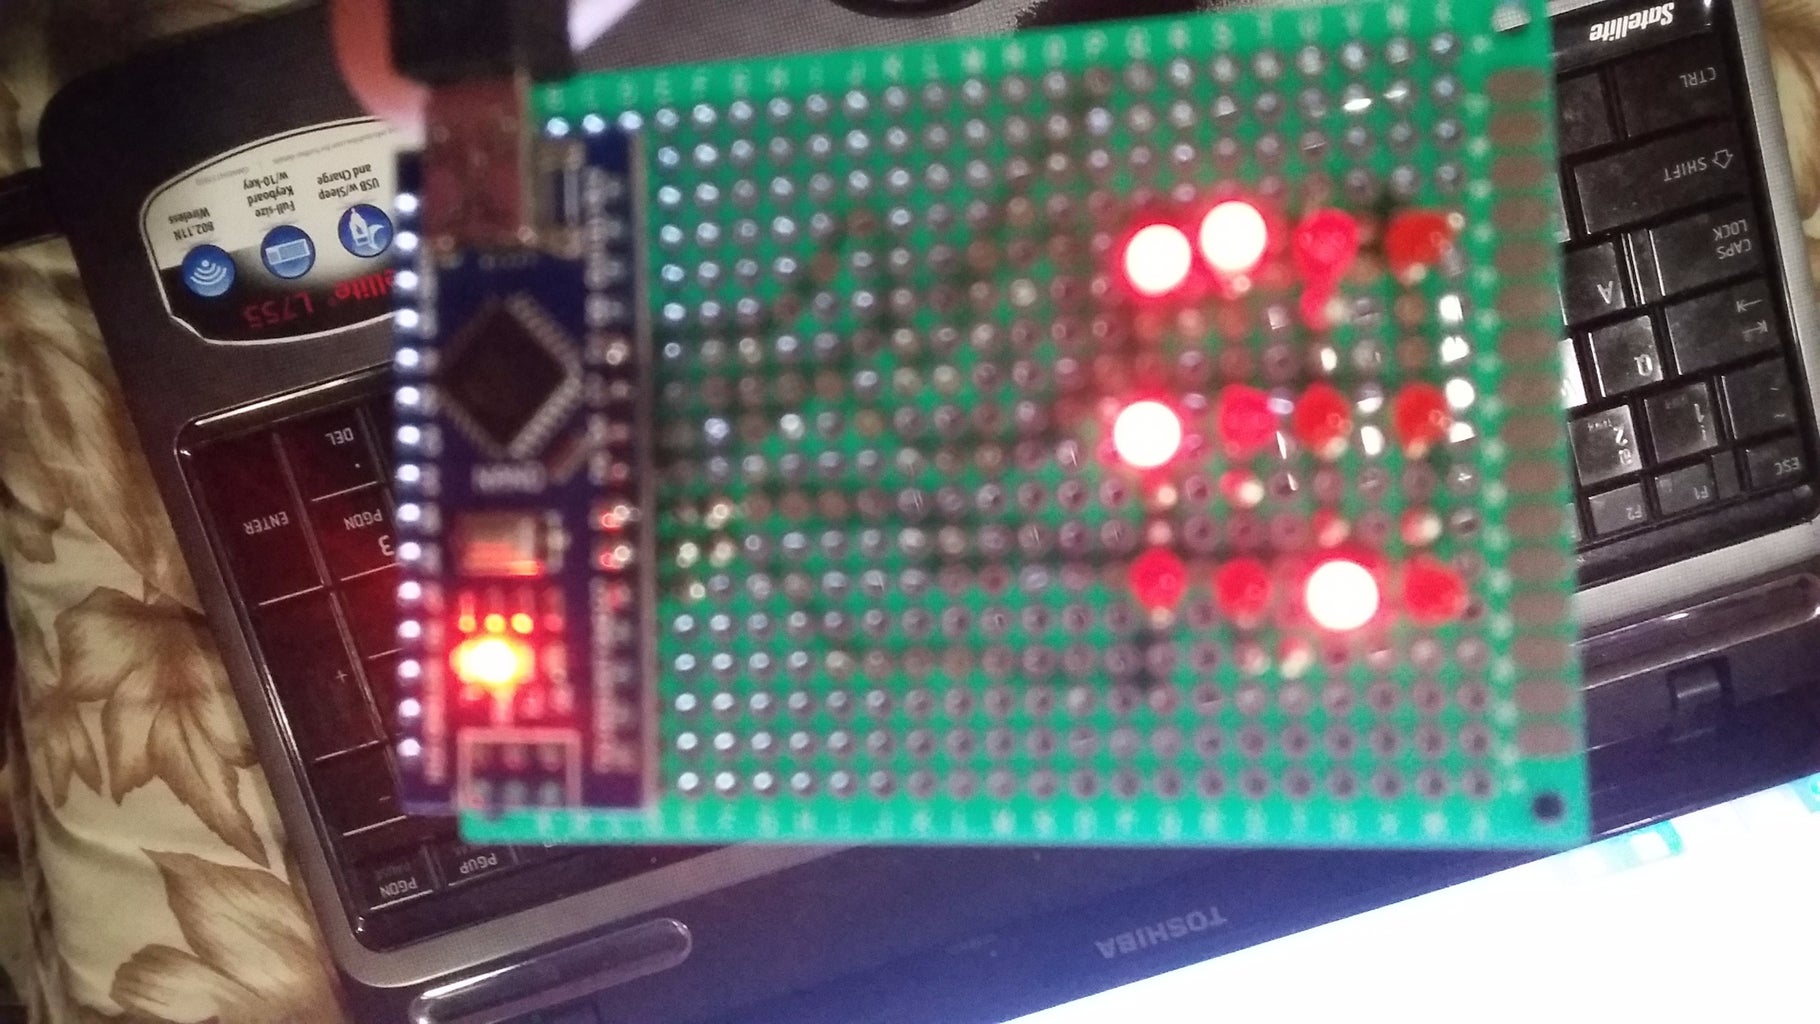
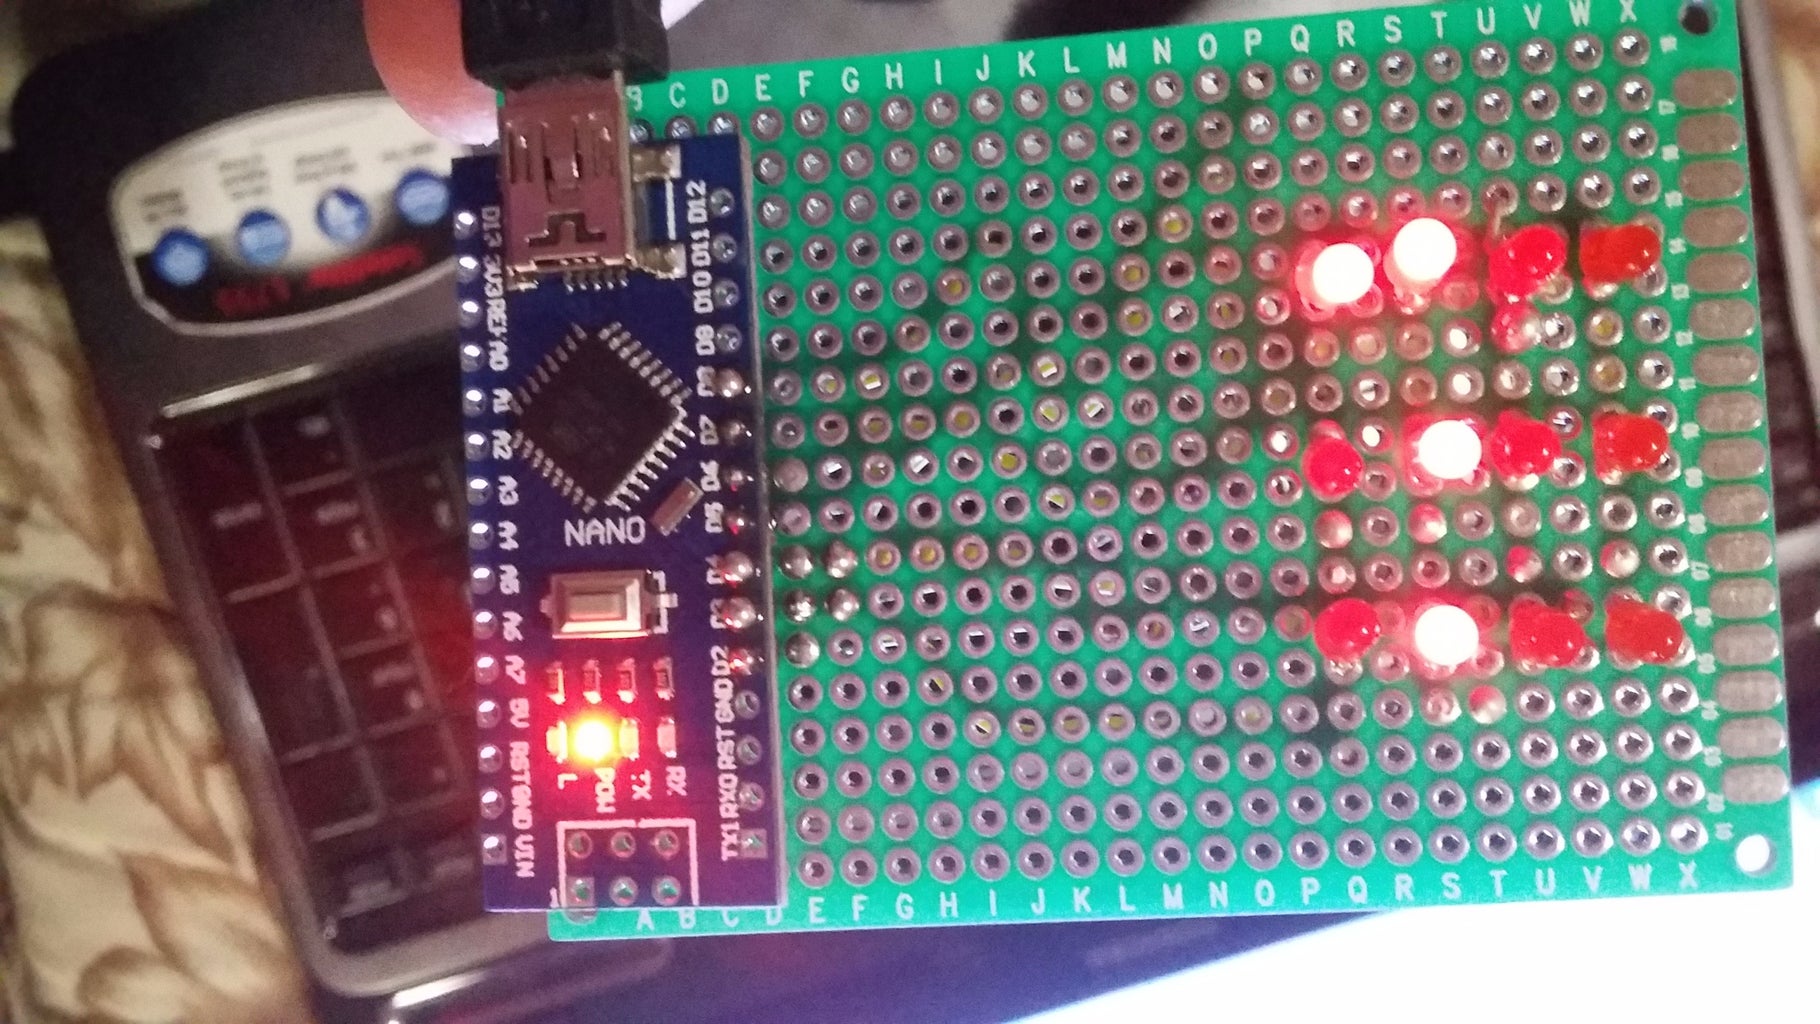
Step 7: Completing the Project

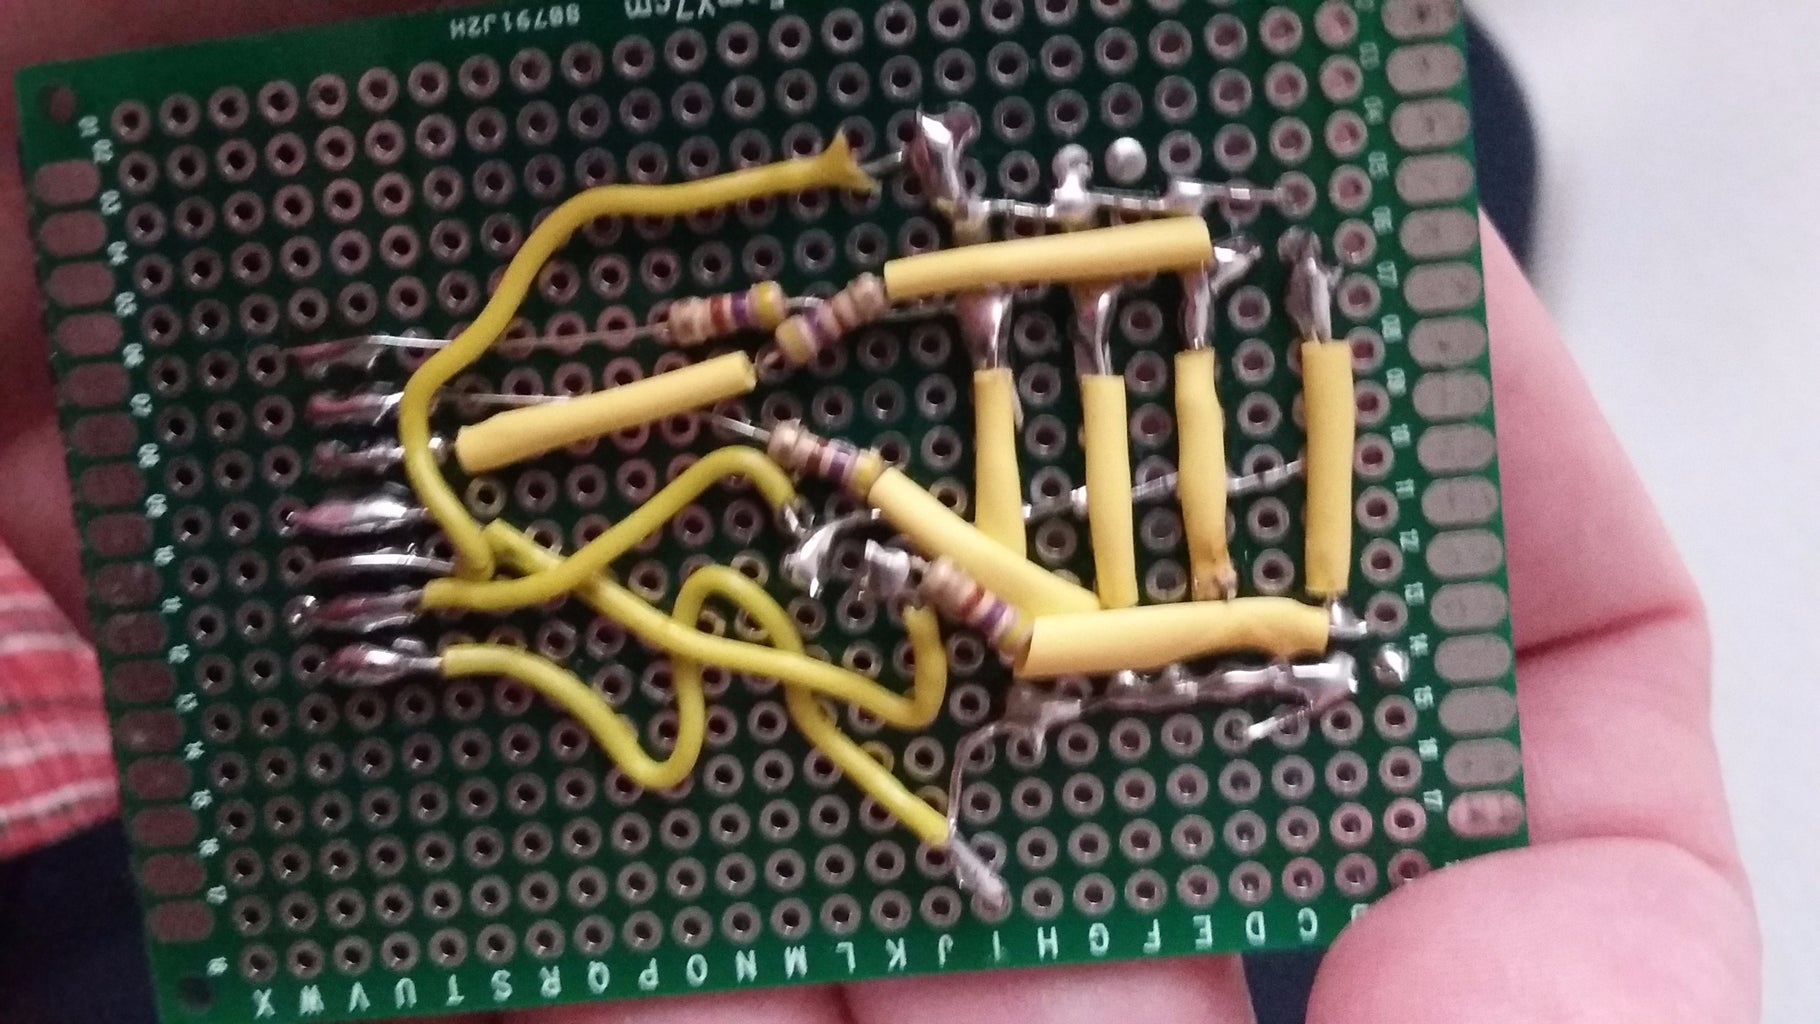
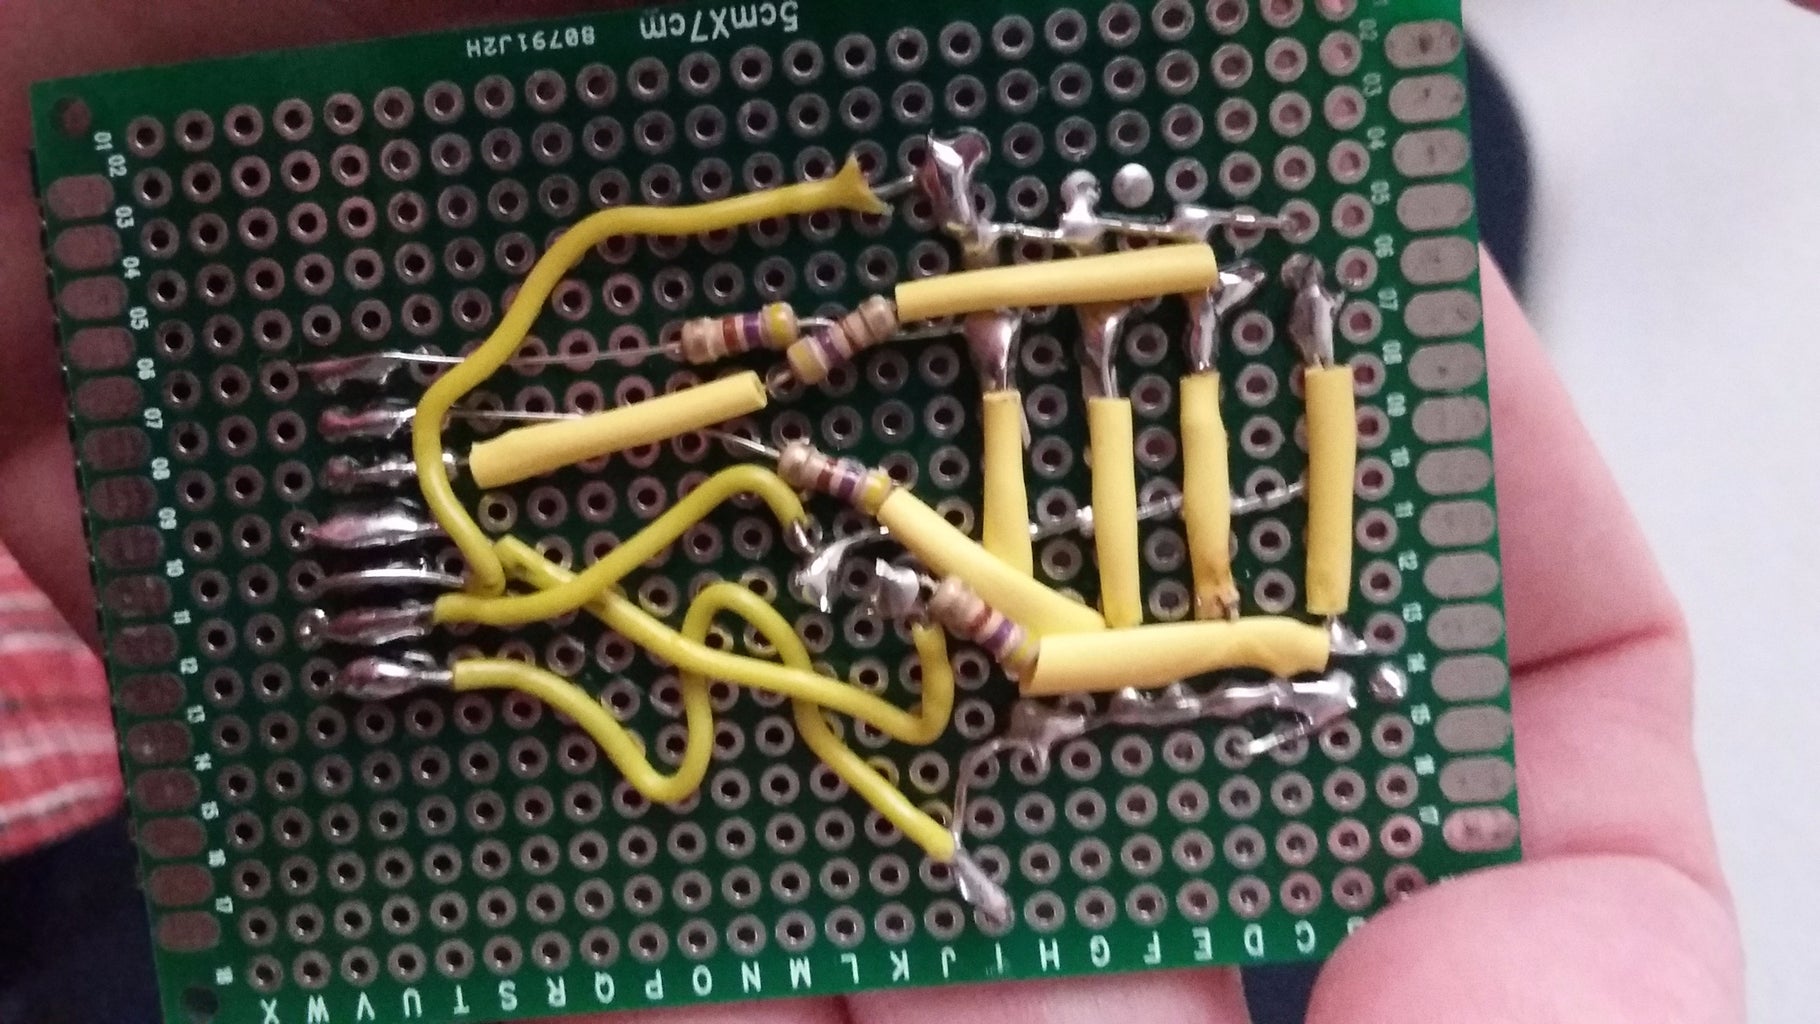
For completing the project, do the rest of connections. That is, draw a connection from each group of cathodes to be wired to its respective resistor while the free end of each resistor will be connected from bottom to up to the arduino pins D2 to D5 respectively Without forgetting digit1 to digit 3 will be connected to Arduino pins D6 to D8 correspondingly.
Step 8: Uploading the Code
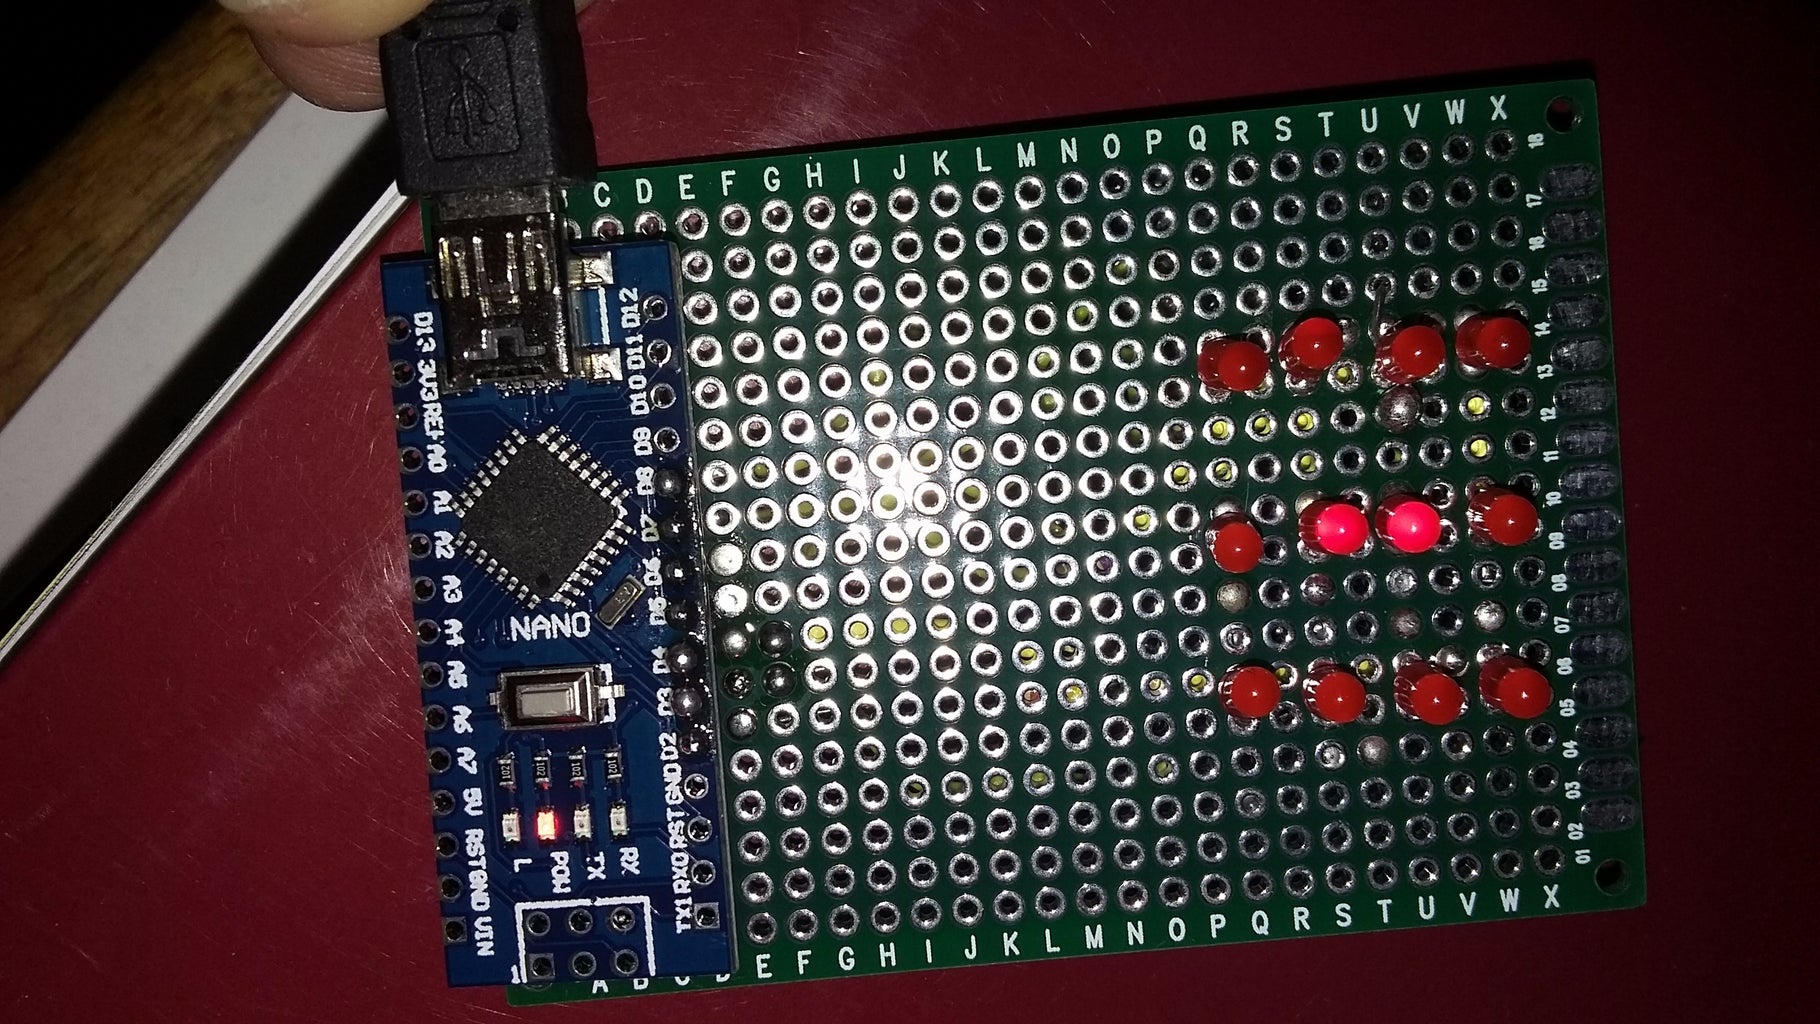
Once finalized the project, feel the freedoom of visiting the next website:https://pastebin.com
Then, upload the code at: https://pastebin.com/W0xm4PNX

Participated in the
Invention Challenge 2017

Participated in the
Power Supply Contest


