

Introduction: 4 Ways to Feed Power to an Arduino


Arduinos are really useful and are compatible with almost all electronic components, but like all devices they need to be fed. And there are many ways to do that!
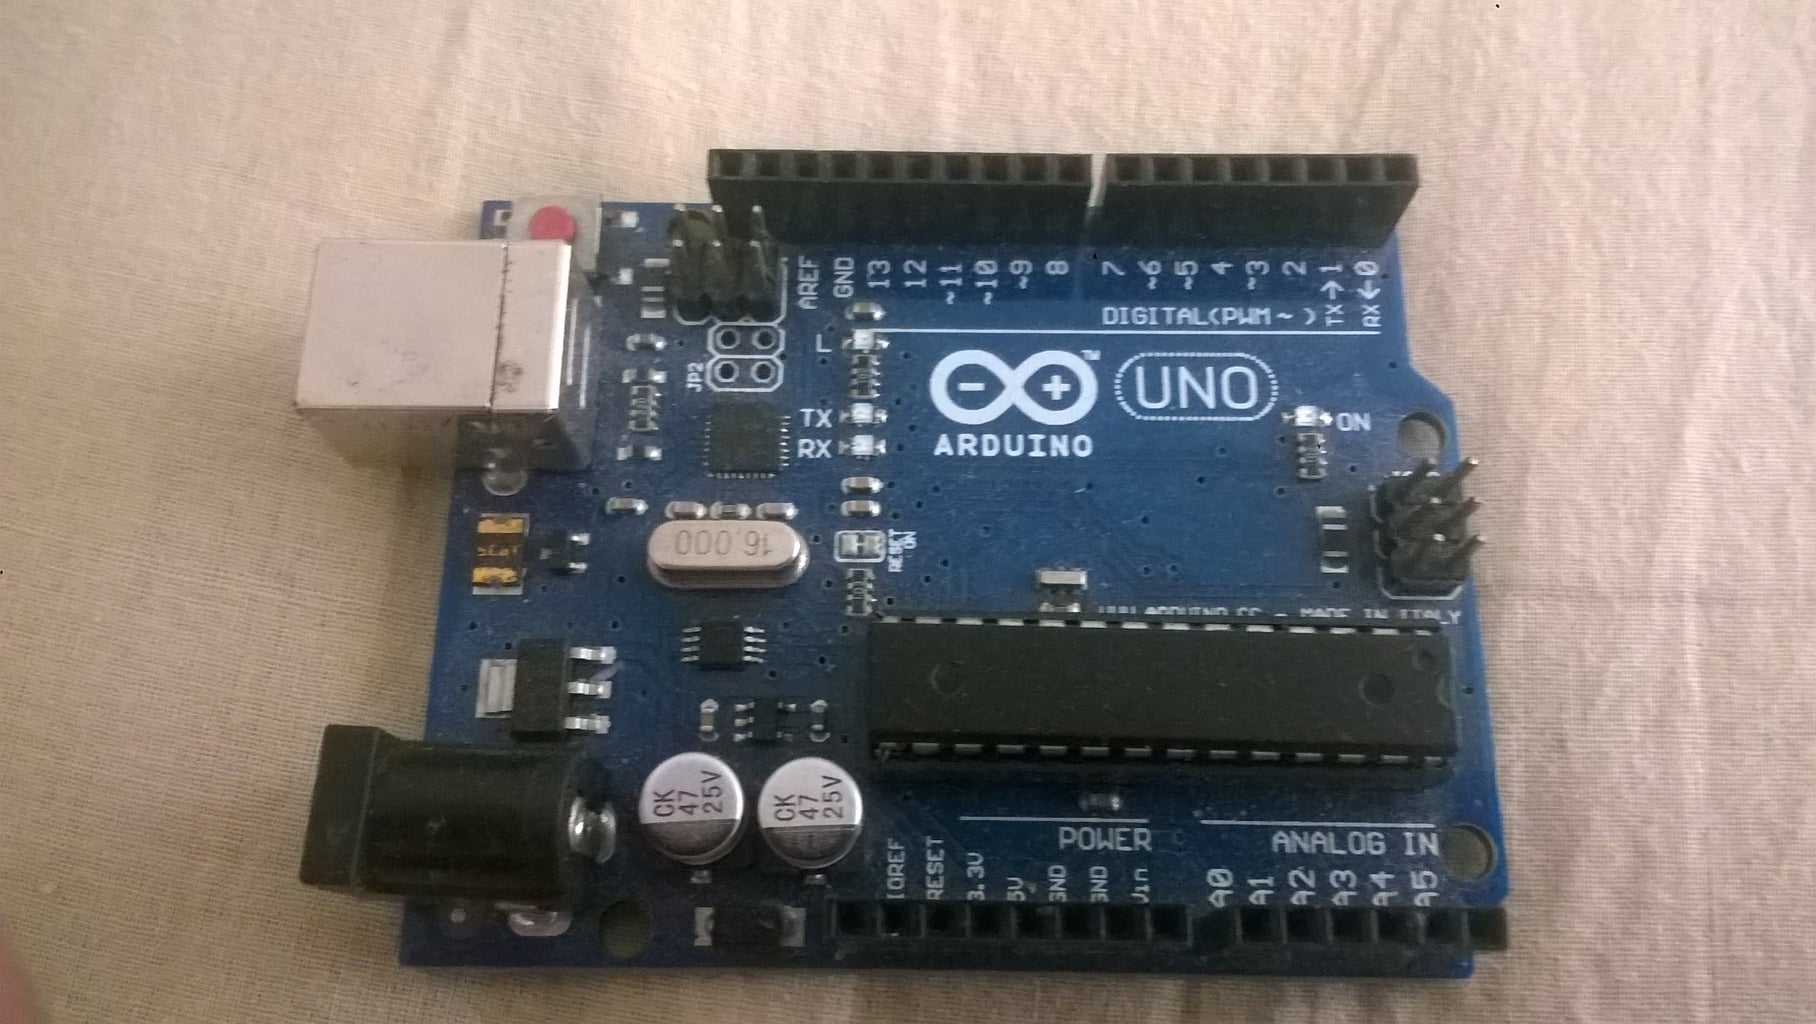
This instructable is all about feeding power to Arduinos and drawing power from them ( to get regulated 5 or 3.3v DC ) .
Step 1: FEEDING IT

CLICK ON THE IMAGE ABOVE TO SEE IT COMPLETELY.
There are 4 ways to power it:
via usb
via barrel jack
via VIN and GND pins
and regulated 5v via the 5v and GND pins.
I don't recommend using more than one method at a time, but it's possible.
Step 2: USB
Connect a usb cable to your Arduino and the other end to a computer or phone charger.
While using usb you can access (draw) regulated 3.3 (max)* and 5v (max)** from the pins:
For 3.3v connect the positive wire to the 3.3 pin and the negative wire to one of the ground (gnd) pins.
For 5v connect the positive wire to the 5v pin and the negative wire to one of the ground pins.
In the image above the red x's mean no input.
The peach dots are for 5v.
The yellow is for vin.
*Voltages can be a little less sometimes, especially with the usb!
**Same as what I wrote above this.
DO NOT USE THE OUTPUT PINS TO POWER SERVOS OR OTHER POWER HUNGRY BEASTS! IT MAY DAMAGE THE ARDUINO OR COMPUTER IT'S CONNECTED TO.
Step 3: Barrel
Make sure the voltage through the barrel is between 7 and 12 volts, but it is capable of handling 6-20v, but it is not safe to feed it that much!
While using the barrel you can access regulated 5 and 3.3v the same way we did it with the usb,
but we can also get the same voltage that is coming through the barrel by connecting the positive wire to VIN
and the negative wire to one of the ground pins.
Step 4: 5v Pin
You can give the Arduino REGULATED AND NOT OTHERWISE 5V through this pin.
The power you supply through this pin does not pass through the 5v regulator, making it unsafe if it is not
pre-regulated.Connect the 5v pin to the positive wire, and the gnd pin to the negative wire, and then turn on the REGULATOR.
While using this pin you can access regulated 3.3v. ( The Arduino has two regulators, one for 3.3 and one for 5v.
When I said the power doesn't pass through the regulator I meant the 5v one.)
Step 5: VIN Pin
This is the same as the barrel.
Make sure the power through this pin is between 7 and 12v.
Connect the positive wire the VIN and the negative to one of the ground pins.
While using this pin you can access 3.3v and 5v.
Step 6: Arduino Is Ready to Go!
I hope this instructable helped you, and please leave a comment if you liked it or have any suggestions!


