

Introduction: Adding the Arms


The following information is a single lesson in a larger Tinkercad project. Check out this and more projects on Tinkercad.
Return to Previous Lesson: Adding Arms
Lesson Overview:
Now we're going to add arms.
Step 1: Introduction


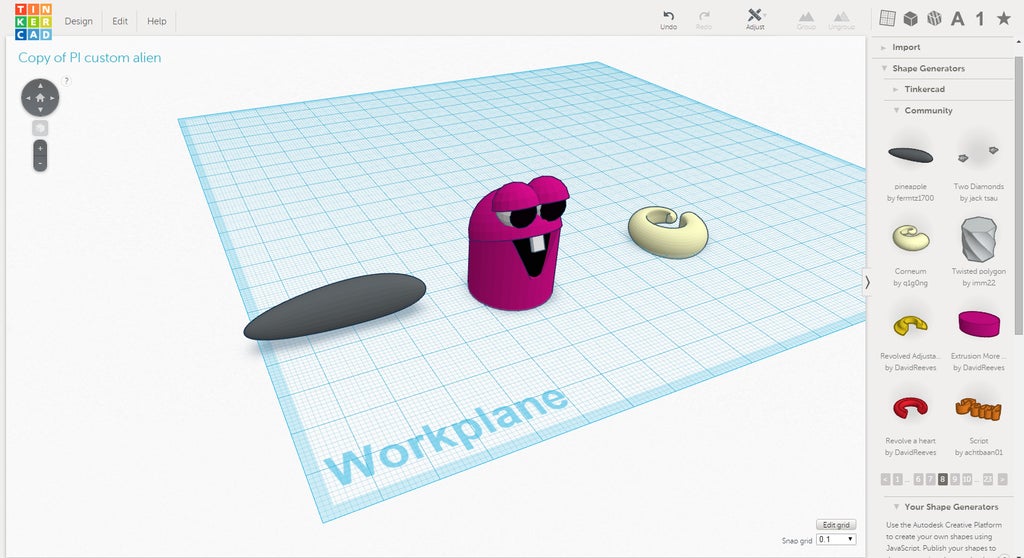
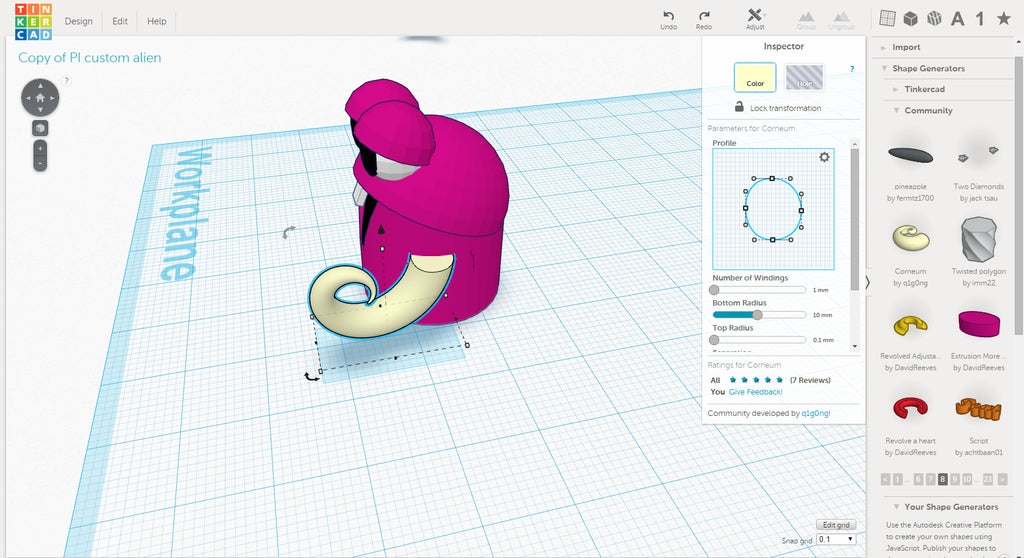
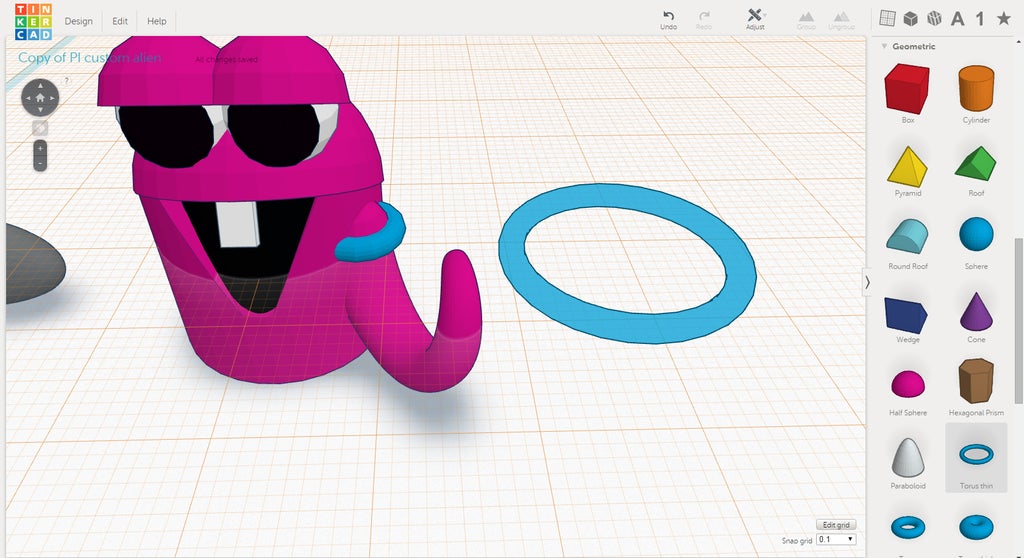
In this step we will be making alien arms. Tinkercad has more shapes than the basic geometric shapes that have been used so far. Scroll to the top of the object list along the right side of the screen. Look for the Shape Generator object list (Circled in Green). There are several pages of objects that can be used in special situations like making arms for an alien. Click on page 8 in the Shape Generator>Community menu. You will find the two objects used in this section, the "pineapple" and "Corneum" (Blue arrows).
Instructions
- Place the "pineapple" shape and "Corneum" shape on the workplane, off to the side.
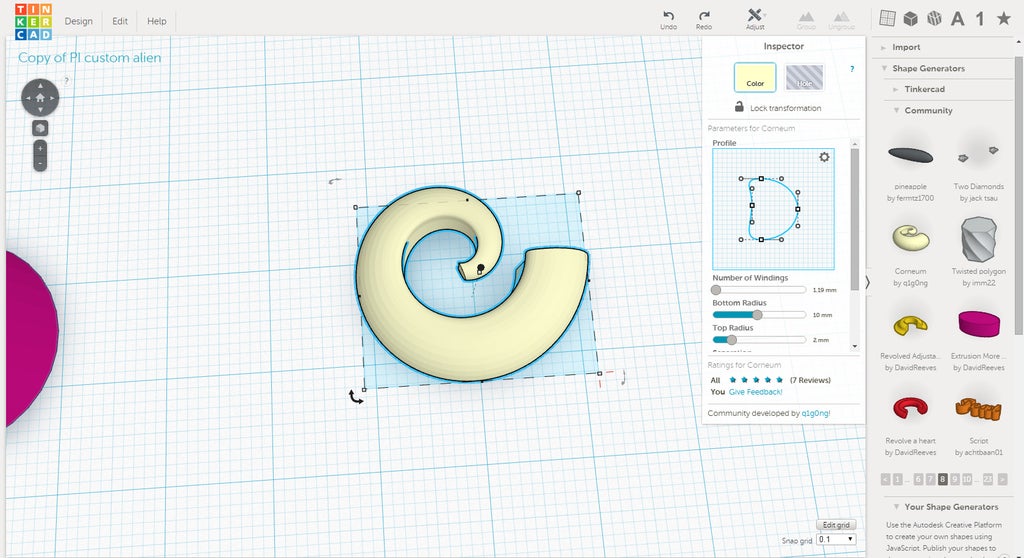
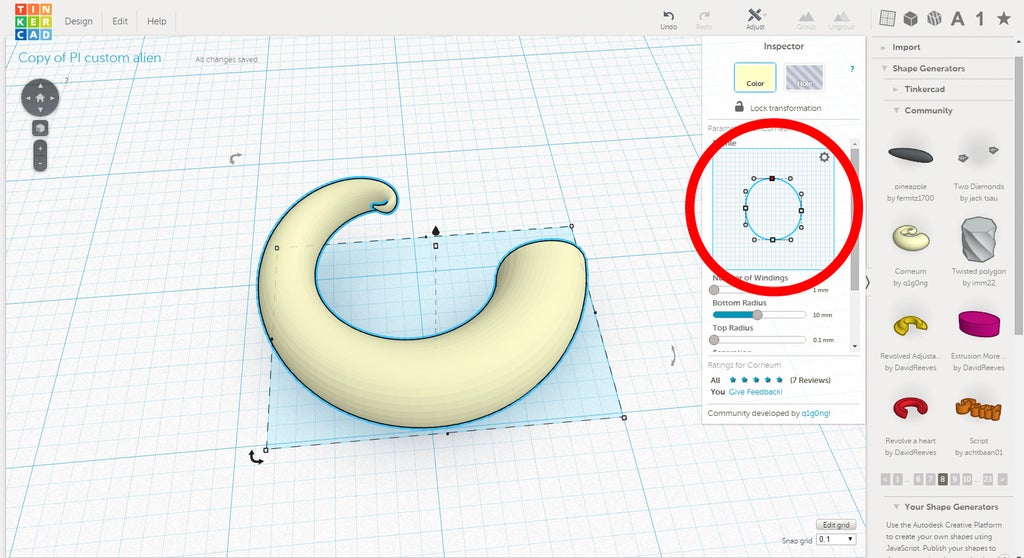
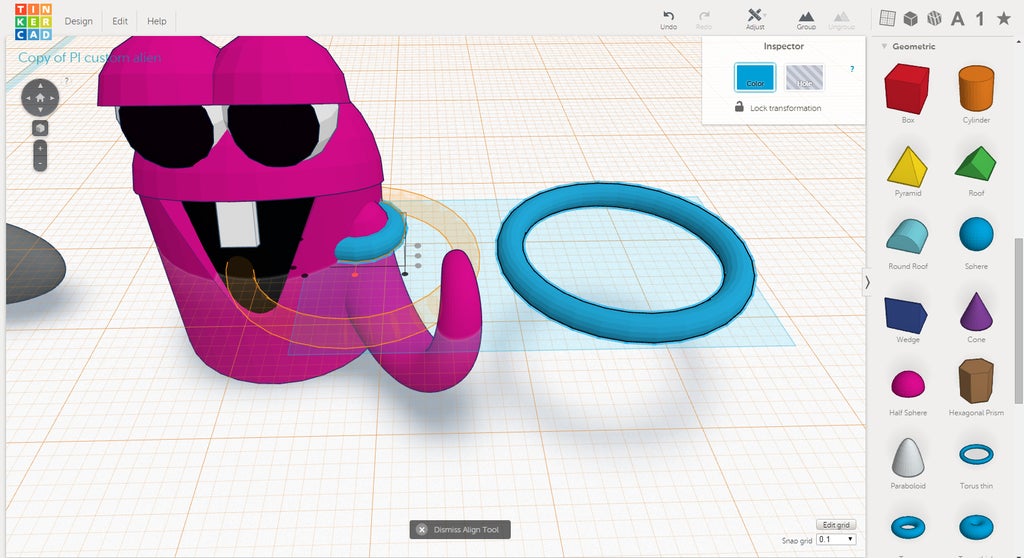
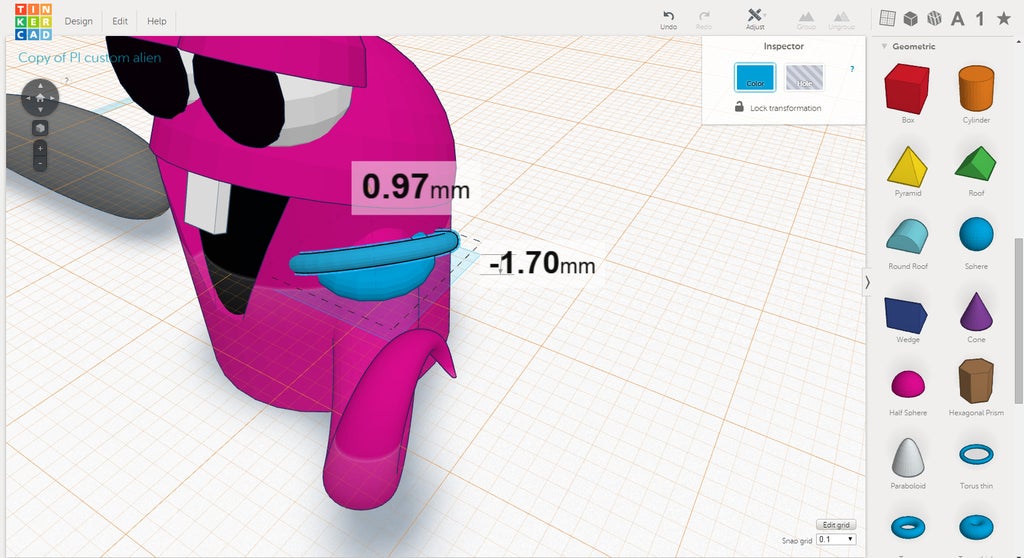
- Select the "Corneum" and press "F" to focus the camera to it. Do you notice anything new in the Inspector window? Objects from the Shape Generator menu will usually have a list of values under Color and Hole. The "Corneum" also has a profile image. An object's profile is the outline of the object if it was cut like a loaf of bread. The profile of "Corneum" is shown as the blue, curvy line. The white square handles can be used to change the shape of the blue line.
- Using the white square handles, change the shape to be closer to a circle.
- Instruction image Below the profile image is a list of numbers and blue sliding bars. Clicking once on a number will let you type in a different number. The number can also be changed by holding the left mouse button and sliding the mouse left or right. Change the numbers so they match the numbers in the image below.

Step 2: Creating the Arms.


Continuing from the previous step, we will turn the "Corneum" into an arm for the alien.
Instructions
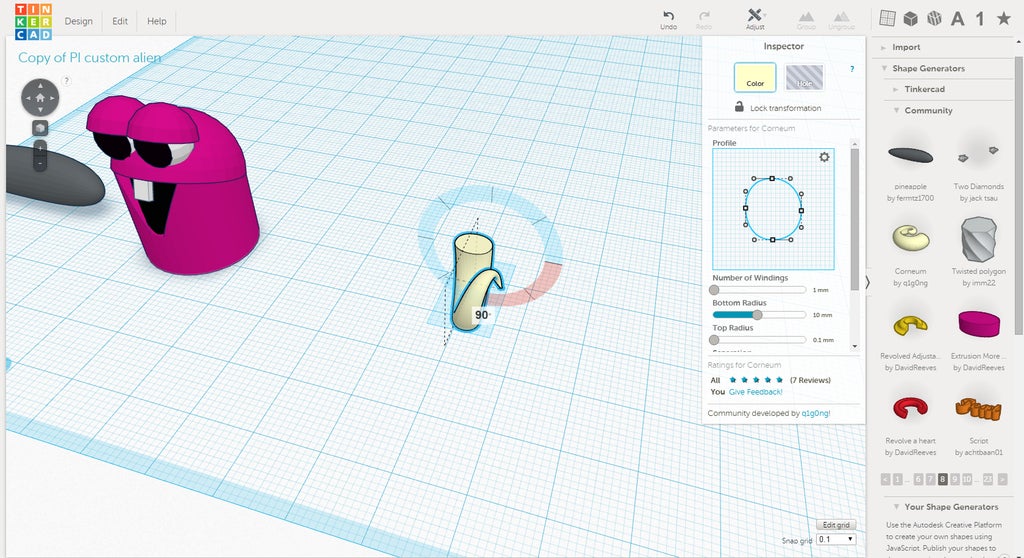
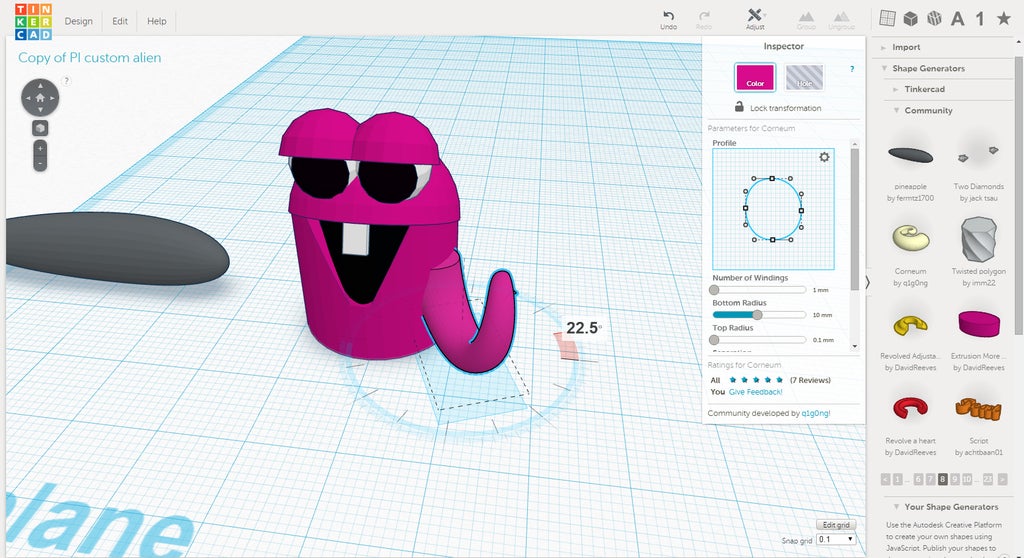
- Rotate the "Corneum" 90 degrees counter clockwise on the Z axis.
- Rotate the "Corneum" 90 degrees again, only this time on the Y axis.
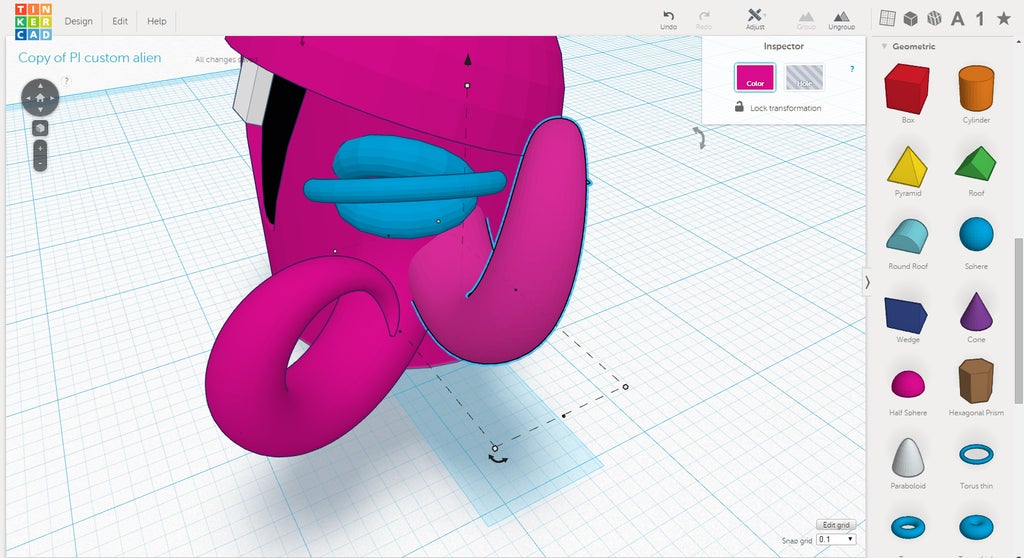
- Move the "Corneum" toward the alien until it touches and slightly goes in.
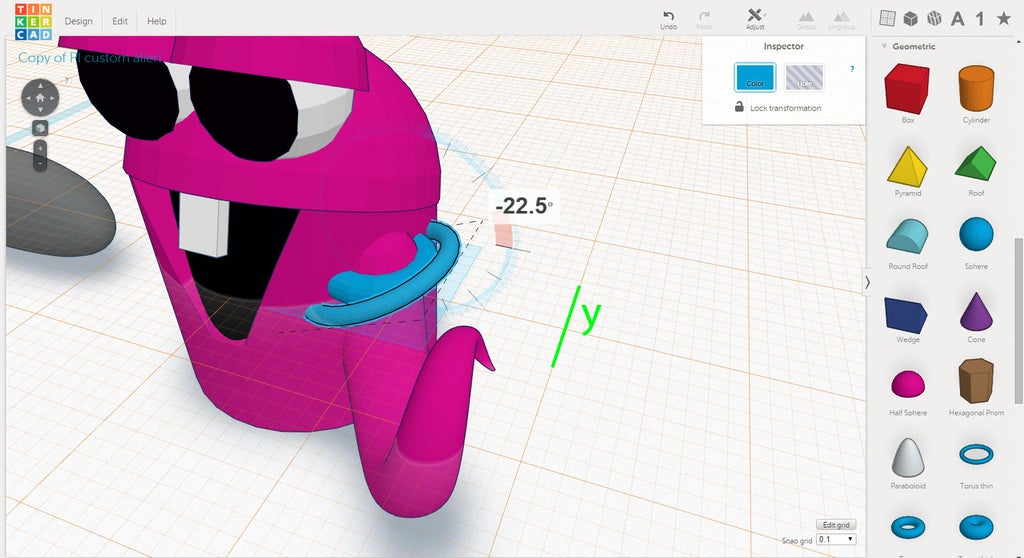
- Rotate the "Corneum" 22.5 degrees counter clockwise on the Z axis. Change the color of the arm to match the body's color.
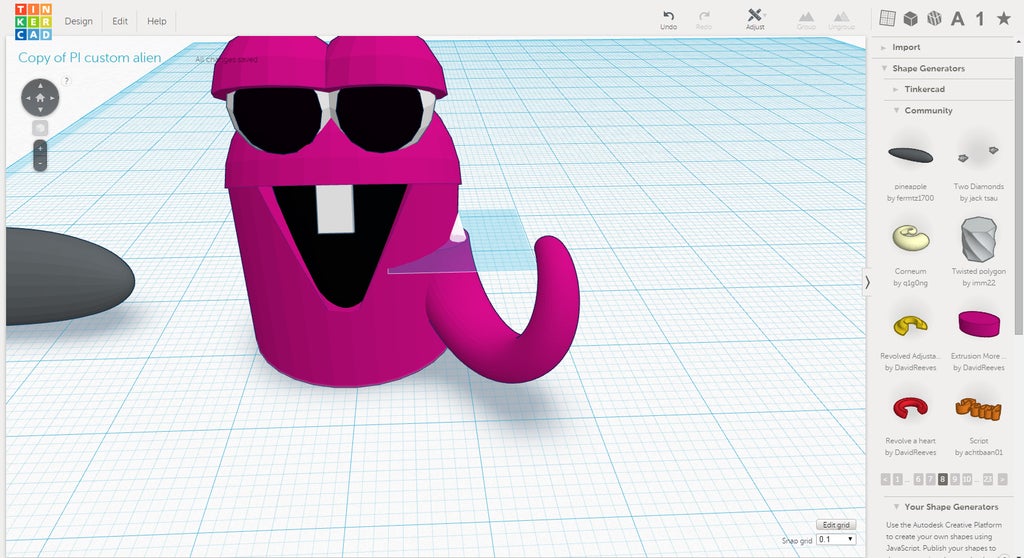
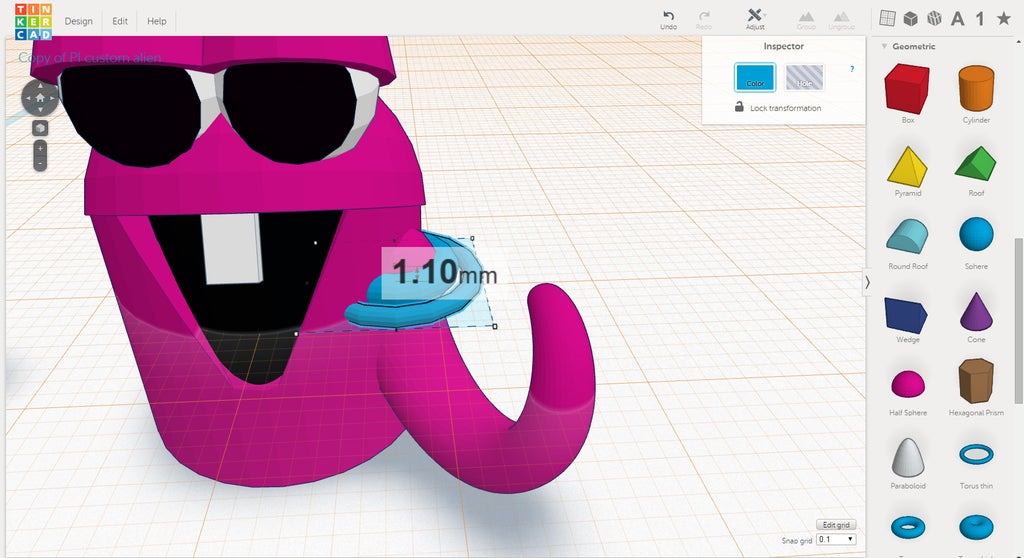
- Press "W" to switch to the workplane tool. Select the top of the "Corneum".
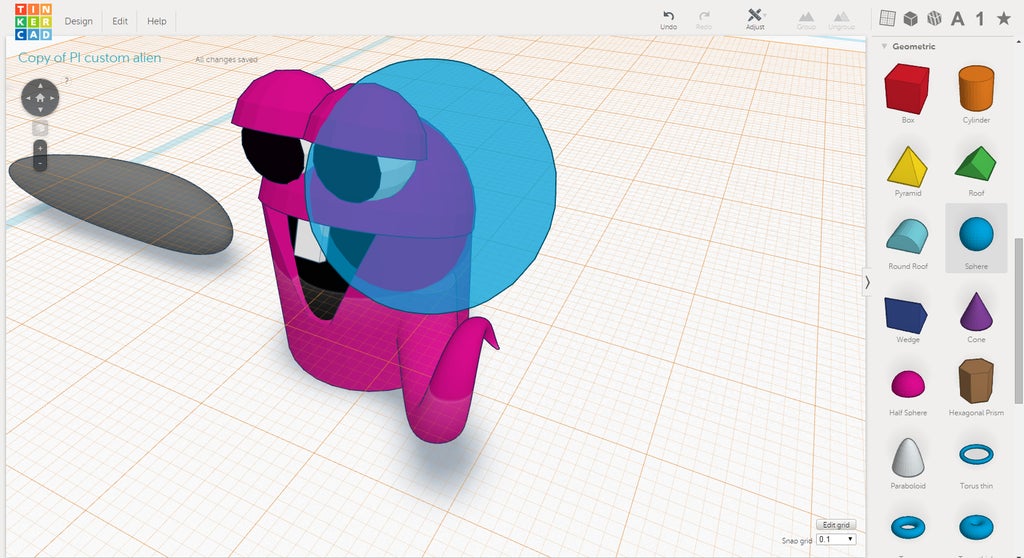
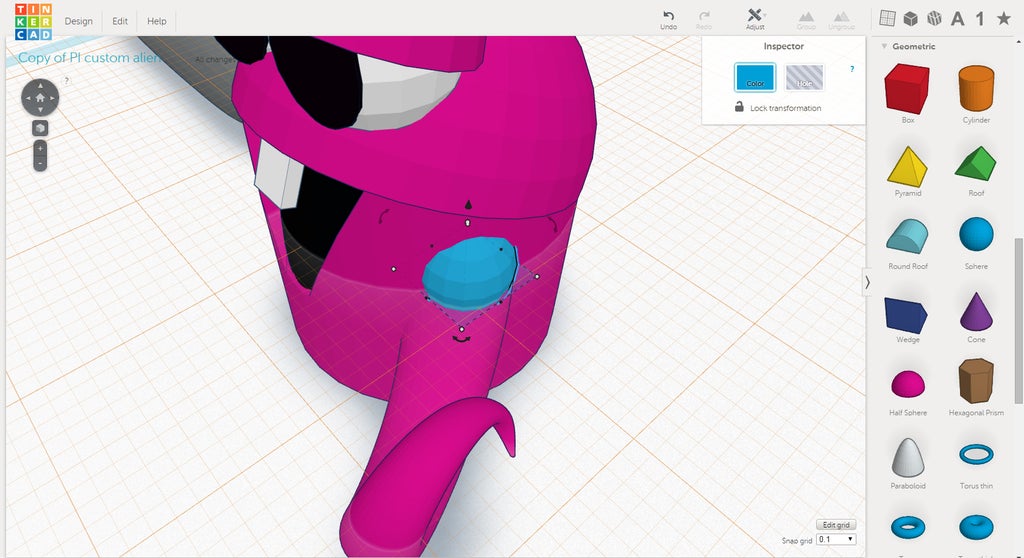
- Place a sphere on top of the "Corneum".
- Using a white handle, equally scale the sphere down to about 6mm. It should cover the flat side of the "Corneum"
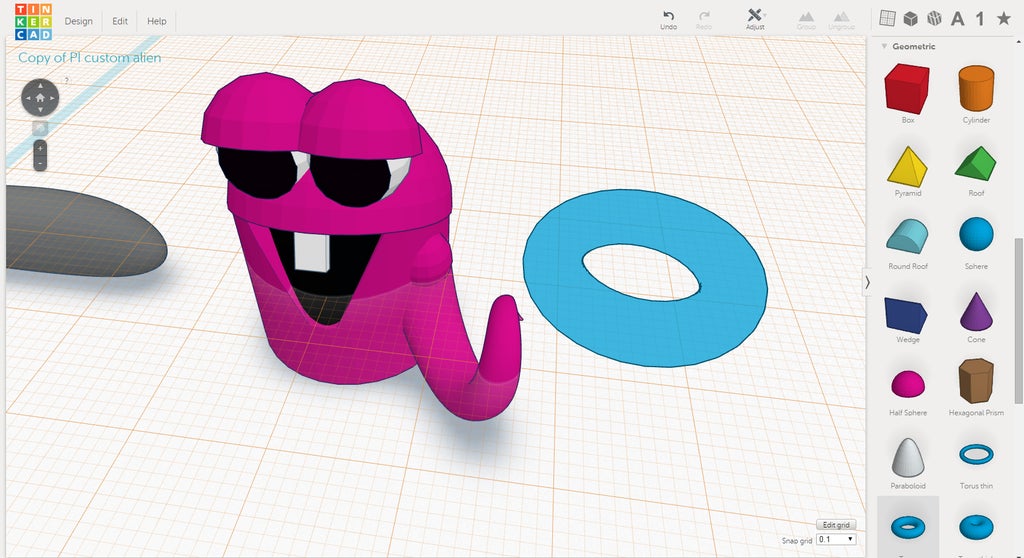
- With the workplane still aligned, place a torus.
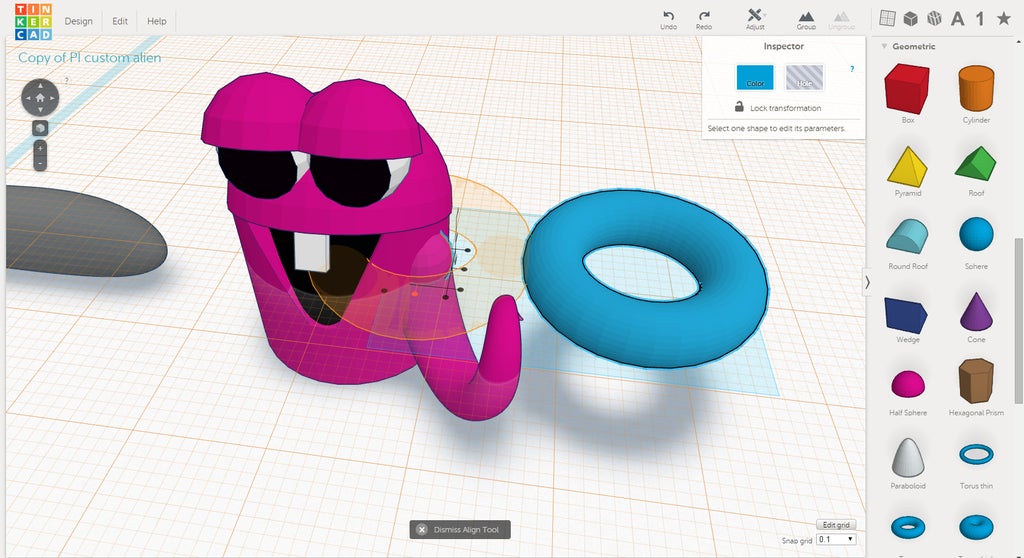
- Align the torus to the sphere.
- Scale the torus equally on all axis ( holding shift) until the inside circle of the torus is close to the sphere.
- Next place a thin torus on the workplane.
- Align the thin torus to the other torus.
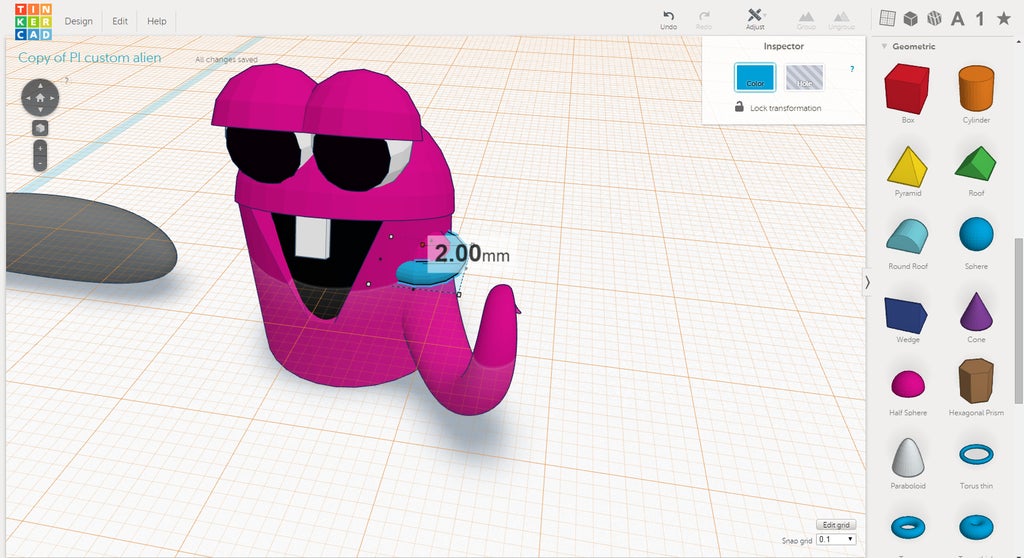
- Scale the thin torus down equally to 1mm, leaving a small gap between the two torus.
- Rotate the thin torus on the Y axis by 22.5 degrees.
- Rotate the thin torus on the X axis by 22.5 degrees
- Finally, move the thin torus on the X and Y axis until it goings above the shoulder.
- Select the "Corneum" and the sphere (shoulder) and group them together. Using CTRL+C copy them. With the objects still selected, press CTRL+V to paste the copy near the arm.
- Rotate the copied arm in a new position and move the arm towards the back.
- Select all of the objects that make up the arms and shoulders and group them together.
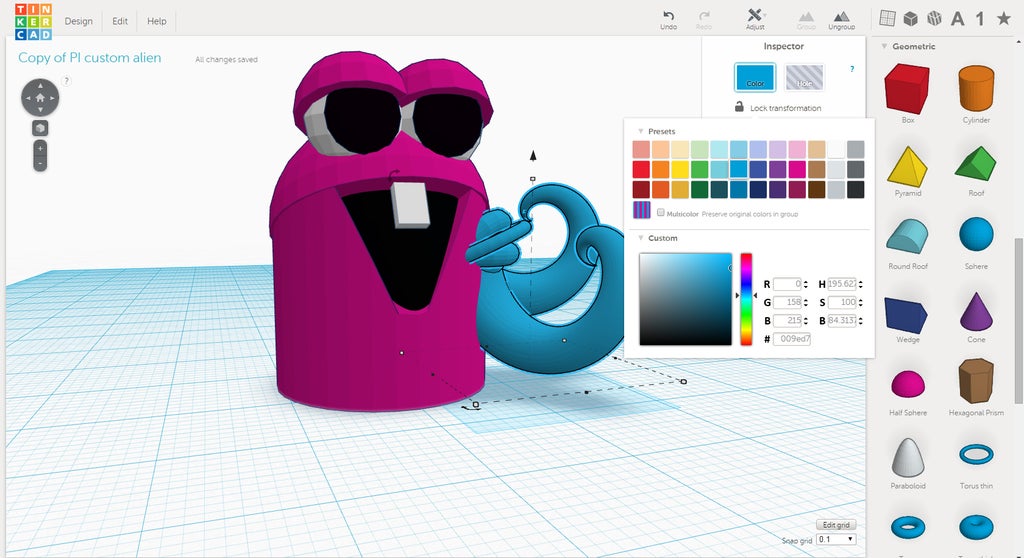
- Holding ALT, move the arms to the other side of the body. Under Adjust, choose mirror to have them face the opposite direction.


In the next lesson you will learn to add details.
Next Lesson:Adding Details


