

Introduction: Arduino Battery


As many of you may know, this Lazy Old Geek loves Arduinos. Many of my projects are portable and need a battery source:
https://www.instructables.com/id/Arduino-Pedometer/
https://www.instructables.com/id/Arduino-Nokia-LCD-Sensors/
https://www.instructables.com/id/Ultrasonic-Tape-Measure/
All pricing was determined about early 2012.
So, I’ve been using Adafruit 6 AA Battery holder $5.00
https://www.adafruit.com/products/248
with 6 AA rechargeable batteries. (See Picture)
Another choice would be Adafruit 9V
https://www.adafruit.com/products/67
My Complaint:
Here’s why I don’t like 9V alkaline batteries
Expensive ~$3
Low capacity ~600 mAh
One time use
In comparison, I bought 16 AA 3000mAh NiMH rechargeable batteries for $9.38 on ebay.
6 AA rechargeables would cost $3.50 but would have 5x the capacity and are rechargeable.
My Complaint:
Okay, so I’m a Geek and I’m not really satisfied with the 6 AA battery setup.
- It’s pretty heavy and bulky.
- My battery chargers will only take four batteries at a time, so I either have to charge them in two stages or use two different chargers. But I’m Lazy.
So, naturally, I’ve been looking for an alternative.
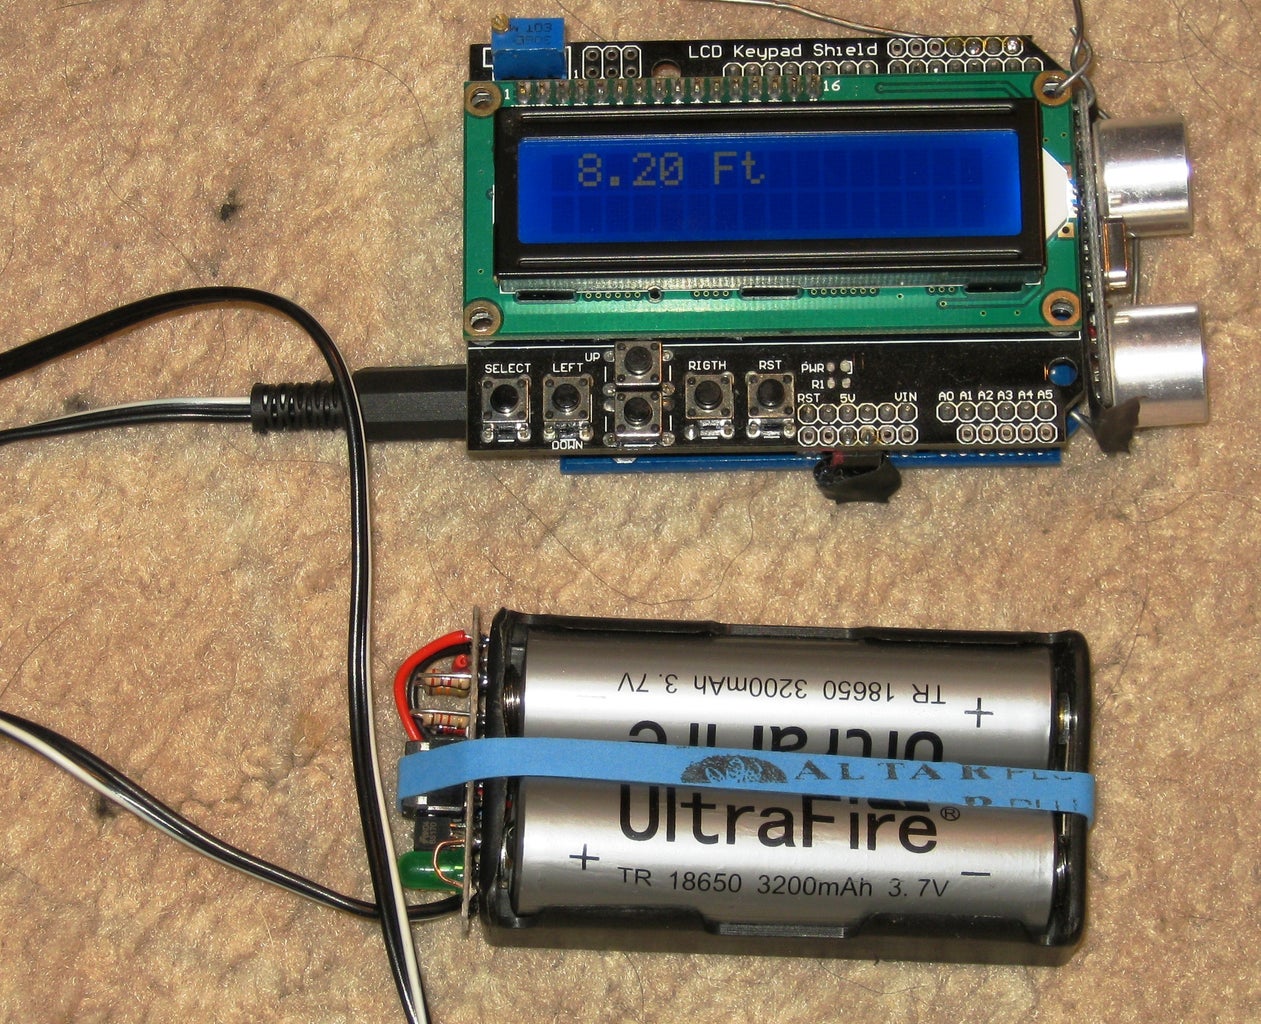
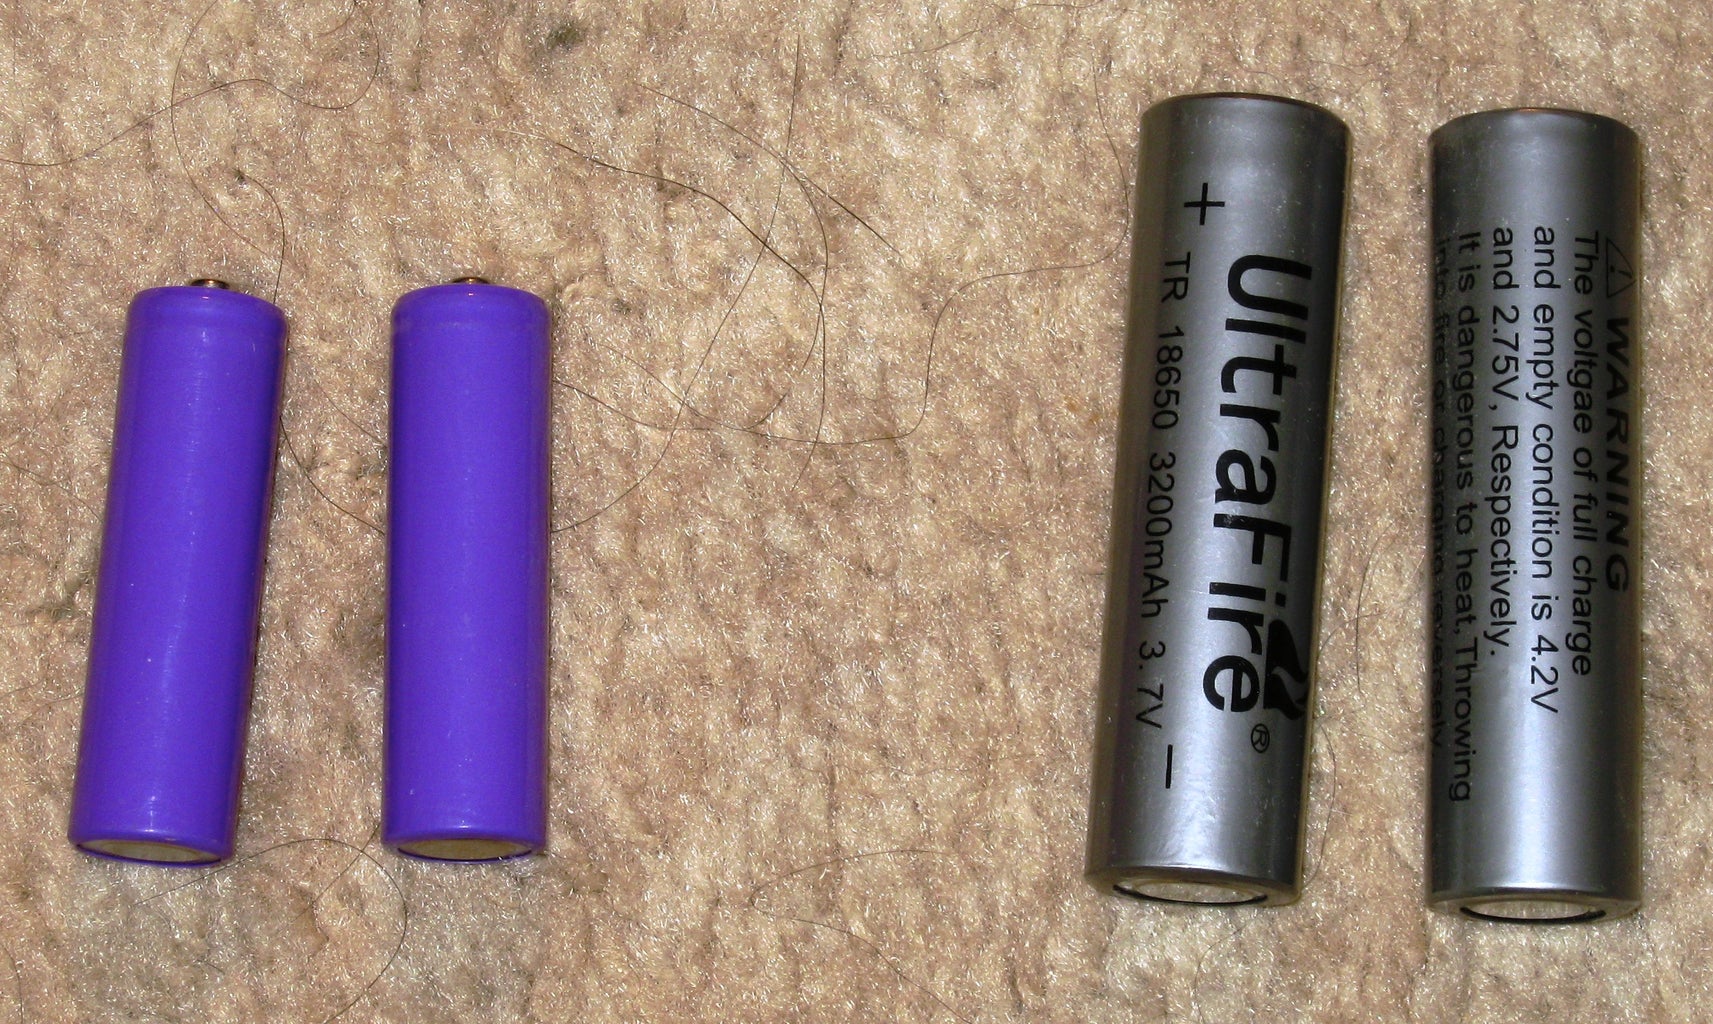
Hark! I find out about the 18650. These are Li-Ion batteries nominally 3.7V.
Li-Ion batteries are like those used in most laptops. Now, I did some research on Li-Ion batteries and like them:
Step 1: 18650 Battery


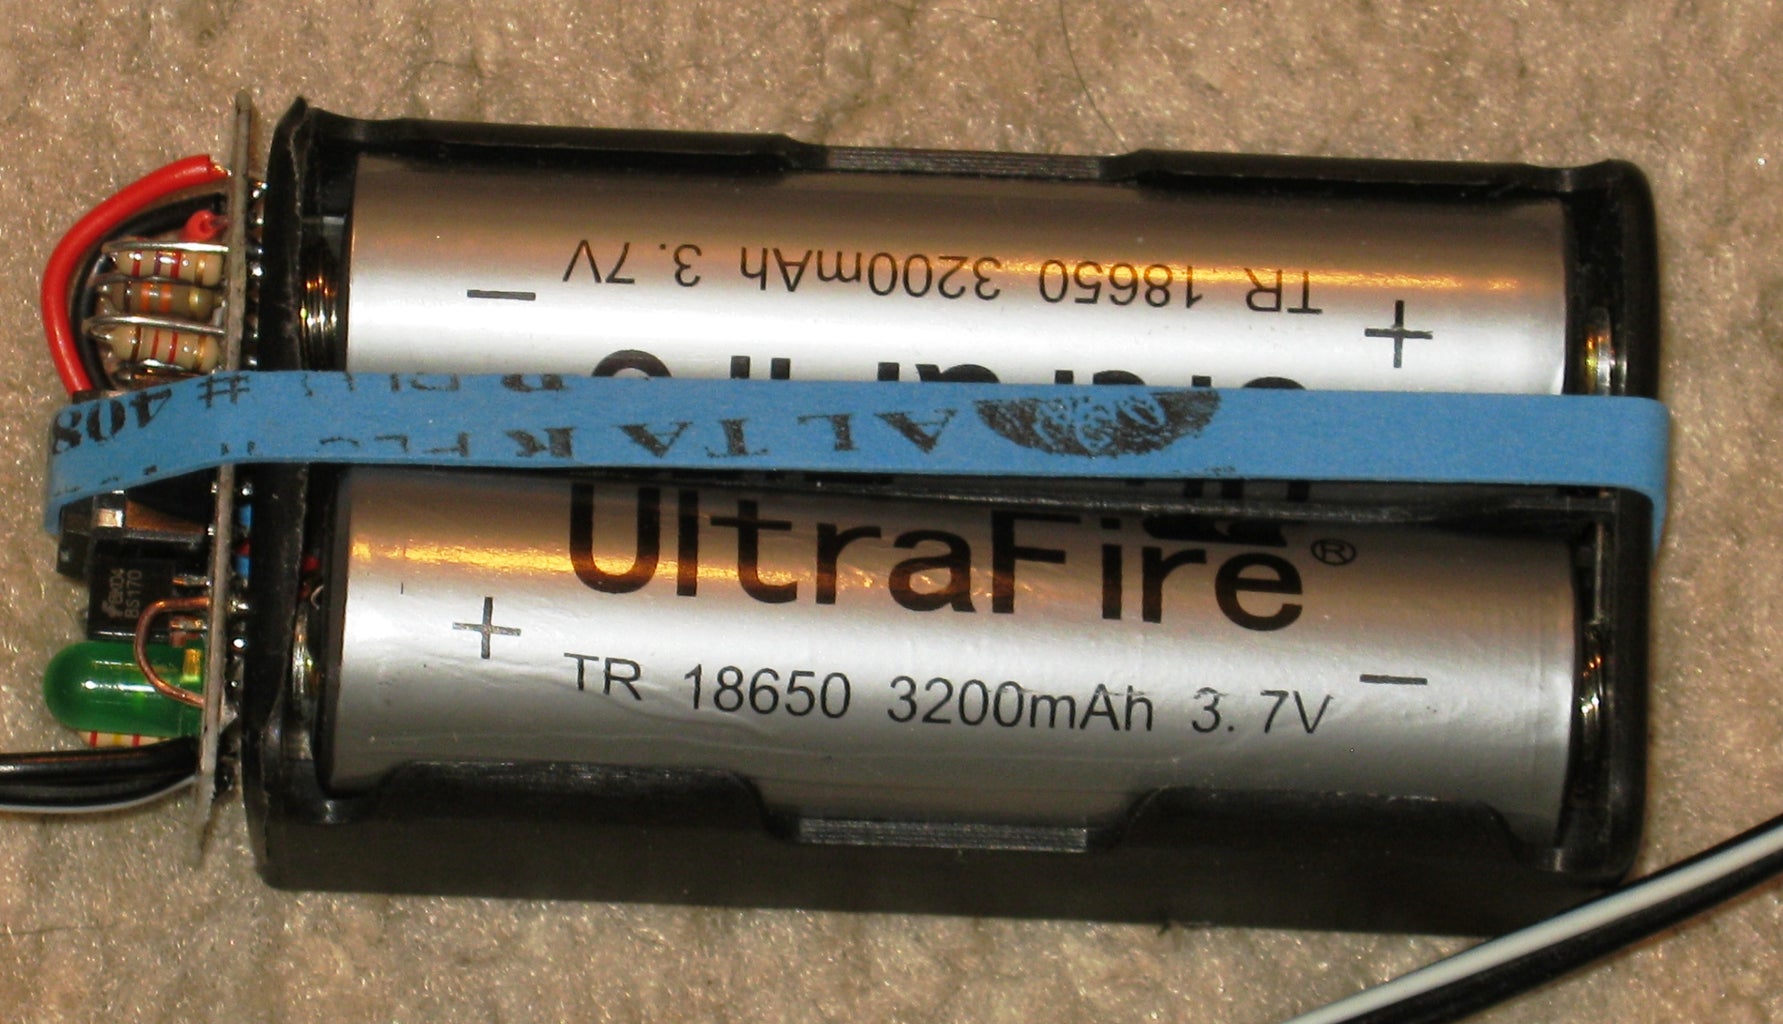
I bought 6 18650 3200mAh batteries for $10.85 on ebay. I don’t think this is still available but you might find pricing pretty similar.
The 18650 battery is nice but it does have its own problems.
Problem: It is a little bigger than a AA battery so it needs its own holder.
Solution: You can buy a two battery holders for $1.08 on ebay. (See Picture)
Problem: It is not a standard voltage so needs its own charger.
Solution: I bought a charger for $3.46 on ebay. (See Picture)
Problem: A bigger problem is that the batteries I bought are ‘unprotected.’ This is a little different from NiMH batteries which can be discharged down to about ½ a volt. If Li-Ion batteries are discharged too much they will not be rechargeable. The 18650 is nominally 3.7 volts, will charge to about 4.25 volts but should not be discharged below about 2.7 volts. I believe there are some other requirements about not charging incorrectly but I am (assuming) my charger is taking care of this. And not discharging too fast but hopefully my circuits will prevent this.
******************************************************************************************
Warning: If appropriate charge and discharge methods are not used, there apparently is some danger of the 18650 batteries exploding.
******************************************************************************************
Solution1: You can buy ‘protected’ 18650 batteries with the circuitry built in. However, they seem to be about twice the cost.
Solution2: You can buy individual battery protection circuits and add them to your batteries. I just found a protection circuit for $1.27 from Deal Extreme.
Arduino: Since I am designing a battery for the Arduino, I will need to use two 18650 batteries in series. This will provide a nominal 7.4 Vdc and up to 8.5 Vdc when fully charged. This will work fine for Arduinos with voltage regulators.
Solution3: You can buy battery protection circuits designed for two batteries. Here’s one for $4.49:
http://www.batteryjunction.com/pcb-7-2.html
Step 2: My Protection Circuit

Design: My main concern was not allowing the 18650 batteries to discharge below about 6 Vdc.
Simple Solution: I could just keep an eye on them and charge them often. Li-Ions are usually not hurt by charging too often. But I am Old and may forget and leave them connected.
Better Solution: So I decided to design a comparator that would shut off voltage to the Arduino if one battery drops to about 3 Vdc or both batteries drop below 6V. If either of these happens it will disconnect power going to the Arduino.
For the Purists out there: Yes, I realize most Arduinos have 5 Volt regulators, often the 7805 that suggest the input voltage is a minimum of 7 Vdc. Well, I’m pretty familiar with the Arduinos and most will work down to about 4 Vdc. One concern you may have is if you are measuring analog voltages and using 5 Vdc as the reference, then your measurements will be off. Well, for all of my analog circuits, I’ve been using 3.3Vdc as the Aref. One of the reasons is that when using the USB as a power source, most computer USB ports are not at 5 Vdc but can be around 4.7 Vdc anyway.
Alternative: My circuit can be altered so that it will switch off at 7 Vdc.
Theory of Operation: By the way this is revision 2. The two 18650 batteries are connected in series. My battery circuit is attached to the ground side, the midpoint between the two batteries and the output side. If the midpoint (the first battery is higher than 3V and the high side is above 6V than the battery voltage will be output to the output connector which is connected to the Arduino. If either of those two conditions aren’t met, than the voltage will not go to the Arduino.
Geek Stuff: You might notice that I am switching the ground side instead of the high side. For battery operation it doesn’t matter.
See schematic. Z1 is a 5.1 Vdc zener diode. R1 supplies enough current to bias the diode. So pin 2 of the analog comparator, LM393 will have 5.1 Vdc on it. R2 and R3 form a voltage divider. When the battery voltages are above 6 Vdc, then pin 3 will be above 5.1 Vdc and the comparator output will be high. This will turn on the FET, Q1 a BS170 which will supply the ground for the output going to the Arduino. The positive voltage is passed directly from the batteries.
R5 and D1 are active when power is available so the LED will indicate power is going to the Arduino.
Z2 is supposed to be a 1.8V zener. It along with R6, R7 and R8 perform a similar comparison for the midpoint. This is a wire connected between the two batteries in the holder.
Geek Stuff: Geeks may have noticed that I’ve connected both comparators together with a pullup resistor. This actually works as the outputs are called open collector. I believe this setup is called a open collector ‘and’ gate. It works.
Alternatives: The LED doesn’t need to be in the circuit to reduce battery drain (~20mA)
For a different trip point or battery sources, resistors and zeners can be changed.
For my circuit, I actually made some PCBs using toner transfer but will save details for another Instructable.
Step 3: Protector Parts List

Prices:
http://www.taydaelectronics.com/
S&H not included
PCB
LM393 $0.13
8 pin IC socket $0.02
1N4733 $0.03
Resistors 1/4W metal film
1.2K
2.7K
3.6K
4.3K
4.53K
1M
2.4K
13K about $0.02
LED 3mm $0.02
FET BS170 $0.26
2.1mm power plug $0.20
1.8V Zener about $0.04 (no longer available?? See below)
Total cost is less than $0.80. I realize shipping charges are not included. If ordered all together, it’s probably $3.99. I order a lot of parts from Tayda on ebay, e.g., often like 50 resistors for $0.99 shipping included. For big orders, it’s probably cheaper direct.
Problem: I bought 25 zener diodes that claimed to be 1.8V zeners. When I tried them out, they did not zener at 1.8V. In fact they didn’t zener at any specific voltage and it varied with the biasing resistor.
Solution: Well, I built a test circuit and was getting enough zener action so that it would trip the comparator if the voltage dropped below 3Volts so these diodes worked for my purposes.
Problem: Well, now I see that there are no 1.8V zeners on ebay except a surface mount for $5. I guess that would probably work.
Solution: If somebody else wants to build this circuit, there are 1.8V zeners available from Digikey. However the resistor values will have to be adjusted.
Step 4: Comparison

So I pretty much explained why I didn’t use a 9V battery source. Here is a comparison of this 18650 system with AA NiMH batteries that I have.
18650 Cost
2 18650 $3.62
1 holder $0.54
1 Protector $1.00
Total $5.16
AA Cost
6 AA NiMH $3.87
1 Adafruit $5.00
Total $8.87
18650 AA Comments
Batteries 2 6
Voltage 8.5-6 8.4-6
Capacity 3200mAh 3000mAh Discharge time is going to vary with load
Cost $5.16 $8.87
Weight ~2.5oz ~6oz I don’t have a scale but used my postal scale to
see which was heavier (See Picture)
Size 1.7”x3.5” 2.5”x4.5”
18650 wins for capacity, cost, weight and size.
Advantages and disadvantages battery technology
AA NiMH: memory issue, higher self discharge rate
18650 Li-Ion: no memory issue, lower self discharge rate, aging issue
Complaint: Another of my complaints about AA NiMH batteries is if you don’t use them for a while, they will self discharge. The 18650s are supposed to have 10 times less self discharge rate.
Step 5: Conclusions

I haven’t done very much testing but this seems to work pretty good.
Technobabble: One test I did was measured the current with the protection circuit connected but no load. It was only 6.25mA even with the LED on. What this means is that when the protection circuit drops below about 6 Vdc and disconnects power to the Arduino, it will still be drawing current but it would take a long time for it to drop down to 2.7 Vdc, the danger voltage.
