

Introduction: Arduino Light Blocking Sensor (Photo Interrupter Module) - Keeping Your Cards Safe (Prototype)


This project is a prototype and in this project I will be discussing about how your cards - such as credit cards, debit cards, gift cards - can be kept safe. Take a look at the pictures above to see how this project works.
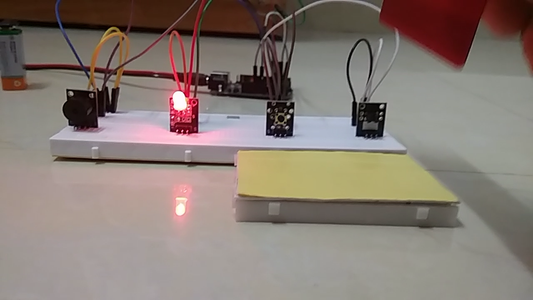
Let me give you a glimpse of this project. When I press the push button, the colour of the two-colour LED module changes colour from Orange to Green. The light blocking sensor is activated and when the card is kept within its U-shaped gap, the sensor senses that there is an object within the gap which is blocking the light. This sends a HIGH signal. When the card is displaced, the light is not blocked and the sensor sends a LOW signal and according to my codes, this triggers a buzzer alarm and the two-colour LED module changes colour from Green to Red.
To see further details about how this project works, please watch the YouTube video which I have embedded in the 'Final Look' section of this page.
Supplies
- Arduino Uno R3/ Arduino Nano
- Solderless Breadboard - Full size
- Jumpers
- Jumper wires - [Male-to-Male] 30cm and 10cm (x7 each)
- 9V battery
- 9V battery terminal
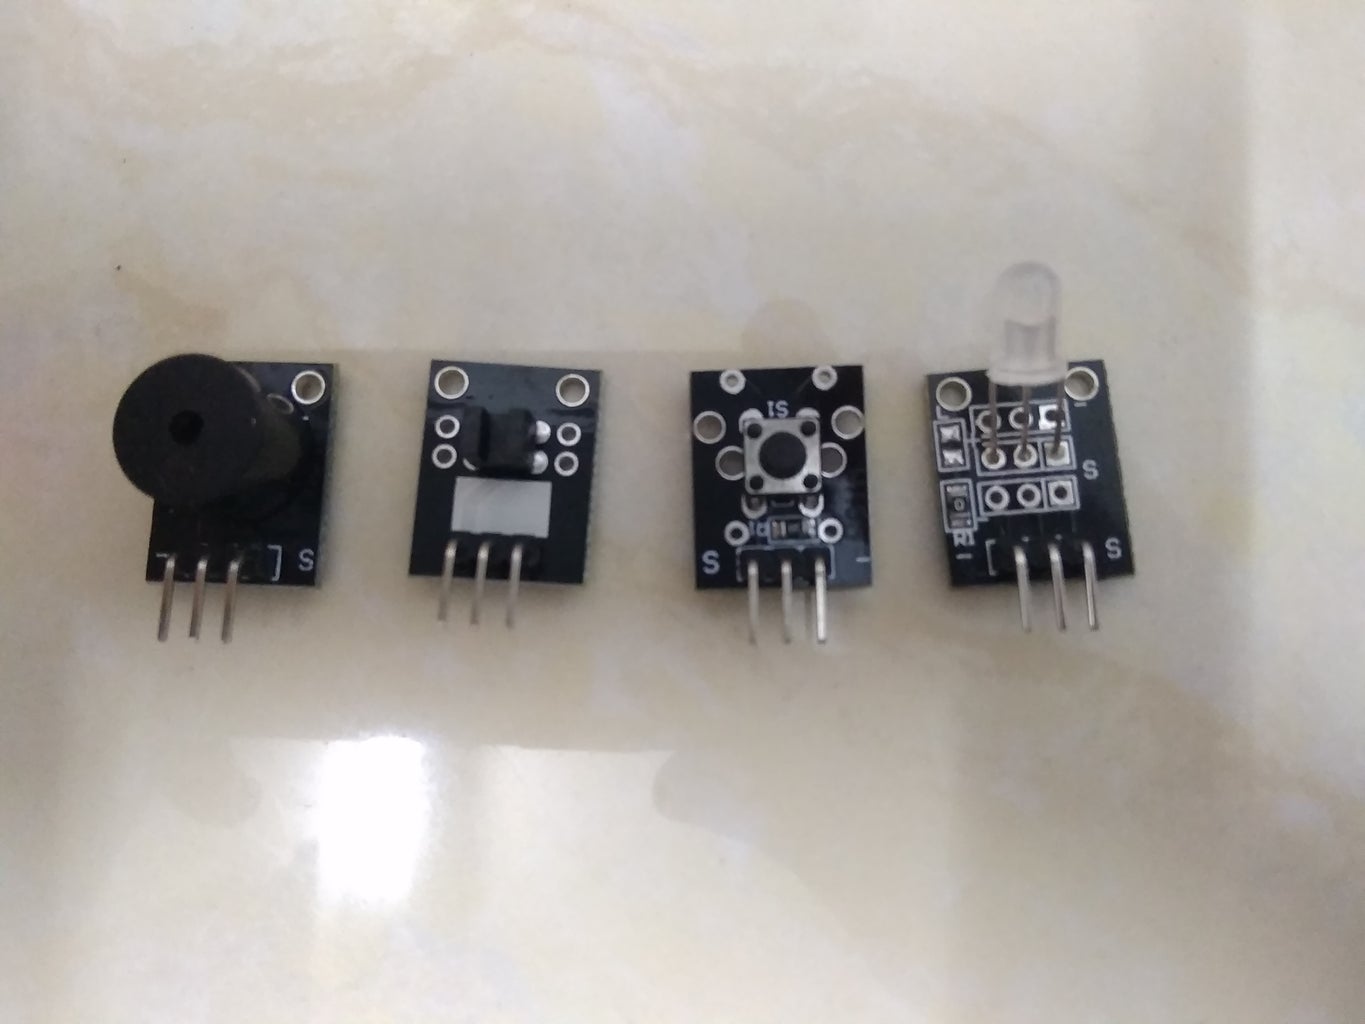
- Active buzzer (KY-012)
- Light blocking sensor - also known as Photo Interrupter module (KY-010)
- Push button - also known as Key switch module (KY-004)
- Two colour LED module (KY-011)
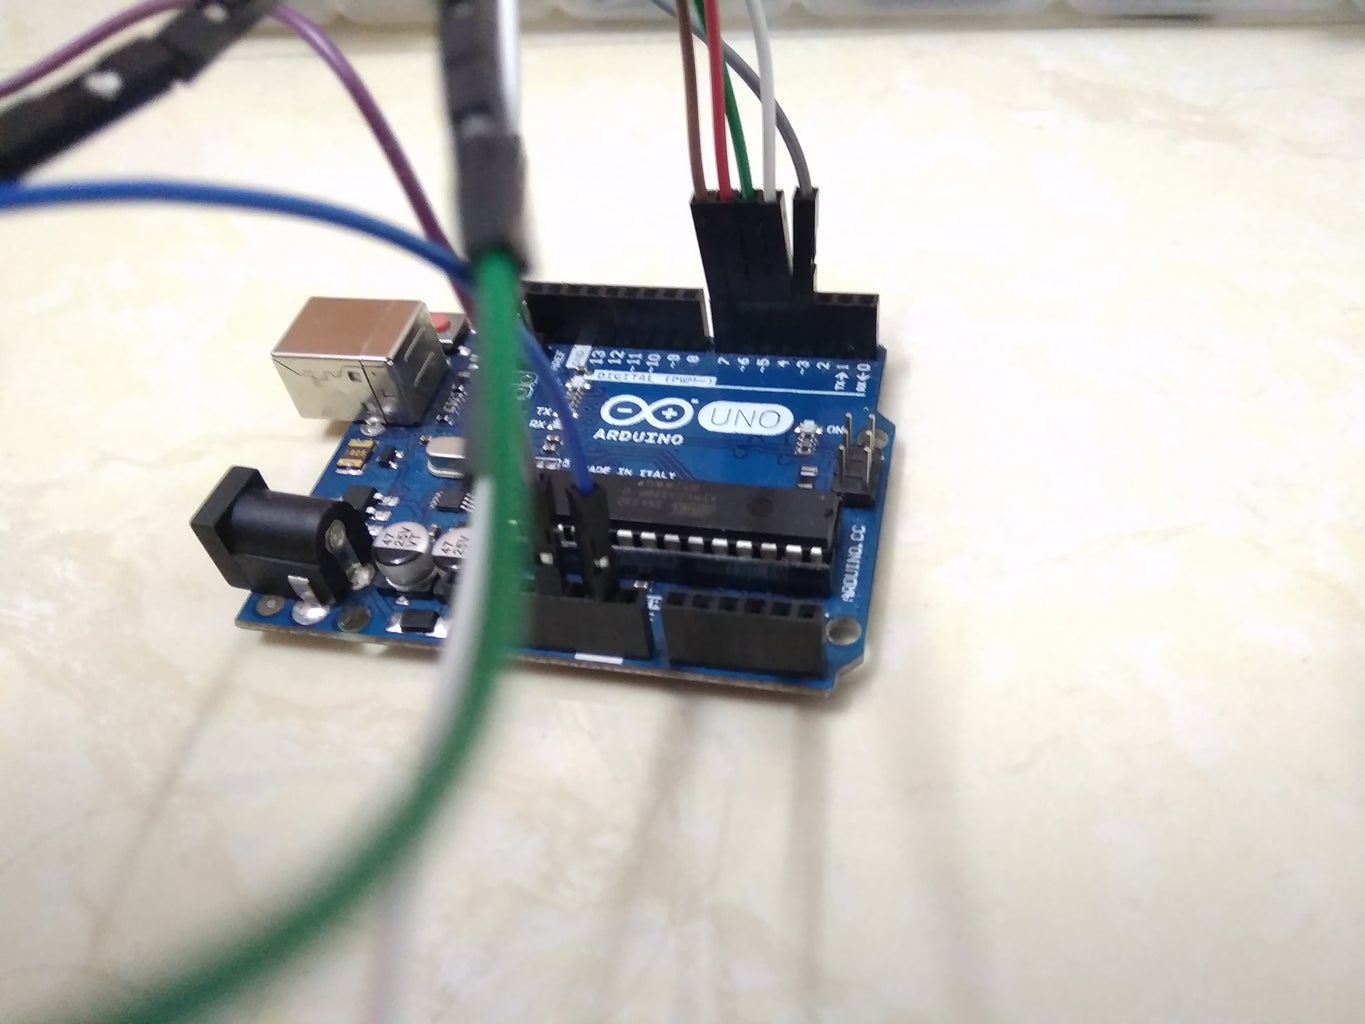
Step 1: Setting Up Your Hardware
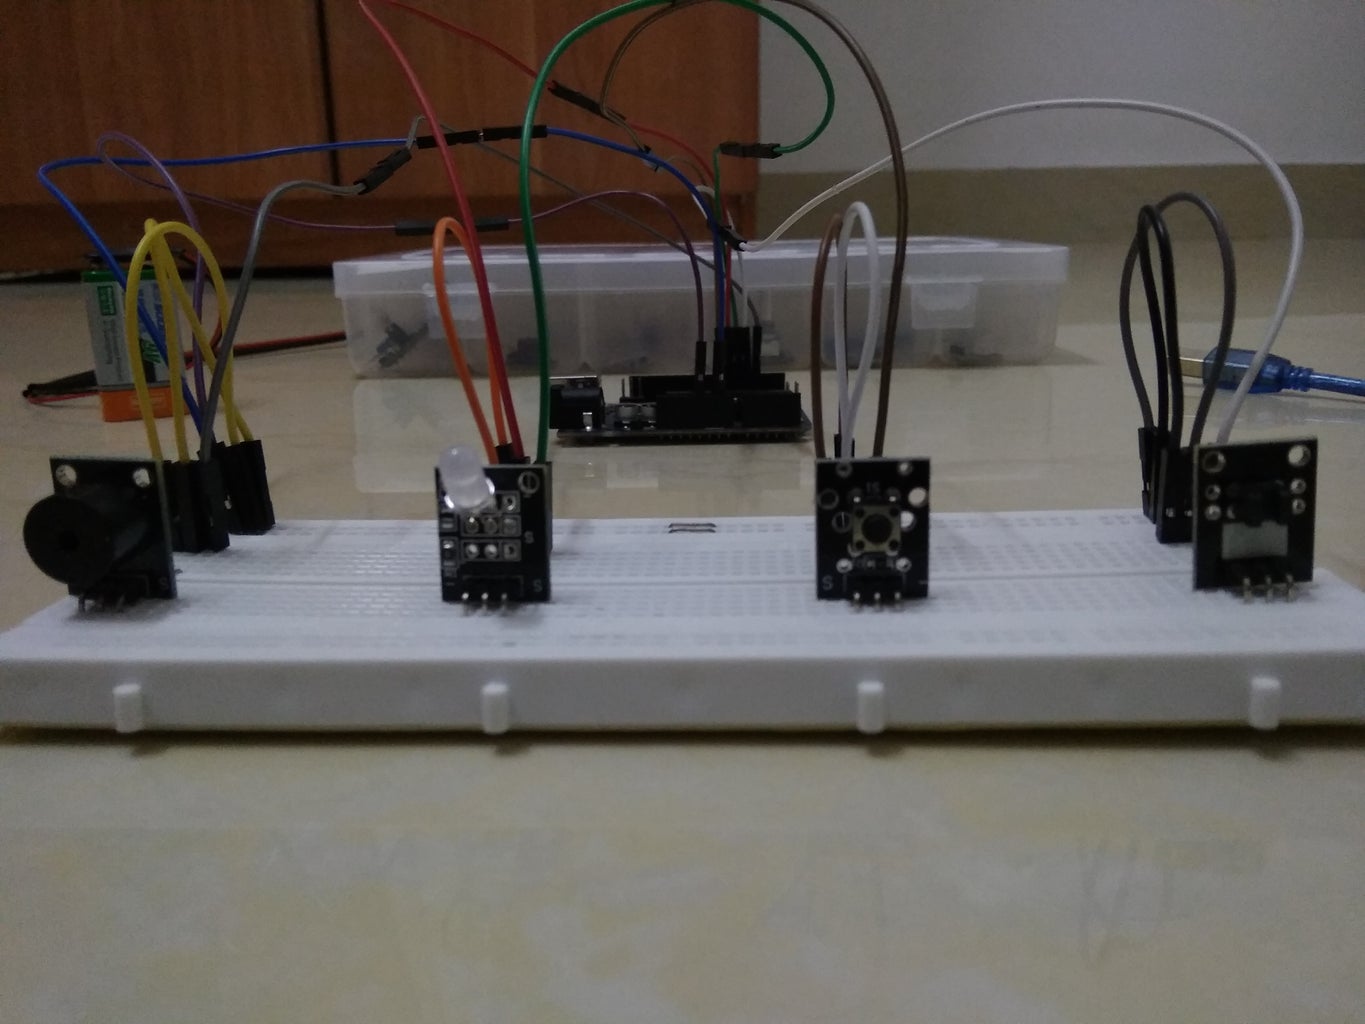
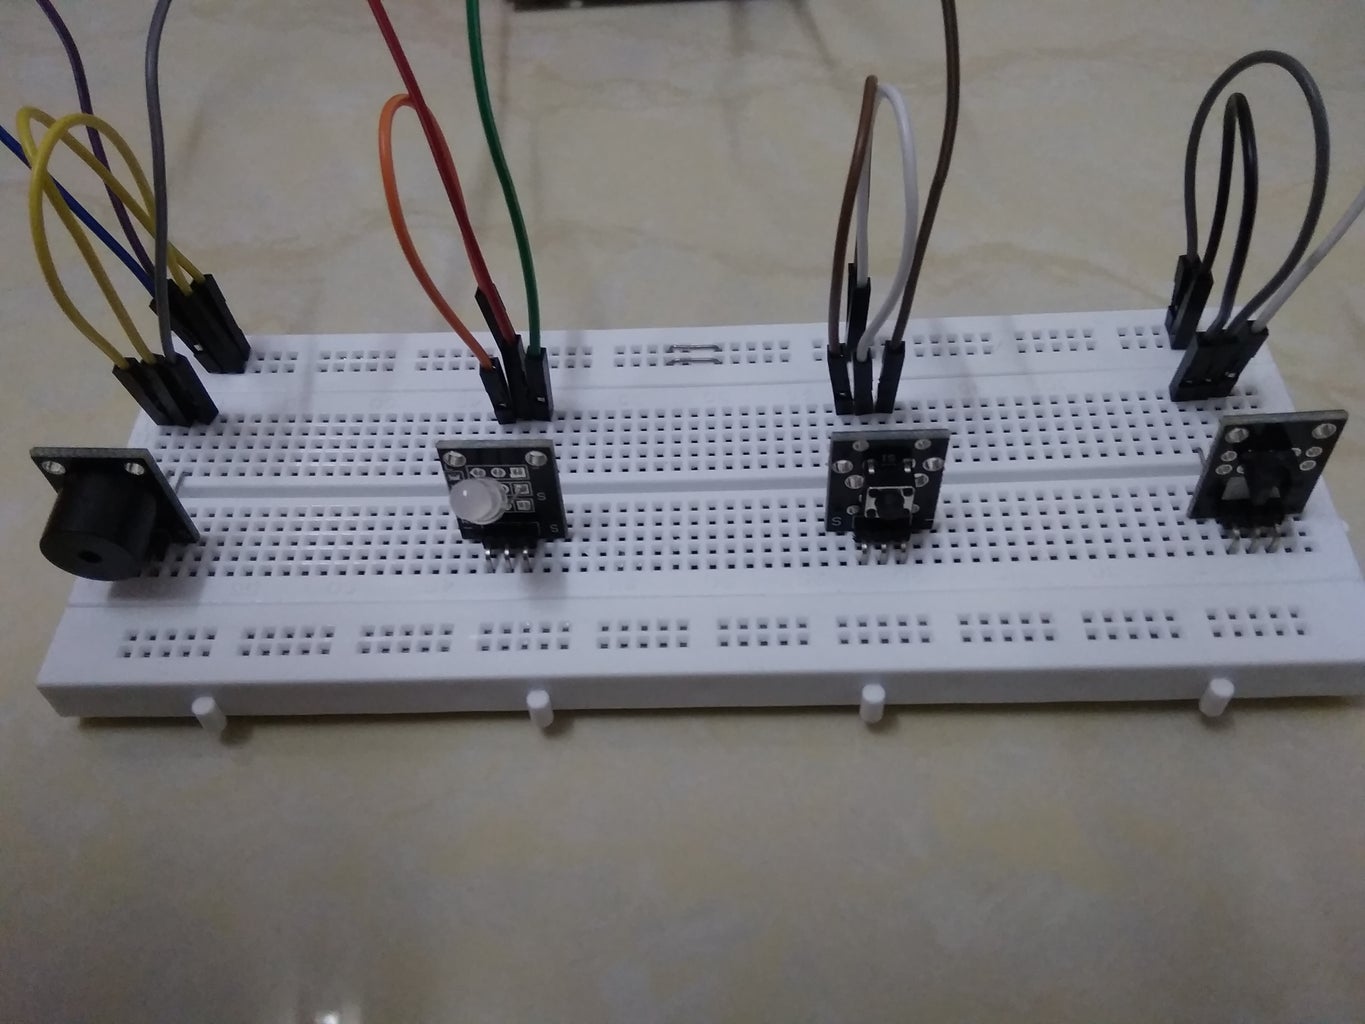
Your hardware setup must look similar to the that shown in the picture above. For more guidance on setting up your hardware, please watch the YouTube video found at the last section of this page.
Step 2: Connections
- Buzzer - D3
- Light blocking sensor - D4
- Green LED - D5
- Red LED - D6
- Common cathode (Two-colour LED module) - GND (Ground)
- Push-button - D7
Step 3: Coding

*Note: The codes are incomplete. To get the full version of codes, please contact me at arduinoprojectsbyr@gmail.com
Step 4: Final Look
For more Arduino projects, please visit my blog: https://arduinoprojectsbyr.blogspot.com/
If you have further questions regarding this project, please contact me at arduinoprojectsbyr@gmail.com.

![Tim's Mechanical Spider Leg [LU9685-20CU]](https://content.instructables.com/FFB/5R4I/LVKZ6G6R/FFB5R4ILVKZ6G6R.png?auto=webp&crop=1.2%3A1&frame=1&width=306)


