

Introduction: How to Make Arduino Mario Theme in 5 Minutes


This is dedicated to my tribe...
How doesn't love that Mario Theme? We all love that epic game and like to see over and over.
Today we can see this fast built circuit that uses Arduino to play Mario Theme.
You can typically build this circuit in only 5 minutes.
My tribe know me and realize that I'm short in time. That's why I like fast built projects.
In this project, you can learn to play long tones using only Arduino Uno and a speaker.
Let's get started.
Here is my Channel on Youtube:
AeroArduino
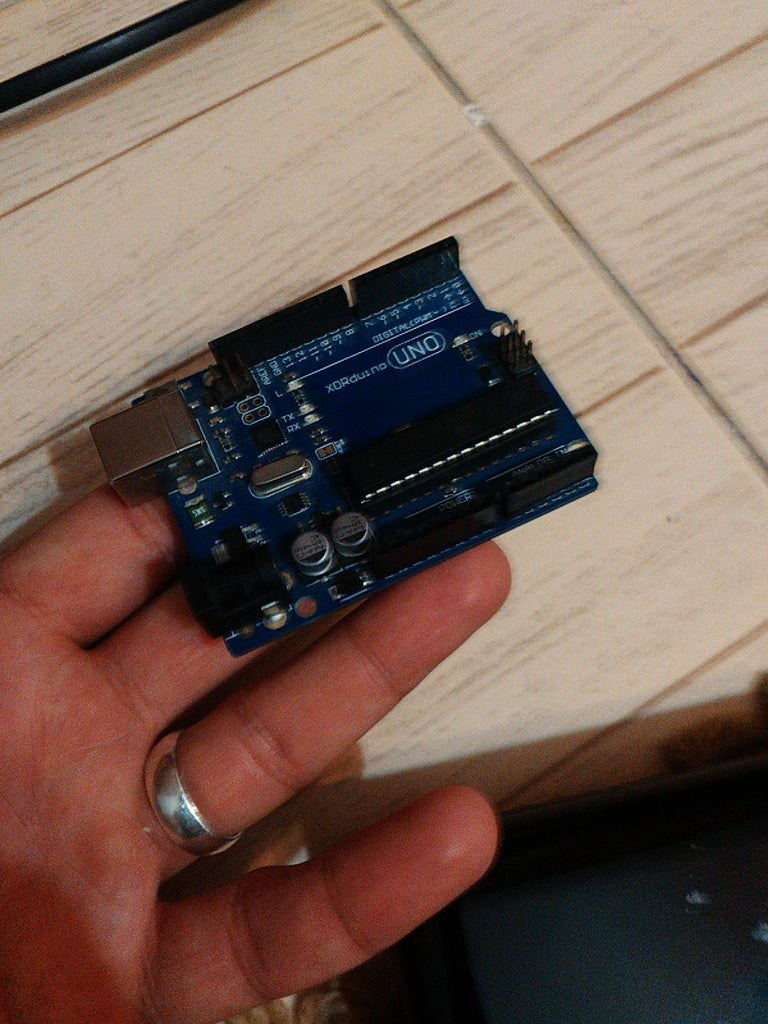
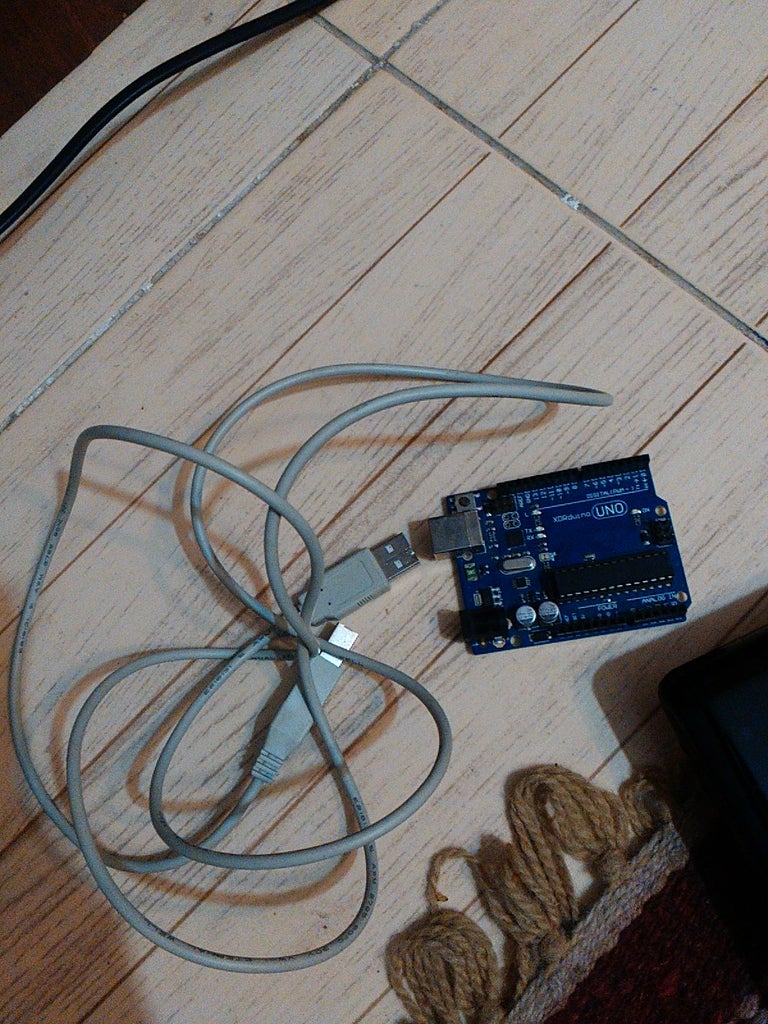
Step 1: Hardware Components

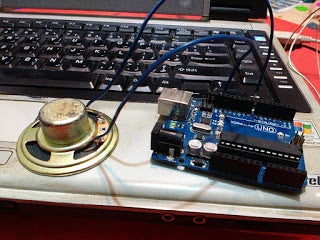
Step 2: Connections and Circuit


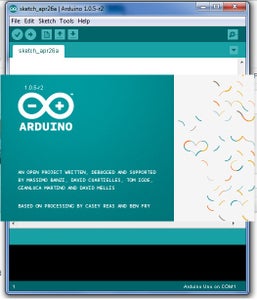
Step 3: Code and Software


Step 4: Test Your Circuit and Play Mario Theme
Now you can play your favorite Mario Theme on Arduino.
Here is my Channel on Youtube:
AeroArduino
You can read this article on my blog here.
You can visit my blog
http://embedded-egypt.blogspot.com/2018/04/arduino-mario-theme-how-you-can-make.html
And check out my page on Amazon:
Thank you for reading my instructable.
Please subscribe and Vote for me.
