

Introduction: Arduino Ohm Meter With LCD
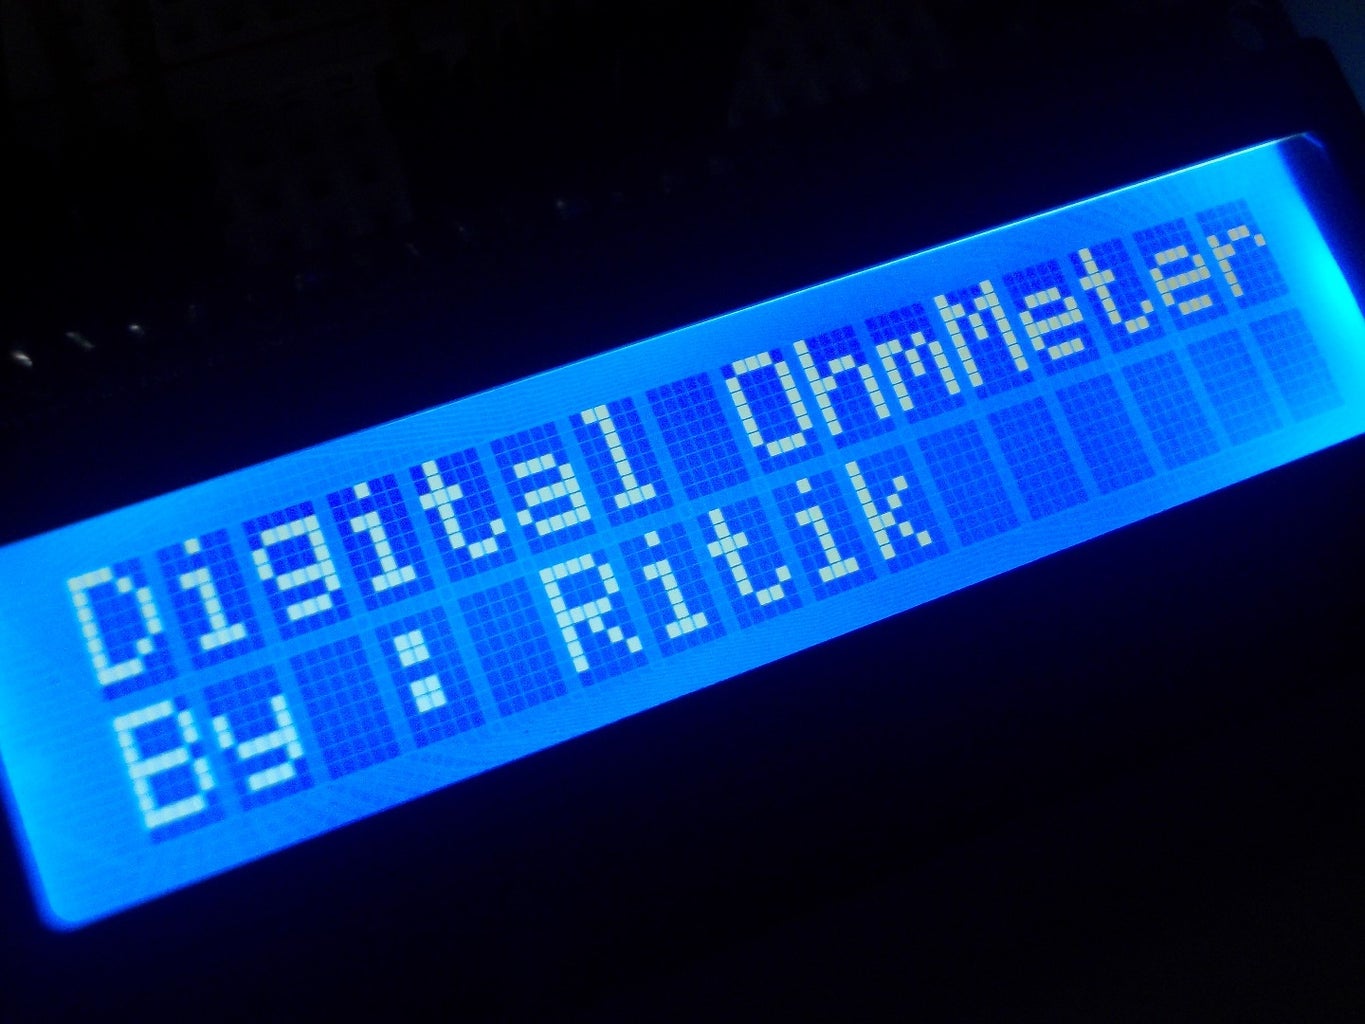


This Instructable Will show you how to make a Digital Ohm Meter using Arduino.This Ohm Meter is very Precise...and totally DIY.
Step 1: Gather All the Material.

1) Arduino UNO (or any other Arduino)
2) Breadboard
3) 16X2 LCD Display
4) Jumper wires
5) 1X 1000 Ohm Resistor
6) A Potentiometer
Step 2: Connect the LCD to Arduino.


1) Connect the LCD to the breadboard as shown above (Please solder header pins first).
2) Make the connections as under:-
* LCD RS pin to digital pin 12
* LCD Enable pin to digital pin 11
* LCD D4 pin to digital pin 5
* LCD D5 pin to digital pin 4
* LCD D6 pin to digital pin 3
* LCD D7 pin to digital pin 2
* LCD R/W pin to ground
* LCD VSS pin to ground
* LCD VCC pin to 5V
* A Potentiometer : * ends to +5V and ground * wiper to LCD VO pin (pin 3)
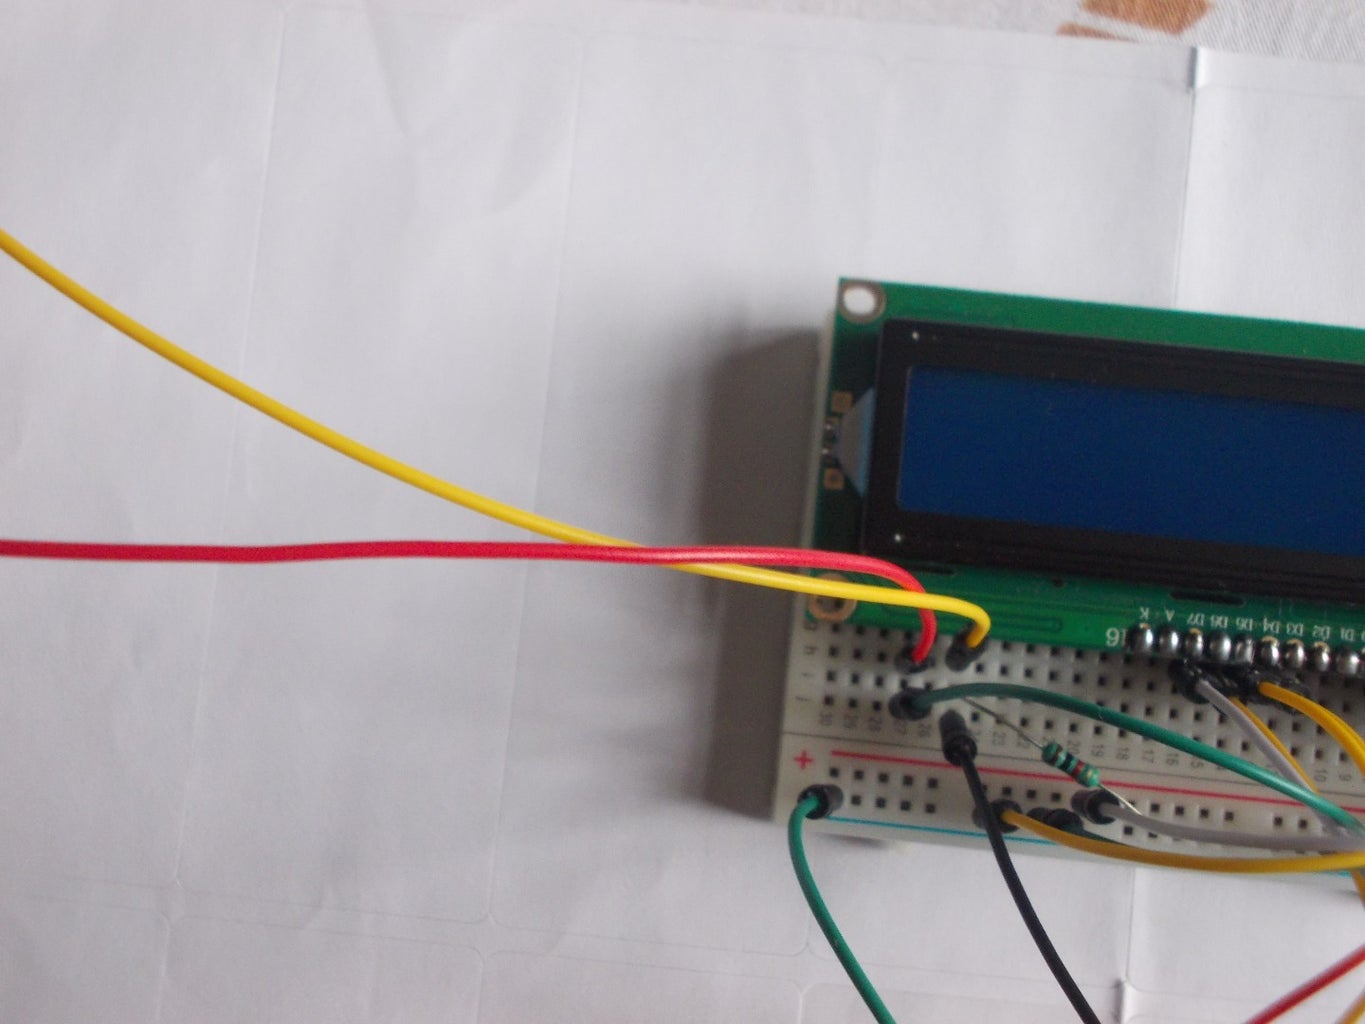
Step 3: Make the Voltage Dividing Circuit (main Part)

This part is the most important part of this instructable.The Ohmmeter works on the principle of voltage dividing circuit. Which is given By: Vout = R1/R1+R2 * VinFrom here we can calculate R2 which is given by :
R2 = R1 * [1/ (Vin/Vout - 1)] Also we'll be using this formula in our Arduino Code..(See the code).
OK! So make the circuit very carefully... as shown above in the picture...
The TWO PROBES in the above picture are the two wires which we will connect to the object whose resistance we are measuring.
Step 4: Final Step!!
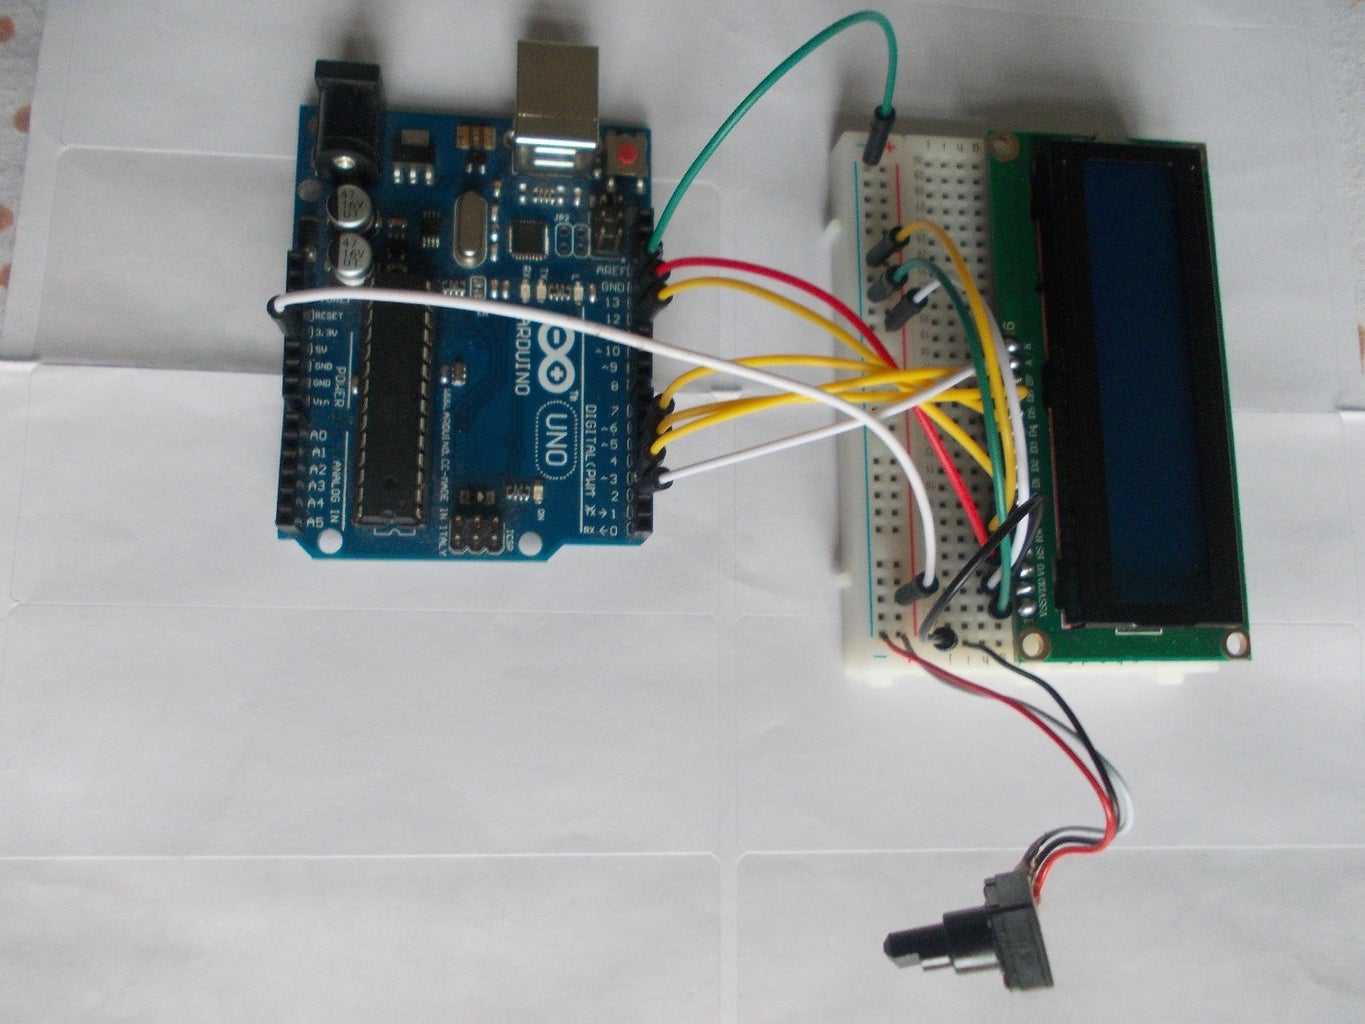


After all the connections your circuit would look somewhat like the picture above.....
1) Rotate the Knob of the pot according to your ease.
2) Use the LONGEST jumper wires to make the probes.They will provide you with more mobility and ease of movement.
3) If anyone of you don't have the display , please inform me, i will post the code for Serial Monitor.
4) Connect the PROBES and Start Testing!!!!!!!!!.......
5) If you are facing any problem in this project...Please comment below....I'll be more than happy to help you.....
6) Get the Arduino Code Here (Click Here)
!!!!!!!!!!!!!!!!!!!!!!!!!!!!!! Thank you and PLEASE VOTE if you liked this instructable !!!!!!!!!!!!!!!!!!!!!!!!!!!!!!!

Participated in the
Coded Creations


