

Introduction: Arduino RFID With LCD


The idea is to have a portable RFID reader that will display the tag output. This will also server as a starting point for later projects such as a read and write option with number pad.
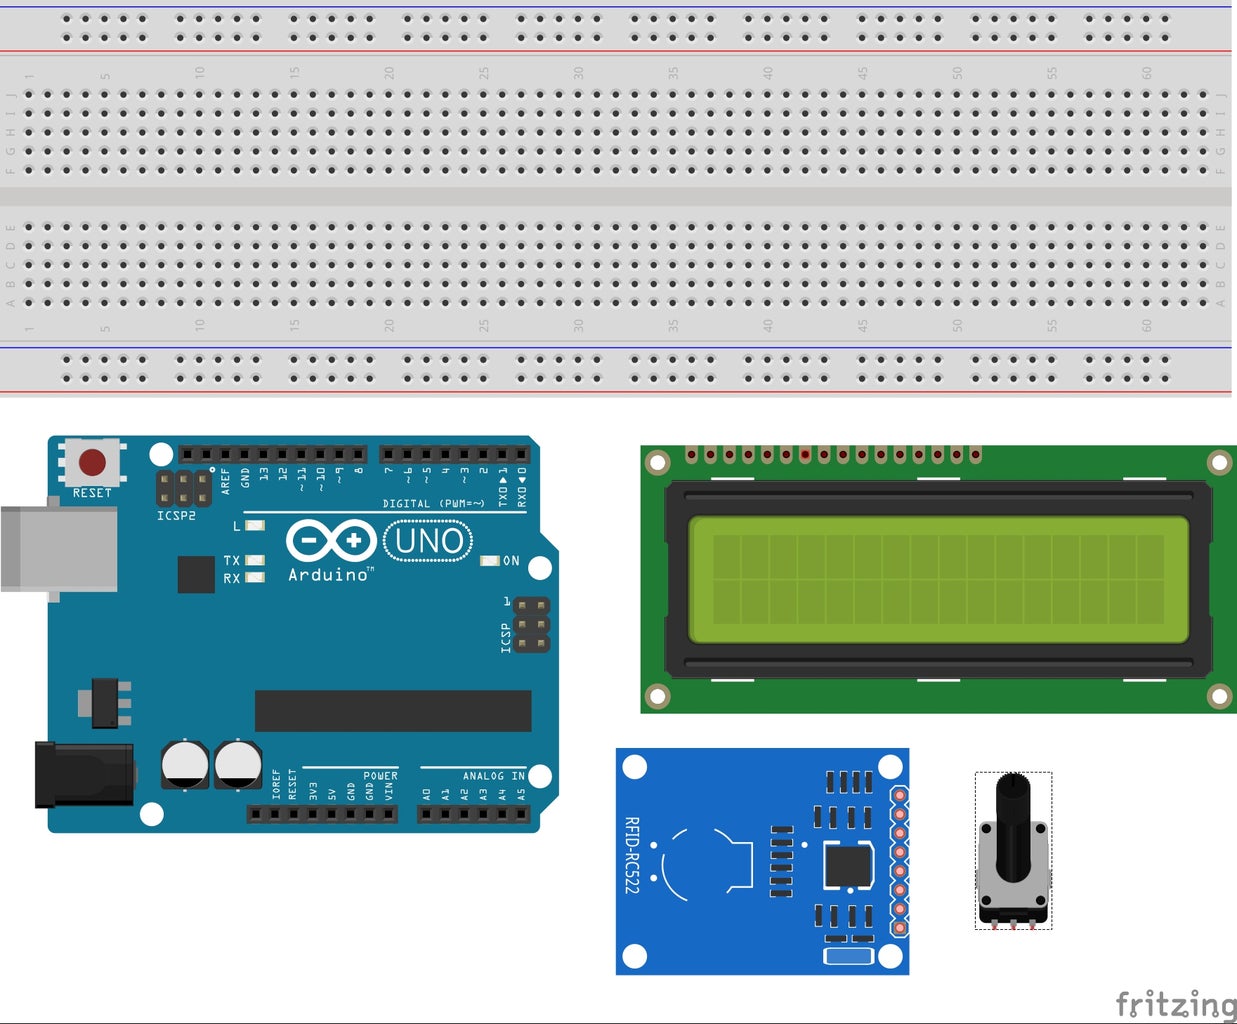
Parts list:
Arduino
Potentiometer
RFID
LCD
Breadboard
many, many wires
Step 1: RFID
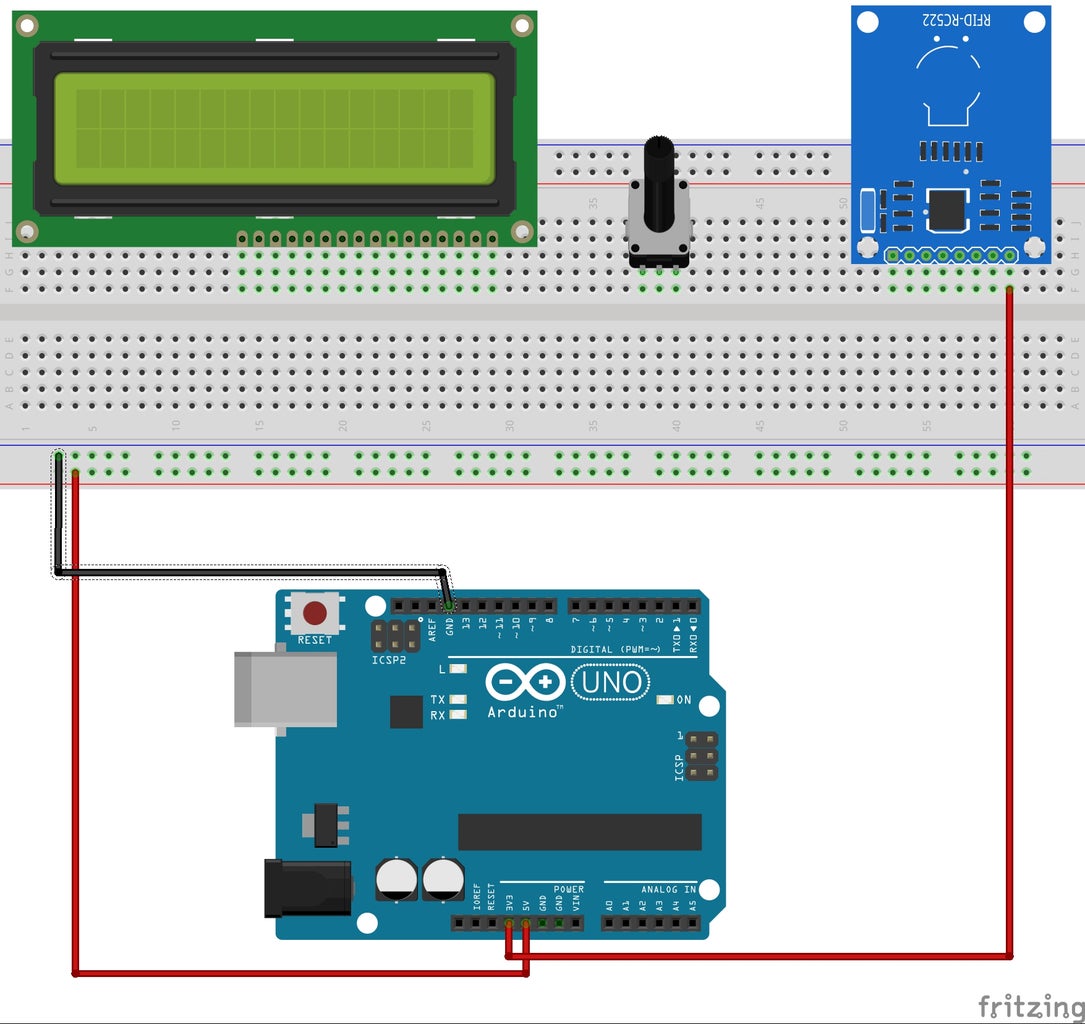
First thing we do is start wiring up the power to the RFID and the breadboard.
Step 2: LCD and Potentiometer
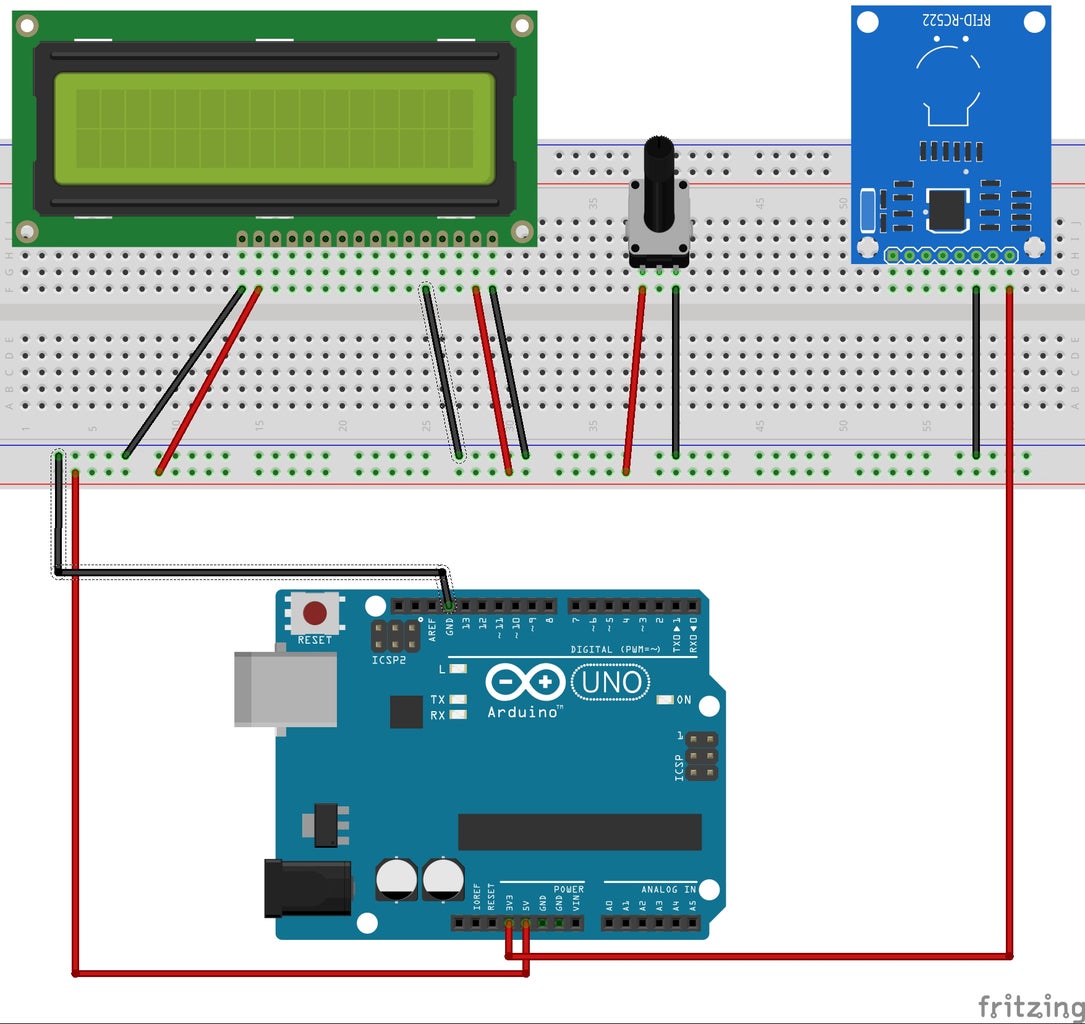
Next we wire up the power to the LCD and the potentiometer.
Step 3: Wiring the LCD

Then we wire the LCD screen to the Arduino
Step 4: LCD to Potentiometer
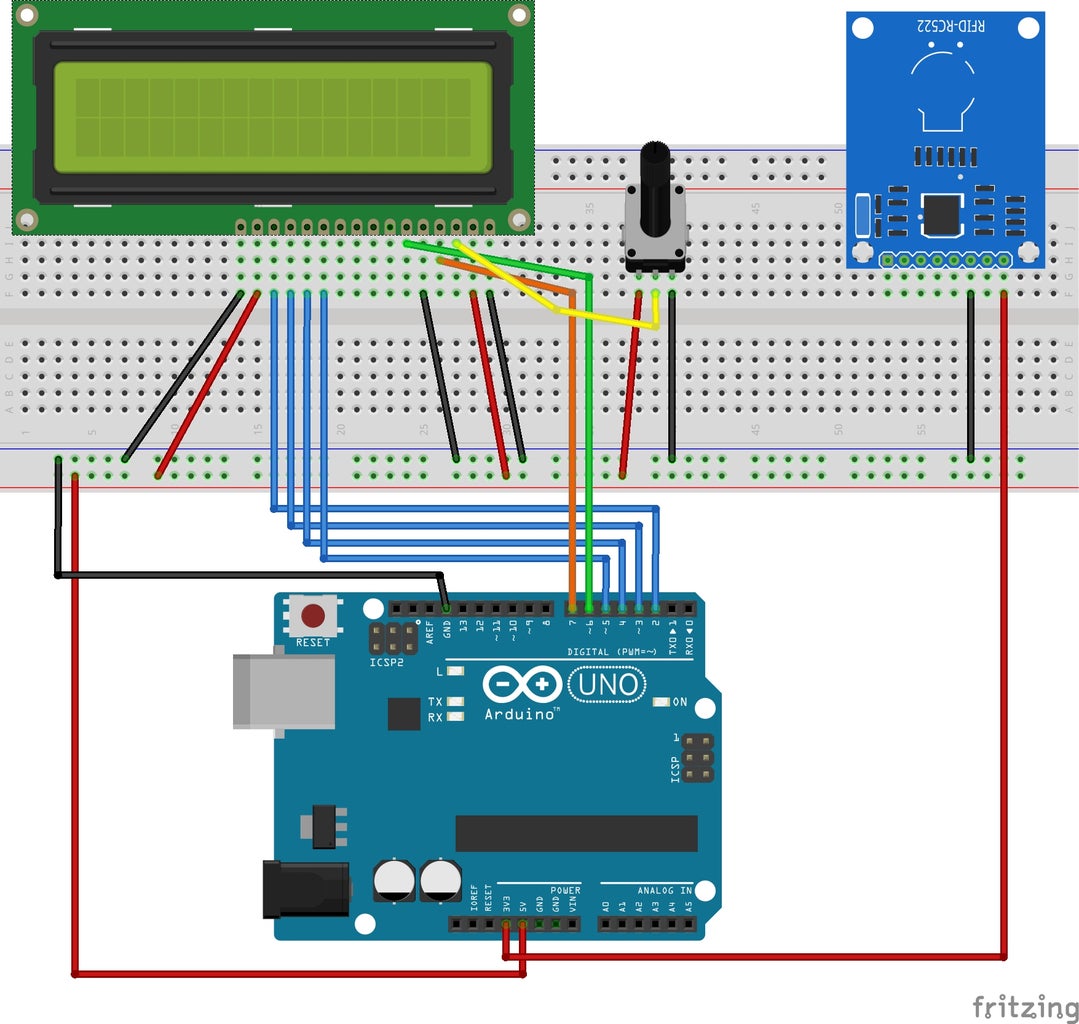
A small but important step is wiring the potentiometer to the LCD to adjust brightness.
Step 5: RFID

Finally we wire up the RFID to the Arduino. Source included.


