

Introduction: Arduino Reed Switch


Hello everyone!
The Reed devices are electronic or electromechanical components that work using the technology of the reed contacts, realized for the first time by the Bell.
The Reed contact switch is a lamina (normally open) which closes in the presence of a magnetic field.
The reed contacts have found use in the production of various types of sensors. There are two modes of use of these contacts:
simple pure contacts, for the detection of a magnetic field; complex equipment, in which the reed contact is used as the transduction element. In this guide I'll show you how to use this switch to turn on an LED.
Step 1: The Circuit

We will need:
- Arduino Uno
- Breadboard (base)
- Wires for links
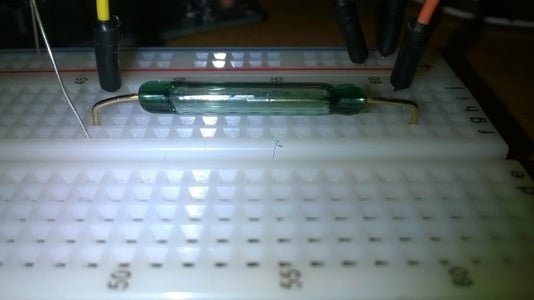
- Reed Switch
- A resistor 10KOhm
- A resistor 220ohm
- An LED
Once procured components assemble the circuit:
Attachments

Step 2: The Sketch
Now we can load the sketch on our board.
const int pinSwitch = 12; //Pin Reed
const int pinLed = 9; //Pin LED
int StatoSwitch = 0;
void setup()
{
pinMode(pinLed, OUTPUT); //Imposto i PIN
pinMode(pinSwitch, INPUT);
}
void loop()
{
StatoSwitch = digitalRead(pinSwitch); //Leggo il valore del Reed
if (StatoSwitch == HIGH)
{
digitalWrite(pinLed, HIGH);
}
else
{
digitalWrite(pinLed, LOW);
}
}
Attachments
Step 3: Video
For more info visit:
And my Facebook Page:
