

Introduction: Arduino Robot for Under $5


I know you've always wanted to make an army of robots! But then you found out you could only afford one or two.
With this design you can start your nefarious plans to take over the world. Go and enjoy making your army of $5 robots (batteries not included).
Step 1: Components Required

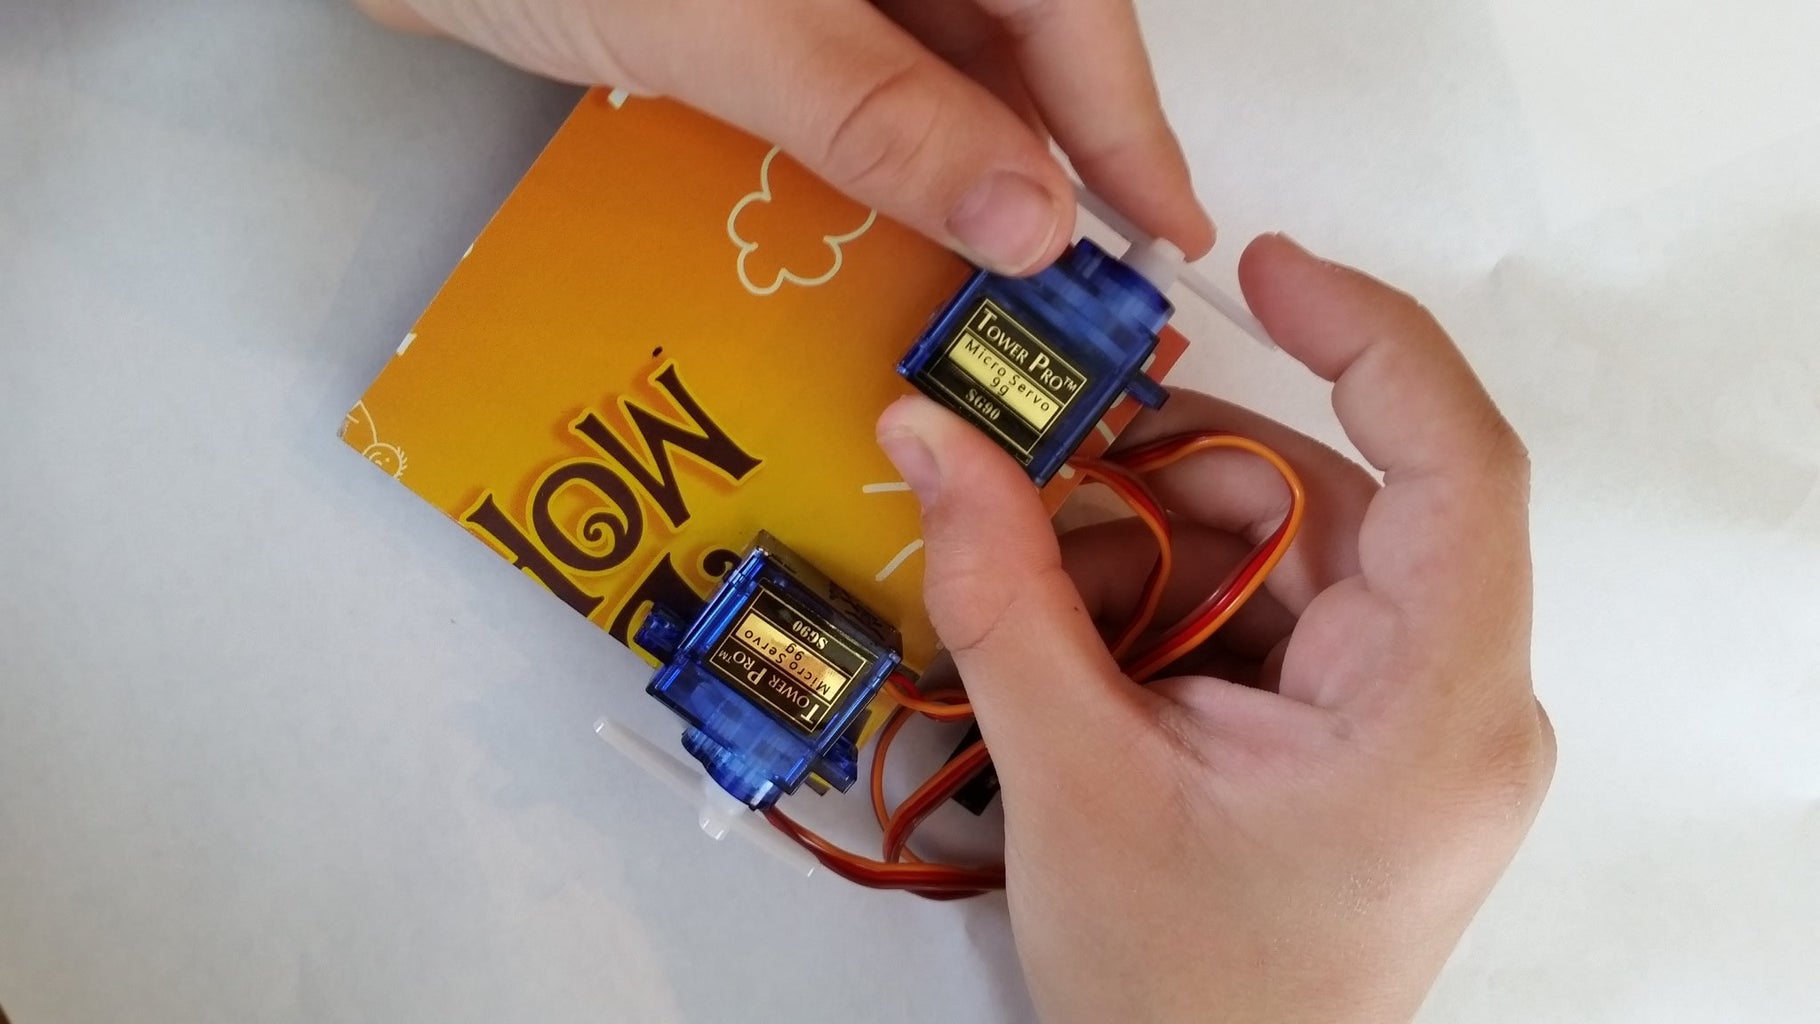
(2) Micro servos converted to continuous rotation motors ($1.70x2=$3.40)
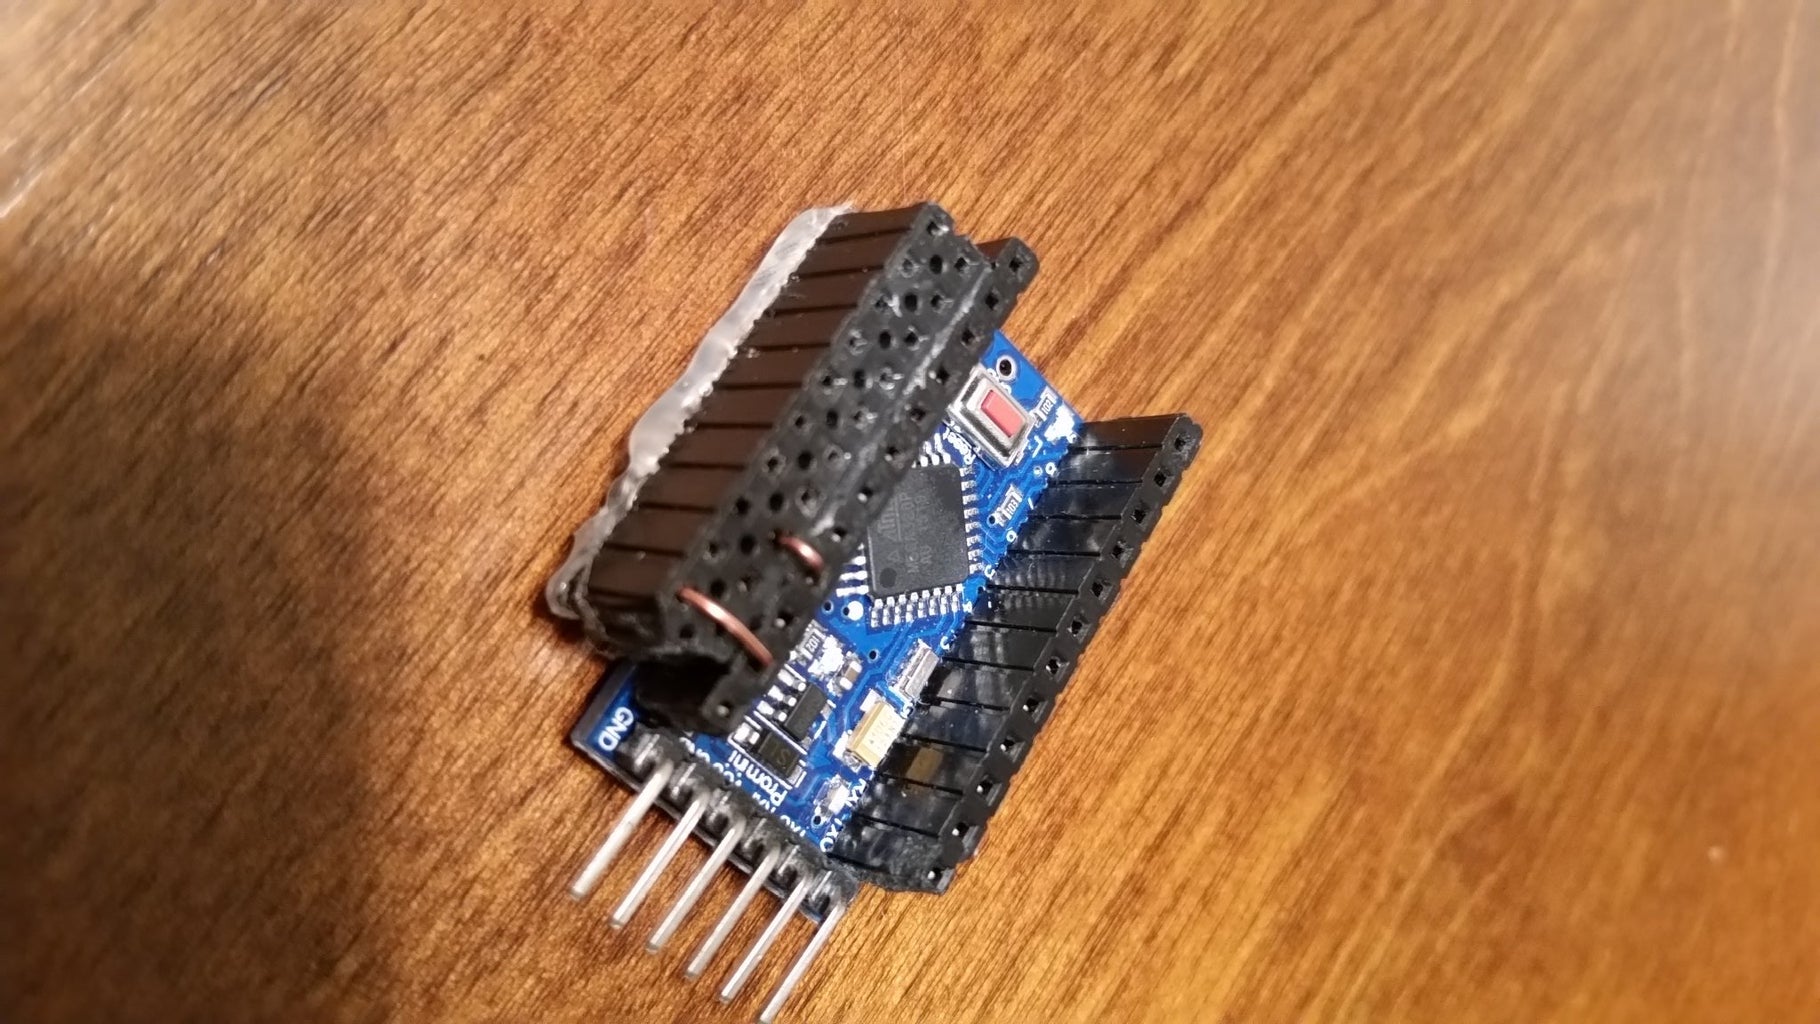
(1) Arduino Pro Mini ($1.38 each)
(2) 6pin headers, female single row ($.02 each)
(1) 3pin header, male (cut off the end of one that comes with the Pro Mini)
(1) 2pin header, male (also usable from the Pro Mini)
(1) 9V battery snap connector ($.10 each)
(1) 9V battery
(1) Paper clip
20 or 24ga single strand wire
Cereal box (if your making 25 robot kits, you'll need more than one box:-)
Hot glue
Step 2: Part Preparation and Programming

Arduino Pro Mini - solder the two 6 pin female headers on the board as show.
Arduino programming - upload the attached Scout_Robot.ino file to the Arduino. Again, there are Instructables on how to program an Arduino Pro Mini, so I won't detail that process (pretty easy).
Continuous rotation motors - there are several Instructables on how to modify a servo to be a continuous rotation motor, so I won't detail that process either (also pretty easy).
Male headers - trim off a 3pin and a 2pin header from one that comes with the Pro Mini.
Wire - cut a wire 3/4" long and strip both ends.
Chassis - cut out a piece of cereal box 2.75" x 3".
Wheels - cut out 2 wheels that are 2" in diameter.
Attachments

Step 3: Robot Assembly


Hot glue the two motors on the bottom of the cereal box chassis straight across from each other as shown.
Bend and rotate the paper clip 90 degrees as shown.
Hot glue the paper clip to the bottom of the cereal box chassis centered at the back as shown.
Attach the battery snap to the 9V battery and hot glue the battery to the top of the cereal box chassis as shown.
Hot glue the Arduino Pro Mini to the top of the cereal box chassis as shown.
Hot glue the two wheels centered on each servo motor as shown.
Step 4: Wire Up the Robot


Connect the wires as shown.
- For the left servo motor, I recommend using a 3pin male header.
- For the right servo motor, I recommend using a 2pin male header (positive and signal wire) and a small wire for the ground connection.
- For the battery, just plug both leads directly into the Arduino headers.
Step 5: Additional Tips
- Scuff the printed side of the cereal box where you plan to hot glue each component. This will help the hot glue adhere the component to the box.
- Run a bead of hot glue all the way around each wheel to provide traction.
- If you want your robot to drive crazy, don't center the wheel(s) on the servo motor.
- I use a twist tie to help wrangle all the wires.
Step 6: Possible Upgrades


Big Foot Mud Ripper Tires - notch the wheels and add a bead of hot glue for even more traction.
Custom Robot Cover - My 9 year old Scout made this awesome cover.
Another cool looking optional custom cover
Hardwire Controller - A joystick controller to drive your robot around.
Line Follower Sensors - A couple IR line follower sensors.
LCD Screen Face - An LCD screen to add a face to your robot.
Extra power strip - A double row female header pin, with each row is connected by a jumper wire along the bottom and covered with hot glue. Hot glue it to the Arduino and then connected each row by a single jumper to the Arduino power and ground pins as shown.
Step 7: Foot Notes and Thanks

When Cub Camp is over, I'll post a picture of the army of robots we made.
