

Introduction: Arduino Uno Multi-LED Project

The project I chose to create is a beginner level Arduino sketch that involves LED's lighting up in a sequential pattern every 1000 ms (1 sec). I really enjoyed learning about the different ways multiple LED's can be manipulated using the Arduino Uno and believe this is where a lot of my projects motivation came from. Although we learned a few more advanced programs, I was much more excited and confident creating a tutorial on an area of programming that I understood very well.
So if you are new to using the Arduino Uno or creating Arduino sketches, please try my walk though tutorial!
Arduino Code Link: https://create.arduino.cc/editor/David23s/ccaa9e7...
Step 1: Materials Needed

(Hover mouse over picture for more details)
- Arduino Uno
- Breadboard
- 6 Jumper Wires
- USB Cable (For Uno)
- 5 LEDs (2 Green, 2 Red, 1 Blue)
- 5 560 Ohm Resistors
Step 2: Connect GND

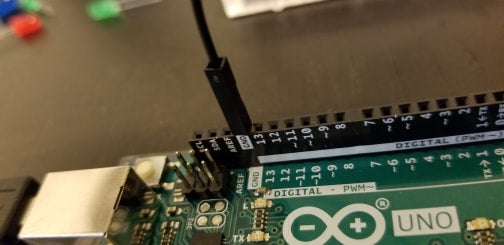
Use a jumper wire (black) to connect the ground (GND) pin on the Arduino to the negative rail on the breadboard. This will eventually allow the LED's to use the ground pin on the Arduino.
Step 3: Connect the Resistors

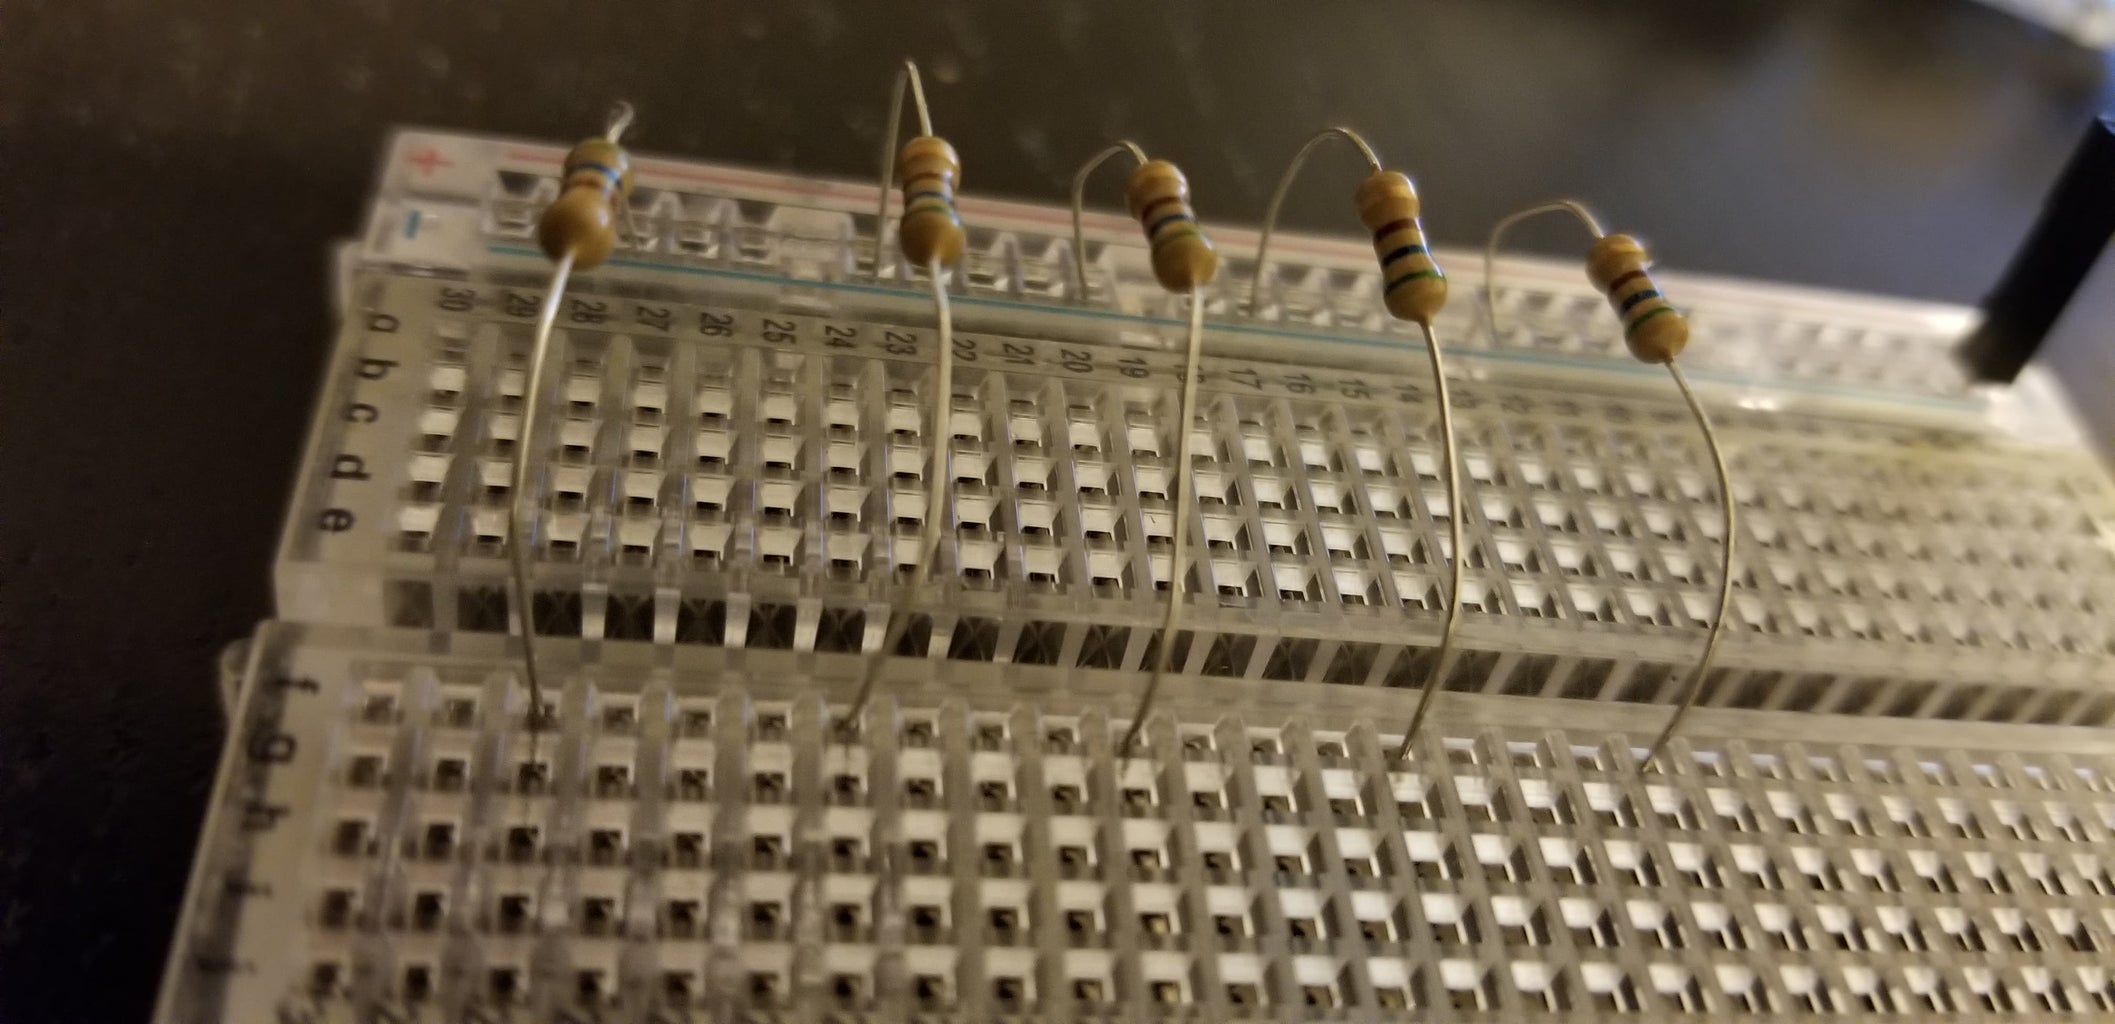

Insert each of the five 560 ohm resistors into the breadboard with one leg connected to the negative rail and the other connected the the ports shown in the picture. Make sure each set of legs is vertically aligned with each other.
Step 4: Insert the LED's
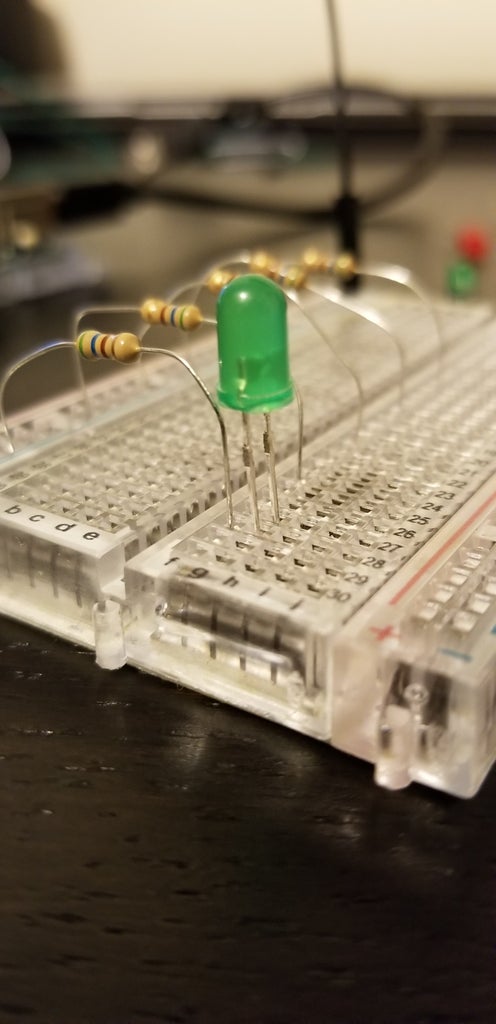


Each LED will be affiliated with it's own resistor. Each LED also has two leads (one positive/one negative). The shorter of the two leads is the negative lead. Connect the negative lead on the LED to the horizontal rail in which the resistor is connected (the port to the right of the resistor) and connect the positive lead to an adjacent rail (the port right above it). Repeat this process for all 5 other LED's. Look at pictures for more details.
I chose to have my LED's go green, red, blue, red, green from top to bottom.
Step 5: Connect Jumper Wires

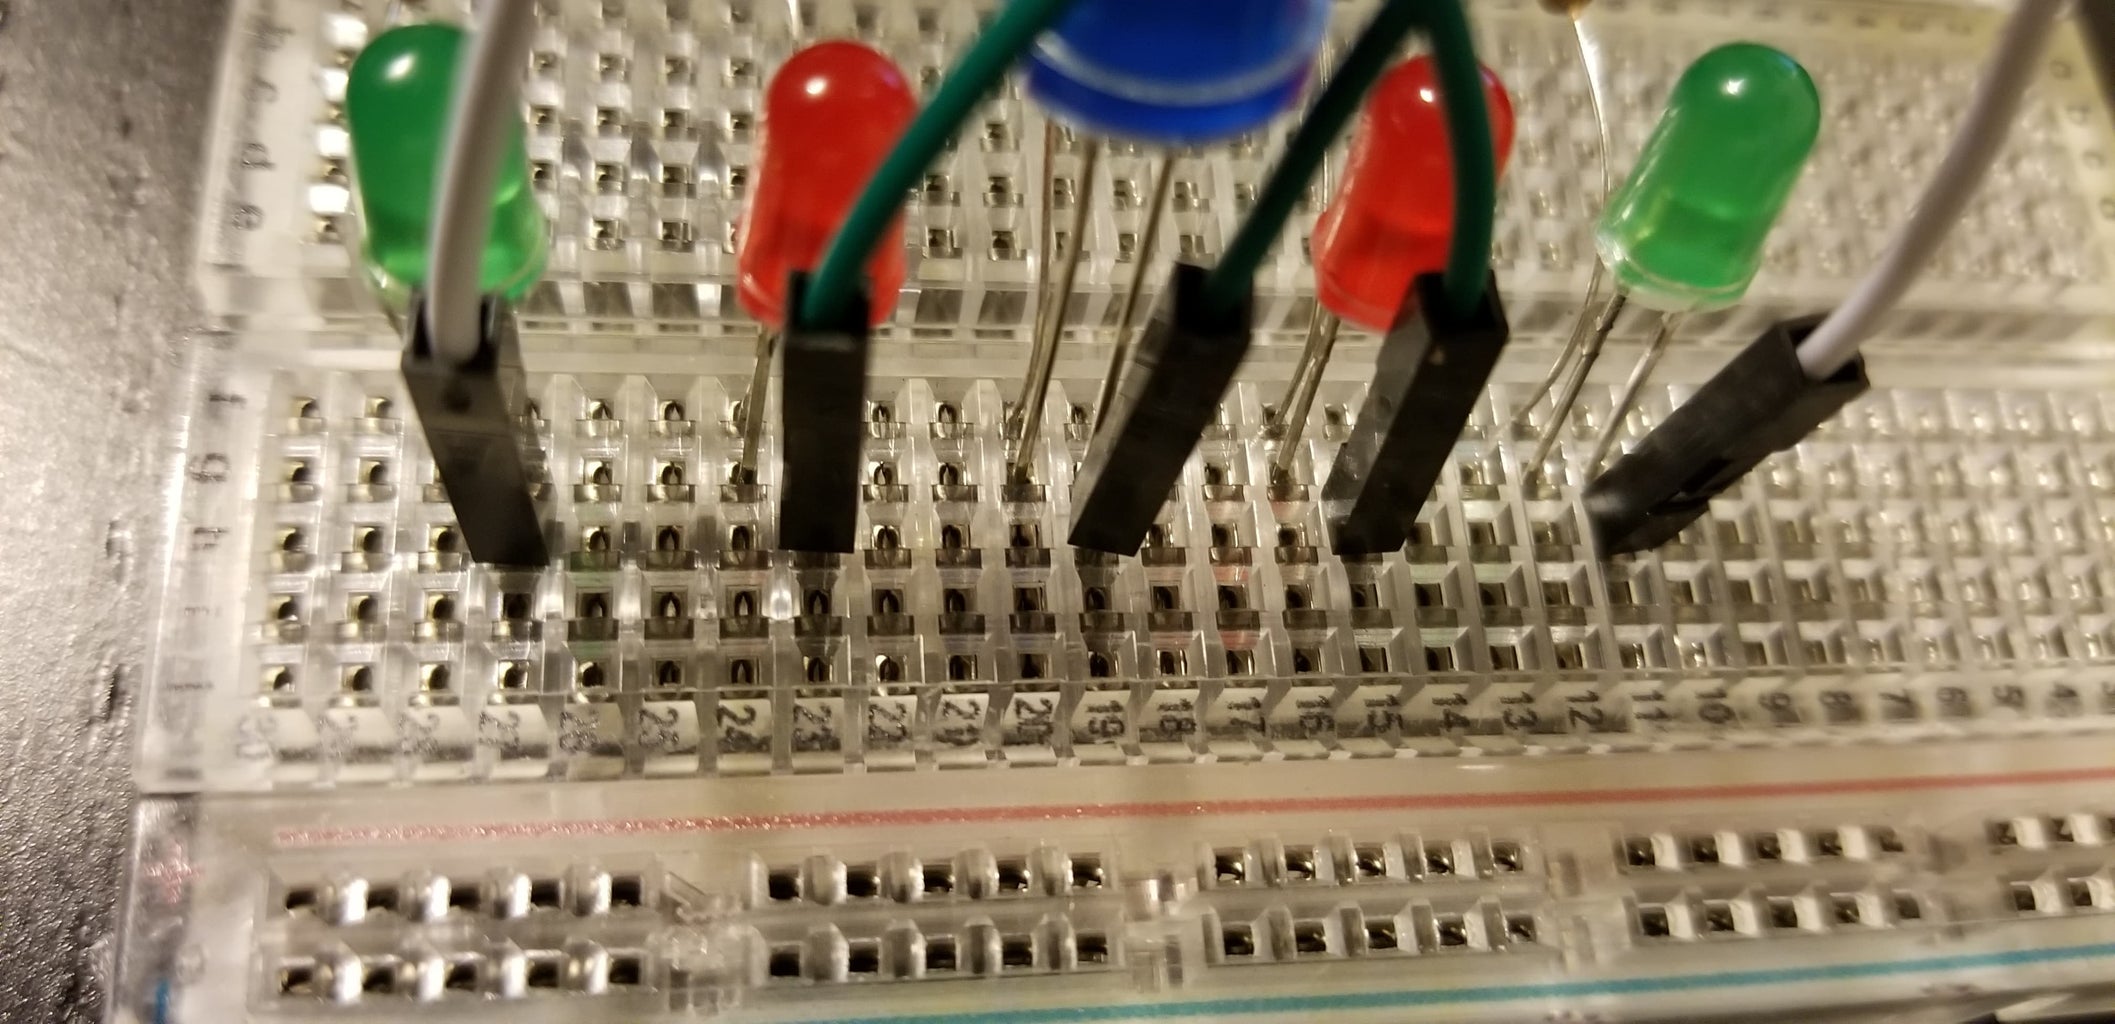
Now to connect the remaining jumper wires. We are going to use output ports 9, 10, 11, 12, and 13 for these 5 jumper wires.
- Connect a jumper wire (white) from output 9 on the Arduino to the port adjacent (to the right) of your positive lead on the top LED (green).
- Connect another jumper wire (green) from output 10 to the port adjacent (to the right) of your positive lead on the 2nd to top LED (red).
- Connect another jumper wire (white) from output 11 to the port adjacent (to the right) of your positive lead on the bottom LED (green).
- Connect another jumper wire (green) from output 12 to the port adjacent (to the right) of your positive lead on the 2nd to bottom LED (red).
- Connect the final jumper wire (green) from output 13 to the port adjacent (to the right) of your positive lead on the middle (blue) LED.
Step 6: Power on the Arduino

To turn on the Arduino, you must connect the USB cable from the Arduino to a USB port on your computer and open the Arduino Editing Software. You she see lights blink to indicate the Arduino Uno has power.
Step 7: Run the Program

Open the Arduino app and type the following code in the Arduino editor (link below). Then upload it to your Arduino Uno. If done correctly you should see something like......... (go to next step)
Arduino Code: https://create.arduino.cc/editor/David23s/ccaa9e74-3043-4edc-b2d2-ac923a616107/preview
Step 8: SUCCESS!!!
THIS!
If your LED's did not blink in a sequential order like mine, check the following things:
- All your jumper wires, resistors, and LED's are connected to the right ports.
- All your jumper wires, resistors, and LED's are firmly connected.
- Your Arduino Sketch correctly matched my code.
Still having troubles.. leave a comment below!

![Tim's Mechanical Spider Leg [LU9685-20CU]](https://content.instructables.com/FFB/5R4I/LVKZ6G6R/FFB5R4ILVKZ6G6R.png?auto=webp&crop=1.2%3A1&frame=1&width=306)


