

Introduction: Arduino to Laravel Communication


Hi Everyone,
In this Instructable, I’ll show you how you can send data from an Arduino to a Laravel application.
Step 1: Introduction


Whenever we have a project that requires some data display and logging it is usually required that we have the data available on the web. This way we can possibly monitor the state of an object remotely or even control our devices from anywhere in the world.
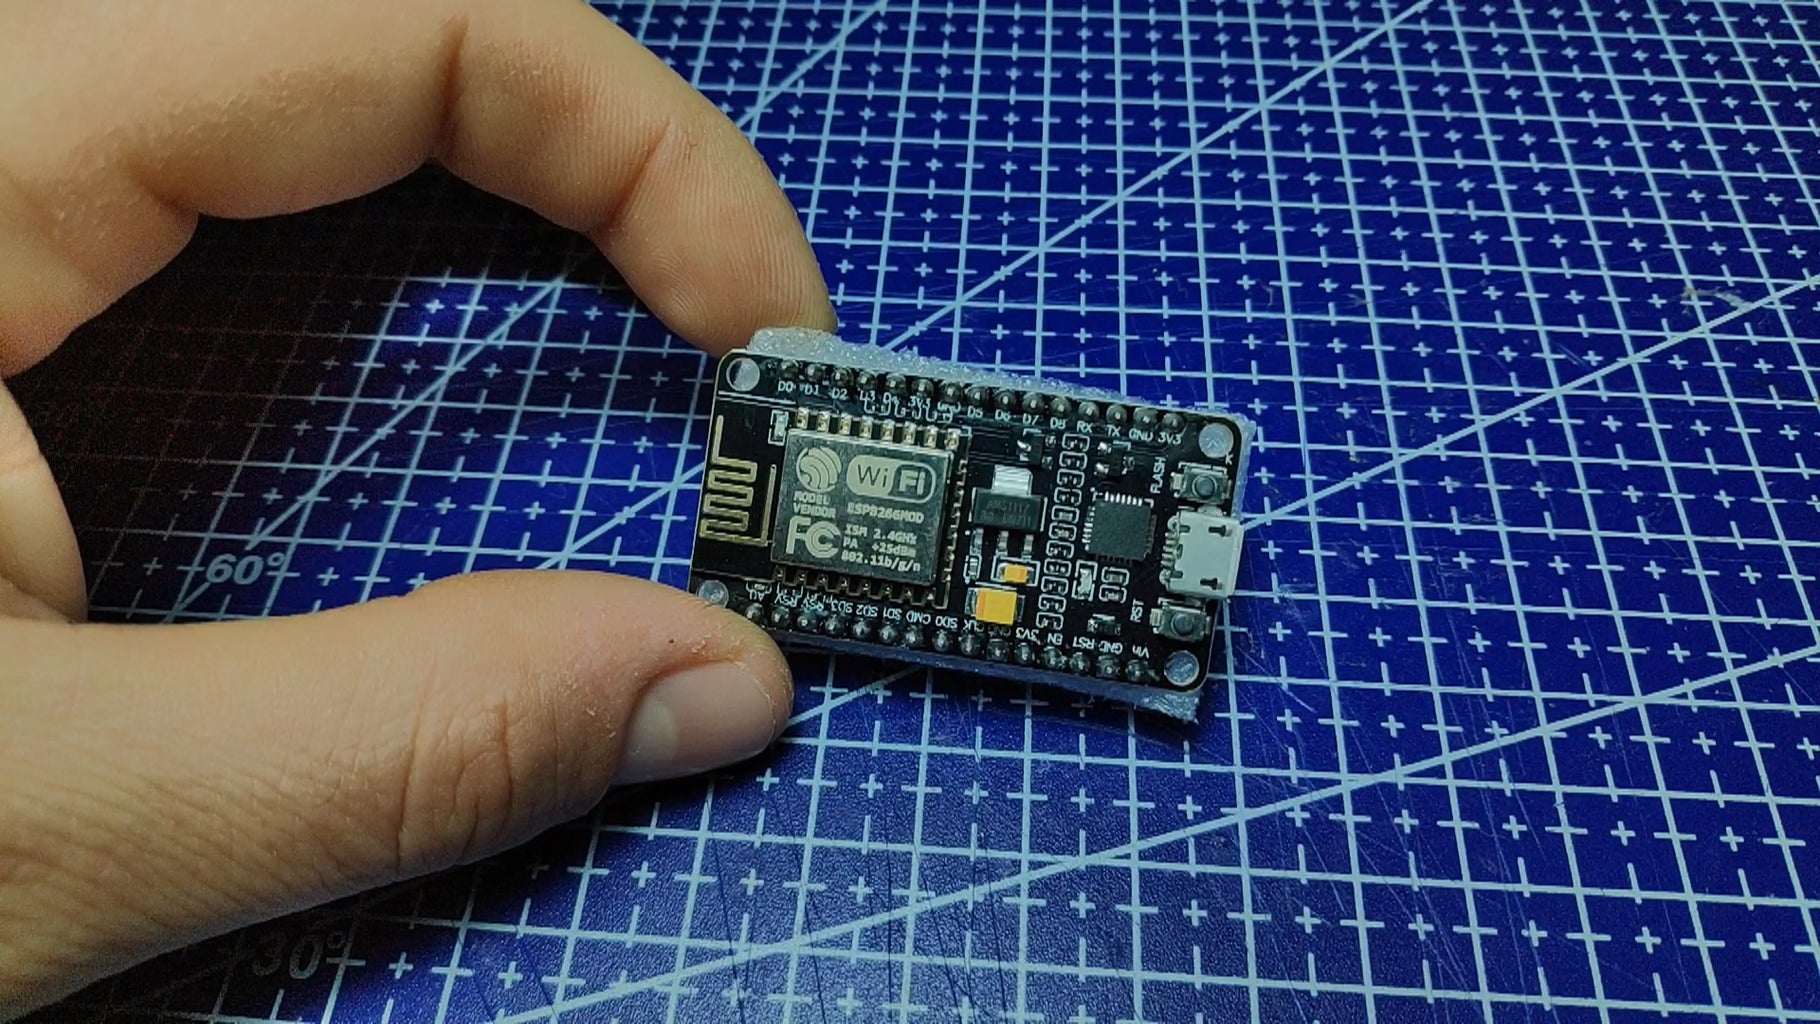
For this project we will be using a NodeMCU v1.0 board that has an ESP8266 12e module on board. Additionally we will need to use a computer where we can host our Laravel application. If you want to find out how you can setup such environment check my video on that.
Step 2: Prepare the Laravel Application


Our first step is to install Laravel through Composer. I won’t go into details on how you can do this as the documentation explains it in details and you can find it here.
To keep this demo simple, within Laravel we will log the information send from the Arduino to a text file so we can review them later. For that we gonna first create a new POST route in the "api.php" file. In the callback, we will inject the request details so we can later retrieve the parameters being sent.
To write to a file, I’m using the Storage facade from Laravel with it’s handy append method. When called this method receives a file name and string data where it adds this data to the specified file. If the file is not present, then it is being created on the first call.
The data that we write in each row is consisted of the current date and time, followed with the request values for the temperature and humidity. If you have multiple such values you can repeat the same retrieval process for all of them.
Step 3: Prepare the Arduino Sender


Let’s now look at the Arduino code and the sending of data.
In order for the NodeMCU board to be able to connect to our WiFi and send a request, we first need to include several libraries in the top. Next we need to specify the SSID of the network that we connect to and its password. If you are using an Uno with an Ethernet shield, then your process will be different.
Also, we save here the root URL of the Laravel server that we just created. In my case this is the IP address of my local computer but you can add any host URL where the code is accessible.
In the setup function, we start the serial communication so we can monitor what is going on. Additionally we need to setup the NodeMCU board so it can properly connect to the WiFi. Once that is done, we can initiate the connection and wait until we receive an IP address from the router.
For this example, I don’t actually have any sensors connected to the board. Instead I’m just generating some random data using the random function and I’m sending that over.
This data needs to be prepared in the form of a query string and after the HTTP request is started, we need to send it using the POST method on the HTTP client. The header that we added before is there to let the server know that there is data in the request that it needs to gather.
As a result, we first get the HTTP status code and then the response payload. If everything went smoothly, we should get 200 as the code and since we didn’t return anything from our Laravel application, the payload will be empty.
If for some reason the status code is not 200, then the payload will usually contain the error message of what happened.
At the end, we need to make sure to close the request and wait a certain time, 5 seconds in our example to do the same process again.
The outcome is that we get those values saved in the text file on every iteration so we can later on use this to either display it or map it on a chart.
Step 4: Further Steps

As you can see, the process is fairly simple and can be easily expanded to read the values from different sensors and to maybe write them down in a database. The result of what you can build with this is just limited by your imagination. To help you get started, below is a link to the full source code used in the example.
https://github.com/bkolicoski/arduino-laravel-comm...
I hope that you managed to learn something new from this Instructable and if you did, then please let me know in the comments, follow me on Instructables and don’t forget to subscribe to my YouTube channel.
Thanks!


