

Introduction: Compact Glasses Light


One day I was thinking, glasses are used to see right? What about seeing in the dark? That would be cool!! So I decided to design a low powered light perfect for late night reading and for maneuvering around a dark house so you don't have to wary about waking anyone up!
Step 1: Materials


- 3 coin batteries (you can get them from laser pointer and pen lights)
- Small switch
- Small thin sheet of metal
- Insulated wire
- LEDs
- 3d printer (not required but recommended)
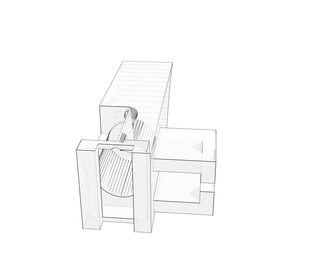
Step 2: The Case

I 3d printed my case and the file should be to scale, but if you don't have one I would love to see one of these made from wood or something!
Also due to some concerns about glare I added the "Glare Killer" STL file. It has a small wall to help minimize glare, I made it 15mm long so it could be snipped if to long.

Step 3: Batteries


After you have made the case you must insert the batteries. First you must solder a small segment of your wire to a small piece of your metal sheet. Next insert this onto the bottom of the case. Now you can insert the batteries!
Step 4: Switches and LEDs


I salvaged some leds somewhere and they were on a small pcb board so I'm using that, but I designed the case so you could also use single leds.
First I crimped a small sheet of metal to fill in any extra space between the led(s) and the batteries. I than soldered the crimped piece of metal to the led(s) and places it in. using electrical tape I covered any other connections so that I wouldn't short the circuit. Than I glued the led(s) onto the front.
The switch is easy all you have to do is connect the rest of the two wires together, soldering one to the middle lead and the other wire to a lead on the side. When you have made sure that works glue that switch onto the side of the case!
Step 5: Painting!


Now your done! Almost!! I was looking at the light and decided that it looked kinda ugly. I was going to print a piece to cover the glue but my printer couldn't get into that precision. So I painted over the glue to complete the look! If you have gotten here and realized that there is some glare you don't have to restart! Some people suggested in the comments to color around the side of the led to minimize the glare.
Step 6: Your Done!!


This is the completed look of the light, I slid it onto my glasses and it fit snuggly! One size should fit all but if you want to change anything message me and I'll upload the correct file below, don't forget to comment!! And thanks for viewing!!

Participated in the
Formlabs Contest

Participated in the
Wear It! Contest

Participated in the
DIY University Contest


